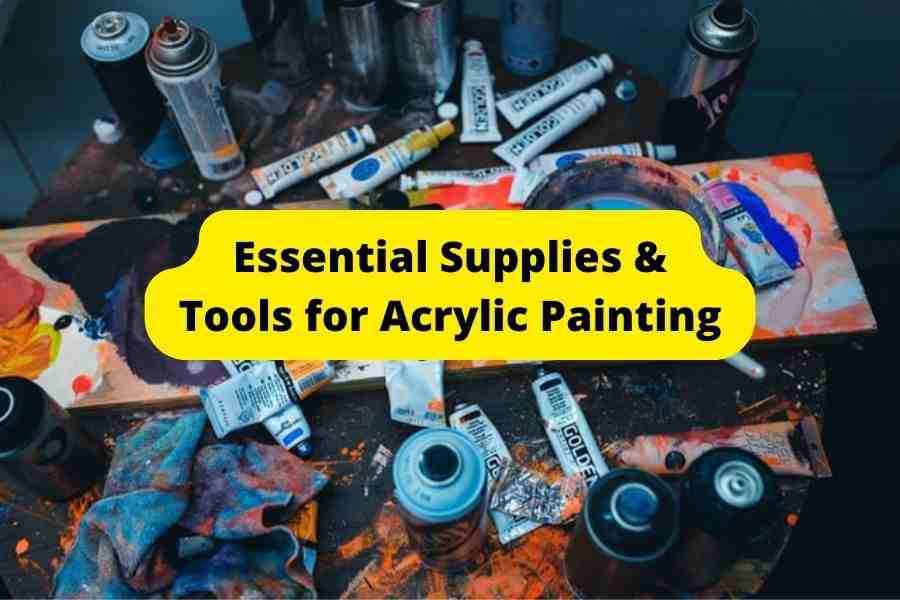
To start painting we basically need only paint, brushes, and a surface (canvas, paper, wood, or something else).
Learning and experimenting we will discover that there are so many useful tools for acrylic painting that make creative process easier and more fun, that open more techniques and effects for us.
Essential supplies for acrylic painting for beginners:
- Acrylic paint
- Flat and round brush or a brush set.
- Primed canvas or canvas pad (or even paper). Basically, any painting surface!
- * For unprimed surfaces you will need gesso.
More tools for acrylic painting:
- Palette knives
- Color Palette
- Extra brush shapes and painting tools
- Paint shapers
- Easel
- Towels / Rags
- Cups / Jars
- Tape and trash bags
- Spray bottle
- Apron
- Hairdryer
- Pencils and Charcoals
- Storage tools
- Cleaning tools
- *Airbrush – if you are painting miniatures or prefer spraying the paint.
- Floetrol or a pouring medium for acrylic pouring.
- Varnish or a protective finish.
- *Isolation coat sometimes needed in between painting and varnish
To support your painting hobby:
- 51 Simple Acrylic Painting Tips for Beginners & Pros
- A whooooole list of amazing painting ideas
- Straightforward guide on how to actually paint
Acrylic Paint & Painting Surfaces
Acrylics are fast-drying water-based paints perfectly suitable for kids, beginners and pro artists.
They are soooo versatile that you can use them on canvas, paper, plastic, wood, fabric (including denim, shoes, clothes, leather), glass or ceramics, and even rocks from the river and metal!
I have separate in-depth articles for all sorts of surfaces and paints:
- 21 Best Acrylic Paint Brands for Beginners and Professionals – a general and full guide to choosing the best paint for you.
- Great for Pouring – Hippie Crafter Acrylic Paint Review [3 Video Included] – my review of acrylic paint for pouring
- Best Paint for Rocks & Pens for Rock Painting
- 23 Best Miniature Paints for D&D, Warhammer and Wargames Models
How to work with different surfaces while painting with acrylics:
- Painting Acrylic on Wood: Best Supplies & How-to Guide
- How to Paint Fabric with Acrylic Paint Permanently: Full Guide
- Painting Leather with Acrylics: How to Paint and Seal Leather
- Can You Use Acrylic Paint on Glass? 9 Best Sticky Acrylic Paints for Glass!
Palette knives
A palette knife is one of my favorite tools for acrylic painting. Cheap, durable (you basically won’t be needing to replace it), and fun to use! It can be used for mixing or applying paint.
A palette knife has a handle and a blade. Palette knives come in various blade shapes:
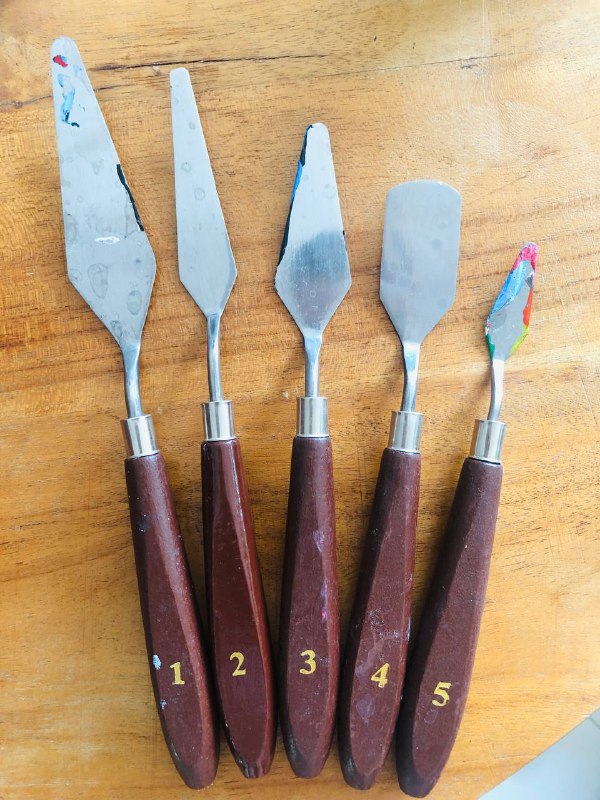
If you need a palette knife just to mix colors, you need only one. If you like to experiment with thicker applications, patches, shapes, and techniques, you can simply buy one cheap set to try, and if you really like it, upgrade it to something more durable and expensive.
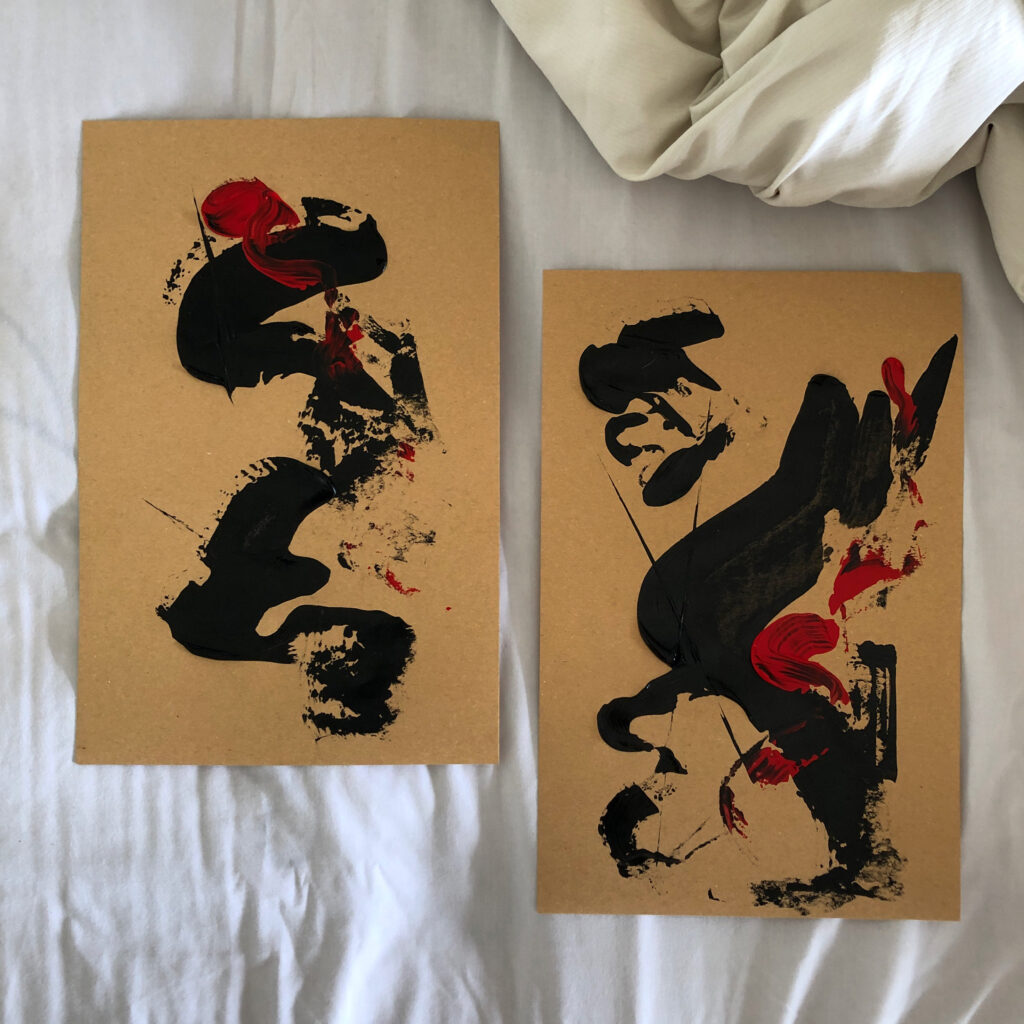
These paintings were created exclusively with a palette knife:
Sometimes we decide to reuse the canvas and scrap the painting because we don’t like it anymore or we know exactly how to make it better. Another sad story when we scrap paintings is when it is completely cracked.
You can scrap a painting with palette knife, here is a step-by-step guide. It takes time, but it is quite easy.
Palettes
Palette is a must-have surface to squeeze, mix and use paint. There are 2 general types of palettes: traditional and stay-wet palette.
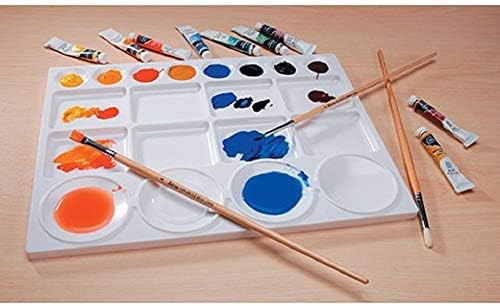
The traditional one is the most common palette that you’ve seen at the art store. It can be disposable pads, plastic, wooden, ceramic, or glass.
A stay-wet palette was created to help artists work longer with acrylics. Acrylic paint is fast-drying and to make it dry slower, you can buy a stay-wet palette or make one at home.
In fact, even with a standard palette, you can slow down the drying process, just spraying palette or paint when it starts drying.
Personally, I don’t like palettes with wells, they are usually small and inconvenient for paint mixing. I prefer a flat large surface as a palette.
Masterson Sta-Wet palette is the most popular stay-wet palette. It is a bit expensive (about $22) and, honestly, you can easily make a stay-wet palette at home way cheaper.
My pick would be a simple flat large plastic palette for like $7 or just a piece of tile.
Extra brush types and painting tools
Related posts:
The Best Brush for Acrylic Paint on Canvas in 2021
13 Best Brushes for Miniature Painting [Brushes under $20 included]
15 Tested Chalk Paint Brushes: Best Paint Brush for Chalk Paint & Alternatives
When we just start learning acrylic painting, round and flat-shaped brushes can be enough. Soon, we want to try something new, our skills are getting better and we need a separate brush for detailed work, an angular brush.
But I also want to encourage you to use different types of brushes, sponge brushes, handmade brushes, etc.
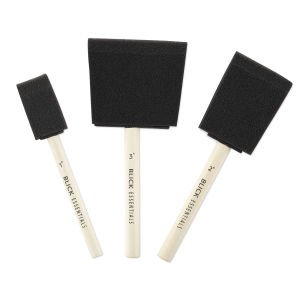
Foam and sponge brushes for painting are ideal for staining, washing, and large or hard-to-reach areas. They create a smooth and even finish, but also they are great to create some abstract art – dip a sponge brush in thinned paint and then drip it on the canvas, and you will have unique shapes and effects.
They are super cheap – these 4 foam brushes cost under $4.
By the way, some artists use foam brushes for varnishing. Extremely cheap option with no brush strokes!
Liquitex has an interesting Freestyle Large scale set that includes 5 brushes: 1” Universal Angle, 1” Universal Flat, 1” Paddle, 2” Paddle, and Splatter Round. This set is however pricey for a beginner.
This is something for those who are already in love with experimenting and creative freedom! I would like to say about Splatter – it is a very rare brush in sets – great for creating unique splatter effects and different marks.

Scrapping tools
A Palette knife can be also a scrapping tool or even a piece of cardboard as scraping tool, but it is not firm enough, it soaks paint and it will not last long 🙂
Princeton Catalyst Contours and Wedges – THIS IS SOMETHING AMAZING! I feel like a child painting abstract, but these tools just make art so much fun. Wedges are made of flexible, FDA-approved silicone, while Contours are made of solid nylon. All cool textured paintings we see on videos sometimes are made with these tools!
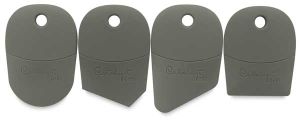
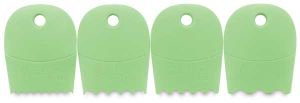
Contours and wedges help you create even surfaces, edges, unique textures. I recommend everyone to try this with paint, but also, if you are a creative soul, this tool works perfectly with clay too (I use it for both painting and pottery).
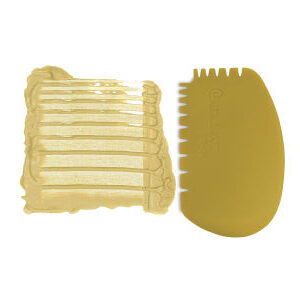
Not sure how to use scraping in painting? Check this video:
If you feel one day more Japanese style of adding calligraphy to your work and smooth curves, you should definitely pick some quill brushes.
This will take you some time and skills but also will enrich your painting creativity and give you some inspiration.
Artists also use toothpicks and Q-tips for creating details and interesting effects. You are free to experiment!
Color shapers
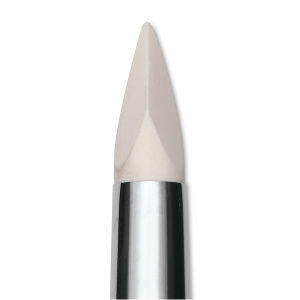
Color shapers are revolutionary and innovative tools for painting. You don’t need a brush, you squeeze some paint on the canvas and shape it with a color shaper.
Color shapers have various shapes: Taper Point, Cup Round, Cup Chisel, Flat Chisel, and Angle Chisel to help you create lines, carving, and texture. They are useful for blending and great for creating edges.
As paintbrushes, shapers come in different sizes and also hardness (soft or firm).
Easel
Artists of all levels work with easels. It can be particularly important for beginners to start painting with an easel and not laying your canvas or paper on the table because it changes proportions, perspective and you will inevitably move paper, place it at angles that will affect the results.
Easels come in a wide range of sizes and styles for the studio and for outdoor (or Plein air) work.
They are made of wood or metal, with specific features that cater to the type of media being used.
Common Easel styles:
- A-frame and lyre easels are for upright work
- Convertible and hybrid easels can be adjusted to any position in between for oils, acrylics, and other media.
- Studio easels often have wheels so they can be moved to catch the changing light, or stored out of the way when not in use. Some easels are designed to accommodate artists both in standing and sitting positions.
- H-frame easels have substantial rectangular bases for stability
- Plein air, French style, and tripod field easels have lighter weight and are portable.
- Sketchbox easels are designed for tabletop or field use and are portable.
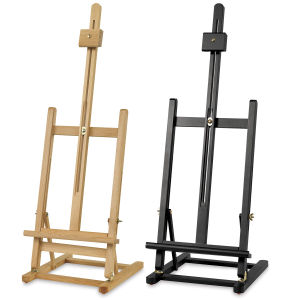
- Tabletop easels are ideal for sitting artists working on smaller canvases, or for displaying small artworks.
- Display easels are used to hold artwork at art shows and in studios or public zones.
Blick Studio Convertible Studio Easel can be a great start for a beginner, but it can be pricey (±$110). If you just want to try some small paintings first, you can buy a tabletop easel and then upgrade to a studio one.
Blick Studio Tabletop Easel can be adjusted for canvases up to 22″ high, is easy to assemble, and is quite affordable – around $36 for a wooden easel isn’t bad at all!
Alternatively, you can shop for an easel box that you can use traveling or to store a few painting supplies. This one is a great choice for under $30.
Towel
Towels to clean and dry brushes between strokes (this will make sure your colors are not muddied on your brush).
I just use an old one, a fabric one. But you can definitely use paper towels.
You may also need paper towels for the DIY stay-wet palette.
Cups and Jars
Plastic cups will be essential for acrylic pouring. You will need a lot of cups to mix paint with a pouring medium. Small or medium cups will be enough for a beginner and small / medium surfaces. Try to reuse or recycle them to save the planet.
You will also need big cups, jars, or containers for holding water or to mix paint with mediums.
I am a big fan of pottery and I suggest you make a jar for brushes yourself during a pottery workshop 🙂
Tape and trash bags
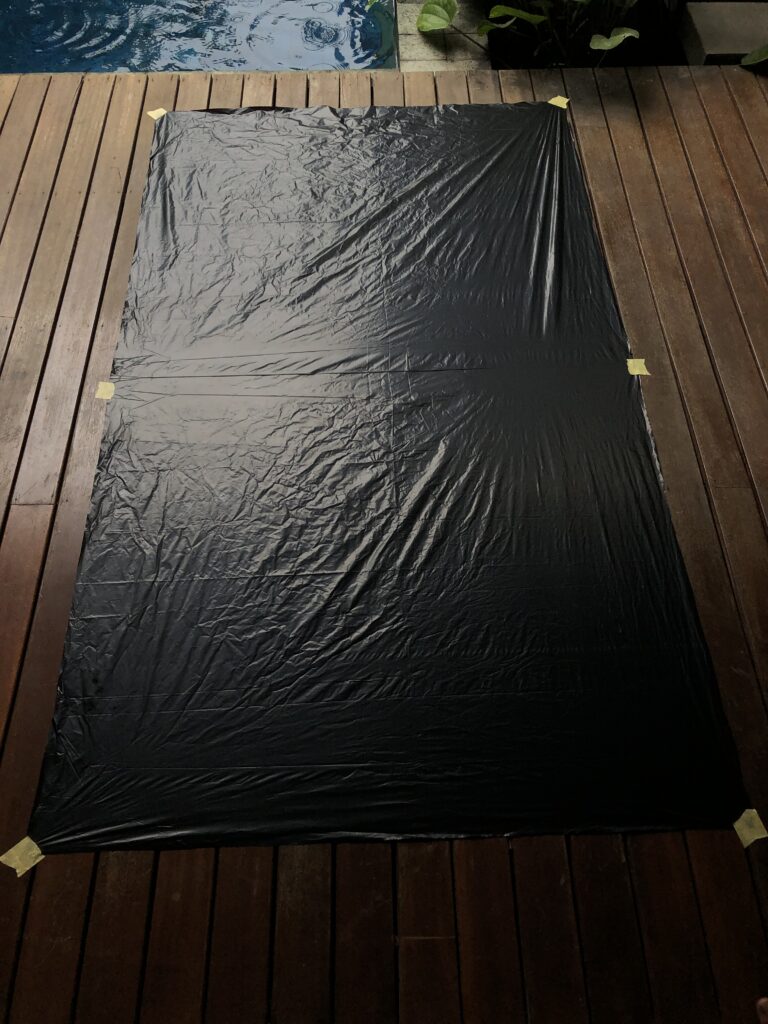
For protecting surfaces from the paint you will need some large trash bags and tape. I paint outside sometimes and I need to protect wood because wood is one of the surfaces that will be happy to stick with acrylics.
If I paint small pieces indoors, on a tiled floor, I may skip this step and just clean the floor with water immediately after painting. Tiles are non-absorbent for acrylics, so the paint will just dry on them. Still, better to cover all surfaces, because some paint can add tint to your floor.
Spray bottle
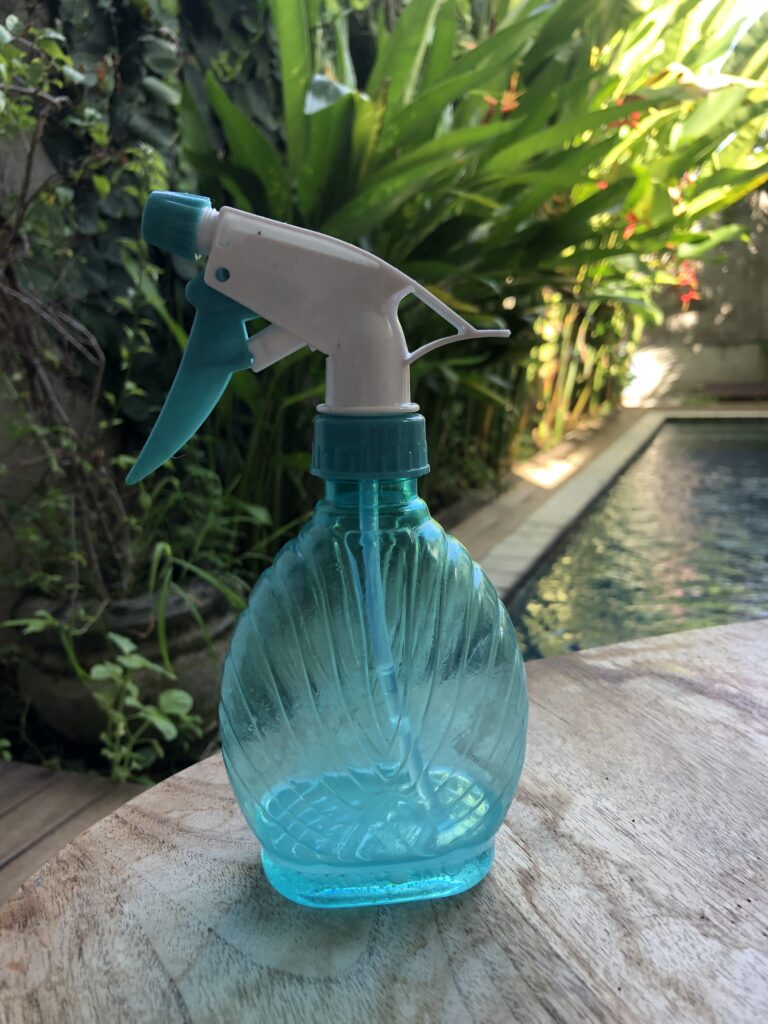
Add water and spray palette, paint, or back of the canvas to make the paint dry slower.
You can buy one, but definitely, you can just reuse an old spray bottle from some beauty product (I had some for hairs).
Apron
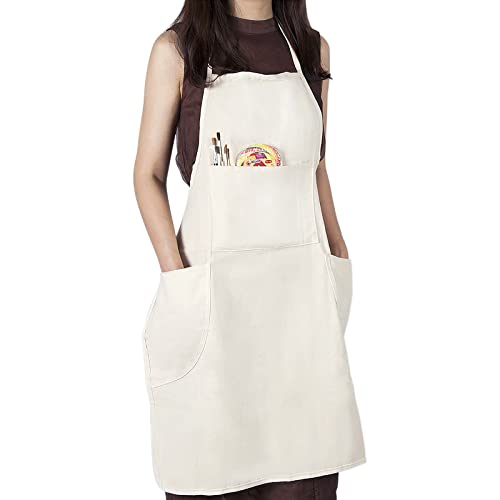
To keep yourself and your clothes clean, as acrylics are really hard to wash off, you can have a separate outfit or buy an apron, if your hobby is a real passion.
I work without the apron, but it is an individual preference, for sure. There are textile or disposable aprons. Disposable ones can be good for art classes, for children, and for one-time work.
Conda has a nice cheap apron with three big pockets!
Hairdryer
For someone very impatient here is the tip about making paint dry faster – use a hairdryer.
There are only 2 precautions: never direct a hairdryer straight on the painting and never use the maximum power.
And, in general, try to leave paint dry naturally, any shifts in dry time between layers or extreme temperatures can accidentally lead to cracks.
Pencils or Charcoal
Mastering different techniques, artists start to mix them. We mix paints, mediums, we write or draw lines with pencils overpainting areas or we even sew canvases.
But more often we use pencils or charcoal to simply make a sketch before we start painting.
Storage tools
We need to be very careful about painting tools storage:
- only store paintbrushes bristle up
- store painting in a well-aired room, 50% humidity and 65-75 F.
- storing paintings place something in between to make sure they don’t touch each other
- don’t touch the painting with your fingers too much 🙂
- store paint in the same well-aired room
- never leave brushes with dried paint on them.
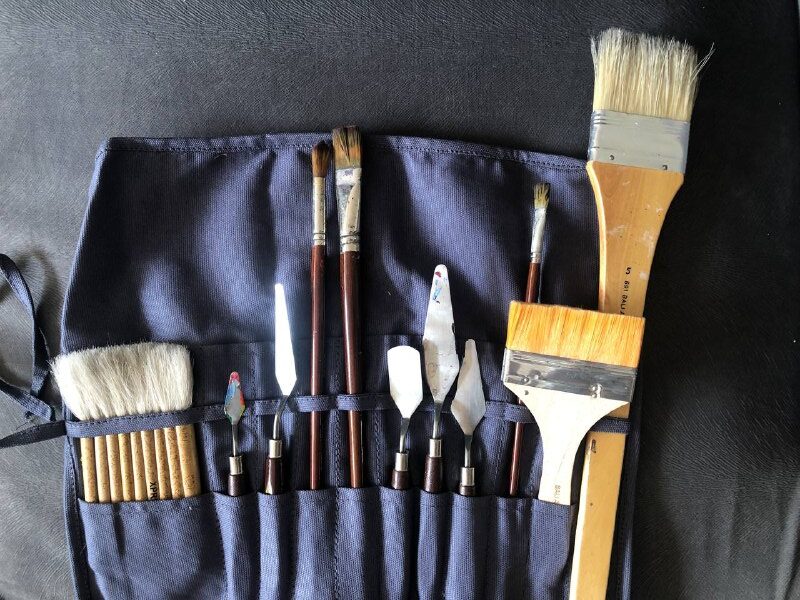
To store brushes use a jar or buy a special holder or organizer, to transport brushes I use a roll holder, like this:
To store paint you can buy special storage cases or just use big containers.
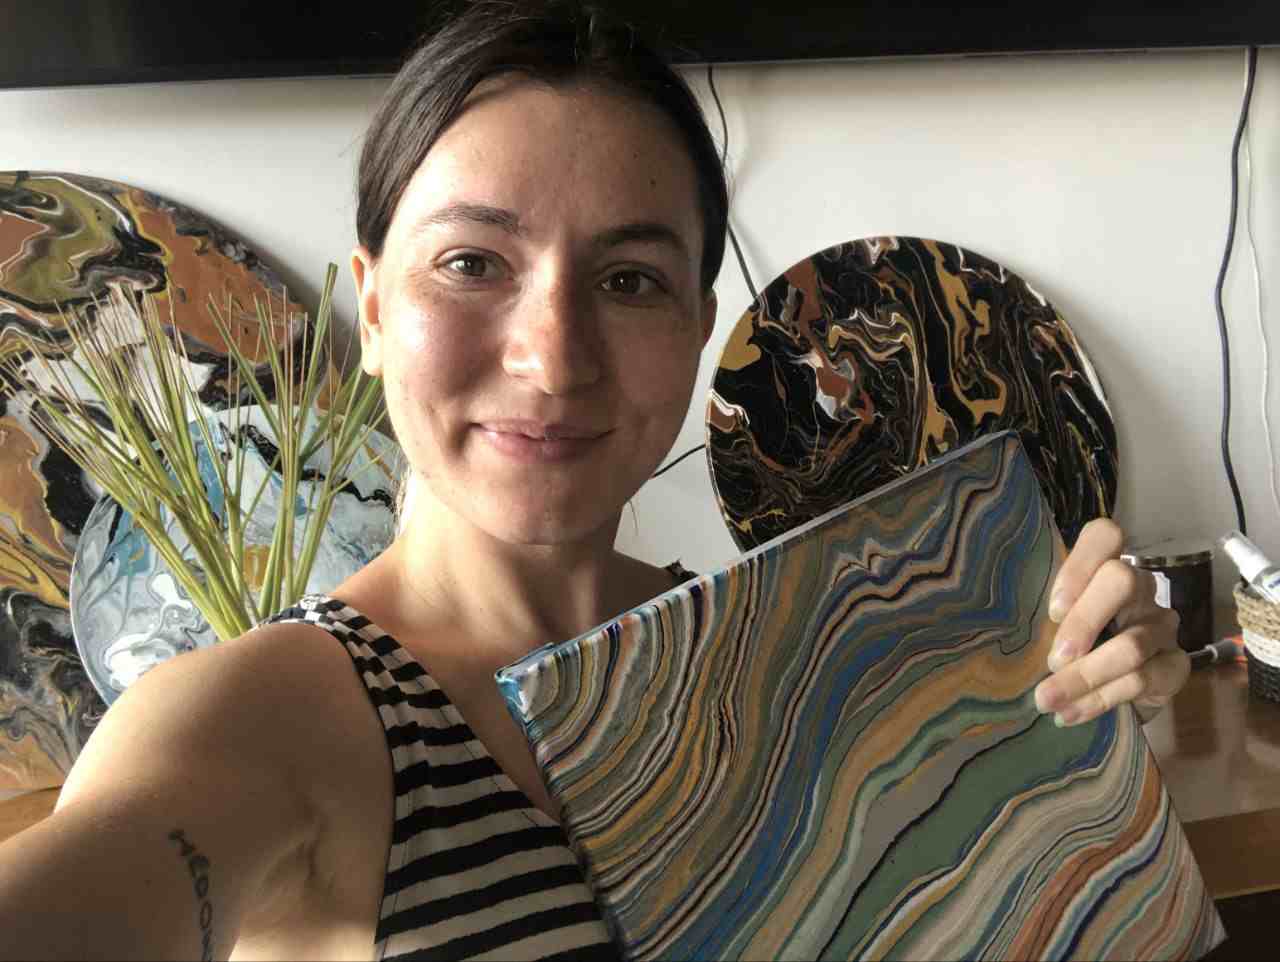
Masha Eretnova, born in 1991, is a Buenos Aires-based certified teacher, artist, and member of the Professional Artist Association with 20+ years of personal painting journey.
She started painting and drawing very early and is now an international abstract artist and educator passionate about acrylic painting, gouache, and crafts.
Her works are part of international exhibitions and contests, including ArtlyMix (Brazil), Al-Tiba 9 (Spain), Exhibizone (Canada), Italy, and many more.
Besides her artistic pursuits, Masha holds a post-grad diploma in Teaching Film Photography and 2 music school diplomas: piano and opera singing.
Last update on 2024-04-19 / Affiliate links / Images from Amazon Product Advertising API

