
Last Updated on August 3, 2026 by Masha Eretnova
Looking for a fun school bus craft idea for back-to-school season and prefer something interactive rather than just learning shapes?
Try making this moving school bus paper plate craft with your kids! All skills are practiced here: tracing, cutting, gluing, and a bit of engineering.
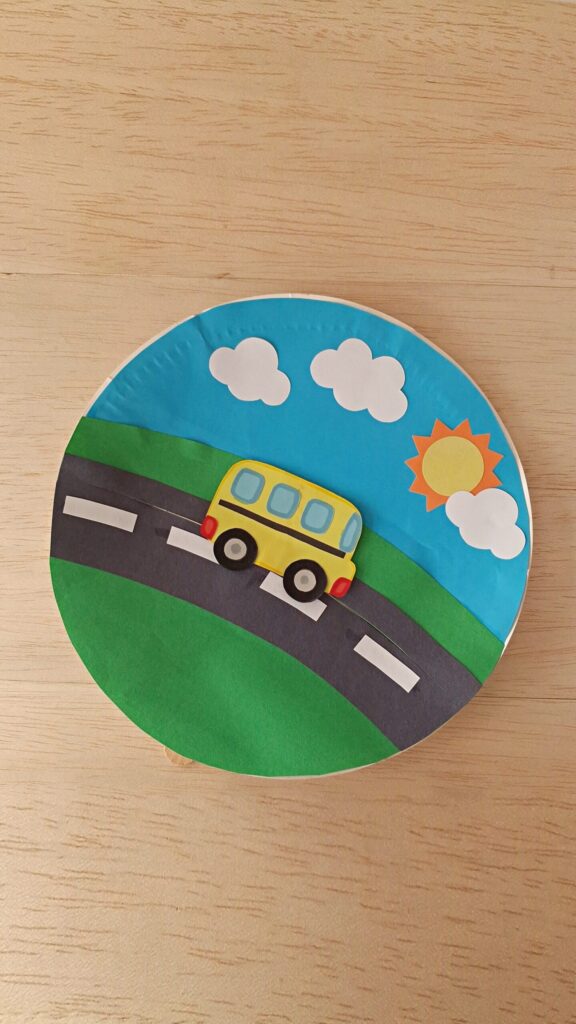
You will Need:
- Colored craft papers (yellow and orange for the sun, black and grey for details and tires, white for clouds, blue for the sky and school bus windows, green for the background, and red for bus lights)
- Paper plate (regular size, not small)
- Popsicle stick
- Pencil
- Template (download below)
- A pair of scissors
- Glue
- Markers
More ideas: 10+ School Bus Crafts For Kids
School Bus Craft Steps
Step 1:
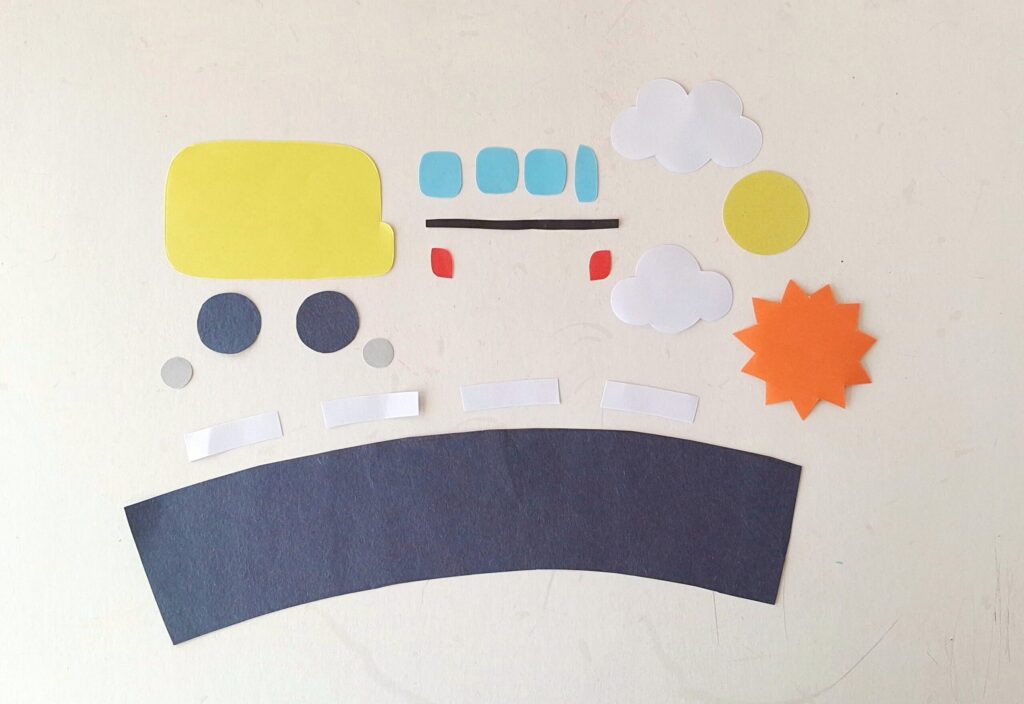
Download the template and cut out all the school bus patterns.
Prep a paper plate and different colored craft papers for the craft as well. Trace the template patterns on the colored papers (yellow, orange, black, white, blue, grey, and red) and use scissors to cut out the traced patterns.
The template includes patterns for:
- bus and all its details
- road and road lines
- clouds and sun.
Step 2:
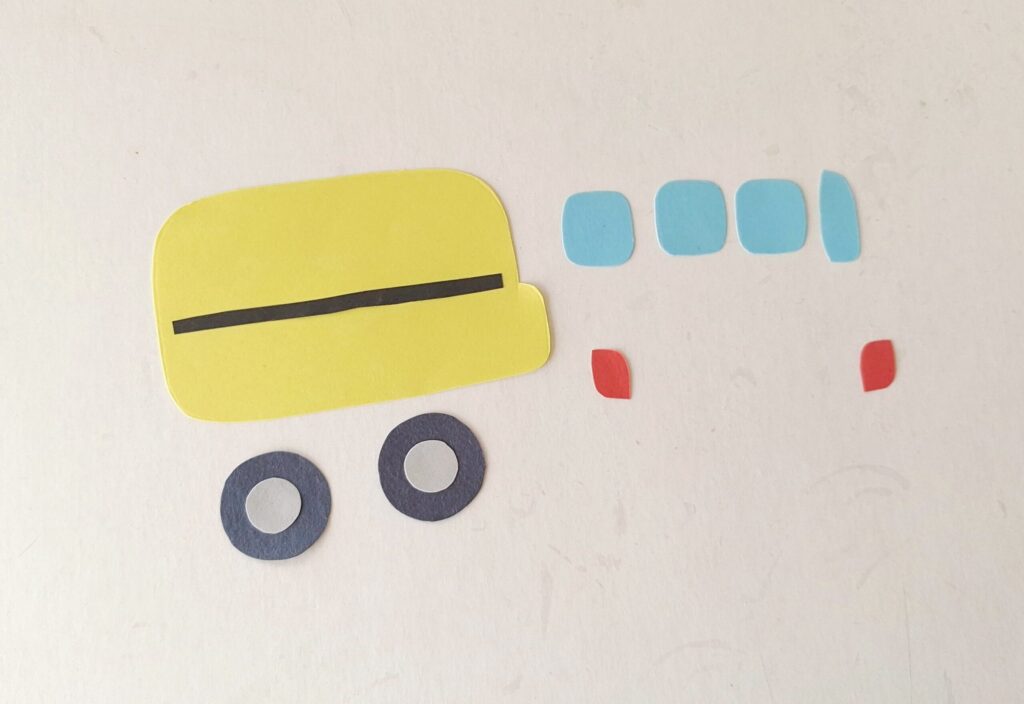
Glue the small circle cutouts to the center of the big circle cutouts to make the two wheels of the bus.
Glue the thin black strip along the middle of the paper bus base.
Step 3:
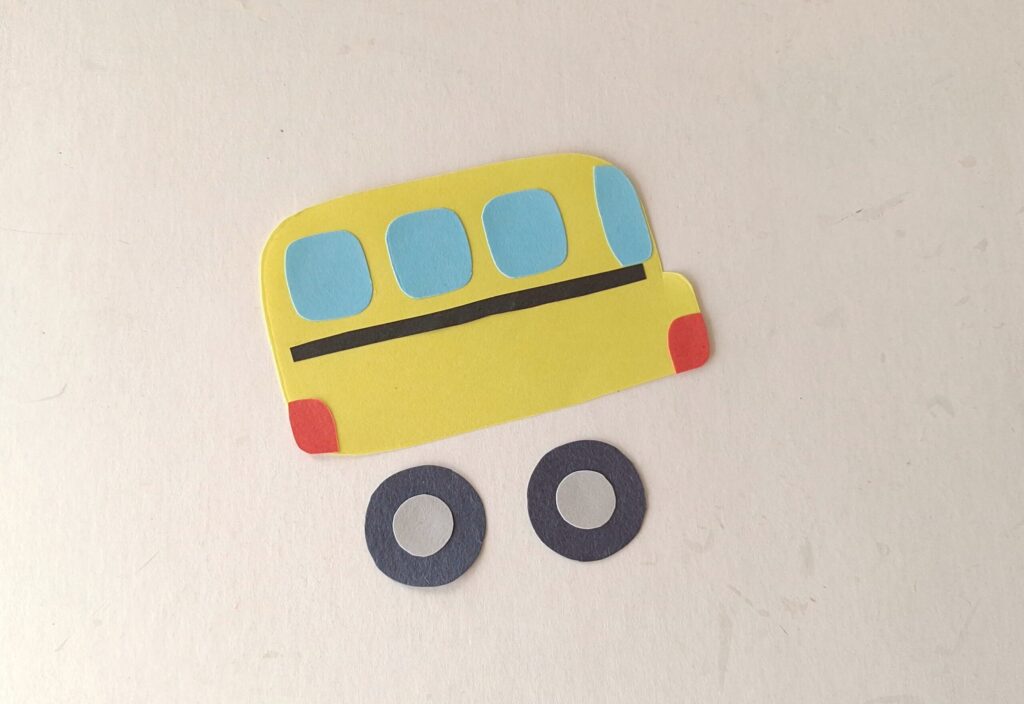
Glue the window glasses (front window is the longer one!) and the red lights to the bus base
Step 4:
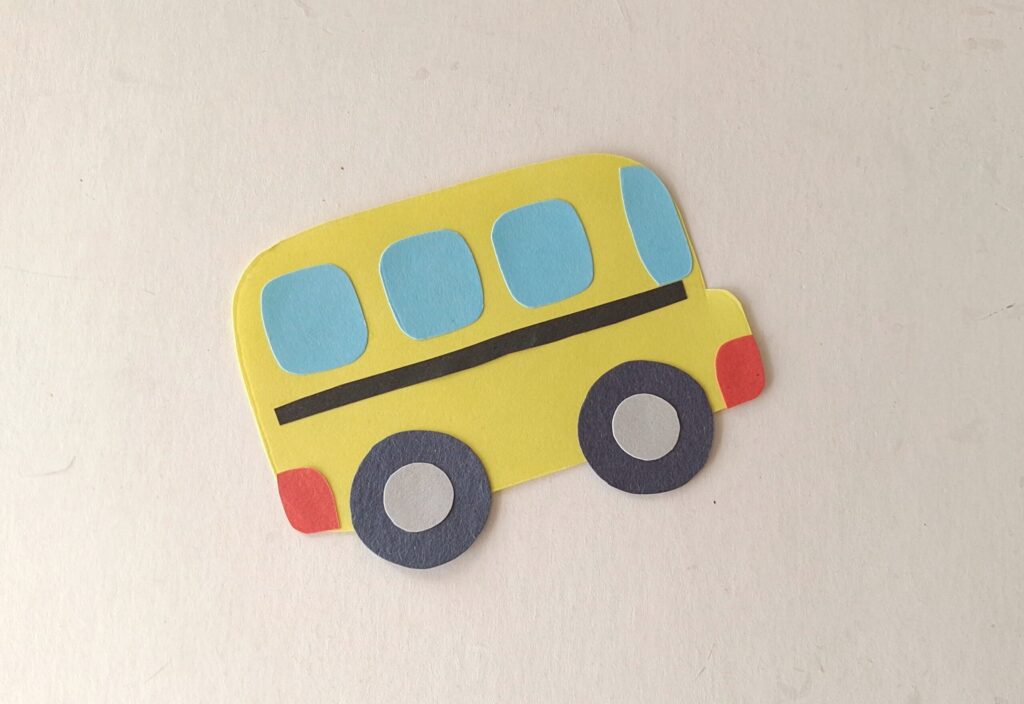
Glue the wheels to the bottom side of one side of our paper bus. The school bus is now ready.
Step 5:
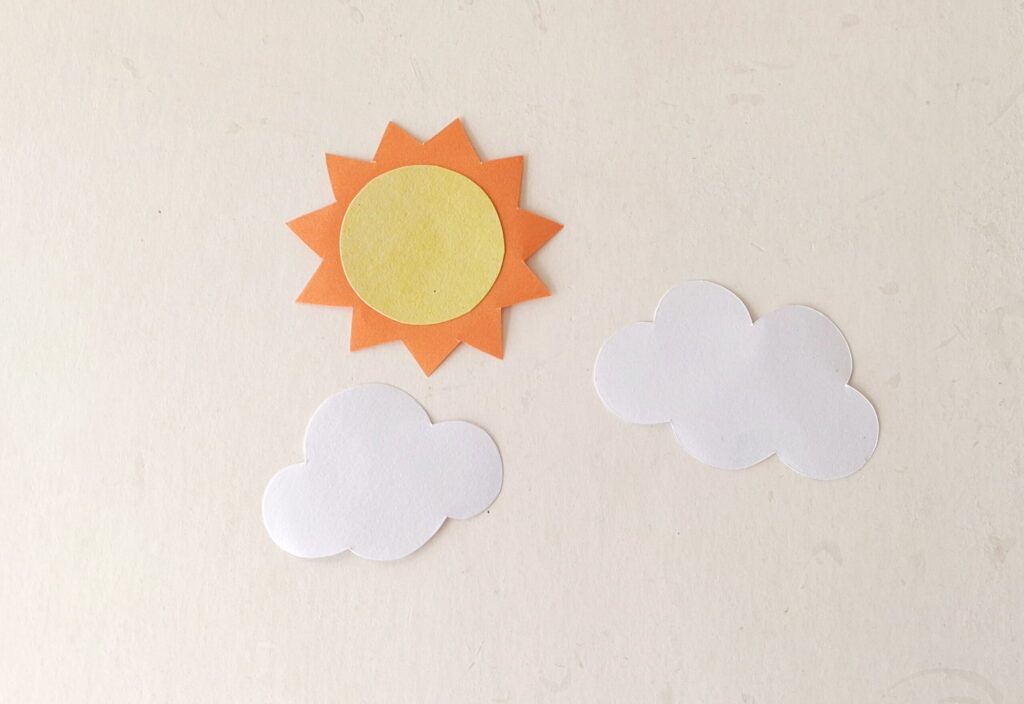
Glue the yellow circle cutout to the orange zigzag bordered cutout to make the sun. Clouds don’t need any extra work.
Step 6:
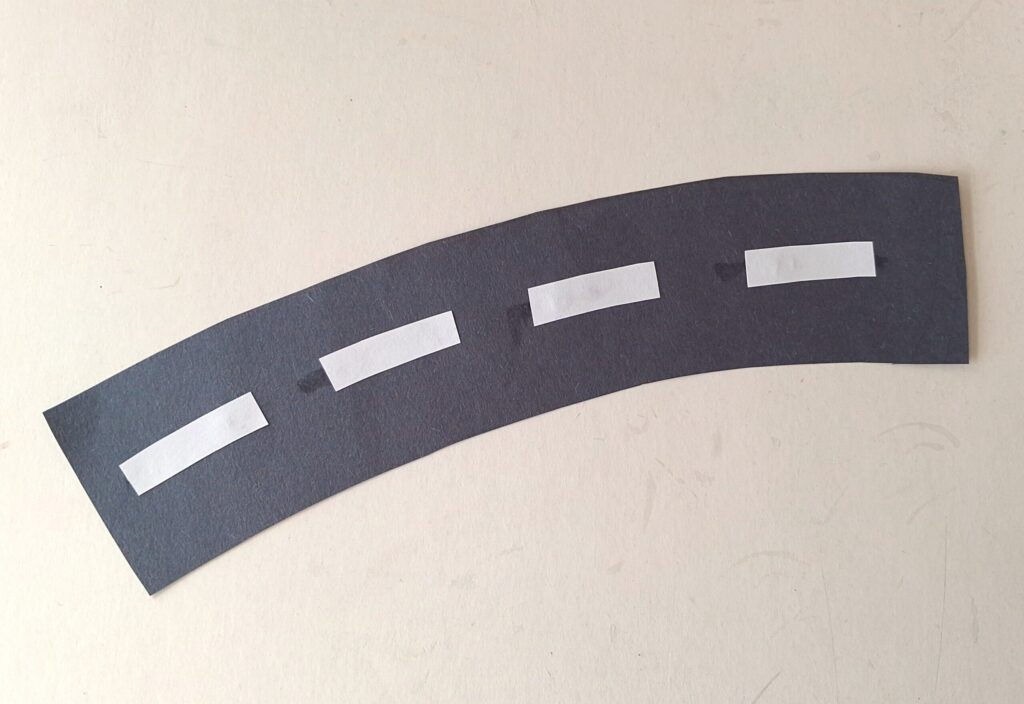
Glue the whit line cutouts along the road cutout. Aim for gluing them right in the middle of the road to make two lanes.
Step 7:
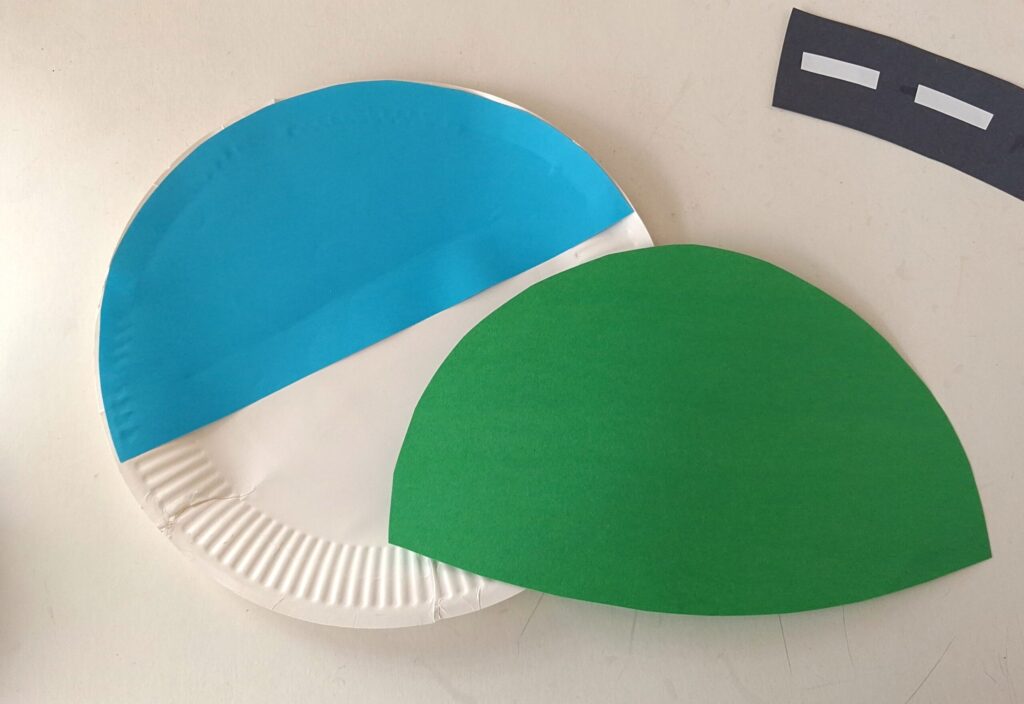
Grab a paper plate an prepare blue paper to cover top half of the plate and green paper to cover the bottom half of the plate.
Alternatively, you can use gouache or acrylic craft paint to make the paper plate half blue (the sky) and half green (grass).
Step 8:
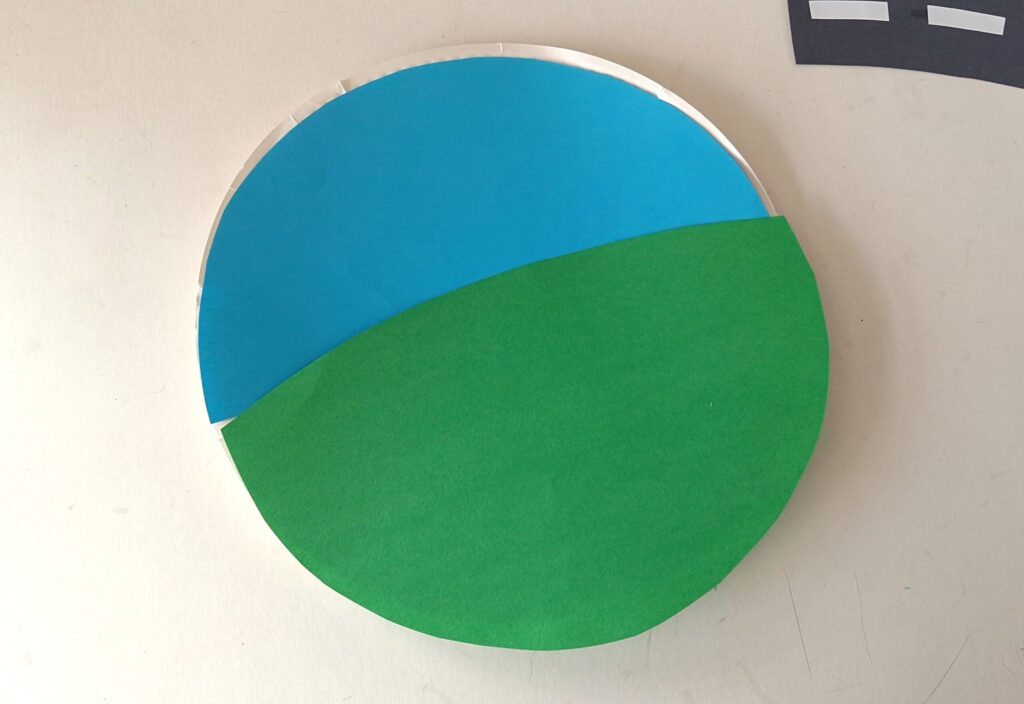
Glue the blue paper cutout to the top surface of the paper plate.
Step 9:
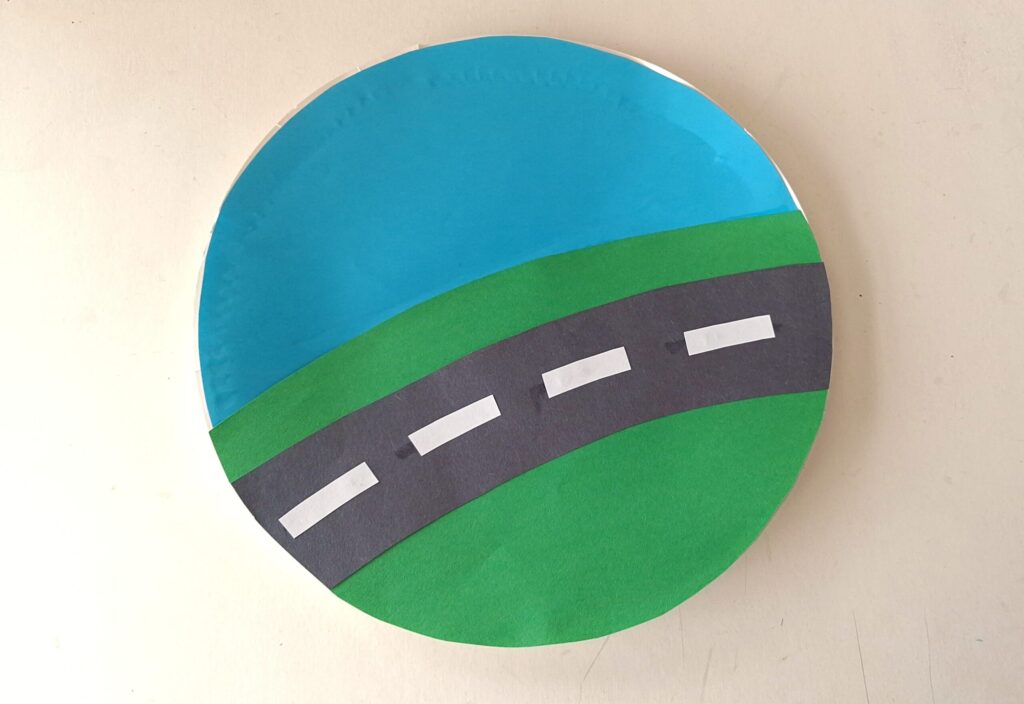
Glue the green paper to cover the rest o the paper plate. Glue the road to the green part of the paper plate but not at the very top, leave some green above the road.
Step 10:
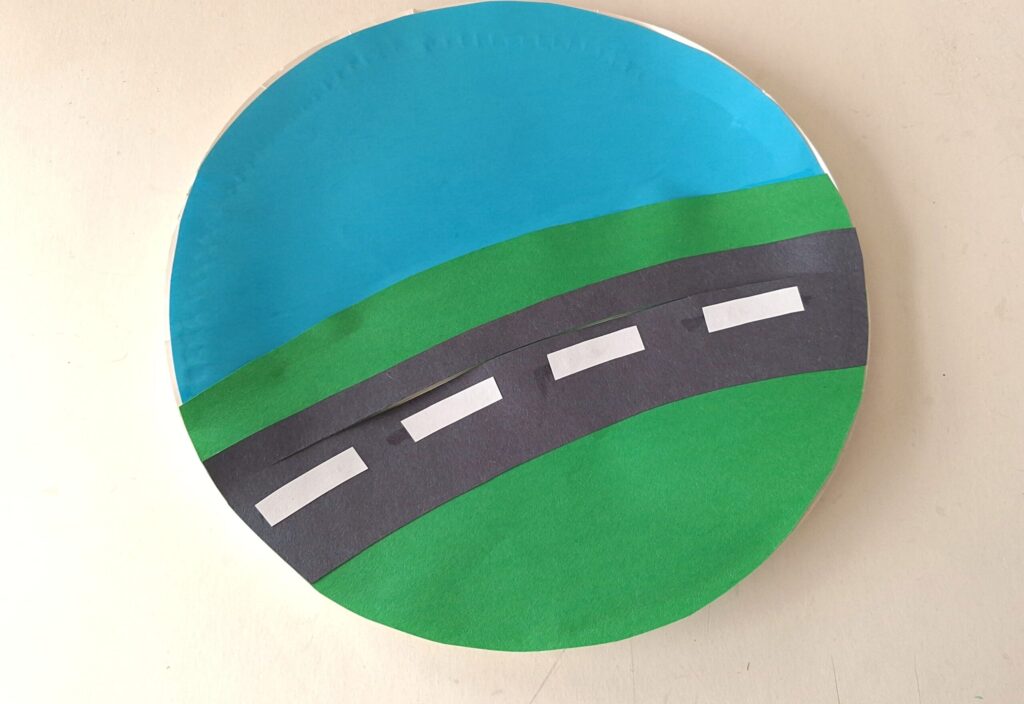
Use an utility knife to cut a slit on the paper plate, along the top side roa, just above the lanes line.
Step 11:
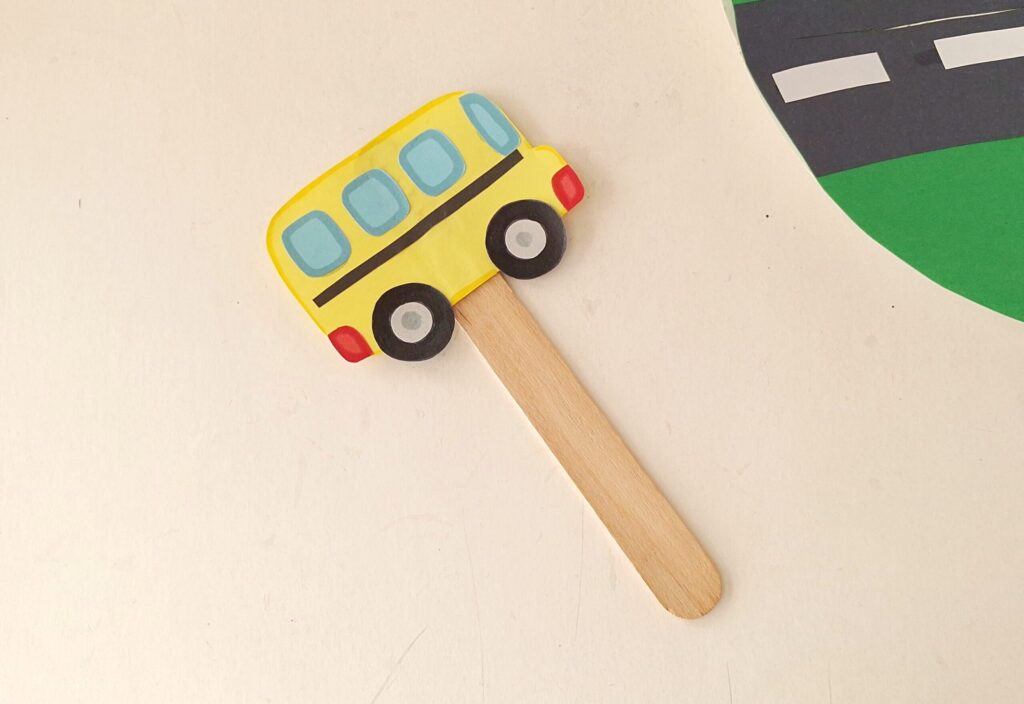
Glue the paper bus to a popsicle stick.
No need to color the stick, unless kids really want to!
Step 12:
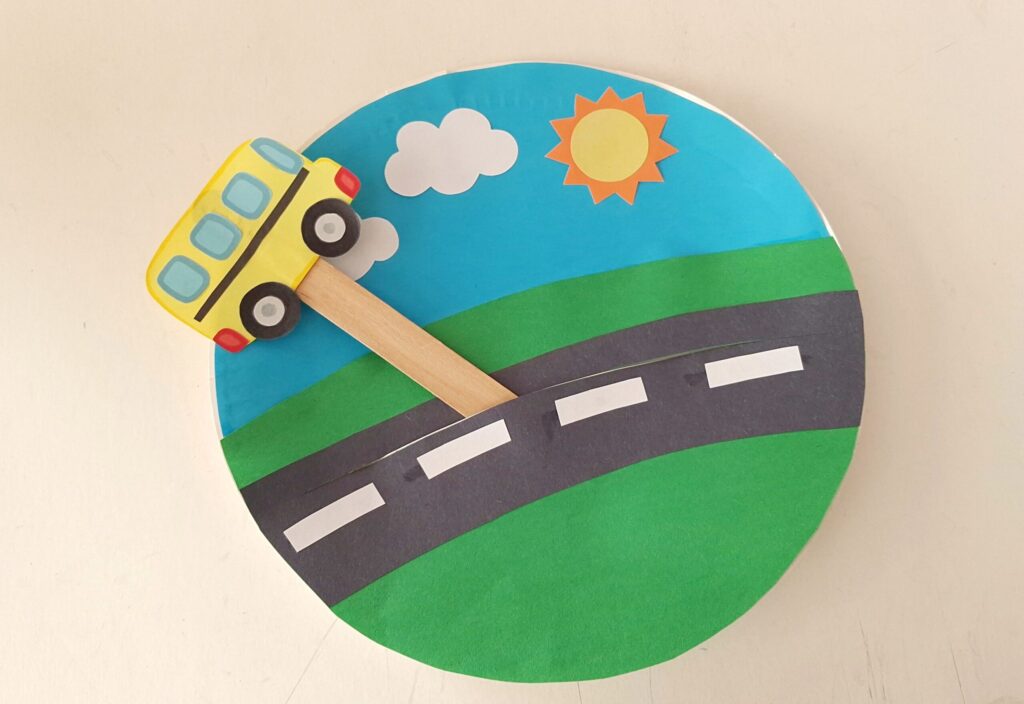
Glue sun and clouds onto the blue sky.
Insert the bottom end of the popsicle stick through the slit from the top.
Step 13:
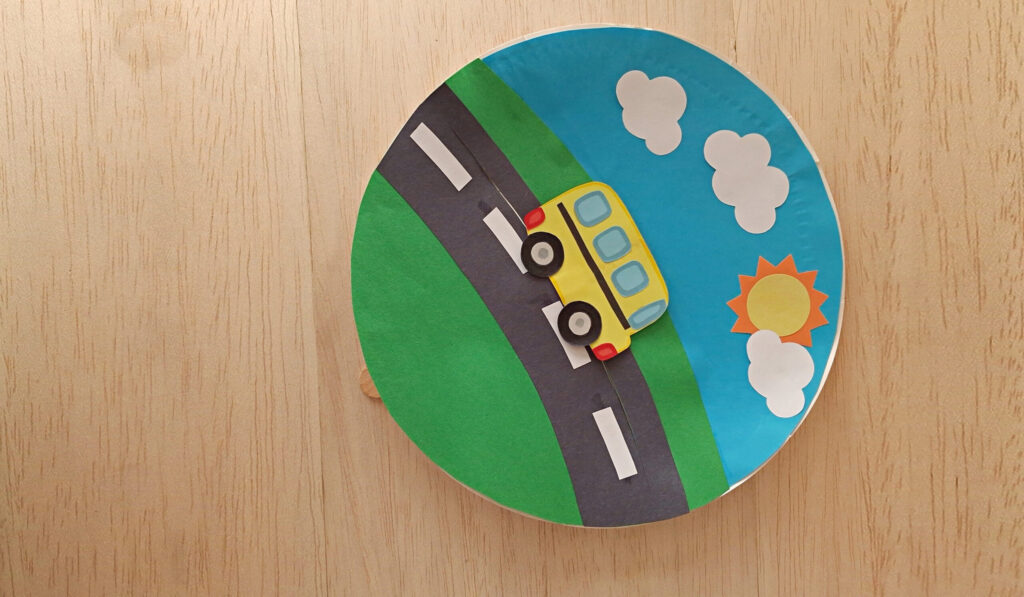
Push the stick all the way through the slit, keeping the paper bus on the road part.
You can add more details using markers: darker grey circle inside the wheels, lighter blue shade for the windows, and anything else to the scene!
Sep 14:
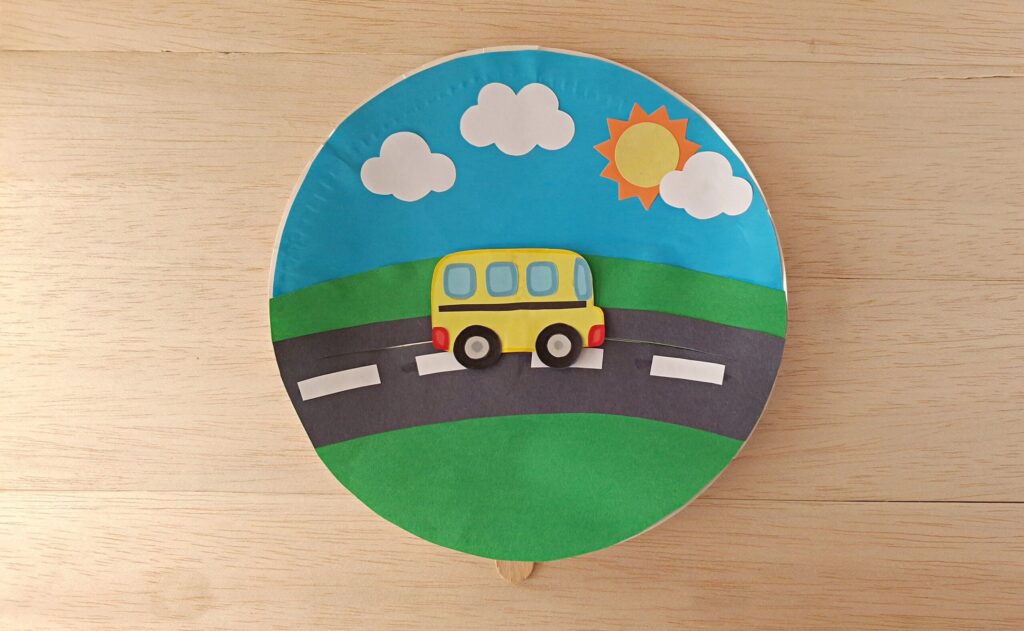
You can move the paper bus along he road by moving the popsicle stick from the backside of the paper plate for a fun play!
This is how it moves:
Download School Bus Template
If you need help with drawing school bus, grab this free template:
Have you made it? I am happy to see your back to school crafts!
Masha Eretnova, born in 1991, is a Chiang Mai-based certified teacher, artist, and blogger with 20+ years of personal painting journey.
She started painting and drawing very early and is now an international abstract artist and educator passionate about acrylic painting, gouache, and crafts.
Her works are part of international exhibitions and contests, including ArtlyMix (Brazil), Al-Tiba 9 (Spain), Exhibizone (Canada), Italy, and many more.
Besides her artistic pursuits, Masha holds a post-grad diploma in Teaching Film Photography and 2 music school diplomas: piano and opera singing.