Last Updated on March 28, 2024 by Masha Eretnova
This Easter I wanted to paint something cute and easy, but not cartoon style and I still wanted it to be a good painting practice.
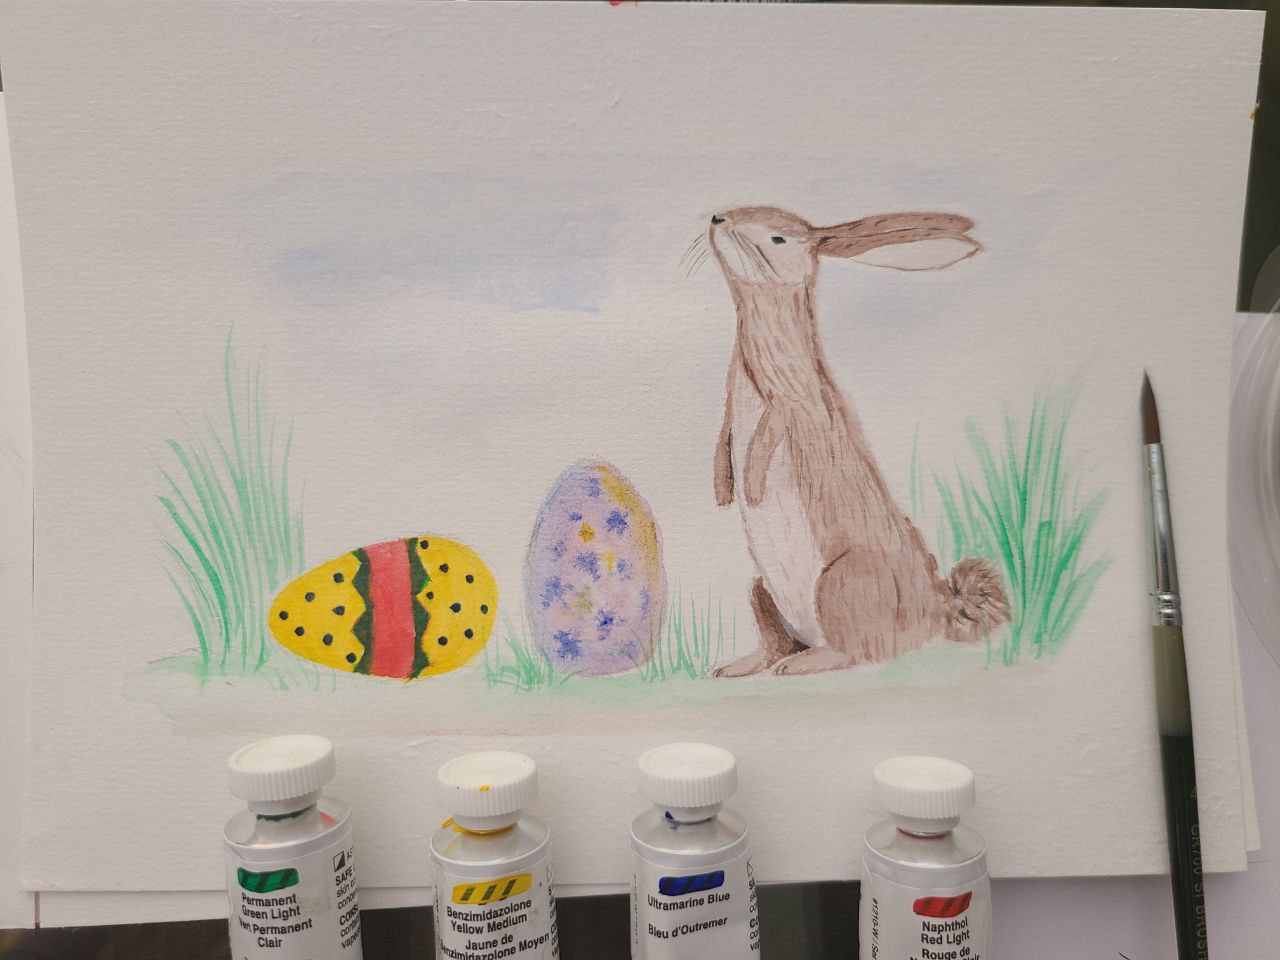
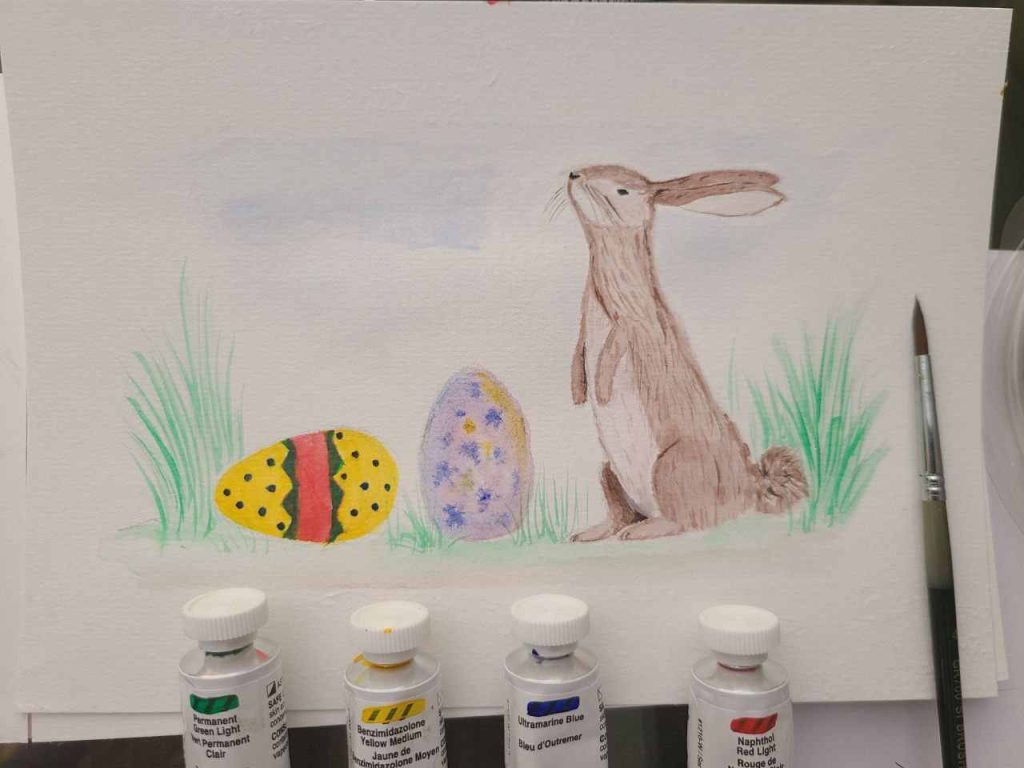
I decided to do my best at painting a better Easter Bunny and make it a simple scene, like for a postcard or small painting, so I added a couple of Easter Eggs and set them up on a little green patch.
You can follow along with this Easter Bunny Painting Tutorial with any water-based paint.
Materials
- acrylic paint/watercolor or gouache. I’m using Golden acrylics.
- round brush. I have size 4.
- paper. I use Canson paper A5 size.
- paper towel
- water
- palette (any disposable plate, plastic lid or paint palette)
Colors We Need
- Red
- Yellow
- Blue
- green – we will mix yellow and blue or you can use green paint directly
- white
- black
We will mix some colors with our basic setup: brown – mix green and red to make brown, and orange – mix yellow and red.
Time total: around 1 hr.
Tutorial
Step 1 – Sketching the eggs and the bunny. If the sketch is too dark, use a kneaded eraser to lighten it.
Step 2 – Color the eggs and let them dry.
Step 3 – Make a base color layer for the bunny – brown.
Step 4 – Add fur details, darker and lighter spots on the bunny’s belly and ears, and add nose and eyes.
Step 5 – Paint the scene around. With washes make the base layer for grass and sky. With wet well-loaded brush make grass. You can add flowers, ladybugs, clouds, ribbon, and anything else you like.
If you have any questions leave a comment!

Masha Eretnova, born in 1991, is a Chiang Mai-based certified teacher, artist, and blogger with 20+ years of personal painting journey.
She started painting and drawing very early and is now an international abstract artist and educator passionate about acrylic painting, gouache, and crafts.
Her works are part of international exhibitions and contests, including ArtlyMix (Brazil), Al-Tiba 9 (Spain), Exhibizone (Canada), Italy, and many more.
Besides her artistic pursuits, Masha holds a post-grad diploma in Teaching Film Photography and 2 music school diplomas: piano and opera singing.