Last Updated on May 29, 2026 by Masha Eretnova
Mother’s Day is just around the corner, and if you’re looking for a craft that’s as heartfelt as it is fun to make, this Folded Heart Card Craft is exactly what you need.
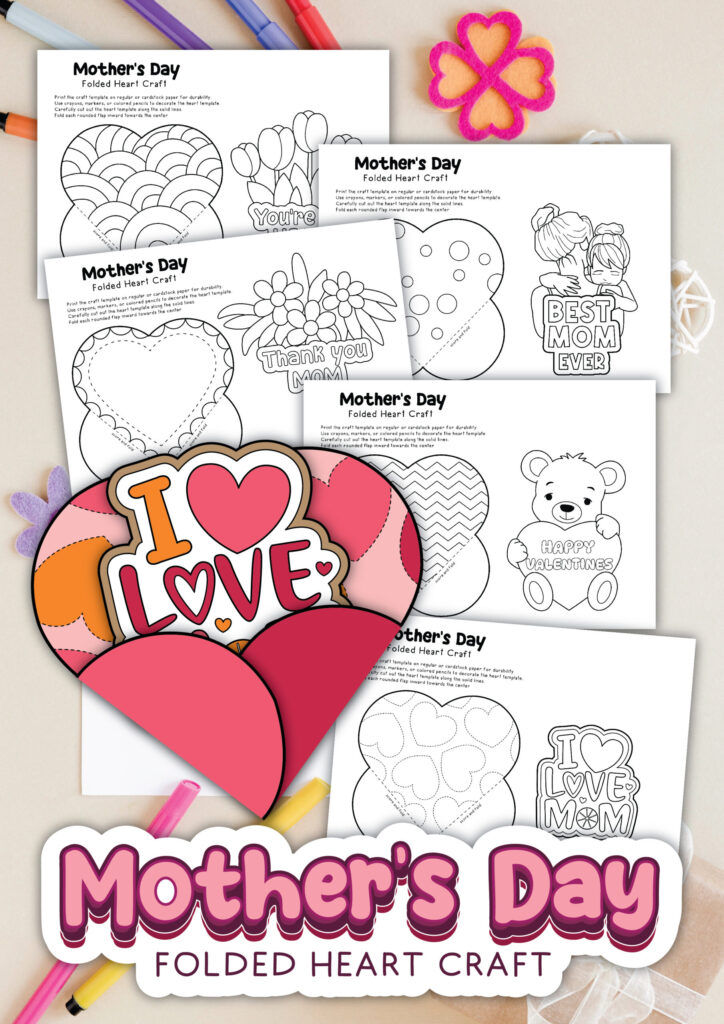
Equal parts coloring activity and greeting card, this project is a wonderful way for kids to pour their love into something they can actually hand to Mom — no store-bought card required. I have 8 different printable templates you can use!
This article contains affiliate links. It means no extra cost for you but a little commission (2-3%) for me to support my hobby and blog. Thank you!
What Is the Folded Heart Craft?
The Folded Heart Craft is a printable paper activity built around a clever, origami-inspired design.
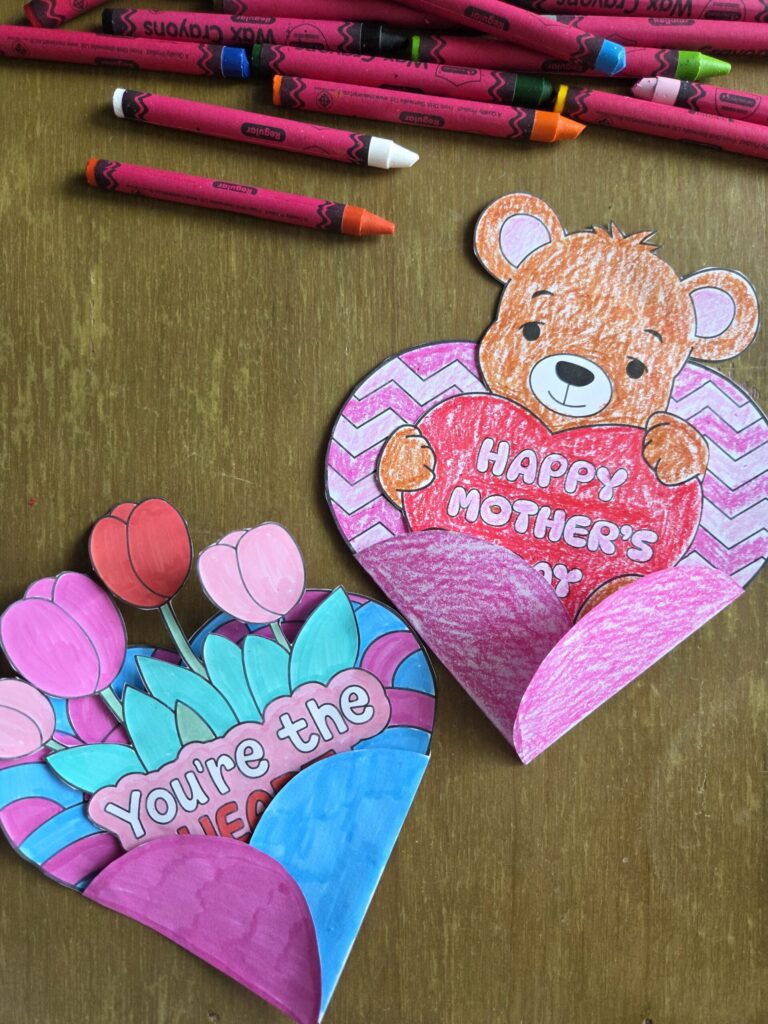
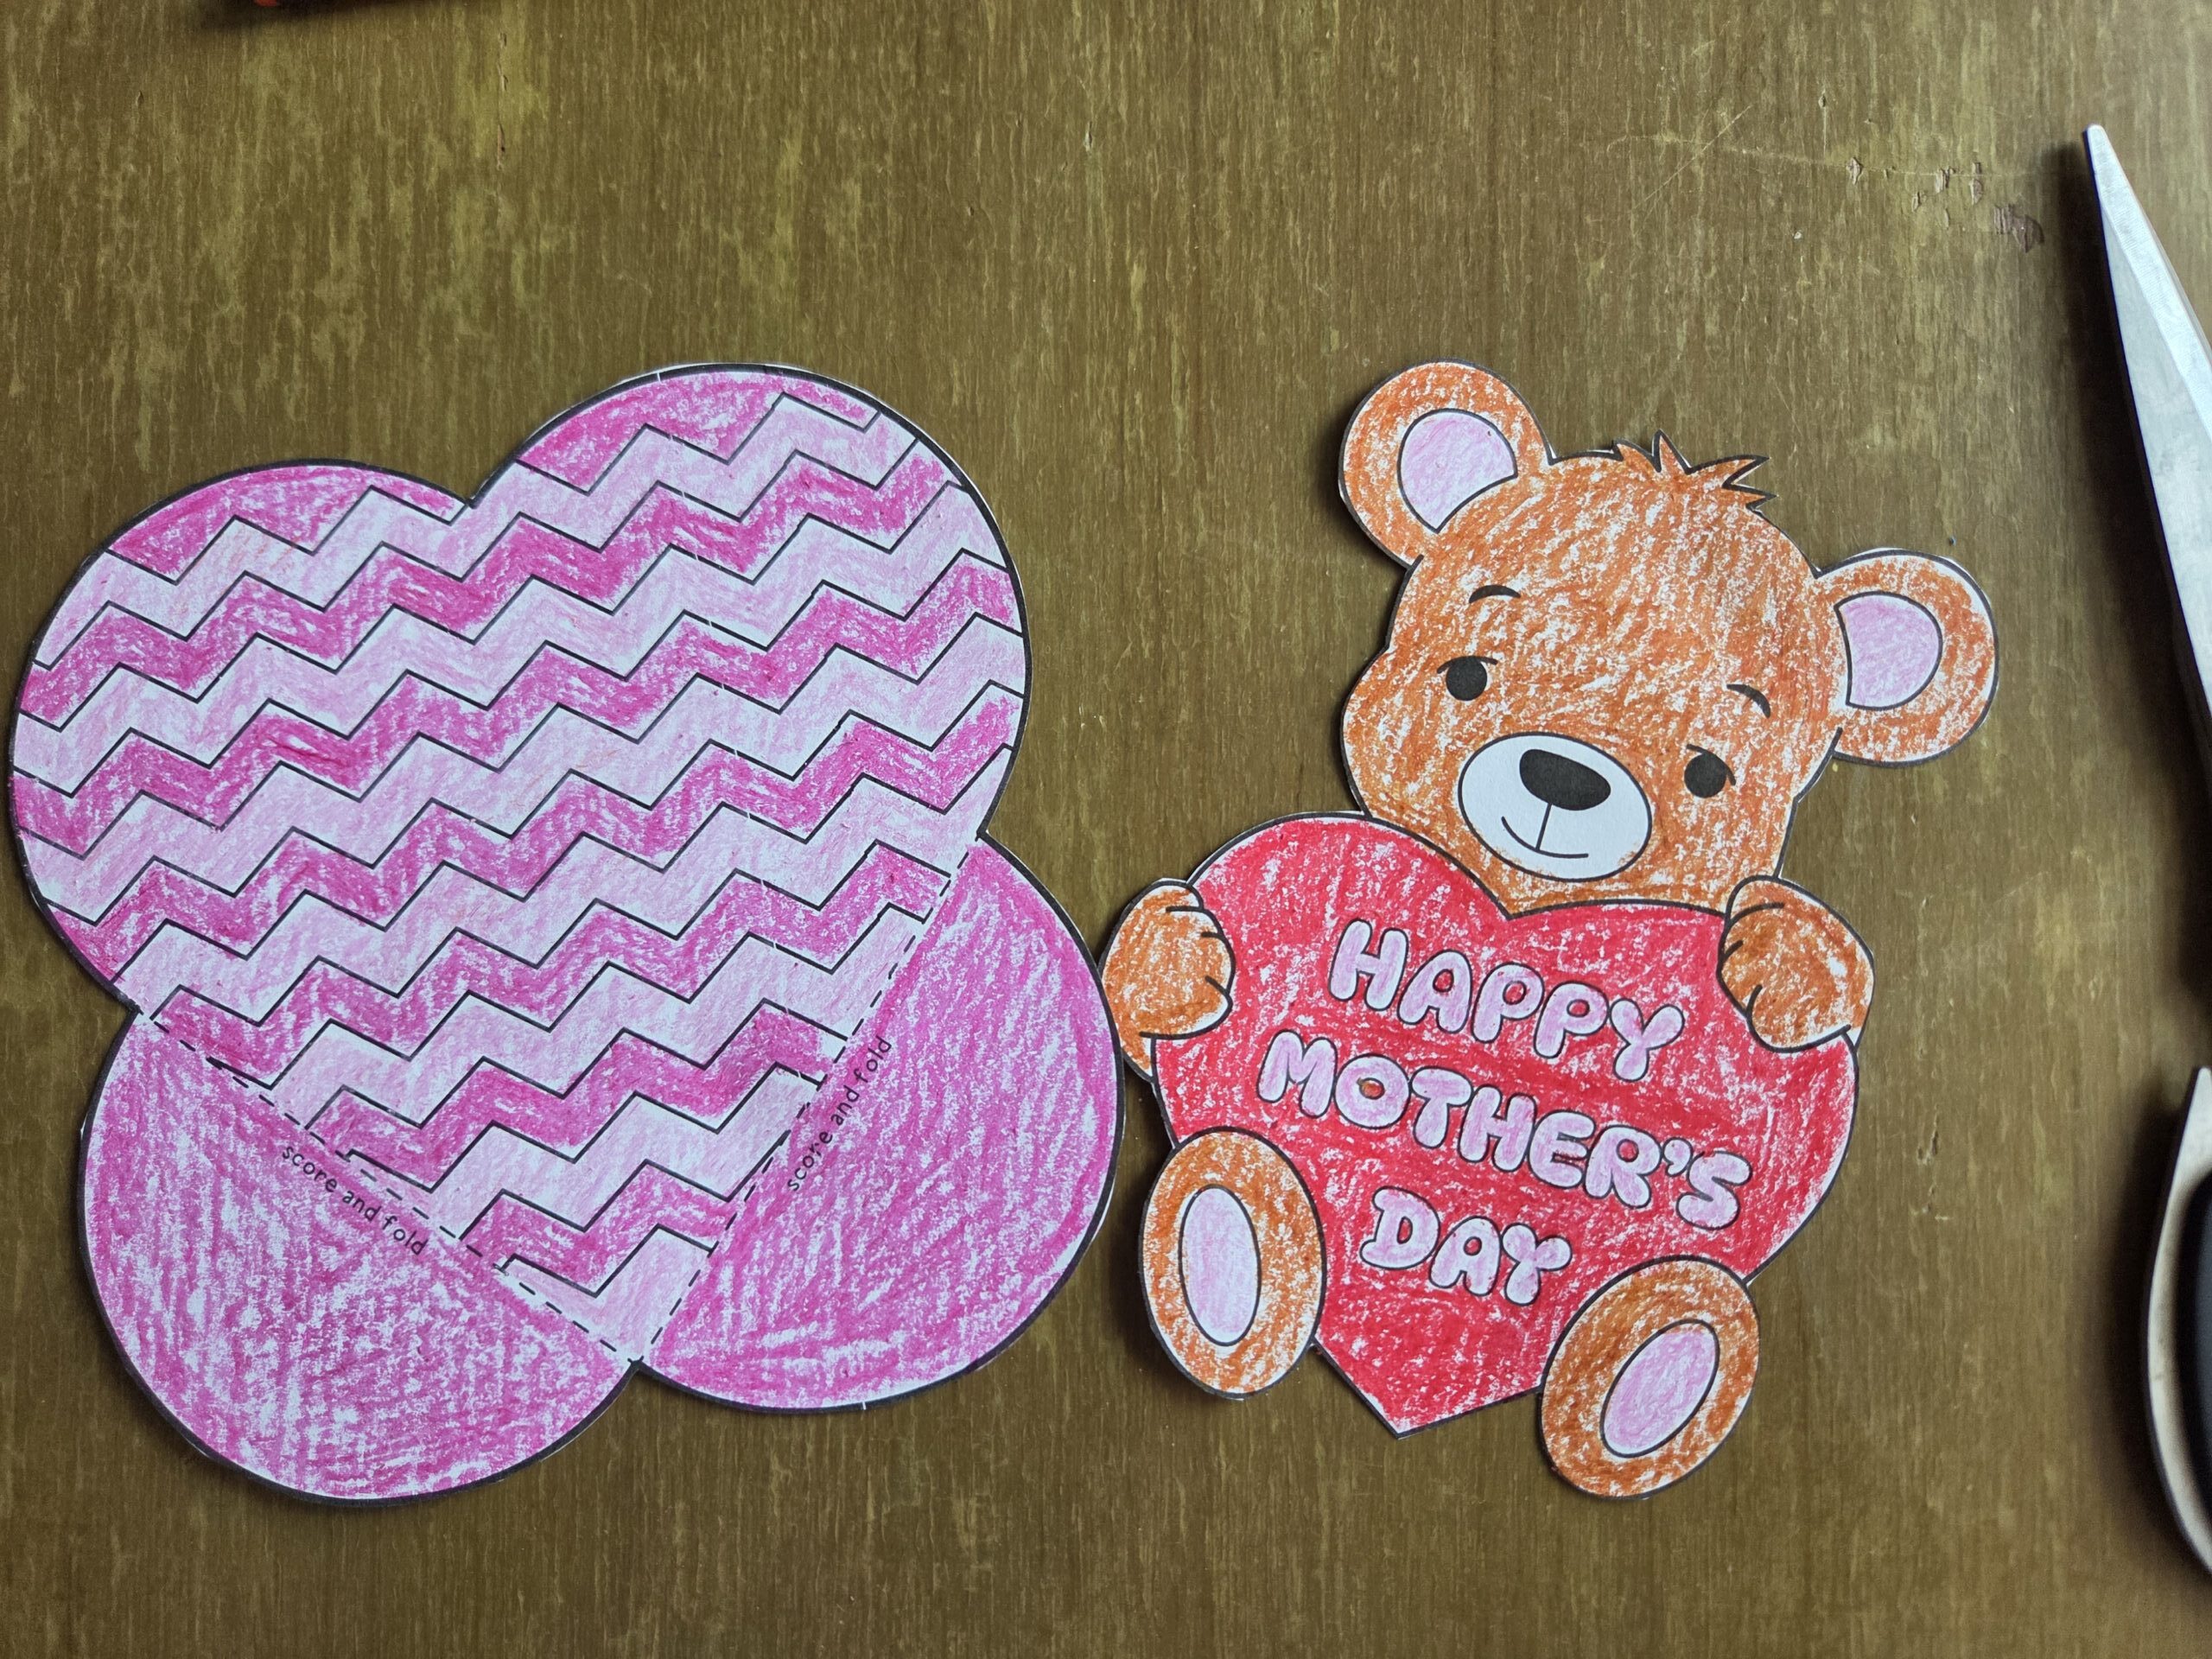
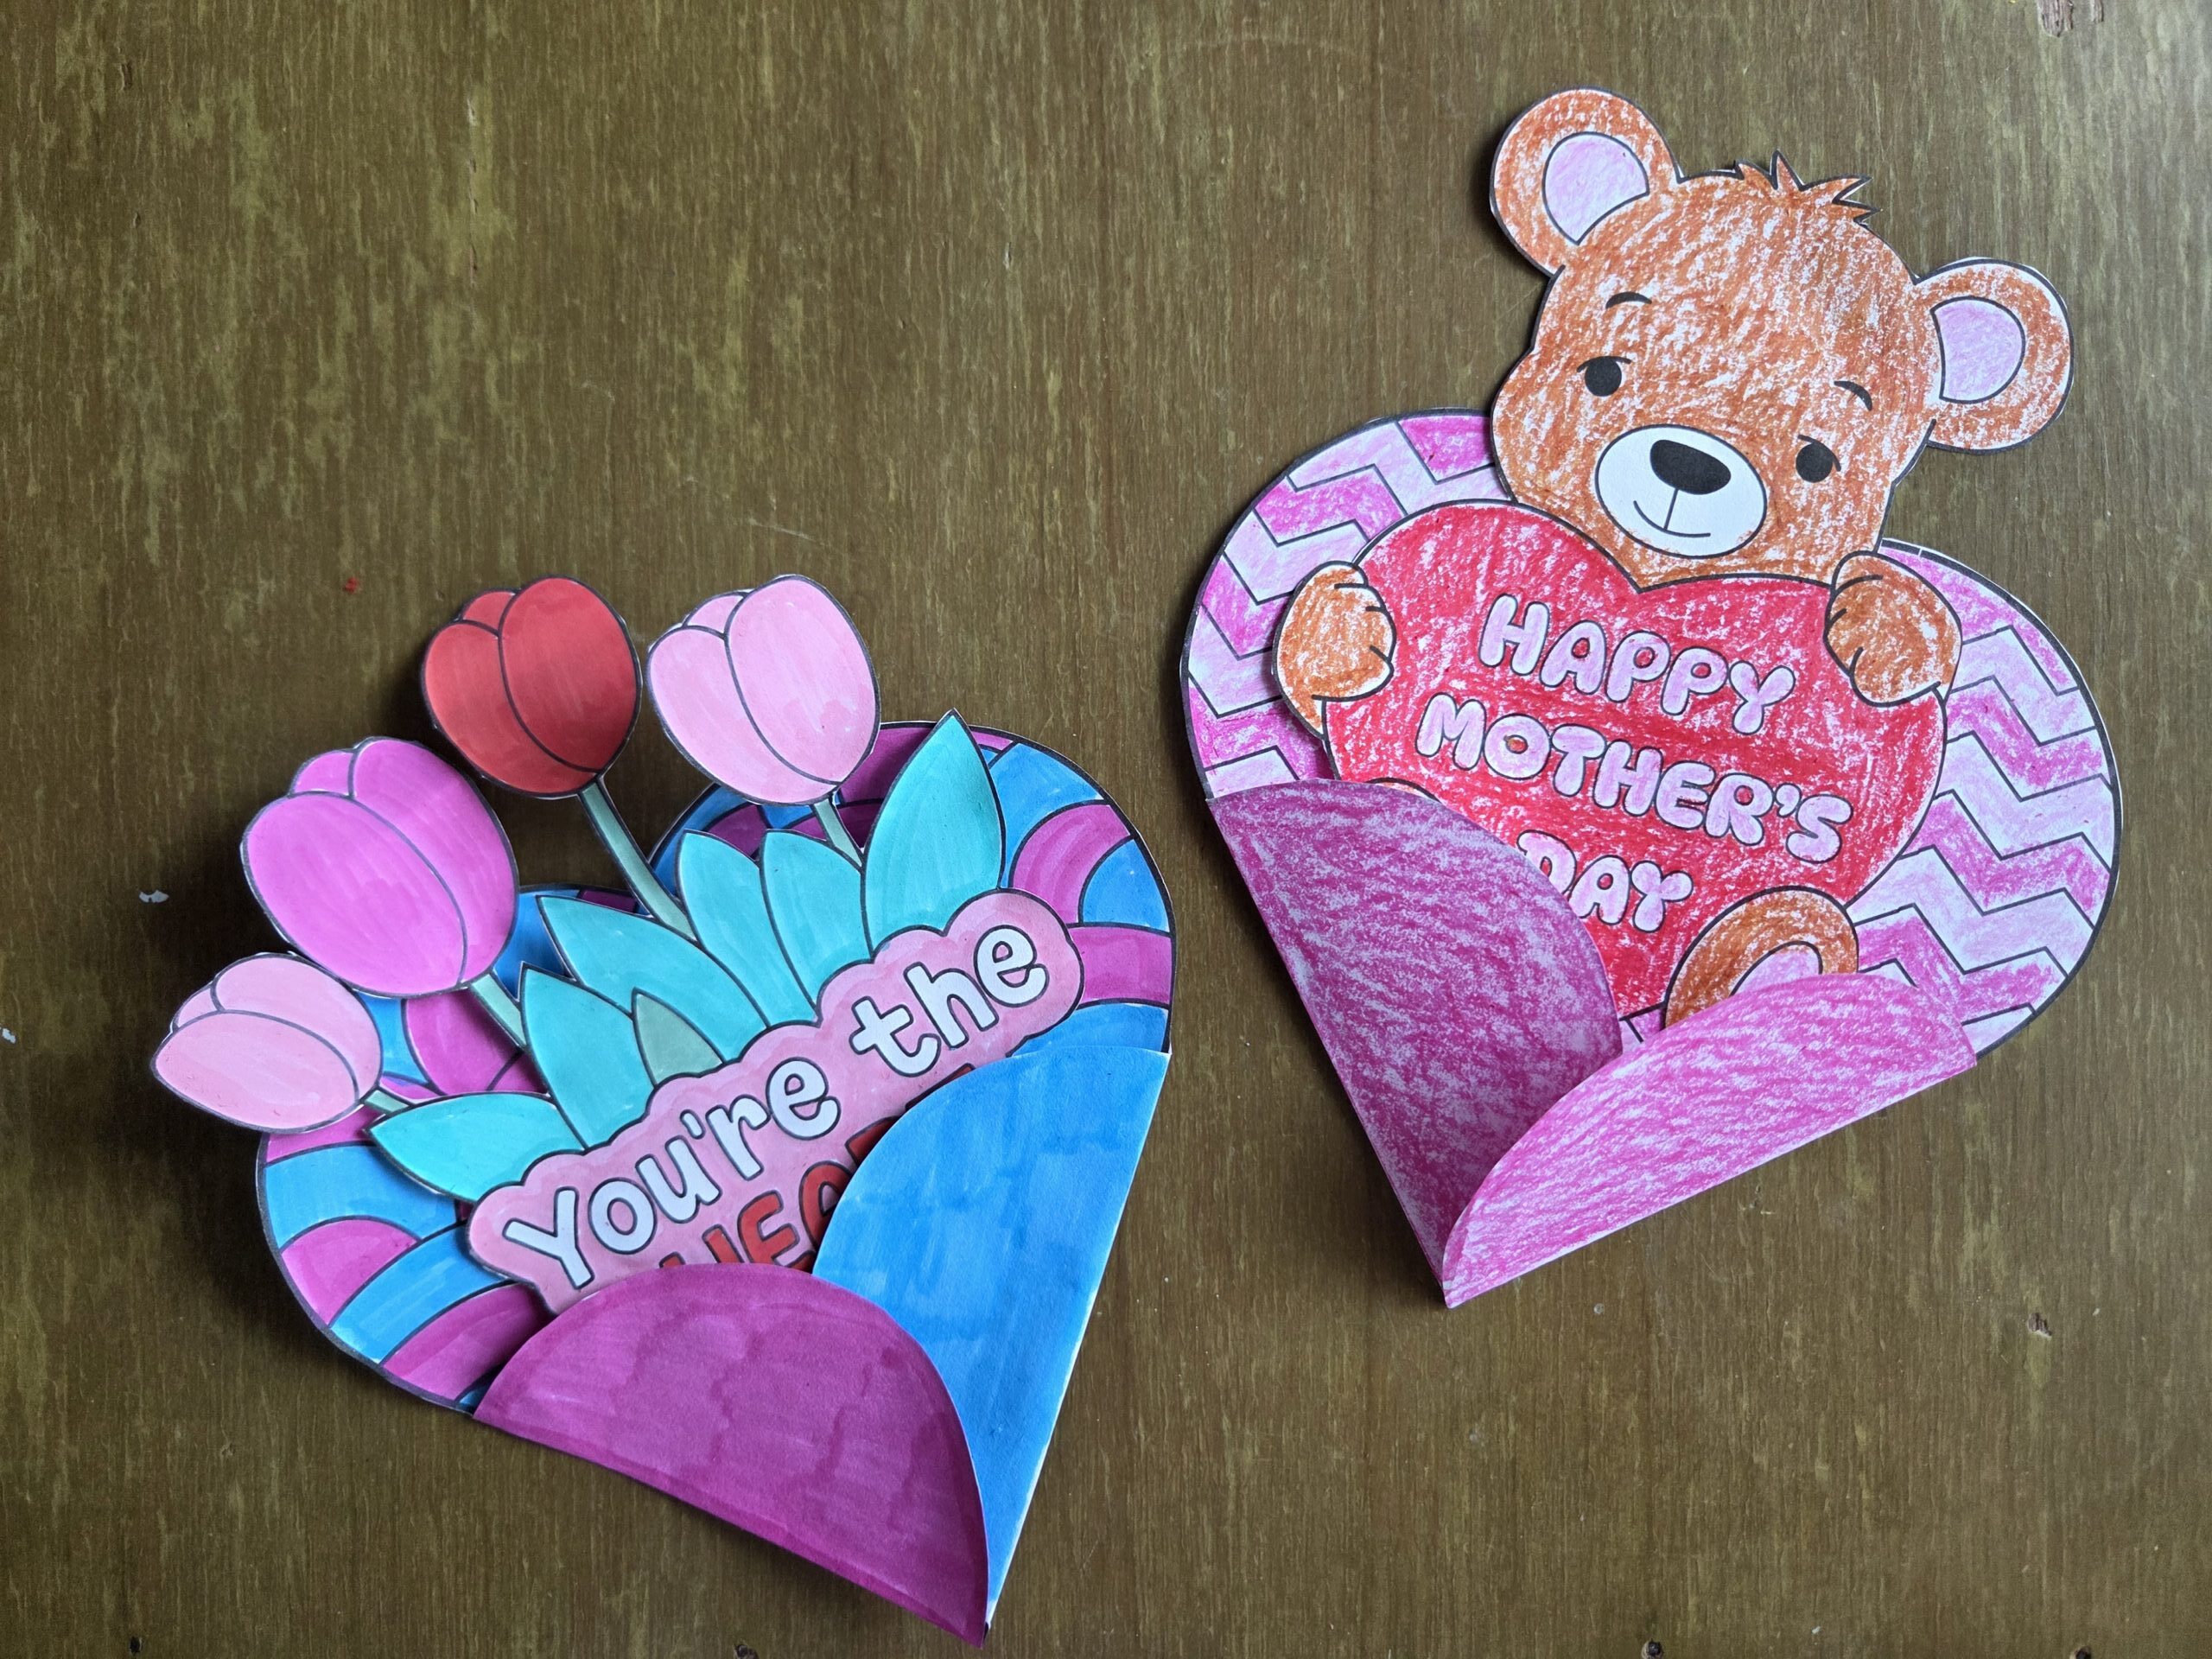
Each template features a large heart shape made up of four rounded flaps that fold inward toward the center, transforming a flat sheet into a dimensional, layered heart that stands on its own.
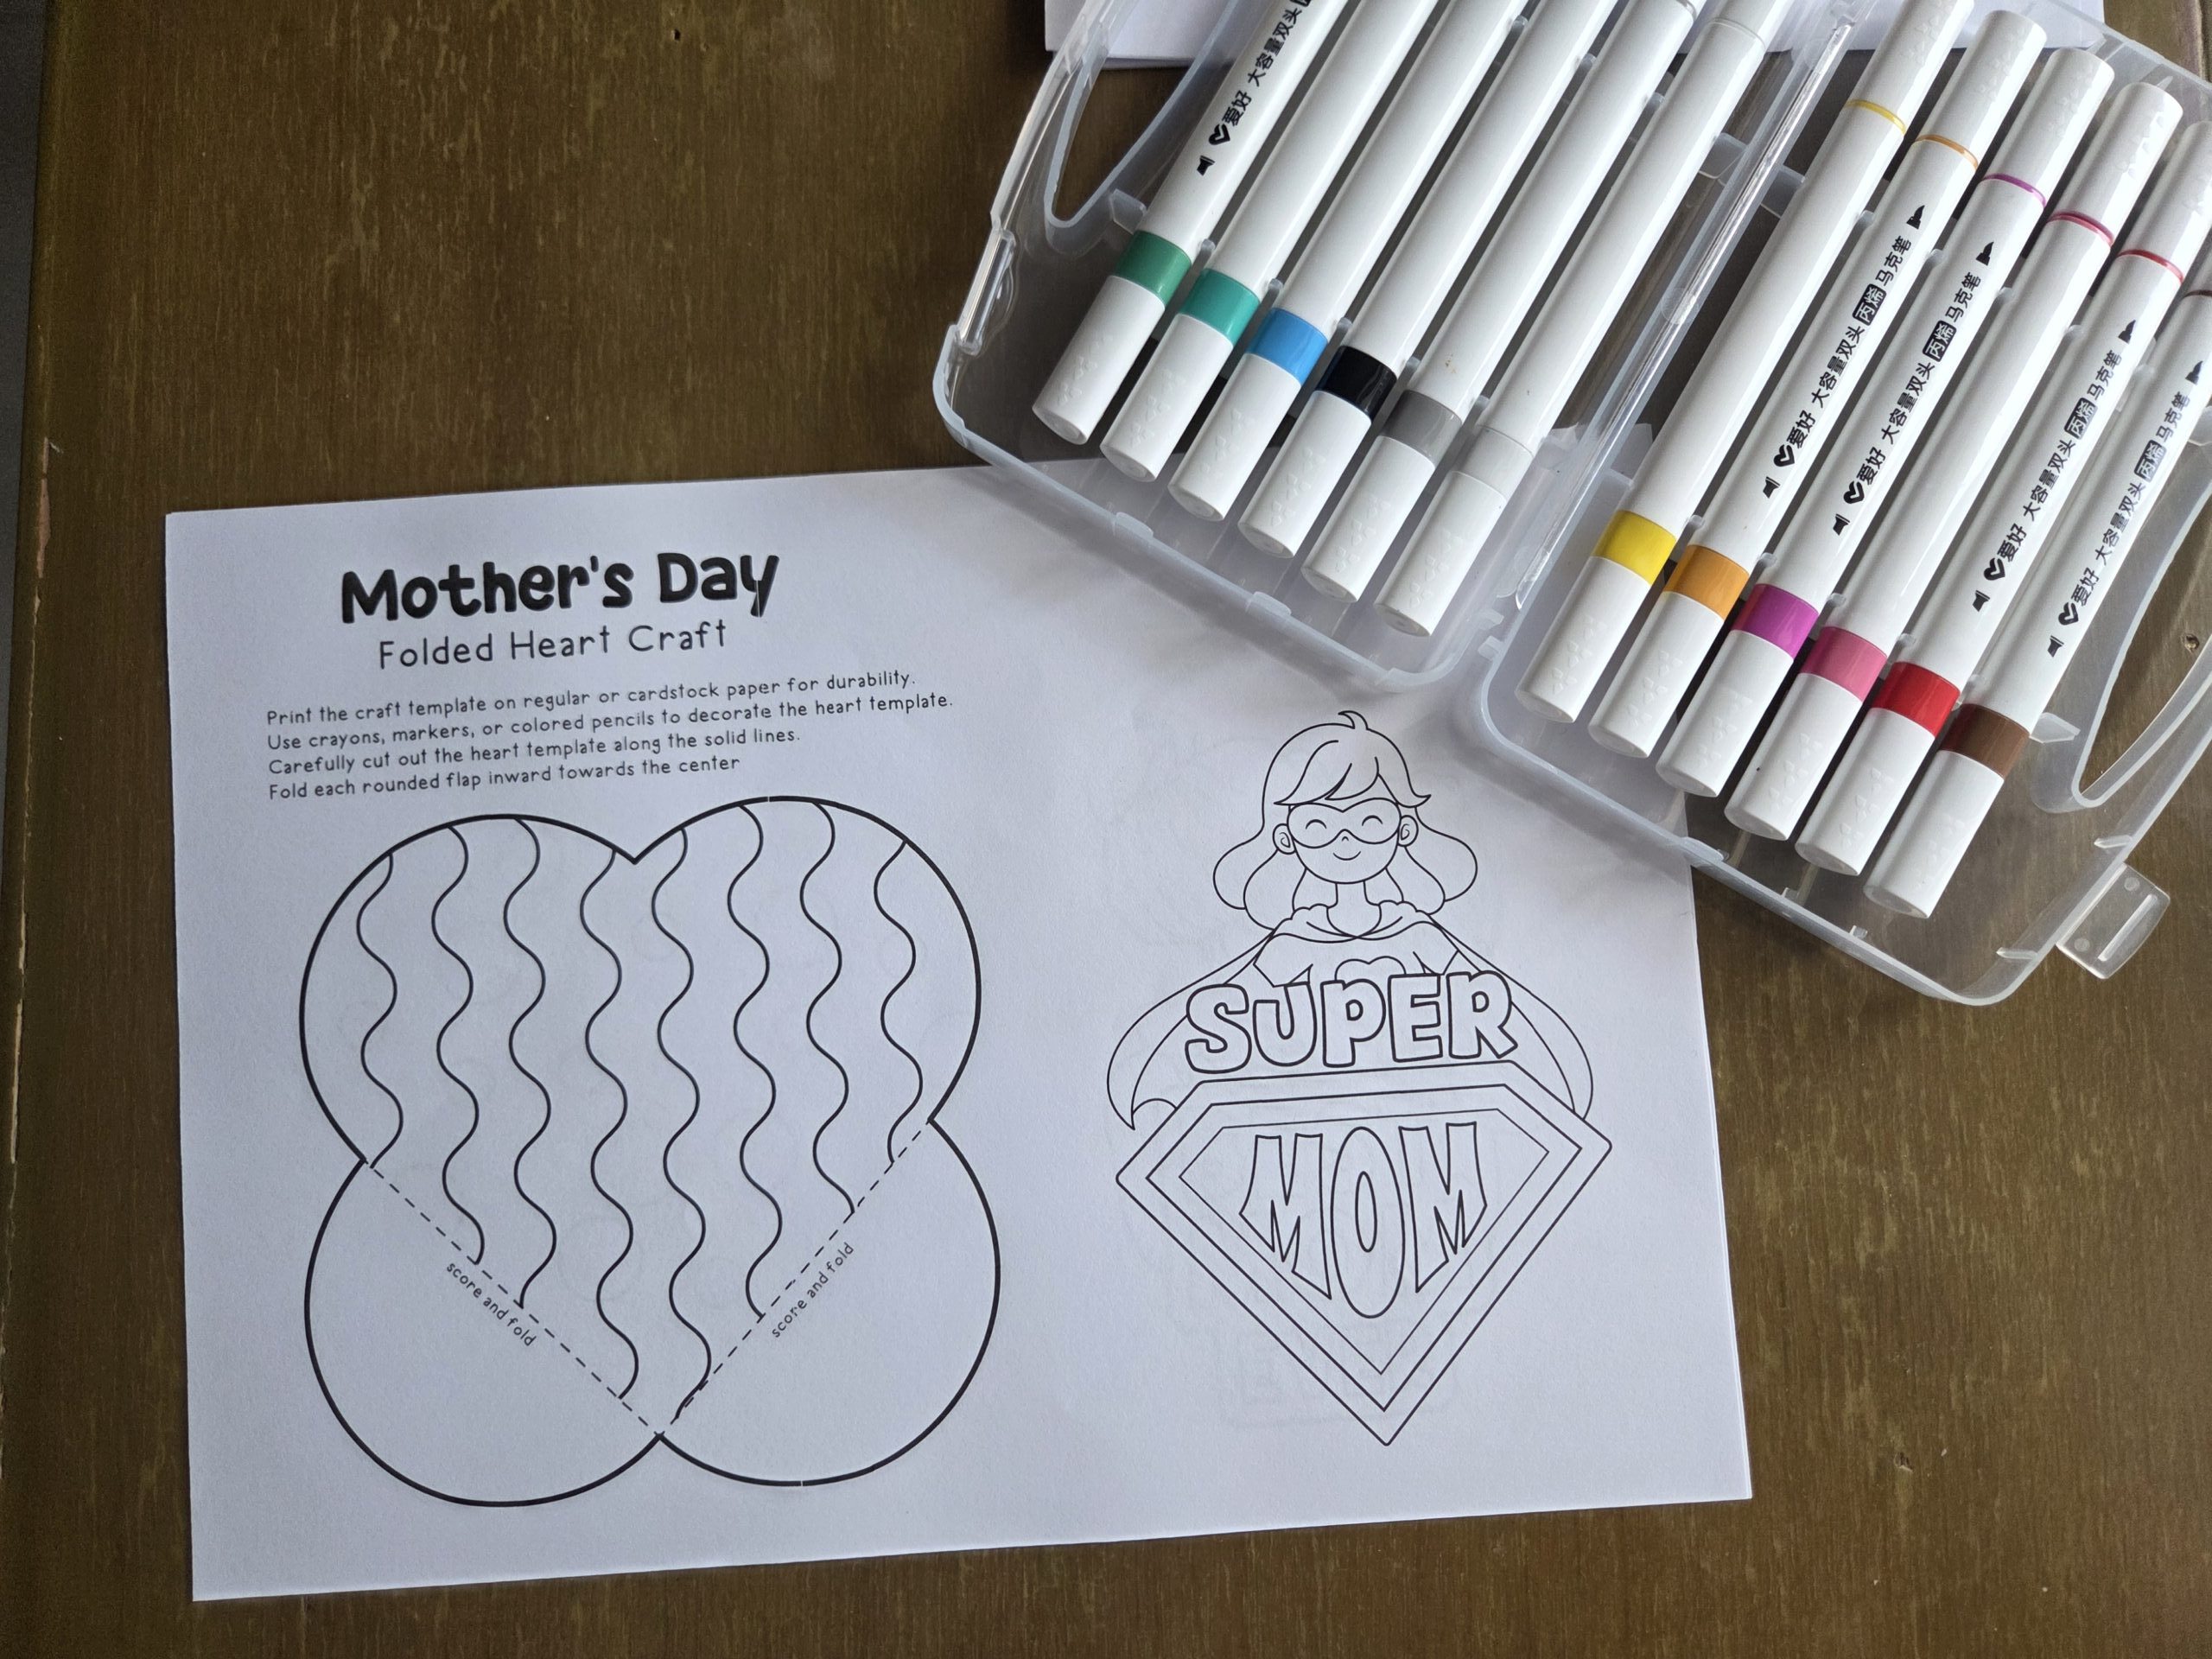
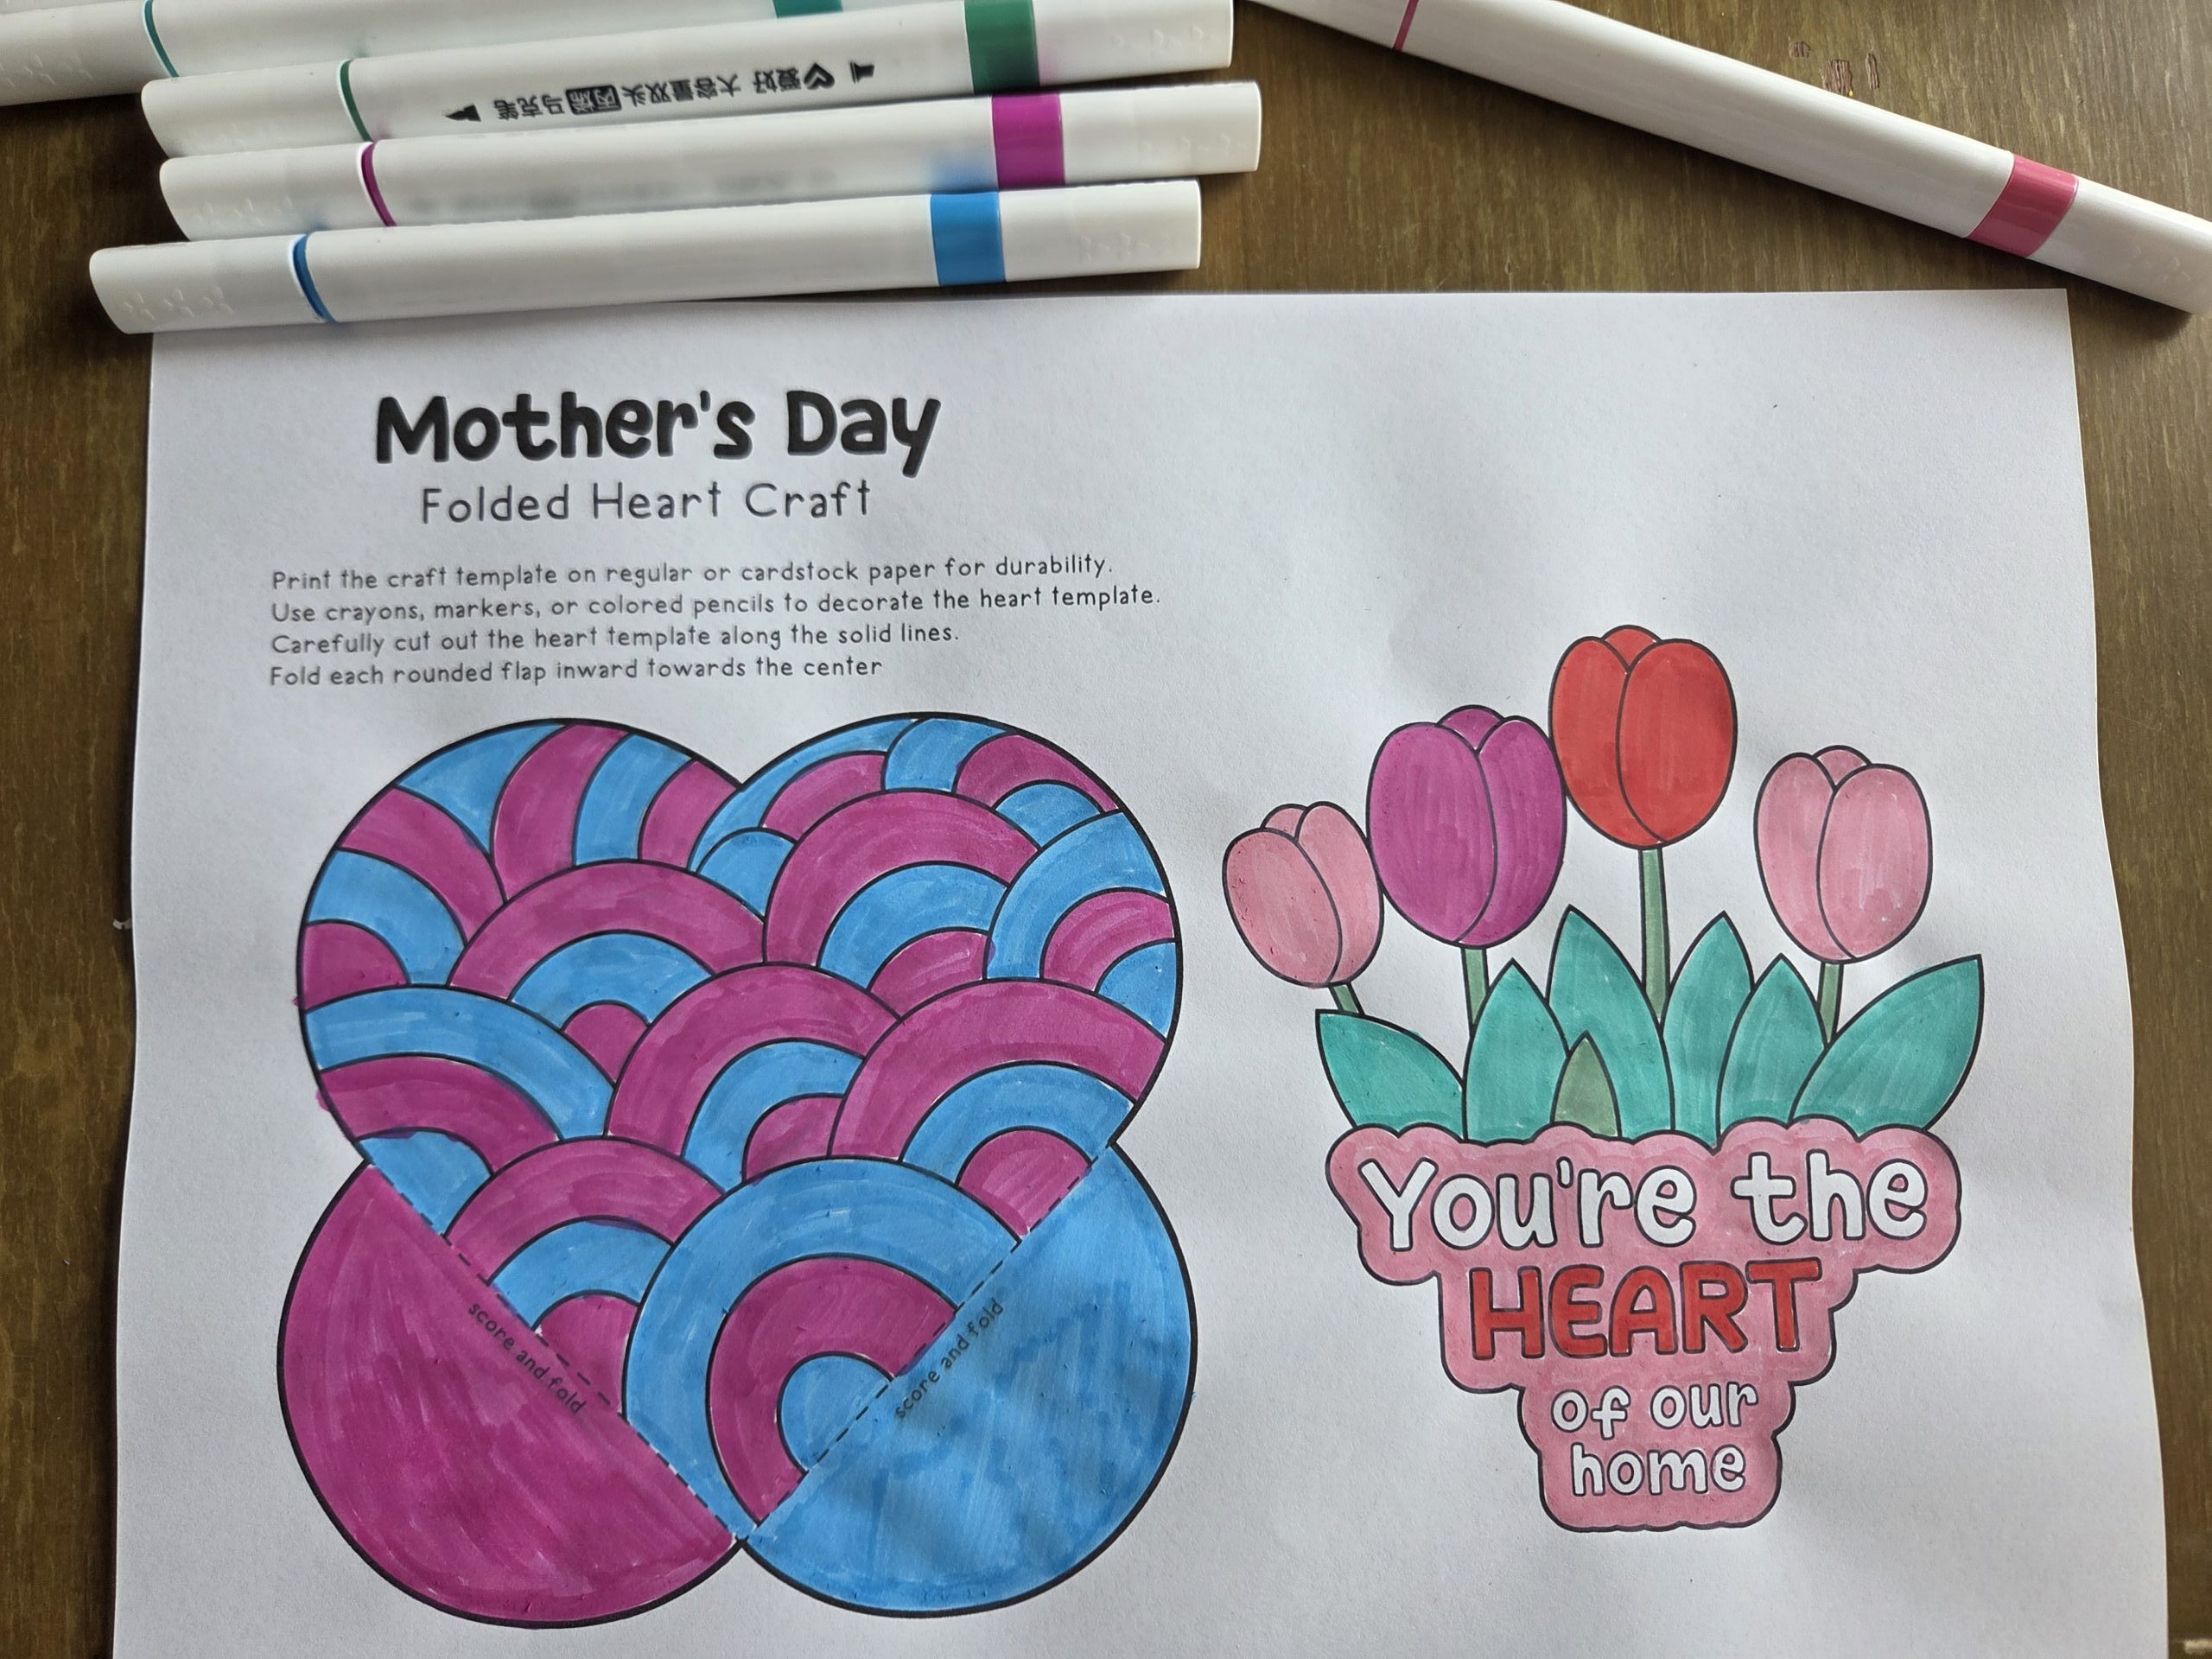
The front of the heart is decorated with beautiful patterns — from swirling spirals and chevron zigzags to scalloped edges, polka dots, and overlapping scales — giving kids a satisfying coloring experience before the folding even begins.
What makes this craft extra special is the matching sentiment card included on each sheet.
These illustrated toppers are designed to be cut out and attached to the finished heart, turning the whole project into a personalized Mother’s Day card. Sentiments range from sweet to playful: “I Love Mom,” “Thank You Mom,” “Best Mom Ever,” “Super Mom,” “You’re the Heart of Our Home,” and the fan-favorite “I’m So Glad I’m Your Favorite” — guaranteed to get a laugh.
What Age Is This Craft Suitable For?
This craft is best suited for children ages 5 to 12, though it’s flexible enough to work across a wider range with a little adult support.
- Ages 4–5: Young children can absolutely color the heart template and enjoy the process, but they’ll need adult help with cutting and folding. Focus on the fun of decorating rather than precision.
- Ages 6–9: This is the sweet spot. Kids in this range can handle the coloring independently and be creative, follow basic cutting lines with safety scissors, and manage the folding steps with minimal guidance. The dashed “score and fold” lines on each template make it easy to know exactly where to crease.
- Ages 10–12: Older kids and tweens can complete the entire project on their own and may enjoy taking more creative control — experimenting with color combinations, adding extra details, or writing a personalized message on the back of the heart before folding it closed.
For classroom settings, this craft works beautifully for kindergarten through 5th grade, with the level of adult involvement scaling naturally with the age group.
Supplies You’ll Need
The beauty of this craft is how simple the supply list is. You likely already have most of what you need at home or in the classroom.
Essential supplies:
- Printed craft templates (one per child)
- Regular printer paper or cardstock (cardstock is recommended for a sturdier finished heart). I used paper and you can see how it wasn’t sturdy enough to hold card shape nicely.
- Crayons, markers, or colored pencils
- Child-safe scissors
- A bone folder, butter knife, or ballpoint pen for scoring fold lines (optional but helpful)
- You do not need glue, as folded card holds itself. However l, if you want to make it permanent and arrange the topper outside the folded hearts, you can glue it to folded flaps.
Optional extras for added flair:
- Glitter glue or metallic markers for extra sparkle
- Stickers or washi tape to decorate the sentiment card
- A thin ribbon or string if you’d like to hang the finished heart
That’s it — no special tools, no expensive materials, and no trip to the craft store required.
Step-by-Step: How to Make the Folded Heart
Print the template
Print your chosen design on regular paper or cardstock. Cardstock produces a firmer, more durable finished heart and holds its folded shape better, making it ideal if the craft will be displayed or gifted.
Color the heart
Before cutting anything, let kids color the heart template to their heart’s content. This is the most open-ended, creative part of the activity — there are no rules! Encourage kids to fill in every section with color, as the pattern really comes to life when it’s fully colored.
Color the sentiment card
The illustrated topper (the “I Love Mom” badge, the bear, the Super Mom figure, etc.) should also be colored at this stage, while the paper is still flat and easy to work with.
Cut out both pieces
Using the solid outer lines as a guide, carefully cut out the main heart shape and the sentiment card. Take your time around curves — the rounded edges are what give the finished heart its beautiful shape.
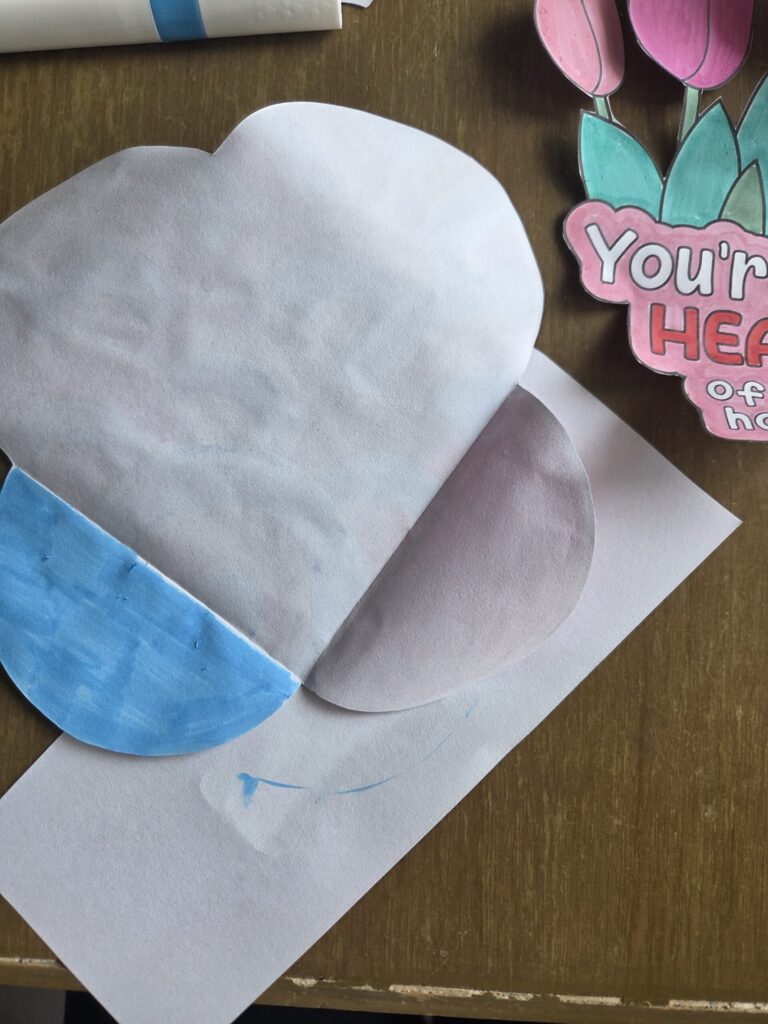
Score and fold
You’ll notice two dashed lines on the lower portion of the heart marked “score and fold.” Use a ruler and the tip of a ballpoint pen or butter knife to score gently along these lines — this makes folding crisp and clean. Then fold each of the four rounded flaps inward toward the center of the heart.

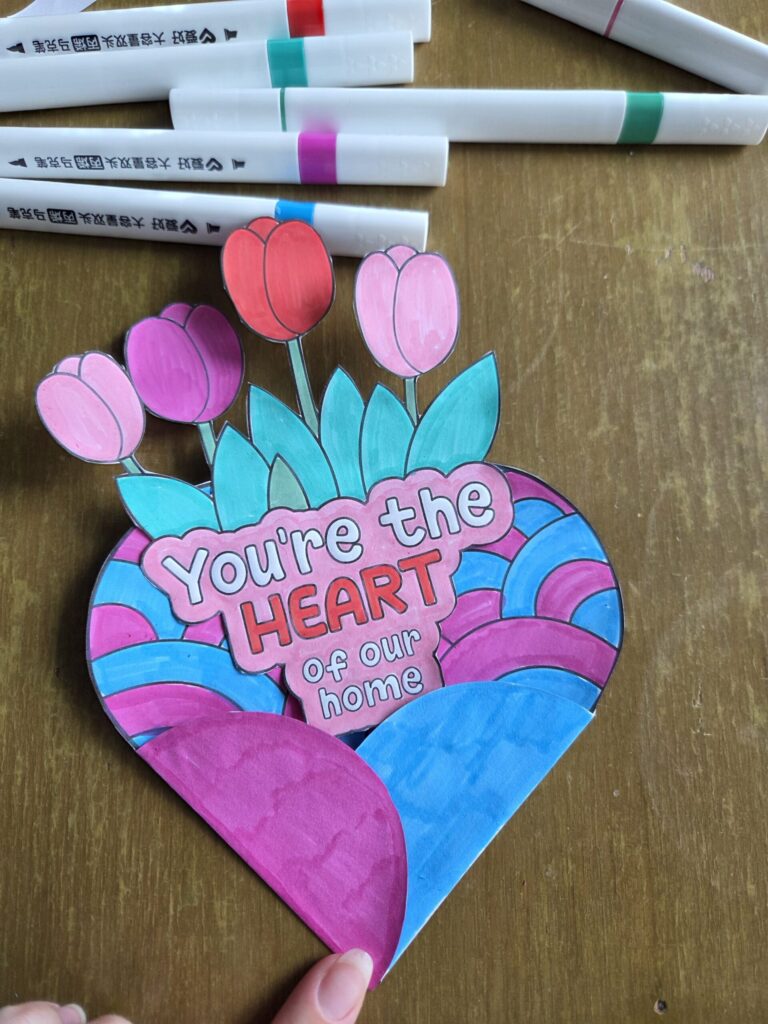
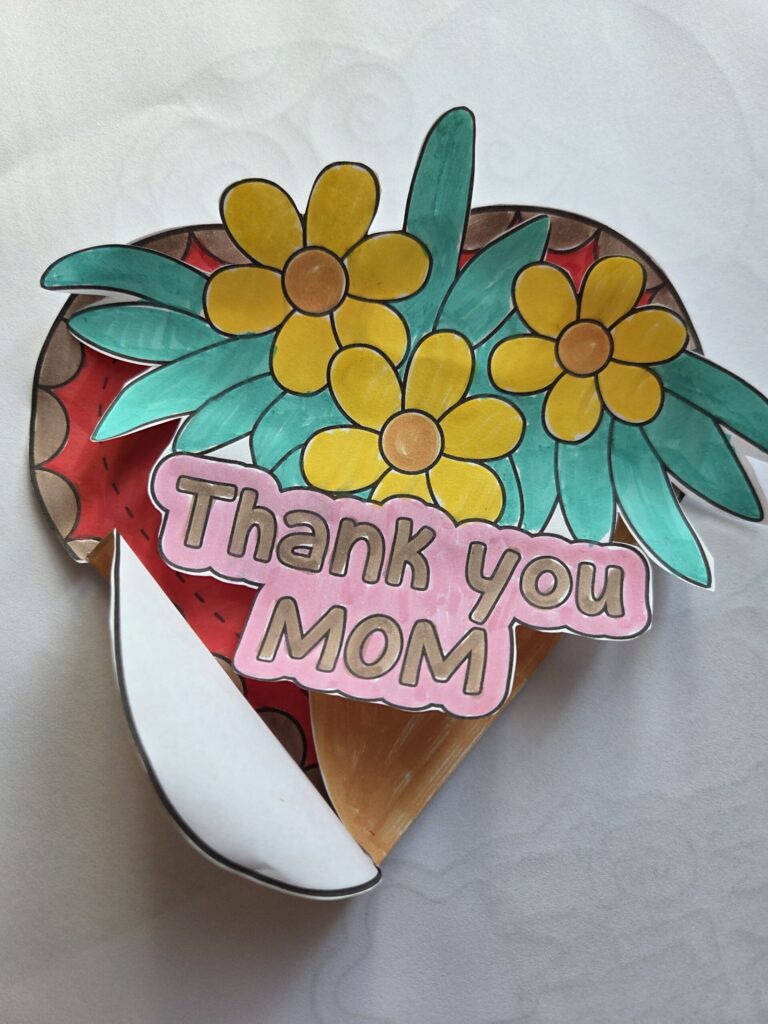
Attach the sentiment card (optional)
Apply a small amount of glue or tape to the back of the sentiment card and press it onto the center of the folded heart. This covers the meeting point of the folded flaps and finishes the card beautifully.
You can also simply slide it inside!
Add a personal message (optional)
Before folding, kids can flip the heart over and write a message on the back — a few words about why Mom is special, a joke, or simply “I love you.”
How to Use This Craft at Home or in the Classroom

At home, this craft works perfectly as a weekend project in the days leading up to Mother’s Day. Set up a small crafting station at the kitchen table with the printed templates, coloring supplies, and scissors. Let each child choose their favorite design — siblings can each make a different one to gift together as a set. The finished hearts can be propped up on a shelf, tucked into a Mother’s Day breakfast tray, or placed inside a gift bag alongside another small present.
In the classroom, the Folded Heart Craft is a dream activity for the week before Mother’s Day. It checks multiple boxes at once: fine motor skill practice (cutting and folding), creative expression (coloring), and literacy development if kids write a message. Here’s how to run a smooth classroom session:
- Pre-print templates on cardstock ahead of time, one per student plus a few extras.
- Set up stations with coloring supplies distributed evenly across tables.
- Model the folding steps at the front of the room or on a document camera before students attempt it themselves.
- Allow 45–60 minutes for the full activity, or split it across two shorter sessions — coloring on day one, cutting and folding on day two.
- Display finished hearts on a bulletin board before sending them home, celebrating each child’s work.
For early finishers, invite them to decorate an envelope for their finished heart card or write a poem about their mom on the back.
Why This Craft Works So Well
What sets the Folded Heart Craft apart from a standard coloring sheet or a plain card is the way it combines creativity with a satisfying “wow” moment. Kids get to color, cut, and fold — three distinctly different skills — and the result is something that genuinely looks impressive. When that flat paper transforms into a layered, dimensional heart, there’s always a moment of delight.
More than that, it’s personal. A child who carefully chose the colors, cut the shape, and folded it themselves has made something no store could sell. And for Mom, that’s everything.
Happy Mother’s Day — and happy crafting!

Masha Eretnova, born in 1991, is a Chiang Mai-based certified teacher, artist, and blogger with 20+ years of personal painting journey.
She started painting and drawing very early and is now an international abstract artist and educator passionate about acrylic painting, gouache, and crafts.
Her works are part of international exhibitions and contests, including ArtlyMix (Brazil), Al-Tiba 9 (Spain), Exhibizone (Canada), Italy, and many more.
Besides her artistic pursuits, Masha holds a post-grad diploma in Teaching Film Photography and 2 music school diplomas: piano and opera singing.