
Last Updated on October 15, 2026 by Masha Eretnova
Your front door called! It said it’s tired of looking boring every December -__-
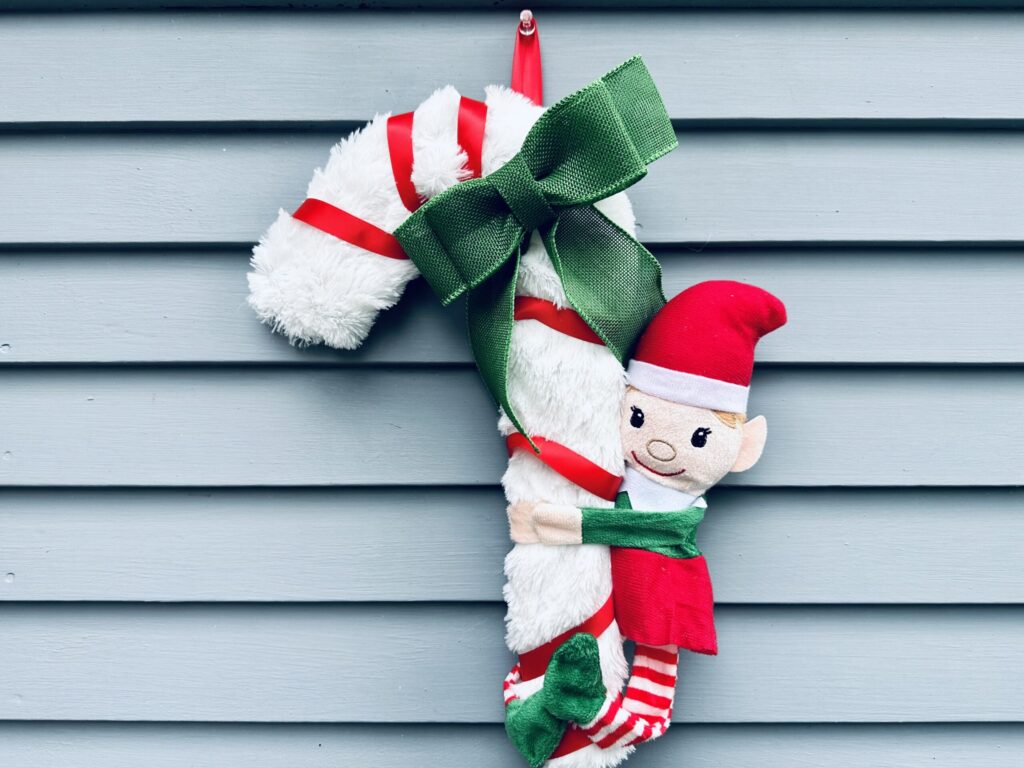
This elf candy cane wreath is made almost entirely from Dollar Tree supplies, takes under an hour, and looks like something you’d pay $40 for at a boutique holiday market (but we are not that easy to defeat, we can DIY!).
The elf does all the heavy lifting aesthetically — you just have to hot glue him in place and try not to burn your fingers. You don’t even have to sew him, imagine how easy this is!
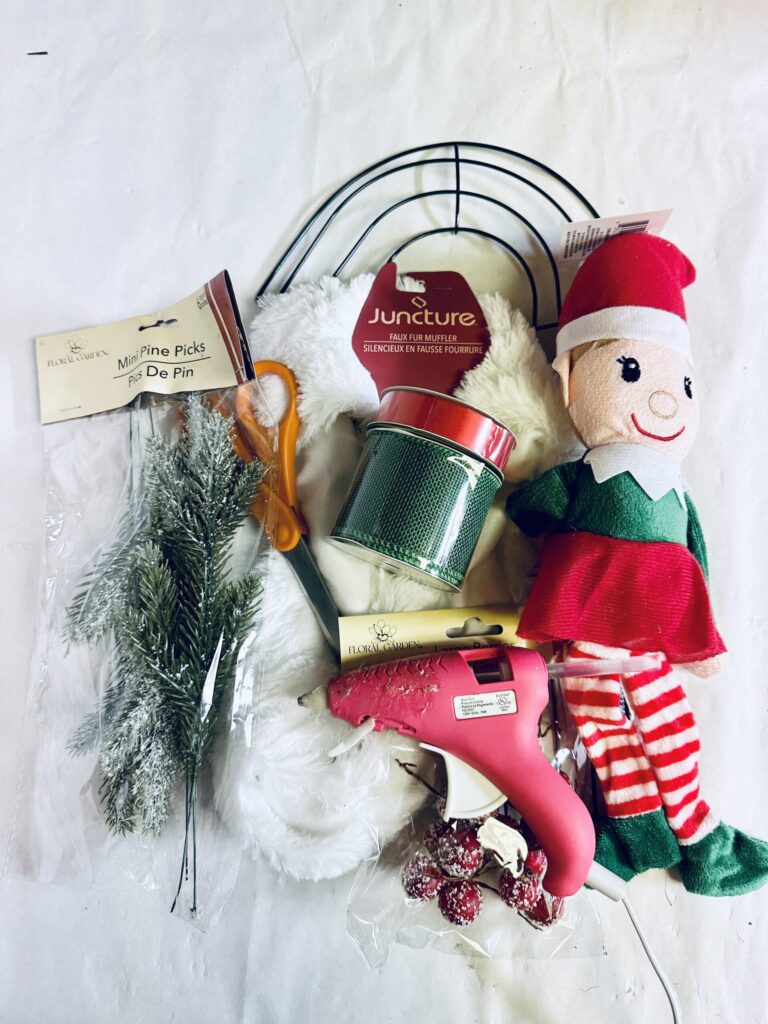
Elf Candy Cane Wreath Supplies
- Large Candy Cane Wreath Form. Usually available for very cheap at Dollar Store, if you can’t find it, there are options on Amazon, too, but more expensive.
- White Faux Fur Scarg/Muffler or just piece of white faux fur fabric.
- Elf Stuffed Animal or Plushie
- Hot Glue Gun/ gluesticks
- Green Burlap Ribbon
- Red Satin Ribbon
- Scissors
- Optional, berries and greenery picks (I didn’t use them but they could be added around the bow). Look for the brand Floral Garden or Christmas House.
Instructions:
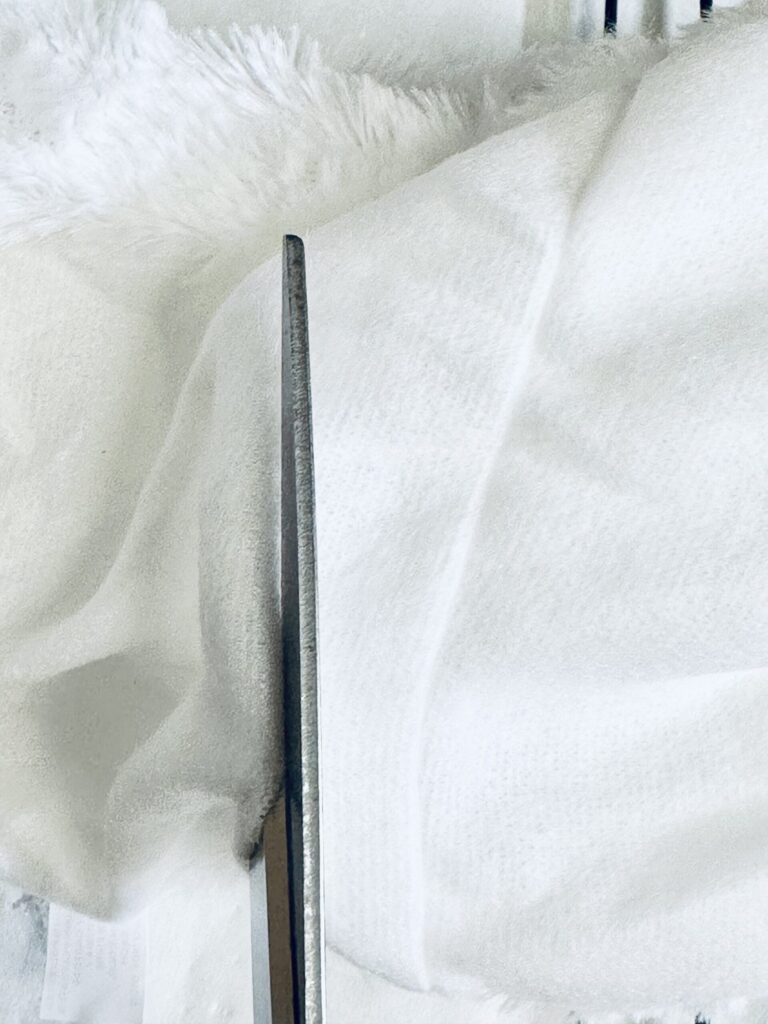
Start by cutting the scarf where the seams meet. This will allow for an opening so that you can stick the candy cane wreath form inside.
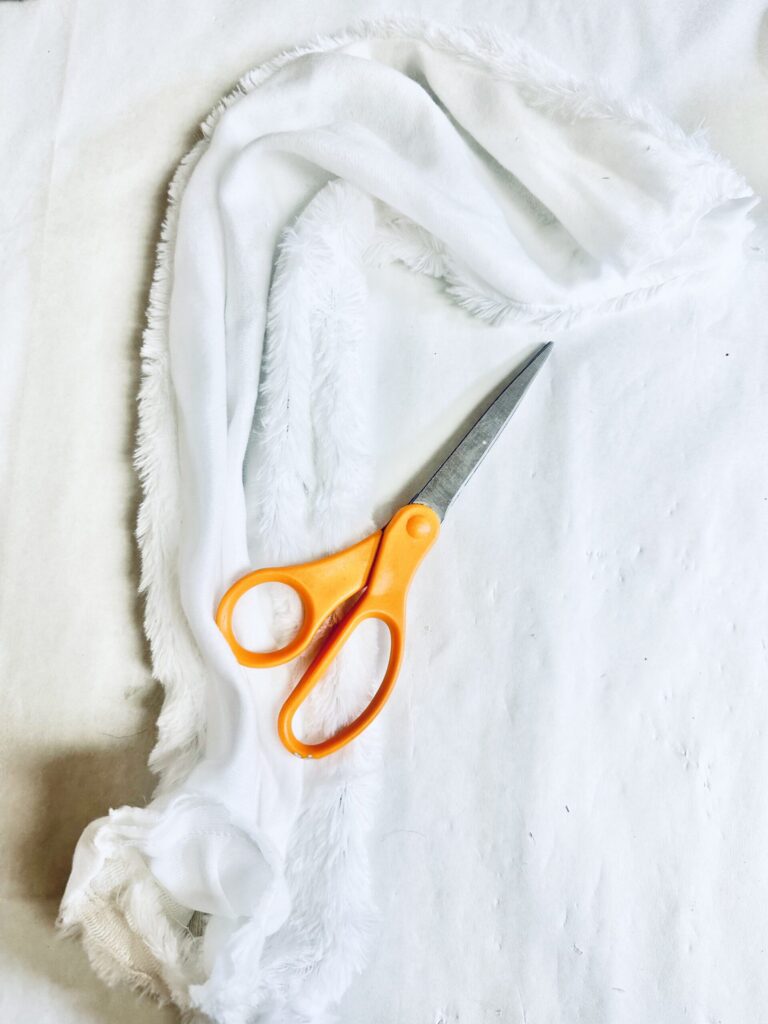
Place the candy cane wreath form inside of the scarf pulling it all the way through so that the end of the wreath form (where the curved section ends) has the finished seam on it.
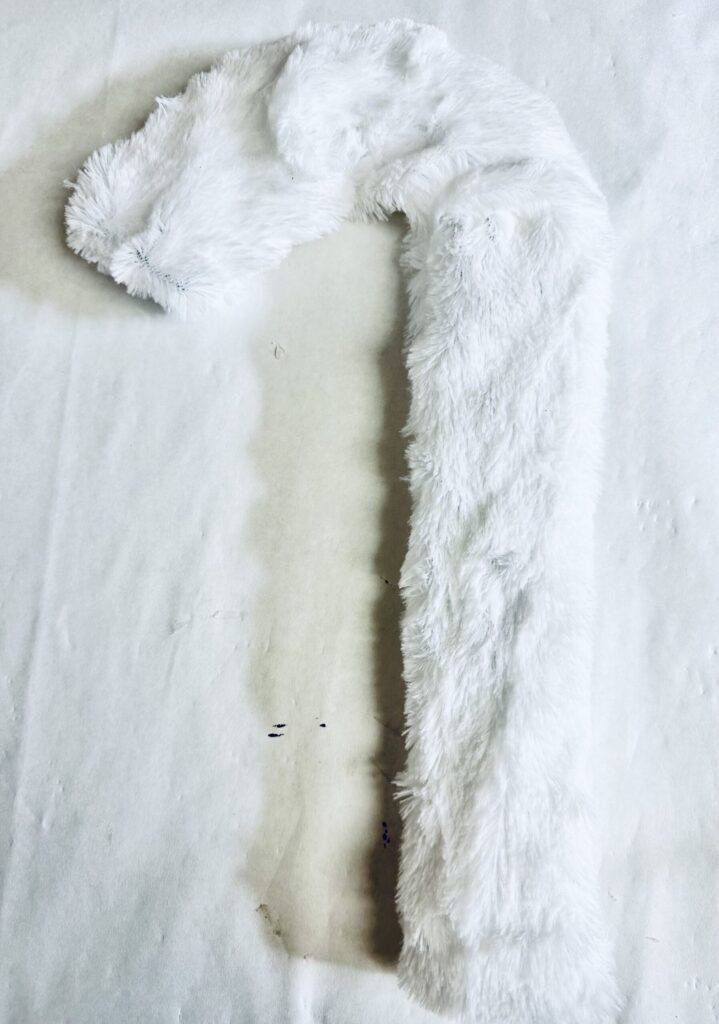
Next pull the excess fabric to the backside of the wreath form and hot glue so that the front side is flush against the wreath form.
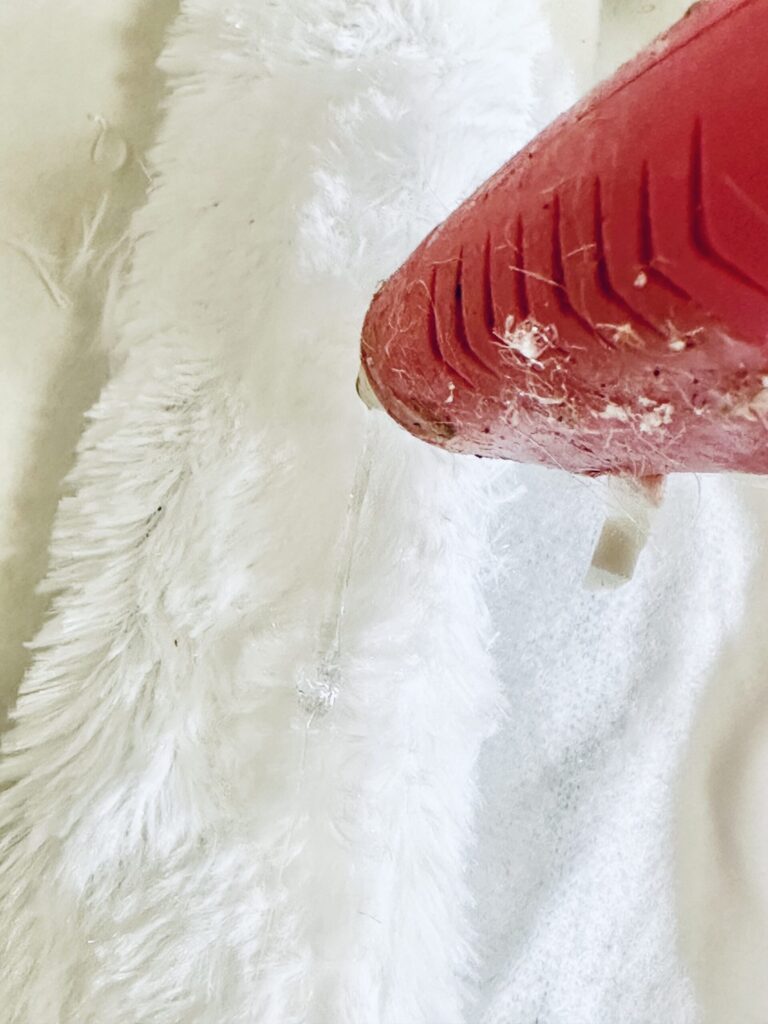
You could trim the excess material but I found it easier to fold it over and hot glue it. Once you cut the faux fur it starts to come off and fly everywhere.
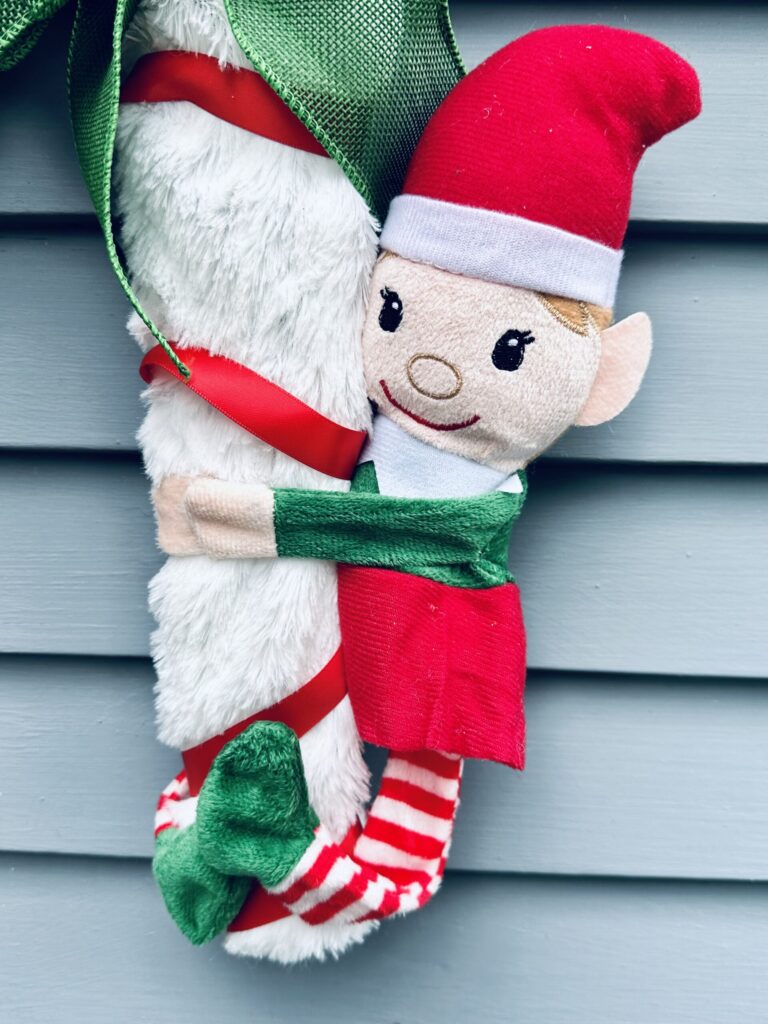
I next hot glued the elf to the candy cane wreath form.
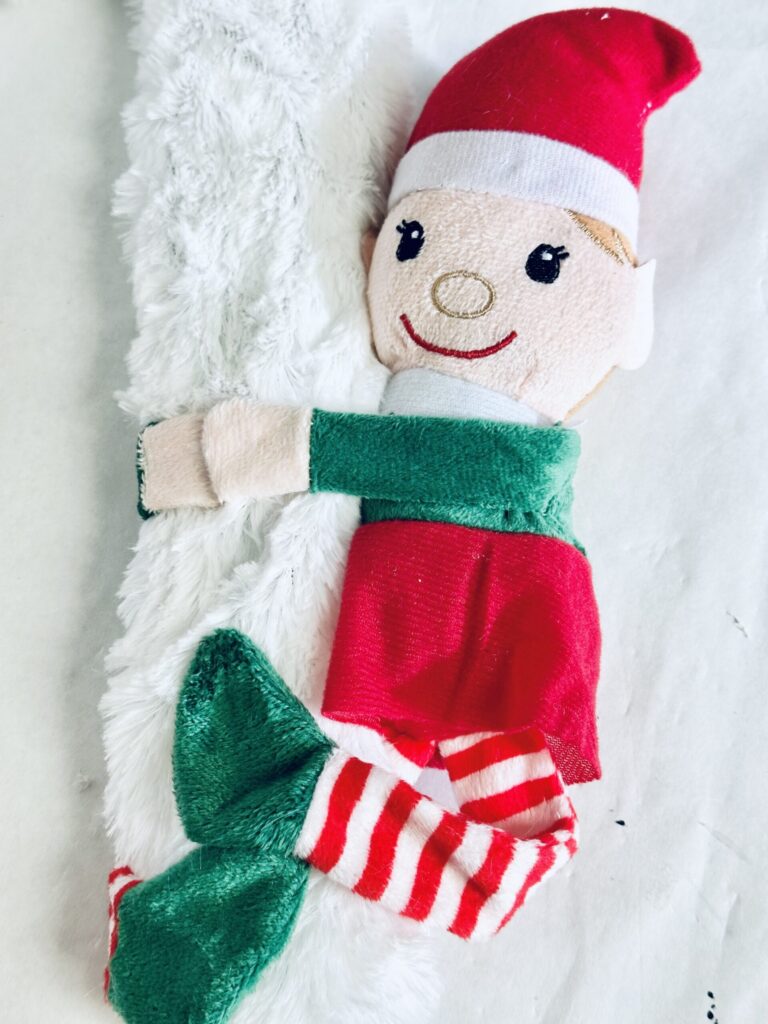
I first glued the hands together and then the feet to the wreath form. You can add a dab of glue to the head to get it to stay looking forward.
Next make a simple bow with the green burlap ribbon by folding the ribbon into thirds and pinching the center section.
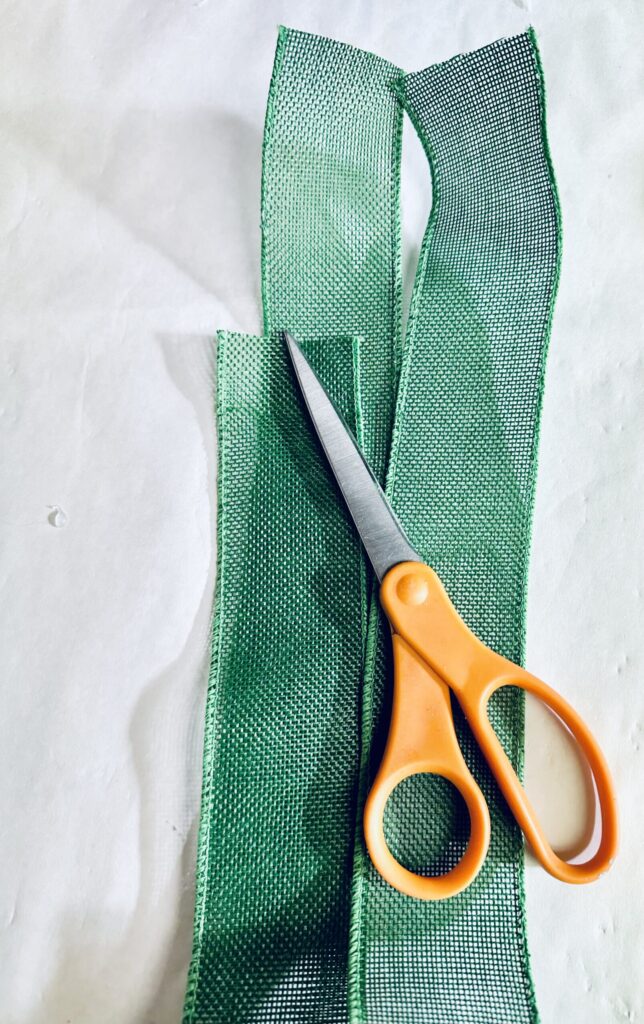
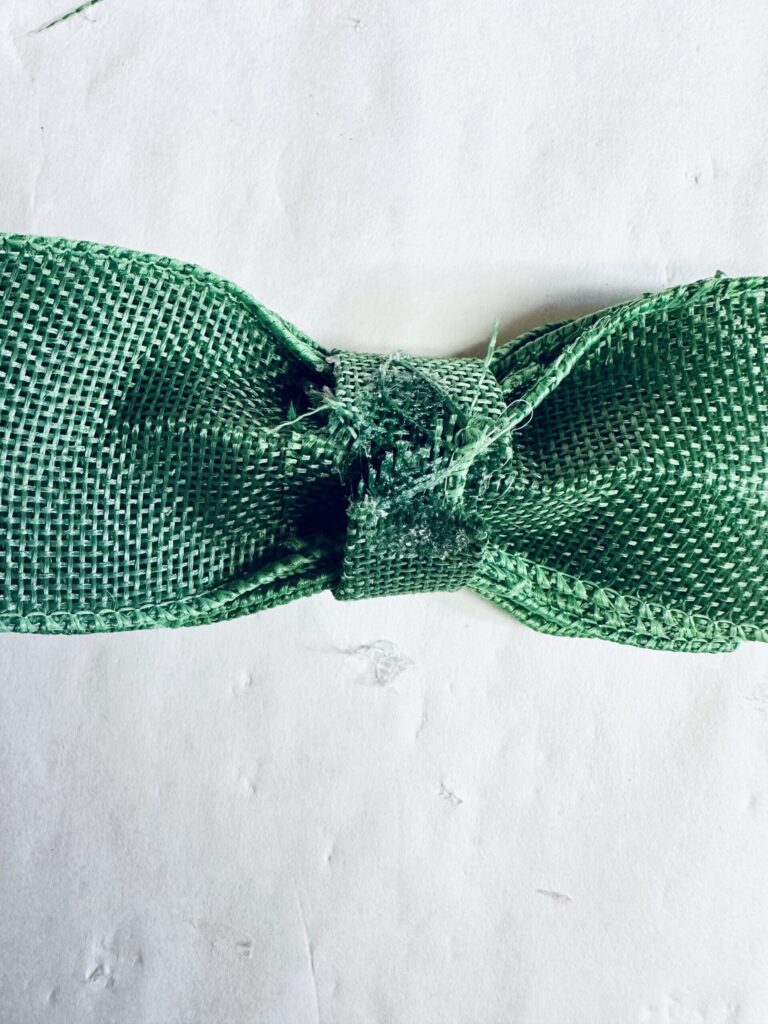
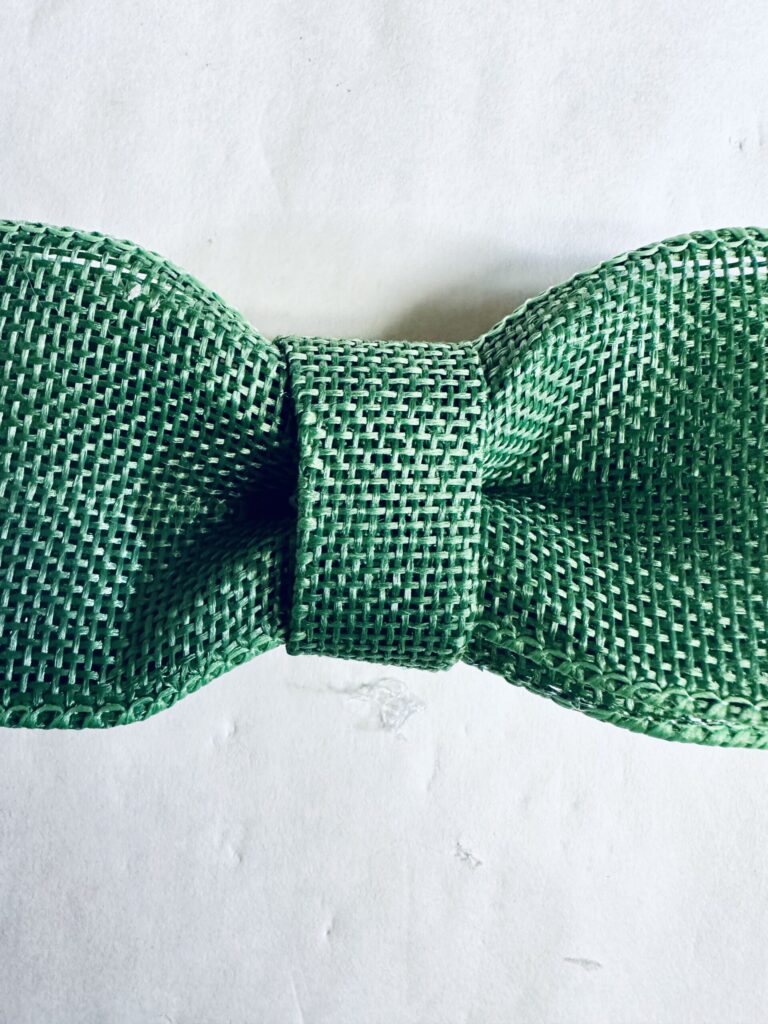
Cutting a longer piece of ribbon to make and repeating the same process and holding those sections on top of each other. I cut a small piece of ribbon and folded it width wise into thirds and glued it over the middle section to cover the fold.
Then cut a piece of ribbon and attached it to the backside to make the tails of the bow, and cut them to make a dovetail.
Hot glue the bow to the wreath. I glued it almost at the top of the curve.
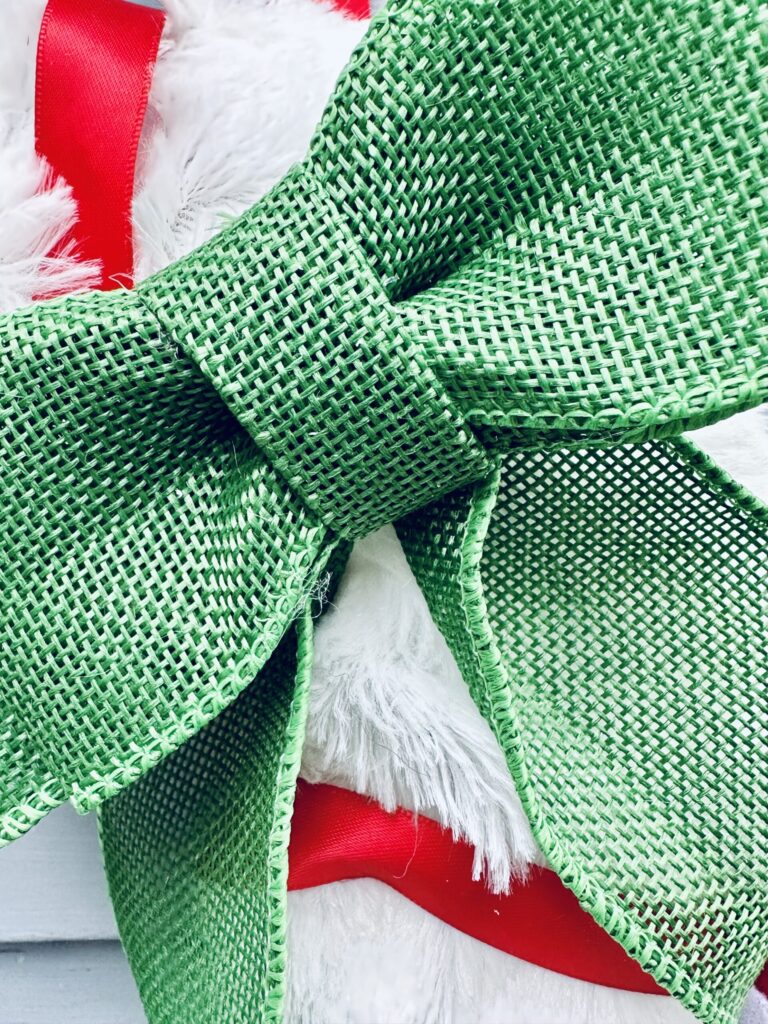
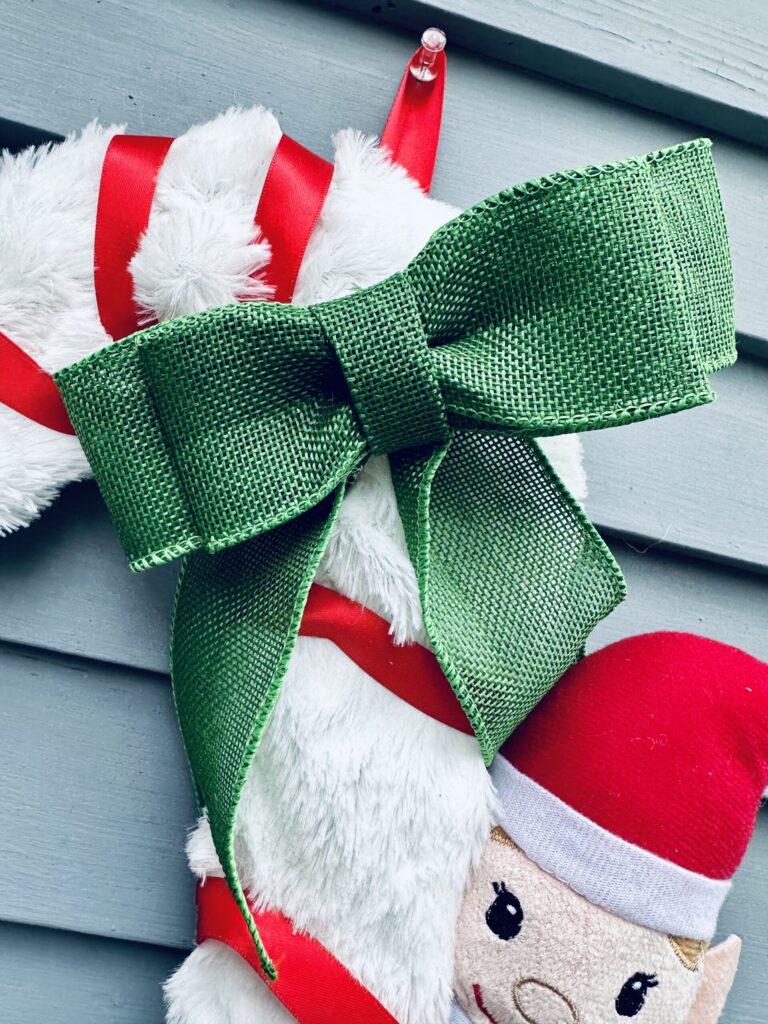
I then added some red ribbon to make it look more like a candy cane. I started by adding some hot glue to the backside of the wreath and adding the ribbon on top.
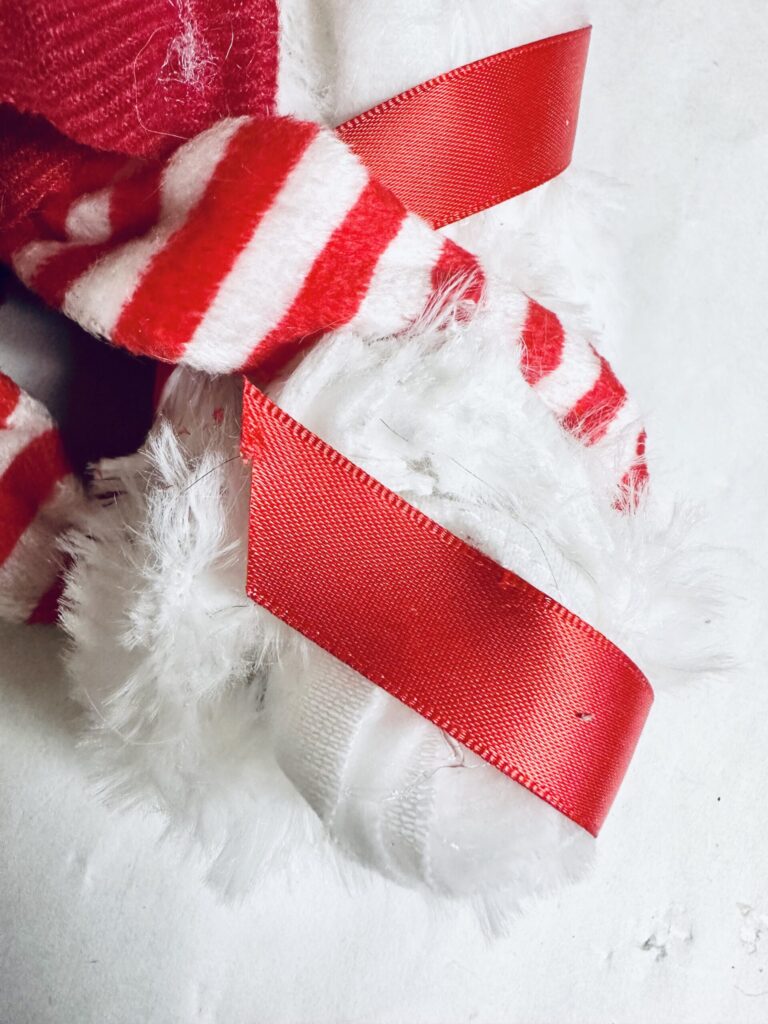
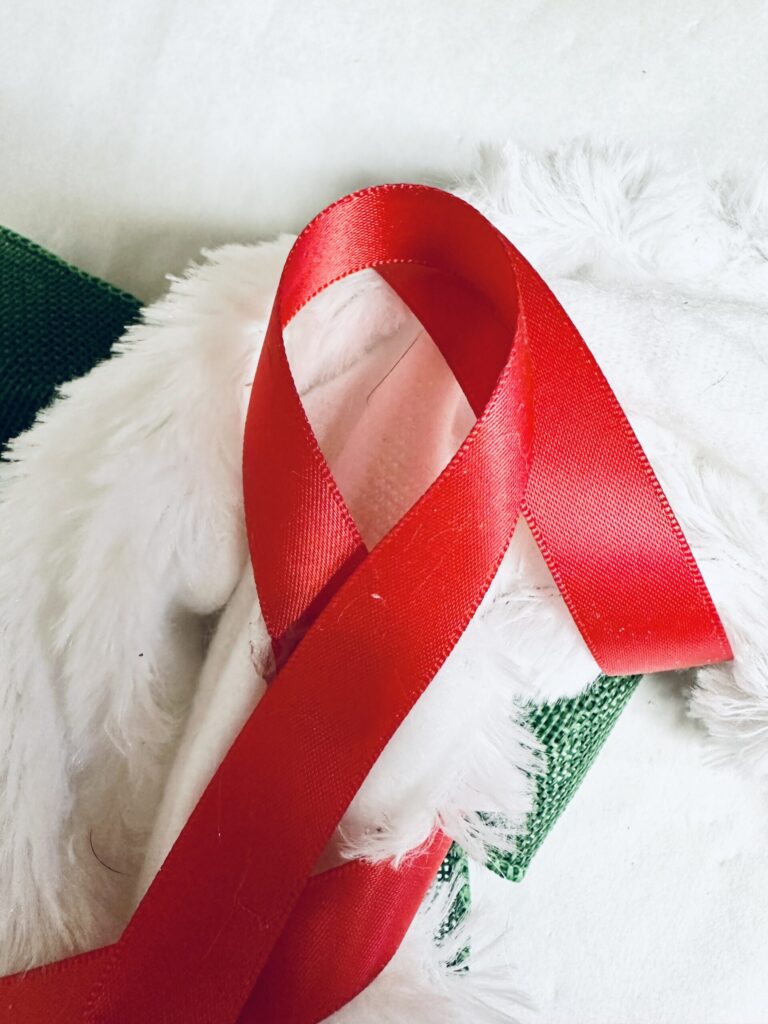
I then wrapped the ribbon around the wreath form adding dabs of glue as I went around the candy cane. I cut a small piece of ribbon to make a loop in the back so that the wreath could hang properly.
And voila!
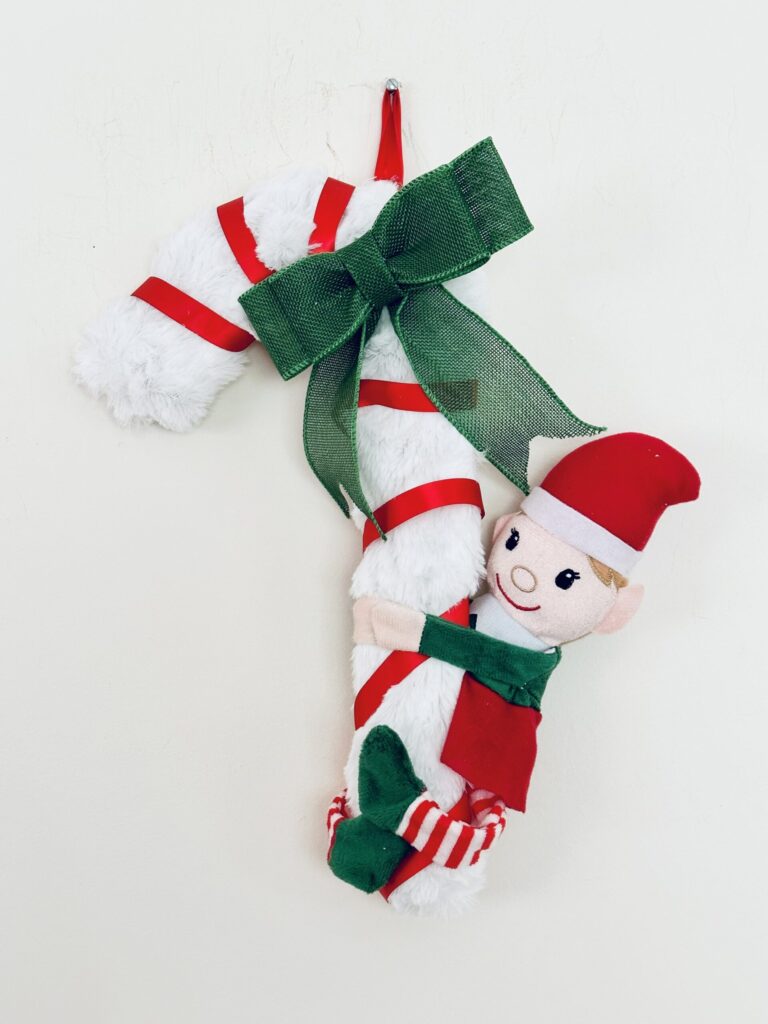
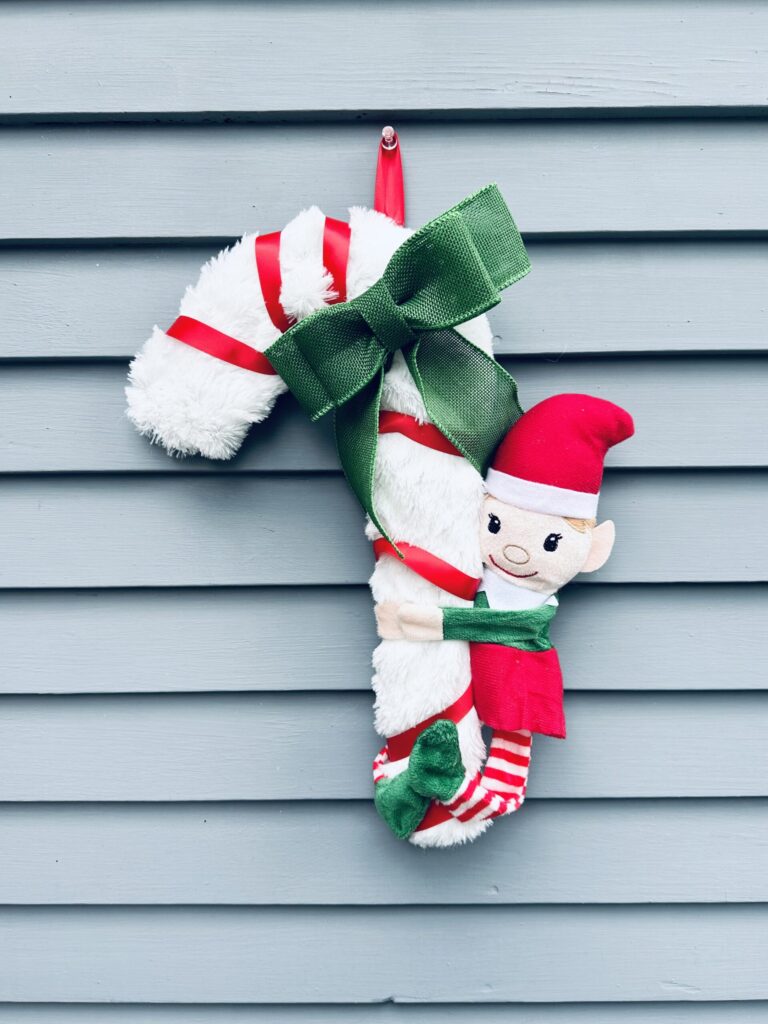
You can add twigs, berries, and pine picks if you want, or nothing else! It looks gorgeous on the front doors and walls:
Tips and Variations
If you want more dimension around the bow, tuck in a few berry picks or pine sprigs with a dot of glue. It adds maybe five minutes and about $2 to the whole thing.
For a more minimalist look, skip the red ribbon wrapping entirely and let the white fur do the work. It reads more like a snow-covered candy cane and less like the traditional stripe — both versions hold up well.
If the elf you find is a different color or style, the method is exactly the same. A Santa plushie works too. Honestly, at Dollar Tree you work with what December leaves you.
FAQ
Can this wreath hang outside?
It can handle a covered porch for a season, but faux fur and moisture are not friends. If you live somewhere rainy or snowy, keep it on an interior door or wall. It will last much longer and shed much less.
What if I can’t find the candy cane wreath form at Dollar Tree?
They sell out fast in November. Check in early October, or grab one on Amazon before the holiday rush hits. The Dollar Tree version is cheaper, but the Amazon ones are sturdier if you plan to reuse it next year.
Can I use a real scarf instead of faux fur?
Yes, and it works fine. A chunky knit scarf in white or cream gives a different texture: more cozy cabin, less fluffy snow. The method is the same: cut the seam, thread the form through, glue the excess to the back.
How do I store it so it doesn’t get crushed?
Lay it flat in a storage bin rather than stacking things on top of it. The faux fur bounces back if it’s been sitting, but repeated pressure flattens it out over time. A large zip bag works too if you want to keep the fur from picking up dust between seasons.
How long does this take to make?
Under an hour, including drying time between glue steps. The bow takes the longest if you haven’t made one before. Budget 15 minutes just for that the first time.
Can you make this wreath with kids?
Short answer: yes, with some supervision. Longer answer: it depends entirely on the age and how you split the work.
The hot glue gun is the main thing to manage. It is not a kid tool.
What kids can actually do: hold the ribbon while you wrap, pick where the elf goes, hand you supplies, and supervise your bow-making with extremely strong opinions.
For ages 10 and up, they can do most of the steps themselves with you nearby for the glue gun parts. A teenager can make this almost entirely solo and it is a good starter craft for anyone who has never made a wreath before because the form does the structural work for you.
For ages 6 to 9, treat it as a together project. They do the easy handling, you do the hot glue, and they take full credit for the finished wreath. Standard crafting arrangement.
Under 6, this one is more of a “watch and help carry things” situation. The faux fur shed alone is enough to entertain a toddler for a while, honestly.
Troubleshooting
No Wreath Form? Make Your Own
If Dollar Tree is cleaned out — and by mid-November, it will be — you do not need to order online and wait.
Grab a wire coat hanger and bend it into a candy cane shape by hand. Straighten the hook end first, then work the wire into the curve. It will not be perfectly smooth and that is completely fine. The faux fur covers every imperfection.
If you want something a little easier to shape, twist two or three lengths of sturdy craft wire (it is cheap) together for thickness and bend from there. Craft wire gives you more control than a coat hanger and is easier to adjust if the curve is off.
The faux fur won’t stop shedding.
This is the number one Dollar Tree faux fur problem.
Do not cut it unless you absolutely have to as every cut edge turns into a lint situation. Fold and glue instead of trimming. If you already cut it, run a thin line of hot glue along the cut edge to seal the fibers before you do anything else.
The elf won’t stay in place.
Use more glue than you think you need on the feet, and press and hold for a full 30 seconds. If the glue keeps sliding on the fur, push the elf’s feet through to the wire form underneath and glue directly to the wire. That gives you a much more solid anchor.
You can also always lightly stich him to the fur.
The bow looks lopsided.
Make it off the wreath first, on a flat surface, before you attach it. It is much easier to adjust the loops when you are not also trying to hold the whole wreath. Once it looks right flat, transfer it and glue it on.
The ribbon won’t stick to the fur.
Start with a larger dab of glue on the very back of the form where there is no fur, and press the ribbon end firmly for 20–30 seconds. Once the starting point is locked in, the rest of the wrapping holds itself with smaller dabs.
More Christmas Crafts to Make This December
If you made it this far with a hot glue gun and all ten fingers, you are ready for more.
Egg Carton Christmas Tree Sensory Bin — Cut egg carton sections into little trees, paint them green, dust with glitter, and set them up in a tray of fake snow with cotton ball snowballs and snowflake cutouts. Under $10 at Dollar Tree, takes 20 minutes, and keeps kids busy for significantly longer than that.
Toilet Paper Roll Fall and Summer Trees — Three toilet paper rolls, some paint, and Q-tips make a set of standing trees in green, yellow, and red that show the seasonal shift from summer to fall. You can switch it up to winter by using white, blue and green paint to decorate the trees.
Reindeer Paper Craft — a simple paper reindeer craft that does not require any special supplies or art skills. Good for a quiet afternoon, and the kind of thing that ends up on the fridge for the entire month.
How To Draw the Grinch — a step-by-step drawing tutorial for the Grinch, which works for kids and adults who insist they “can’t draw.” Spoiler: they can. The Grinch is more forgiving than he looks.

Masha Eretnova, born in 1991, is a Chiang Mai-based certified teacher, artist, and blogger with 20+ years of personal painting journey.
She started painting and drawing very early and is now an international abstract artist and educator passionate about acrylic painting, gouache, and crafts.
Her works are part of international exhibitions and contests, including ArtlyMix (Brazil), Al-Tiba 9 (Spain), Exhibizone (Canada), Italy, and many more.
Besides her artistic pursuits, Masha holds a post-grad diploma in Teaching Film Photography and 2 music school diplomas: piano and opera singing.