
Last Updated on August 18, 2026 by Masha Eretnova
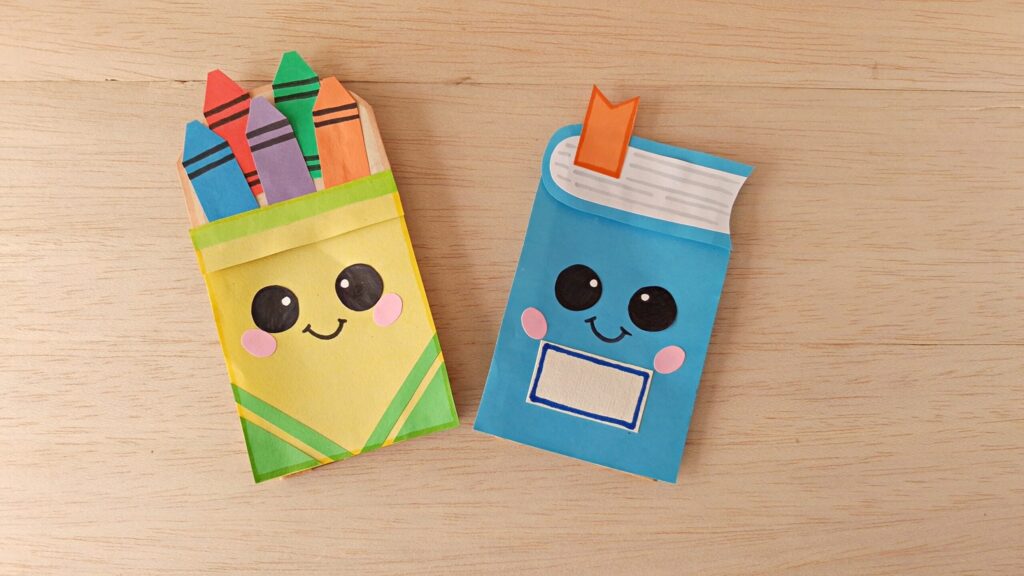
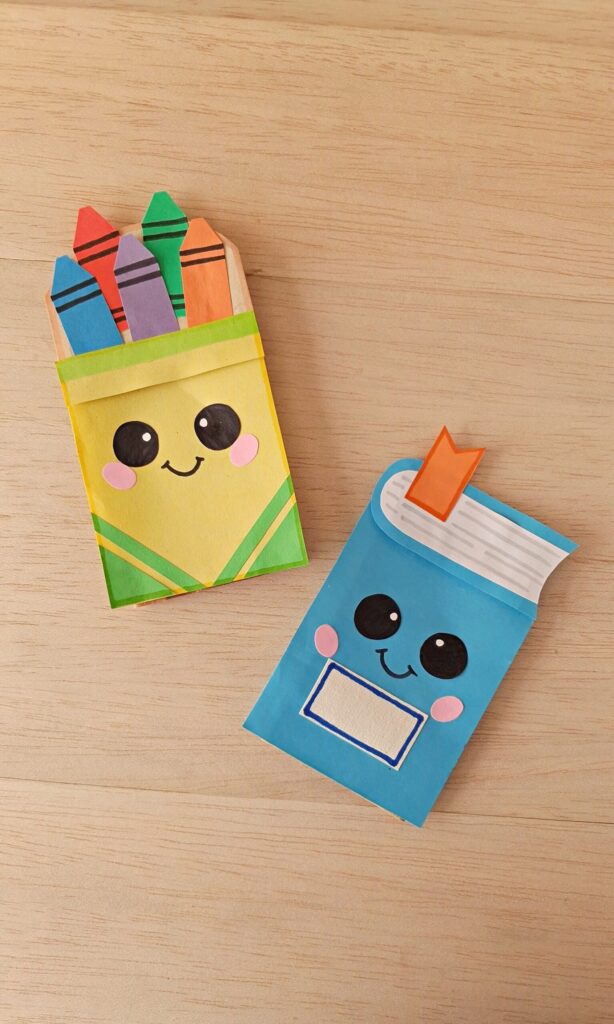
Fun craft idea for back-to-school? I LOVE how these crayons and notebook paper bag crafts turn out with just colored paper and some glue. They work as puppets or paper crafts and will be amazing for first day of school!
This tutotial basically gives you two crafts in one 🙂 Printable templates are free to download below.
List of Supplies:
- Colored craft papers in colors: purple, yellow, green, light green, blue, pink, orange, red, black, and tan. Best to grab a pack with mixed colors
- Paper bag
- Pencil
- Template
- A pair of scissors
- Craft glue
- Markers: black, dark blue, and dark red
Instructions for Box of Crayons Paper Bag Puppet
Step 1:
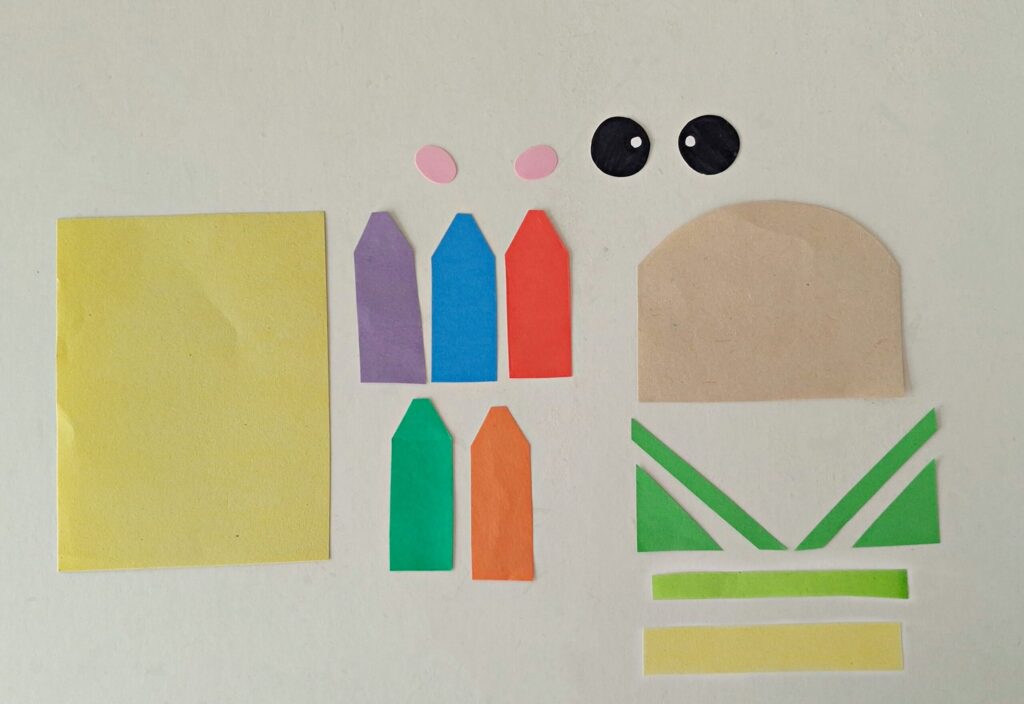
Download the template and prepare the patterns for the box of crayons. Select different colored craft papers for the patterns, and trace the template patterns onto the selected papers with a pencil. Use scissors to cut out the traced patterns.
Step 2:
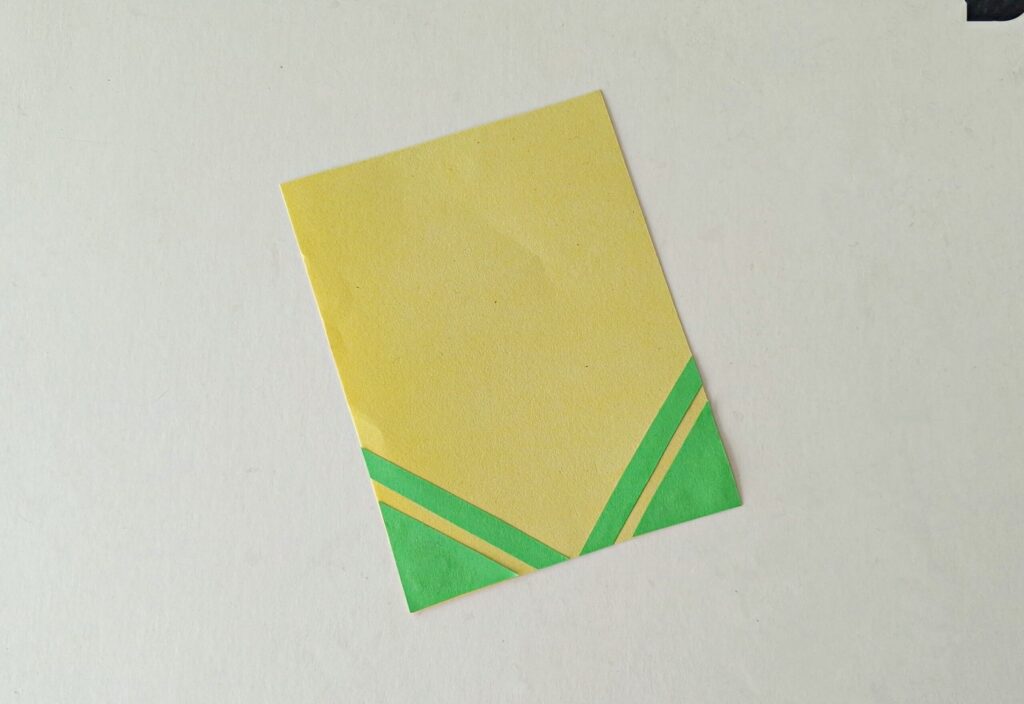
Glue the corner cutouts and the strips of the crayon box onto the crayon box cutout.
Step 3:
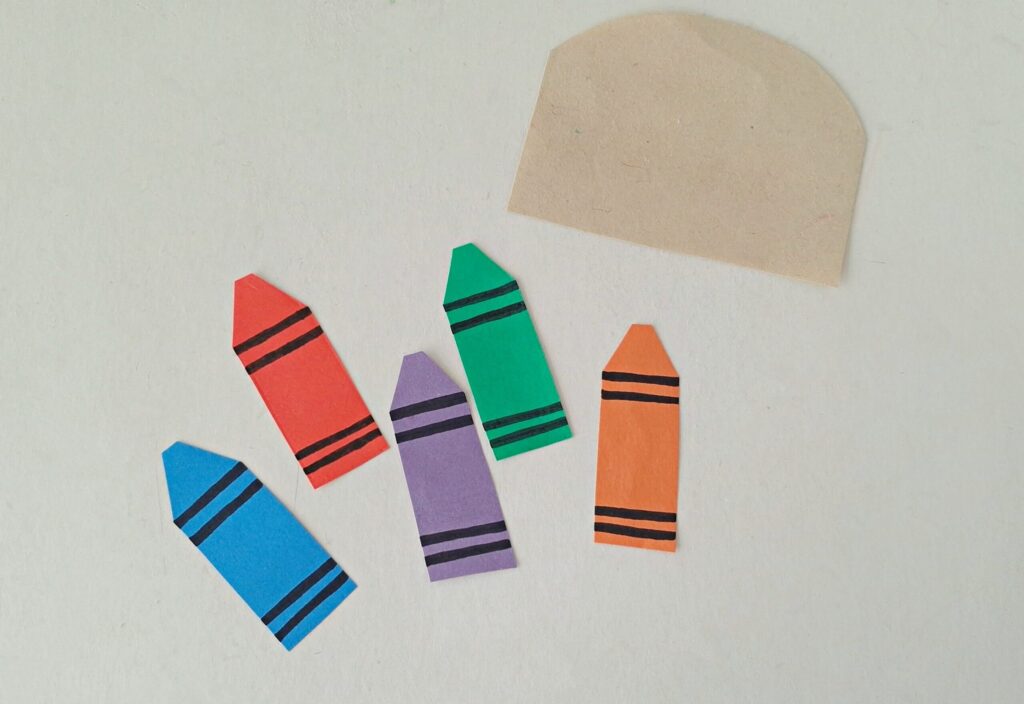
Use a black marker to trace lines on the crayon cutouts to make them look like the real crayons.
Step 4:
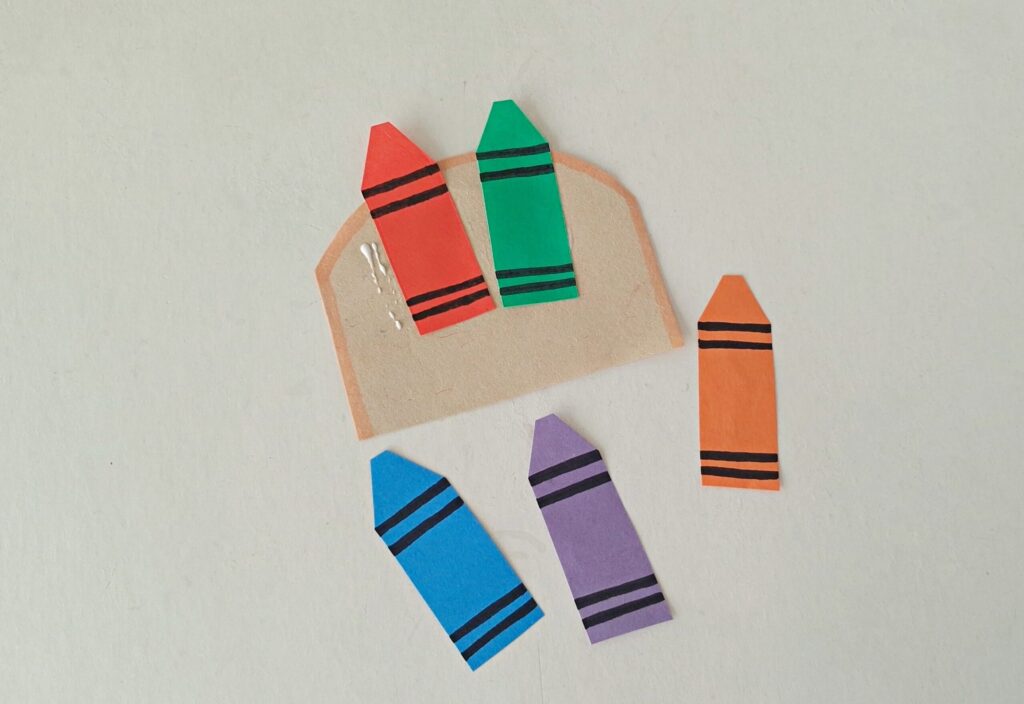
Take the arch-shaped cutout (this is the holder of the crayons) and glue the paper crayons on it.
Step 5:
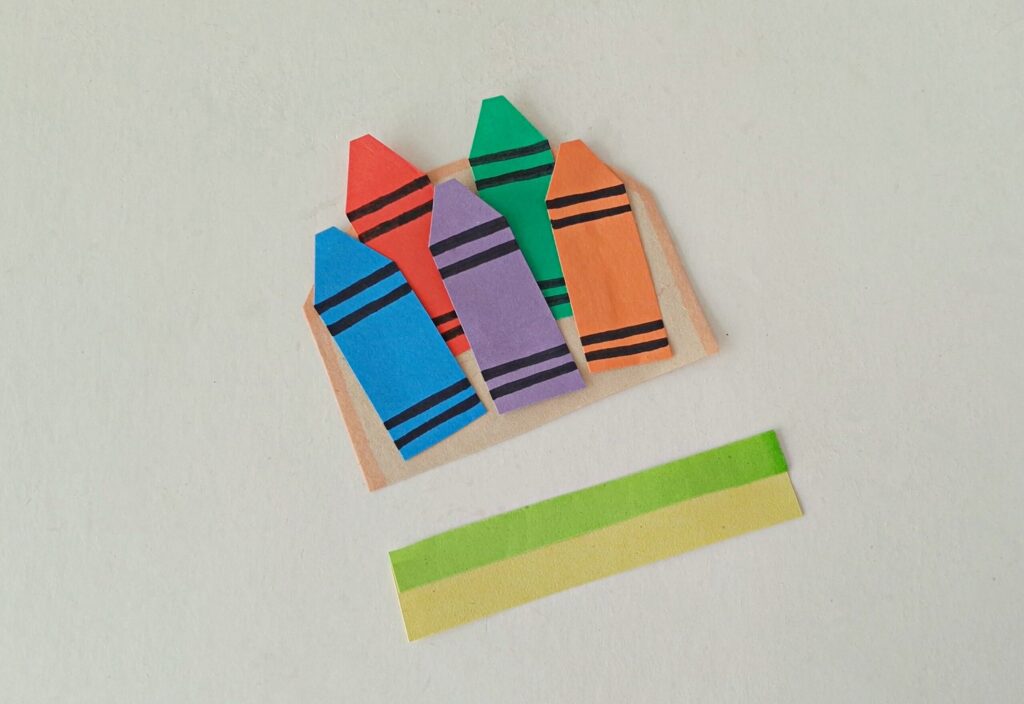
Arrange the paper crayons on the holder nicely and then glue them. There are 2 thin strips to cover the bottom side of the arranged crayons. Glue the thin strip along a side of the wider strip.
Step 6:
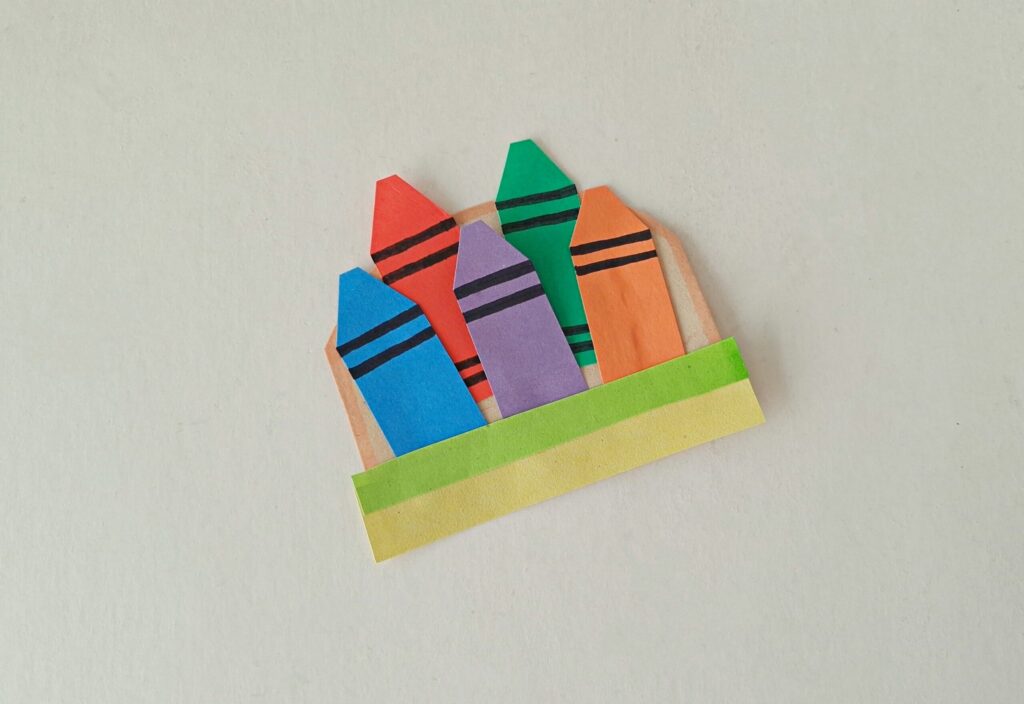
Glue the strip pattern along the bottom side of the crayon holder, this will cover the bottom ends of the crayons and make them look like they’re inside the box.
Step 7:
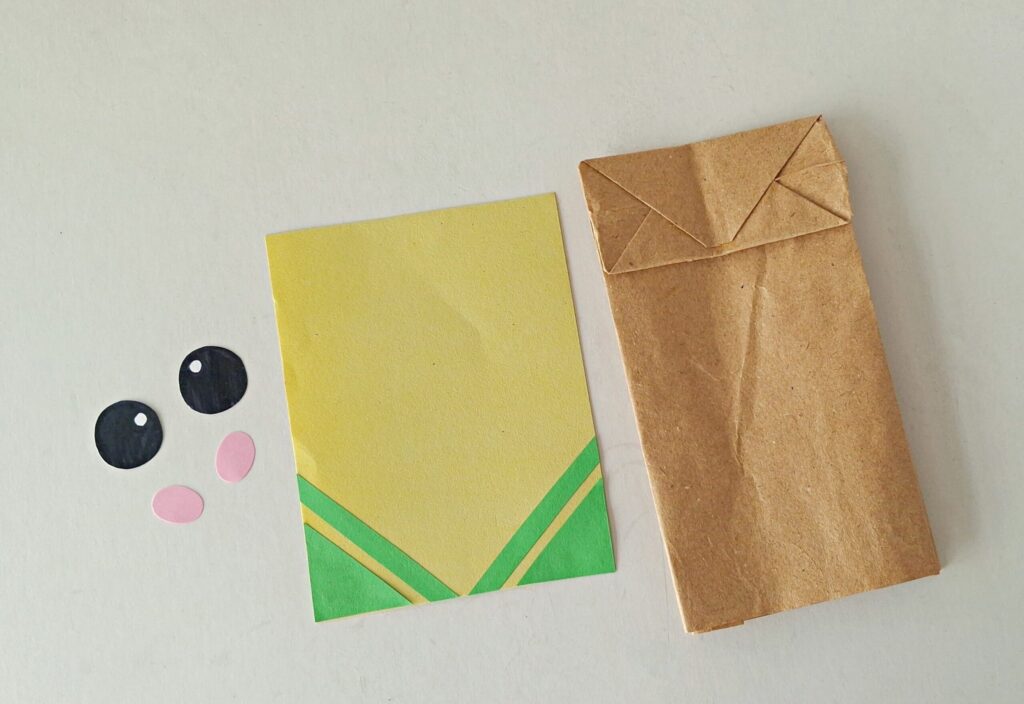
Select a paper bag for the box of crayons puppet.
Step 8:
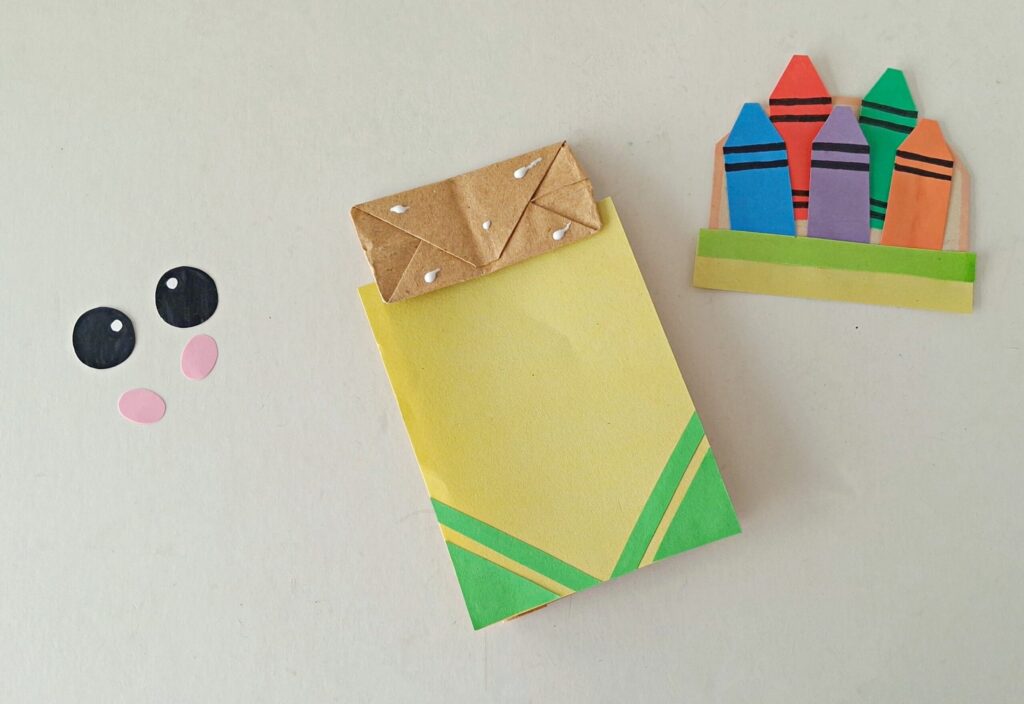
Glue the crayon box pattern to the paper bag.
Step 9:
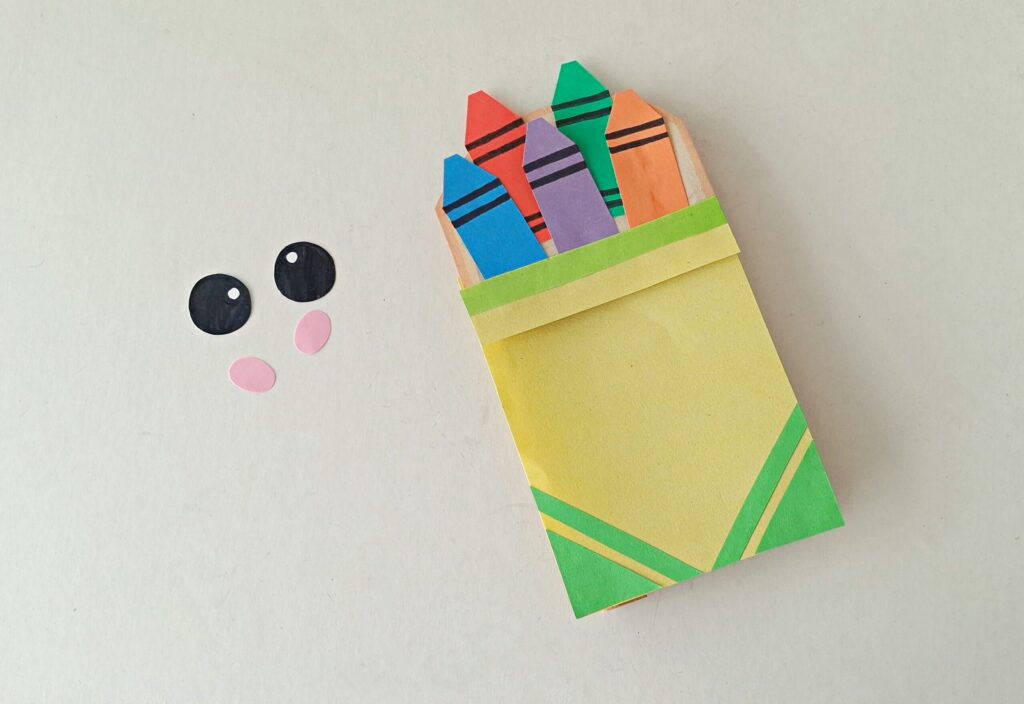
Flatten the bottom of the bag to the front, then glue the crayon base to the bottom.
Step 10:
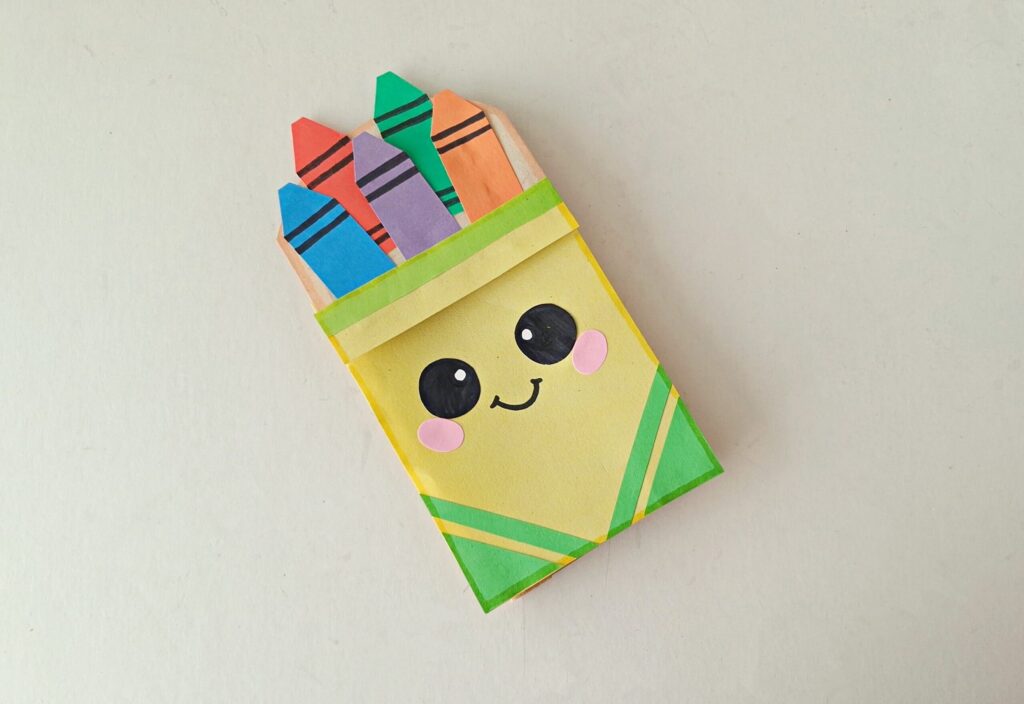
Glue the eyes and blush spots to the crayon box, and use a black marker to draw the mouth line.
Instructions for Notebook Paper Bag Puppet:
Step 1:
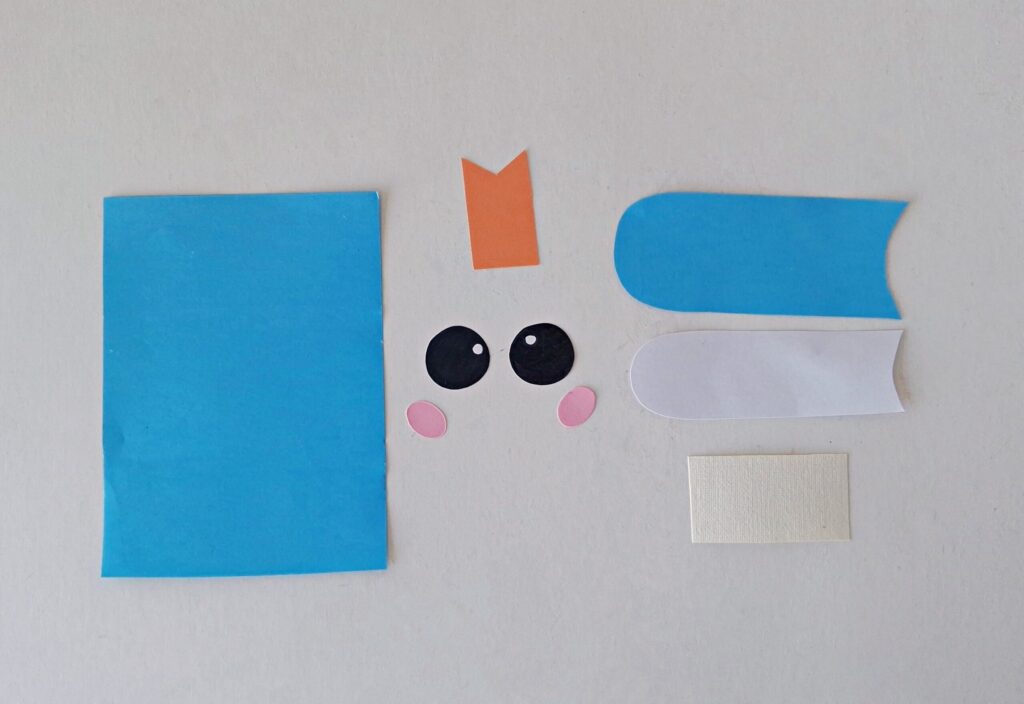
Download the template and prepare the patterns for the notebook puppets. Select different colored craft papers for the patterns, and trace the patterns onto the selected papers with a pencil. Use scissors to cut out the traced patterns.
Step 2:
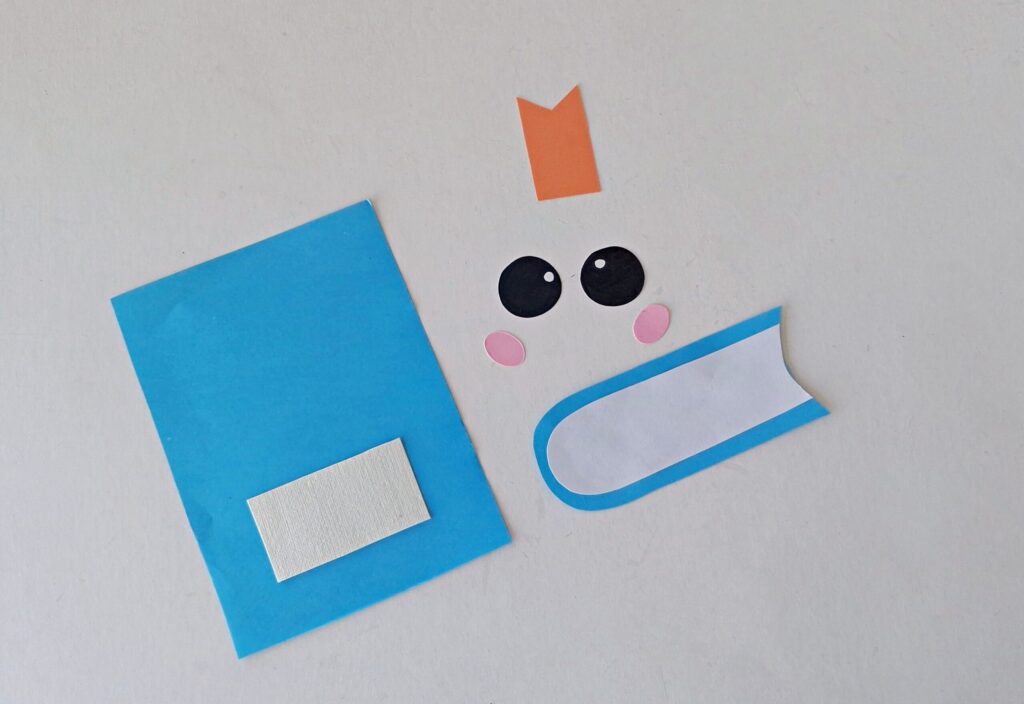
Glue the page cutout to the top side of the notebook cutout and glue the label cutout to the notebook base.
Step 3:
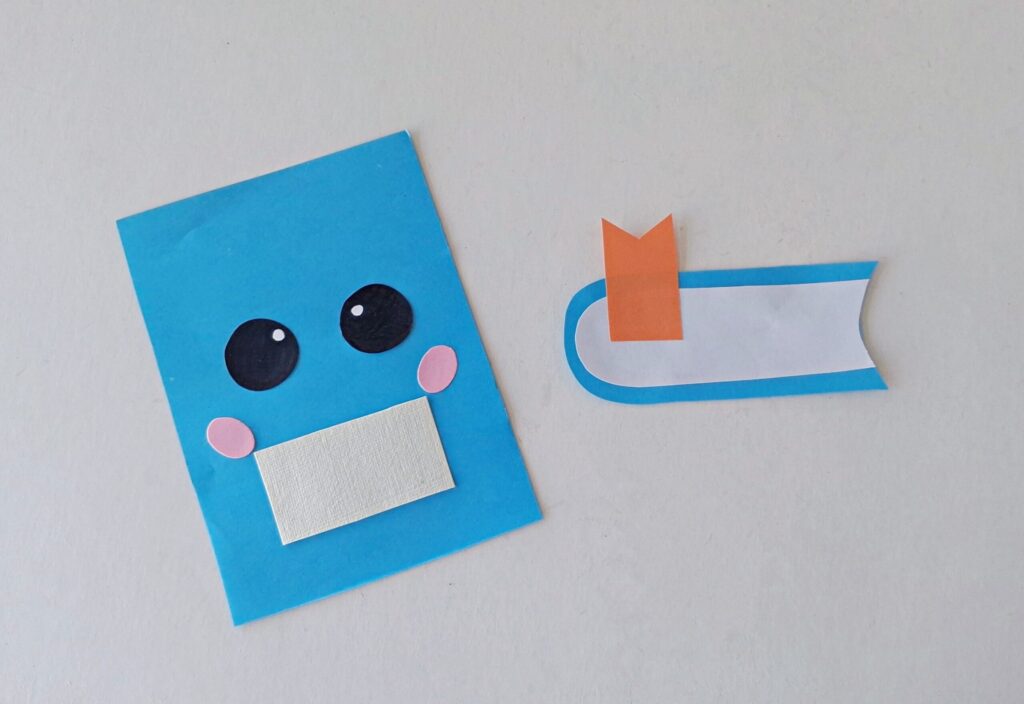
Glue the ribbon (page marker) to the page part, and glue the eyes and blush cutouts to the notebook base, above the label.
Step 4:
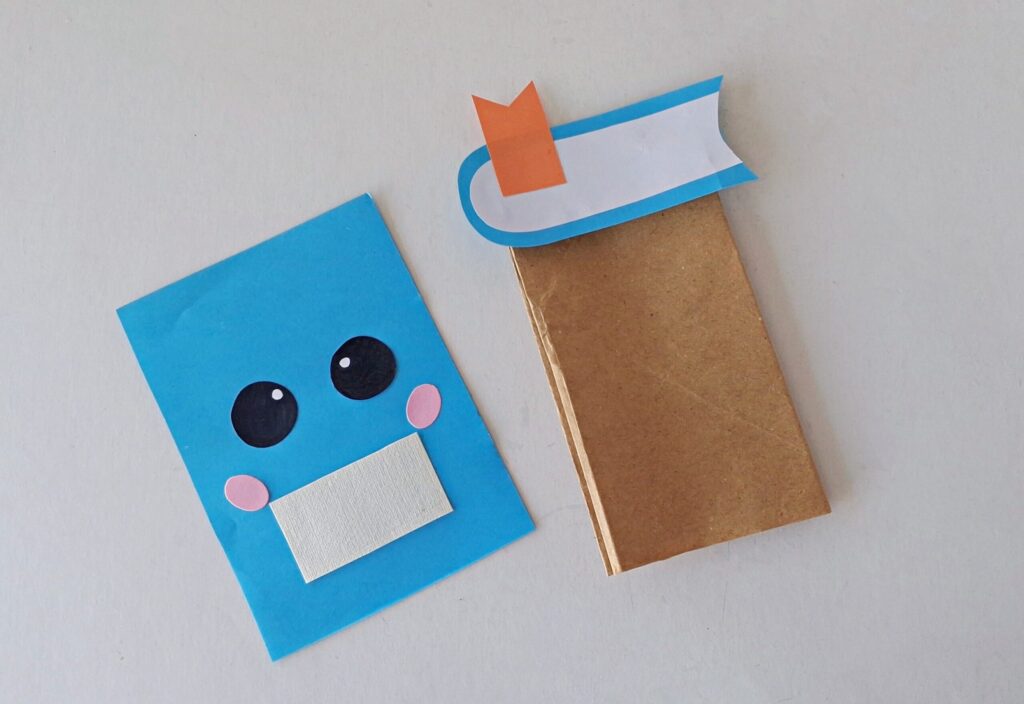
Take a paper bag and flatten its bottom end with a side of the paper bag. Glue the top part of the notebook onto the flattened bottom part.
Step 5:
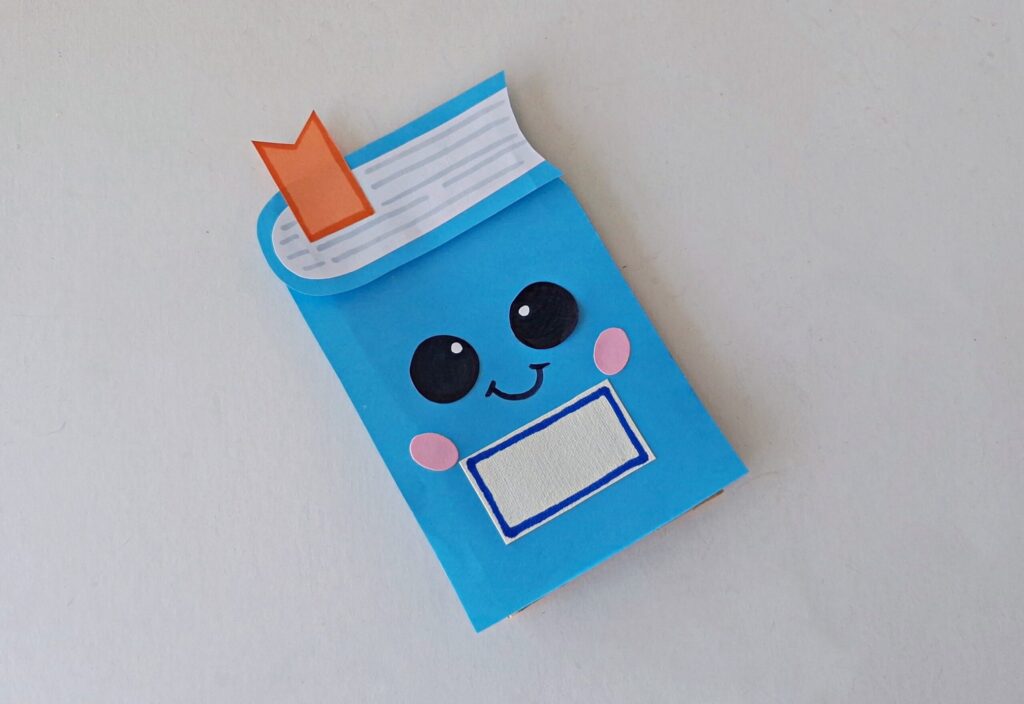
Glue the notebook base to the front side of the paper bag to complete the craft.
And now you have two pretty back-to-school crafts:
Download Free Templates
it is completely free and you can print it and use it (for personal use, not commercial) as many time as you want!
Masha Eretnova, born in 1991, is a Chiang Mai-based certified teacher, artist, and blogger with 20+ years of personal painting journey.
She started painting and drawing very early and is now an international abstract artist and educator passionate about acrylic painting, gouache, and crafts.
Her works are part of international exhibitions and contests, including ArtlyMix (Brazil), Al-Tiba 9 (Spain), Exhibizone (Canada), Italy, and many more.
Besides her artistic pursuits, Masha holds a post-grad diploma in Teaching Film Photography and 2 music school diplomas: piano and opera singing.