Last Updated on July 7, 2026 by Masha Eretnova
Looking for a fun painting session idea for summer? Here is a budget art project using acrylic paint and a DIY gift idea in one: your very own customized phone stand that looks like a juicy watermelon slice!
Let me show you how to make one in 4 steps and about 30 minutes.
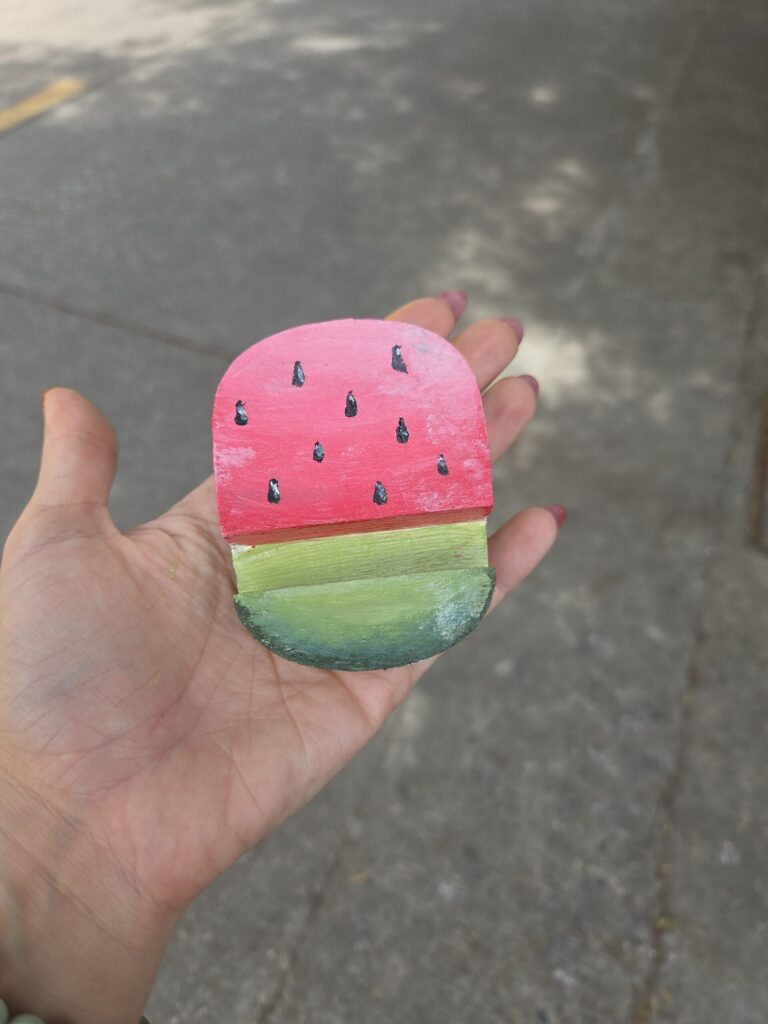
Table of Contents
Watermelon Phone Stand Supplies
- Apple Barrel Acrylic paint: white, yellow, red, blue, and black (can use black marker instead of black paint, too). Why not using just green and pink/red? Well, mixing colors is so much more fun and you will be able to adjust the red as you go! You can use more expensive acrylics, too.
- Round or oval phone stand, wooden and blank, like this.
- Brushes ( one flat or filbert and one with fine tip if you are not using a marker to draw watermelon seeds)
- Palette for mixing colors (can be even a plastic lid, anything)
- Something to cover up your working area (newspaper, craft mat, etc)
- Paper towel to dry and clean the brush
- Cup or jar with water
- Optional, gesso (I did not use it but if you want to gift or sell your phone stand, I 100% would)
- Optional, mod podge or varnish to seal the paint and make it easier to clean up as acrylics collect lots of dust.
How To Decorate Your Phone Stand
First step is optional, but makes a difference if you are working with raw wood: sand it well so the surface is smooth. If you buy a ready made wooden phone stand it is probably already sanded and coated with a protective layer.
More watermelon-themed ideas:
Step 1: Primer Coat
Wood is very porous so it soaks up more paint than needs be. This leaves us with more coats to go to achieve nice bright colors.
So, to prevent this, we need to apply 1-2 layers of white gesso or white acrylic paint over the surface of our phone stand.
I used just white paint, but gesso would be best. I also only did one coat and it was enough.
Let it dry.
Step 2: Watermelon Rind
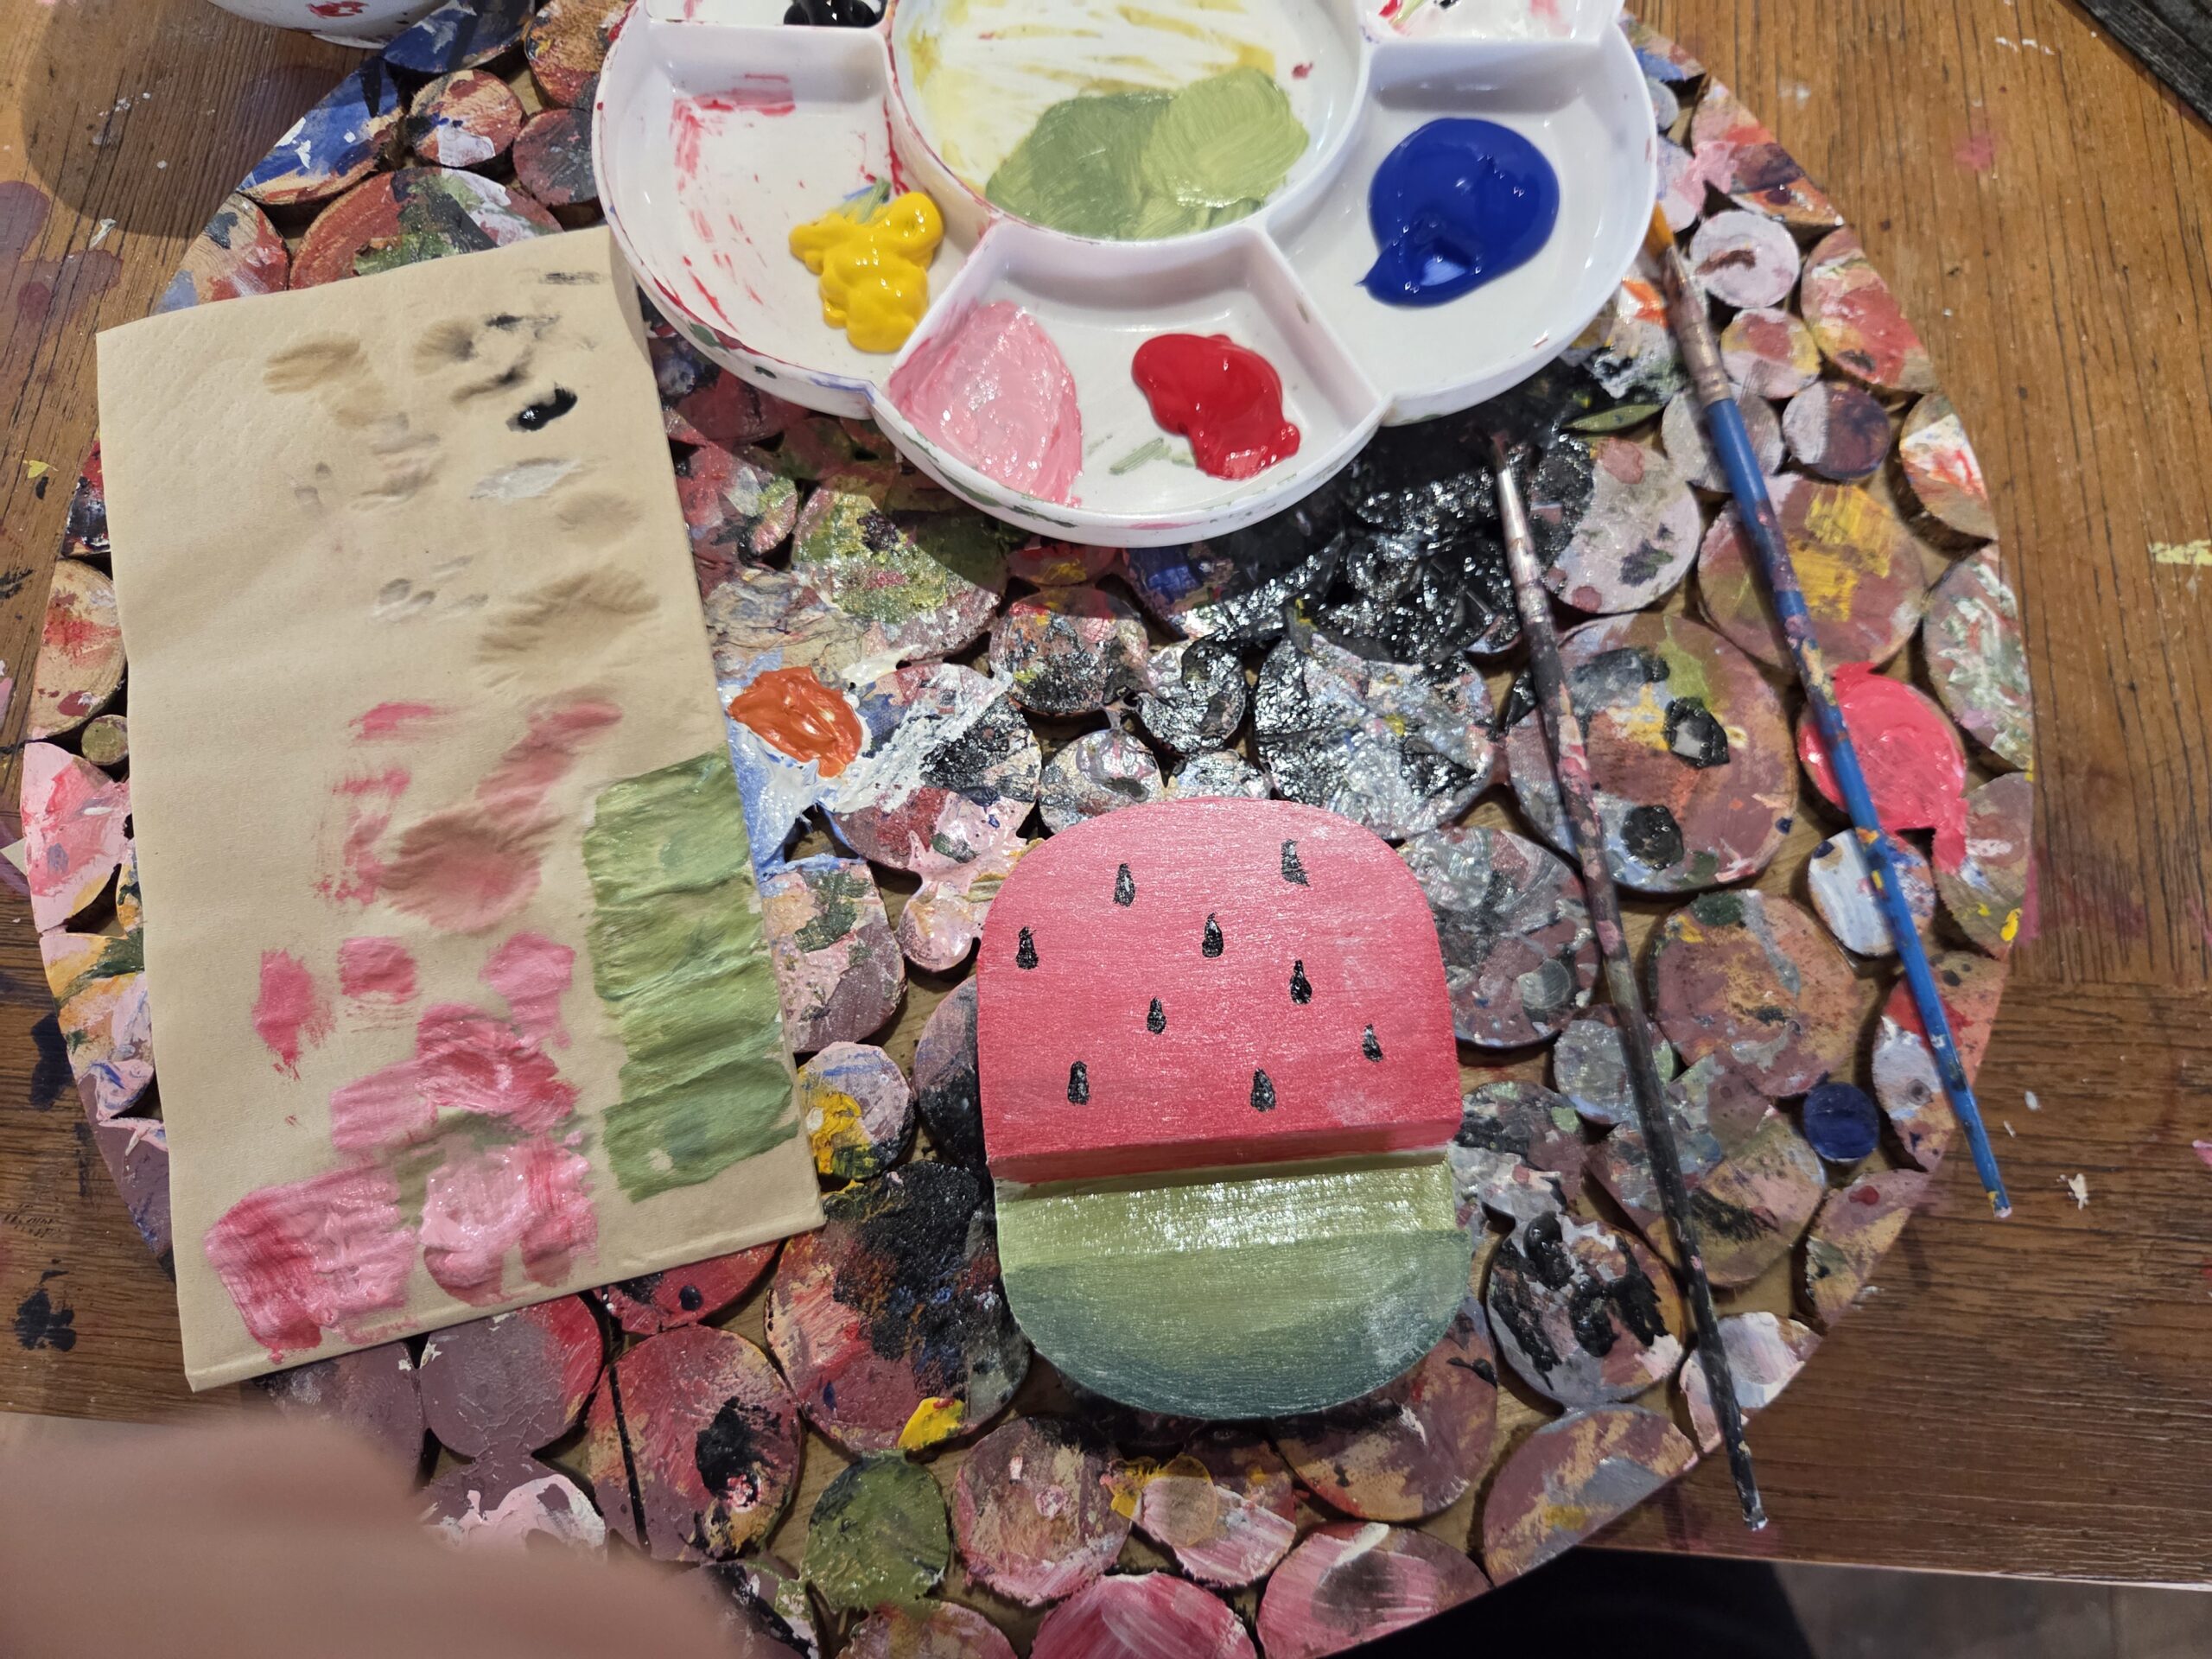
By mixing blue and yellow in different proportions I made several green shades startinig with the darkest to make the rind.
Apply paint in one stroke, it can be arched to imitate the real rind.
The closer you get to the center, the lighter the green gets, you can even mix in some yellow or add it as dots and lines.
Step 3 Watermelon
The white + red and the same gradient approach will help you paint the slice part.
You will see how because we made a few layers of white, the bright red, pink, and green really pop. Don’t forget that acrylic paint dries really fast, so do not leave hard edges between gradient colors. Using flat brush, try to blend them right away.
Step 4 Watermelon Seeds
For the sake of simplicity, I made all the seeds black, but you can also make them brown or white (as it occurs in nature).
Using thin brush, I made blobs that somewhat remind drops with black paint. Waited just a little and added white highlights (optional).
And that’s it! If you want to use it, I would wait a day and then apply a few coats of Mod Podge or acrylic paint varnish/seasealer to make the surface easier to clean.

Masha Eretnova, born in 1991, is a Chiang Mai-based certified teacher, artist, and blogger with 20+ years of personal painting journey.
She started painting and drawing very early and is now an international abstract artist and educator passionate about acrylic painting, gouache, and crafts.
Her works are part of international exhibitions and contests, including ArtlyMix (Brazil), Al-Tiba 9 (Spain), Exhibizone (Canada), Italy, and many more.
Besides her artistic pursuits, Masha holds a post-grad diploma in Teaching Film Photography and 2 music school diplomas: piano and opera singing.