Last Updated on November 16, 2025 by Masha Eretnova
Winter is just around the corner! In this tutorial, we are going to draw and color a beautiful snowflake.
This lesson is very easy, so kids and beginners can enjoy it, too. You only need a few simple supplies, and we will go step by step together. By the end, you will have a soft, icy snowflake that looks great on your winter art projects.
If you paint it on a thicker paper, you can even use it as a Christmas tree ornament!

What You Need
- Colored Pencils (I like Faber Castell or Prismacolor), we need light and dark blue colors.
- Black acrylic paint pen or marker
- A4 paper – you can use regular print paper for practicing
Step-by-Step Snowflake Drawing
Sure! Here is a simple, kid-friendly, plain-English step-by-step tutorial based on the images and the video you provided.
I’ll describe each step clearly so beginners can follow along easily.
How to Draw and Color a Snowflake (Easy Tutorial for Kids & Beginners)
Step 1: Draw a small circle

Start by drawing a small circle in the middle of your paper.
This will be the center of your snowflake.
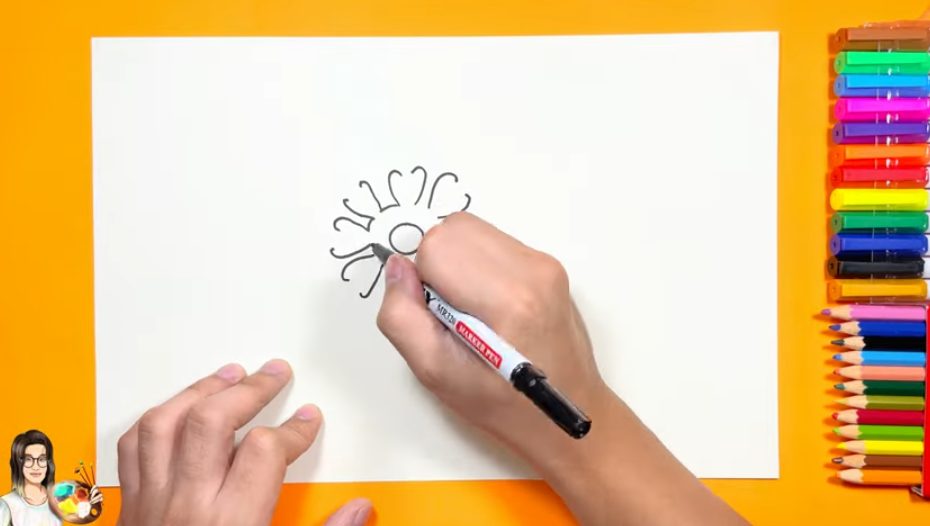
Step 2: Draw Commas

Draw comma-shaped line around the circle, leaving a little bit of space between each and between the commas and the central circle.
It will look like a flower.
Step 3: Draw short curved lines
Connect these commas at the bottom of each with a short curved line.
It will look like a bigger circle around our small central circle with some blank spaces.
Step 4: Make the “branches” longer

From the end of each short curved line, draw a longer line that curves inward.
These long lines remind little hooks. They should not connect.
Step 5: Add small curved shapes at the ends
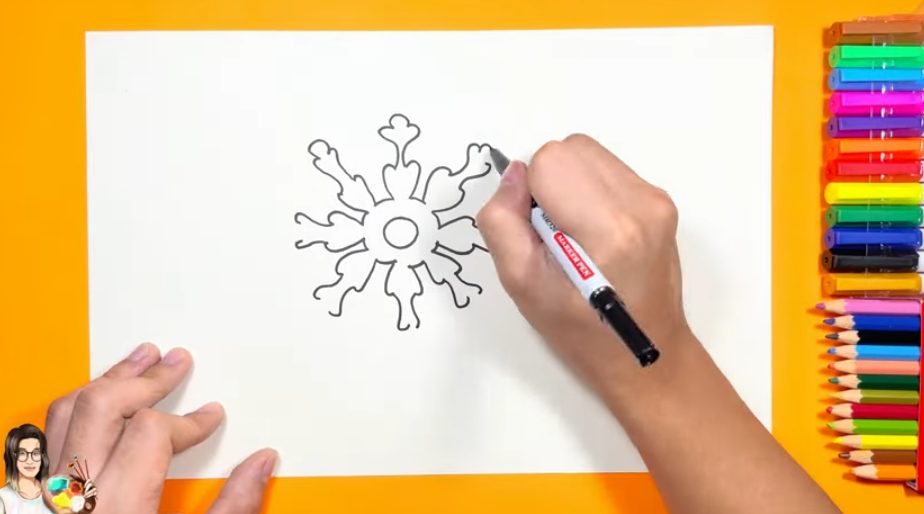
Connect the ends of two “hooks”, just draw a small round bump.
This makes the snowflake look soft!
Step 6: Connecting Lines

Now connect the bumps in the middle with lines that look like a pitched roof.
This starts to make the snowflake look full.
Step 7: Add an extra level of “roof” lines
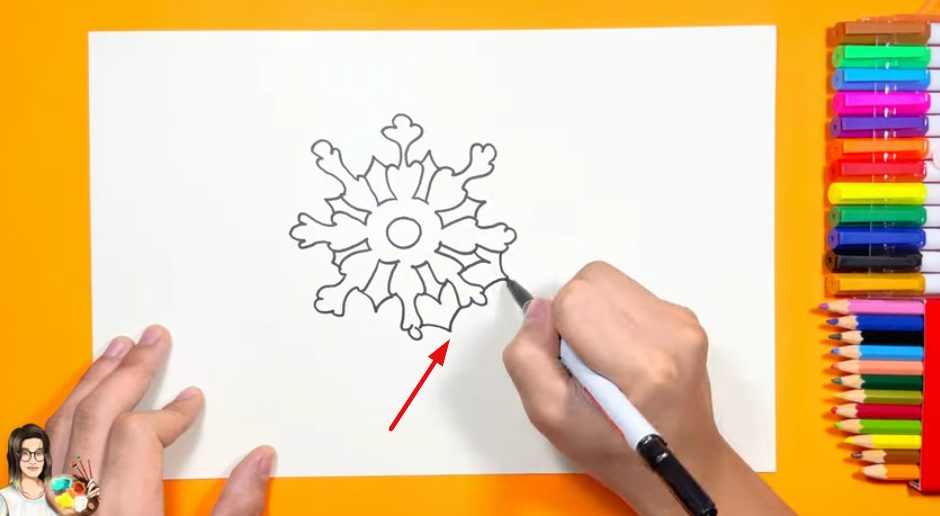
With the same line, connect the top bumps.
This will make the outside edge look pretty and detailed.
Step 8: Color the snowflake

Use a dark blue pencil or marker to color the “branches” of the snoflake.
Keep the color soft inside and press a bit harder closer to the outline.
Add lighter blue along the connecting lines.
When you’re done, the snowflake will look shiny and icy!
Get A Printable Template To Color or Transfer

Video Tutorial To Follow Along
If you prefer to watch and follow along, I have a video, too. You can play it at a slower speed to draw comfortably.
Have you painted this snowflake? Make sure to tag me on social media @mashkazavr (Instagram)!

Masha Eretnova, born in 1991, is a Chiang Mai-based certified teacher, artist, and blogger with 20+ years of personal painting journey.
She started painting and drawing very early and is now an international abstract artist and educator passionate about acrylic painting, gouache, and crafts.
Her works are part of international exhibitions and contests, including ArtlyMix (Brazil), Al-Tiba 9 (Spain), Exhibizone (Canada), Italy, and many more.
Besides her artistic pursuits, Masha holds a post-grad diploma in Teaching Film Photography and 2 music school diplomas: piano and opera singing.