Last Updated on March 19, 2024 by Masha Eretnova
Did you know that it is quite easy to make your own paints? Pack it in tubes and enjoy painting without paying for brands or marketing?
To make acrylic paint, you will basically need 3 components: Acrylic medium or binder, Pigment and Water with a bit of alcohol.
You start by adding water and a bit of alcohol to powder pigment, then gradually add the acrylic polymer emulsion while stirring until you achieve the desired consistency and color intensity. And mull it thoroughly for 5 minutes.
I teach you in this article how to make acrylic paint – REAL acrylic paint, and not something that is labeled with acrylic but contains glue – which is fake paint.
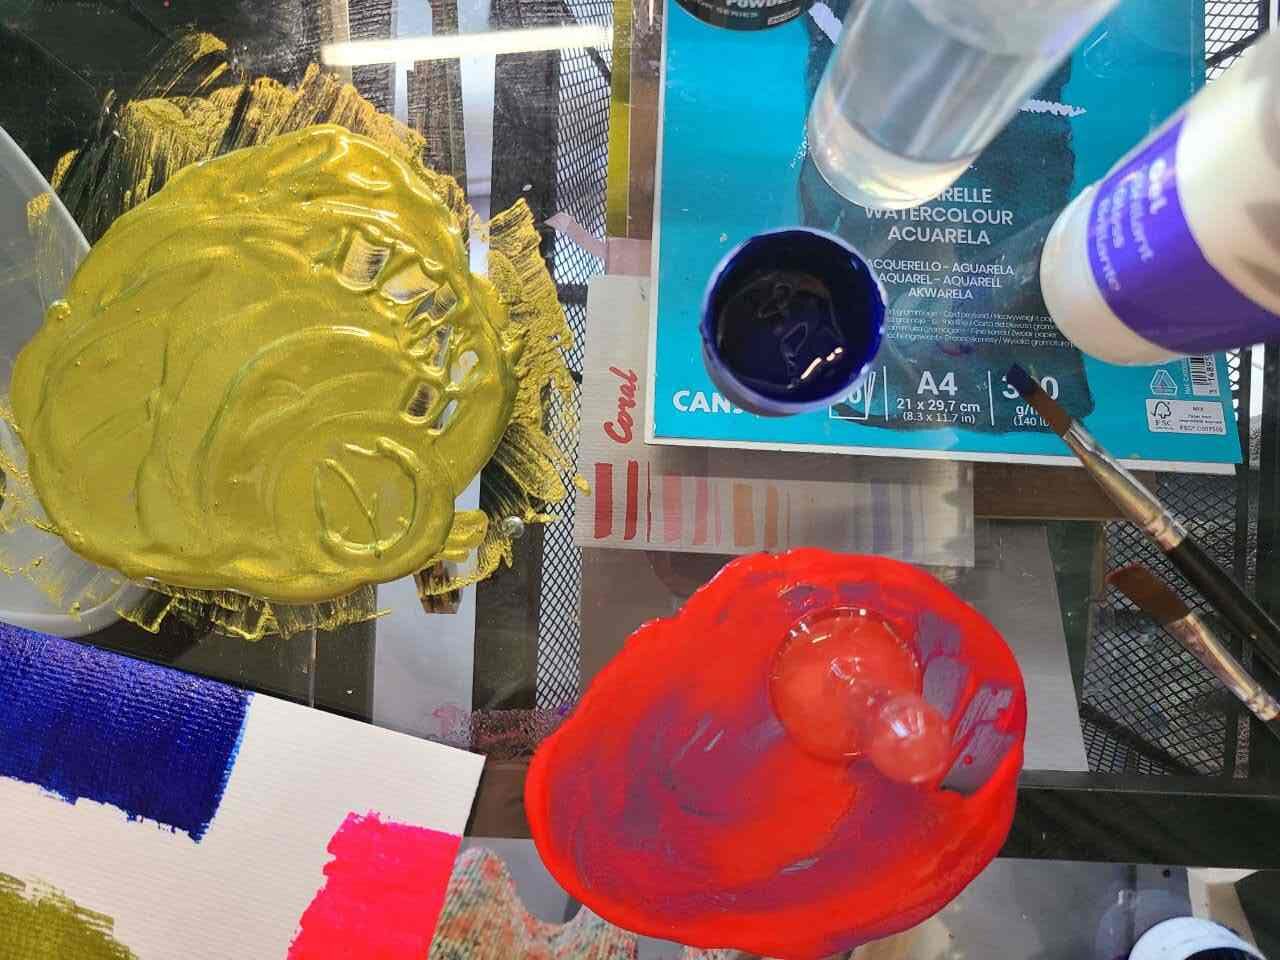
Table of Contents
This article contains affiliate links. It means no extra cost for you but a little commission (2-3%) for me to support my hobby and blog. Thank you!
What is acrylic made of?
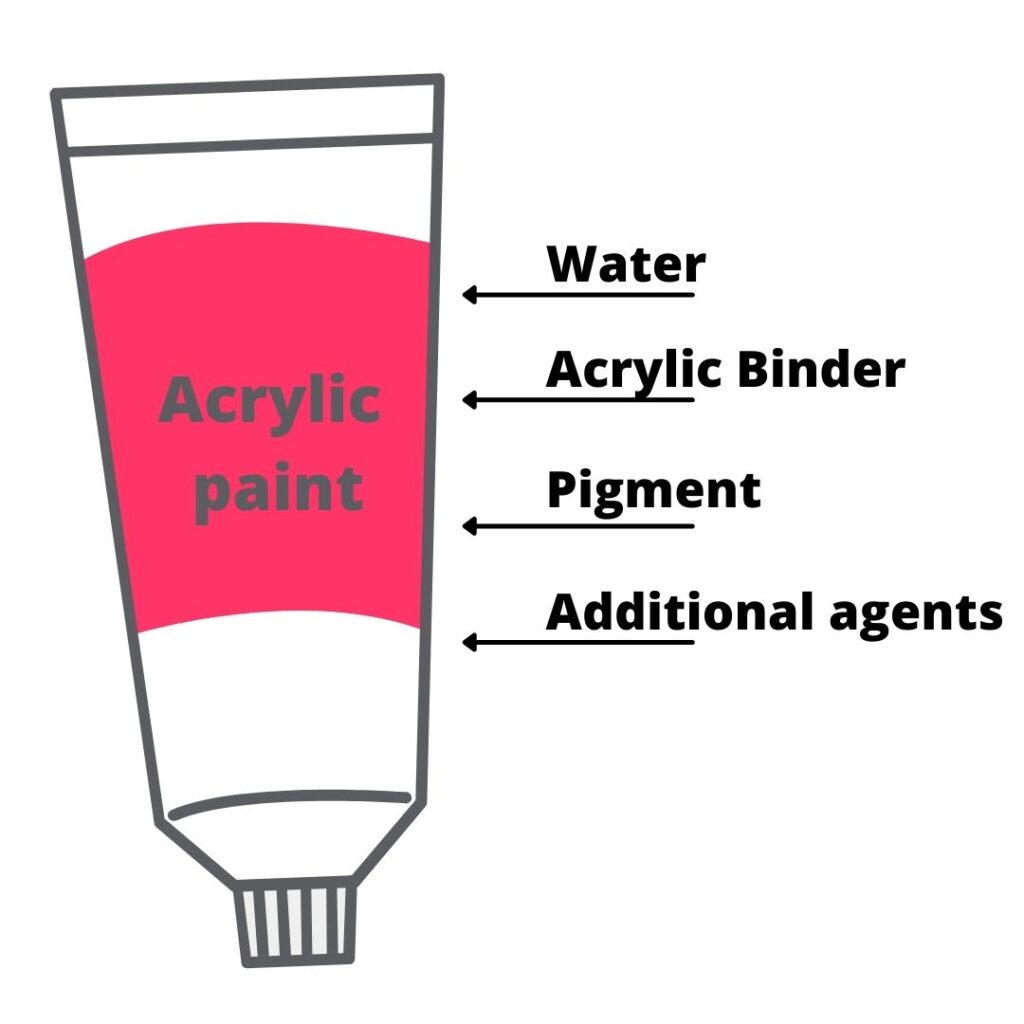
Commercial paints are non-toxic and mostly use 4 main ingredients:
- Pigment: This is the colorant that gives the paint its hue. Pigments can be made from a variety of materials, such as minerals, synthetic chemicals, or even natural sources like plants.
- Acrylic polymer emulsion or binder: This is the glue-like substance that holds the pigment particles together and binds them to the surface being painted. Acrylic polymer emulsion is made from a blend of acrylic monomers and polymers that are dissolved in water.
- Water: This is used to thin the paint and adjust its consistency. Water also helps to keep the paint workable and prevents it from drying out too quickly.
- the 4th ingredient is also present in manufactured acrylics – additives. It can be preservatives, color enhancers, extenders, etc. Cheap paints will contain fillers that help the brand save money on pigments and use less of them for the same volume tubes.
Read also: What is Acrylic Paint? Ultimate Acrylics 101
Step 1 – Gather materials and tools
- Natural Pigments / Any fine ground dry pigment
- Aluminum Paint Tubes or airtight bottle/container
- Acrylic binder or acrylic medium
- Water (best to use distilled water)
- Glass muller or a palette knife
- Glass surface or glass color palette
- Dust mask and gloves
Pigments
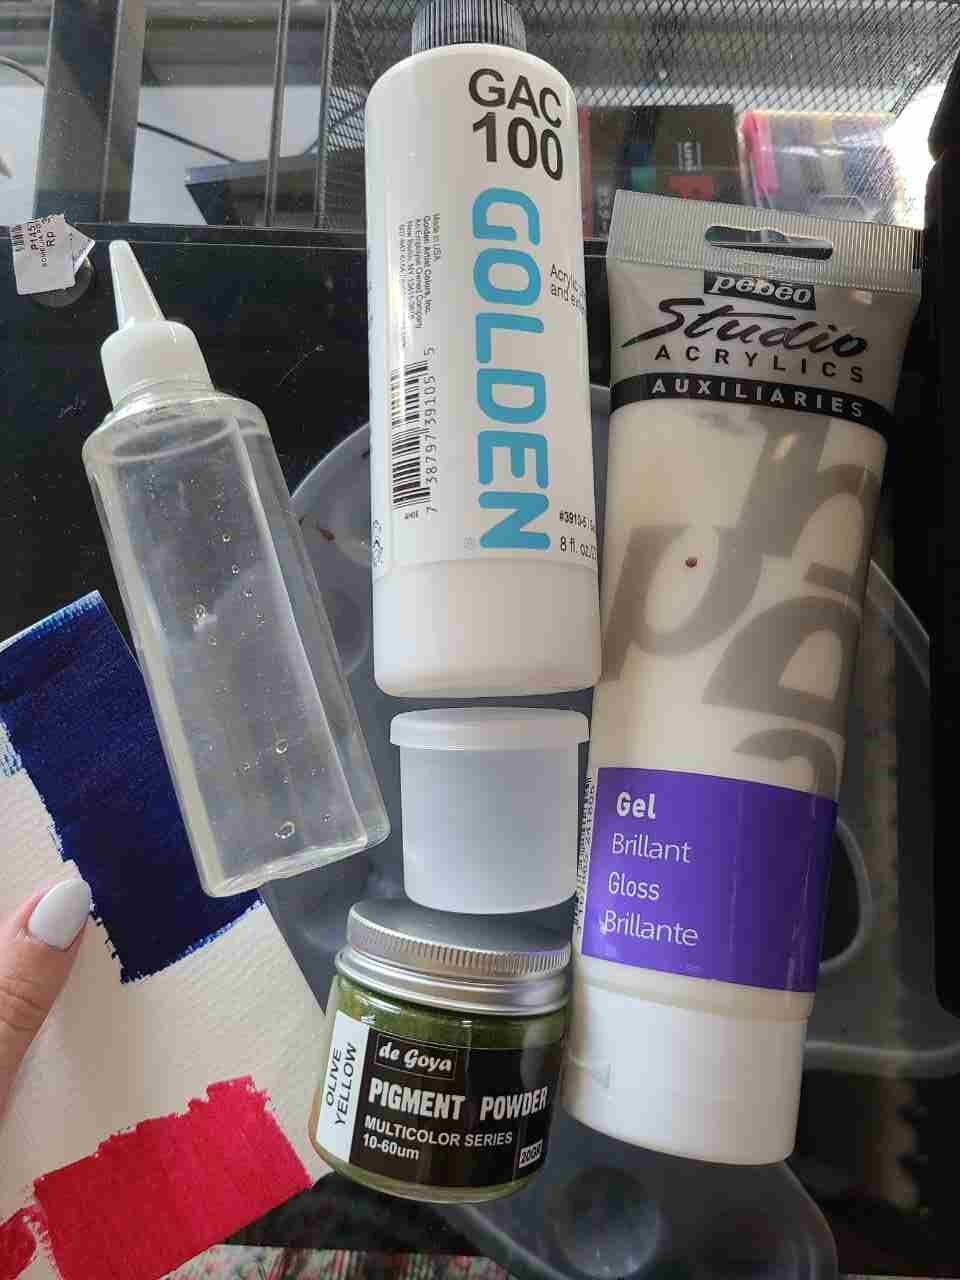
I used de goya pigments and Loved it! Smooth mixing and beautiful DIY acrylic paint.
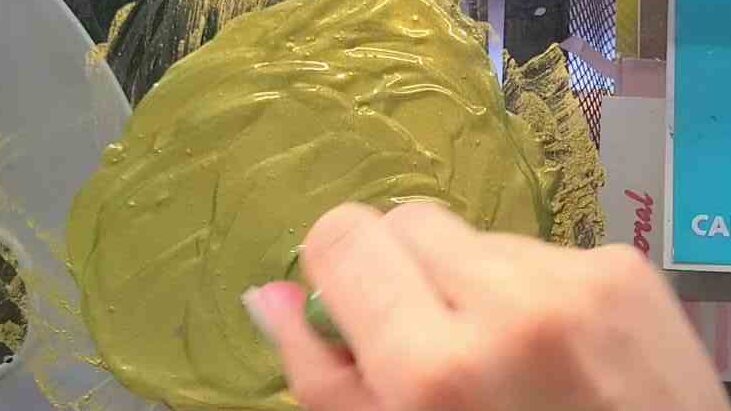
Good pigments, smooth
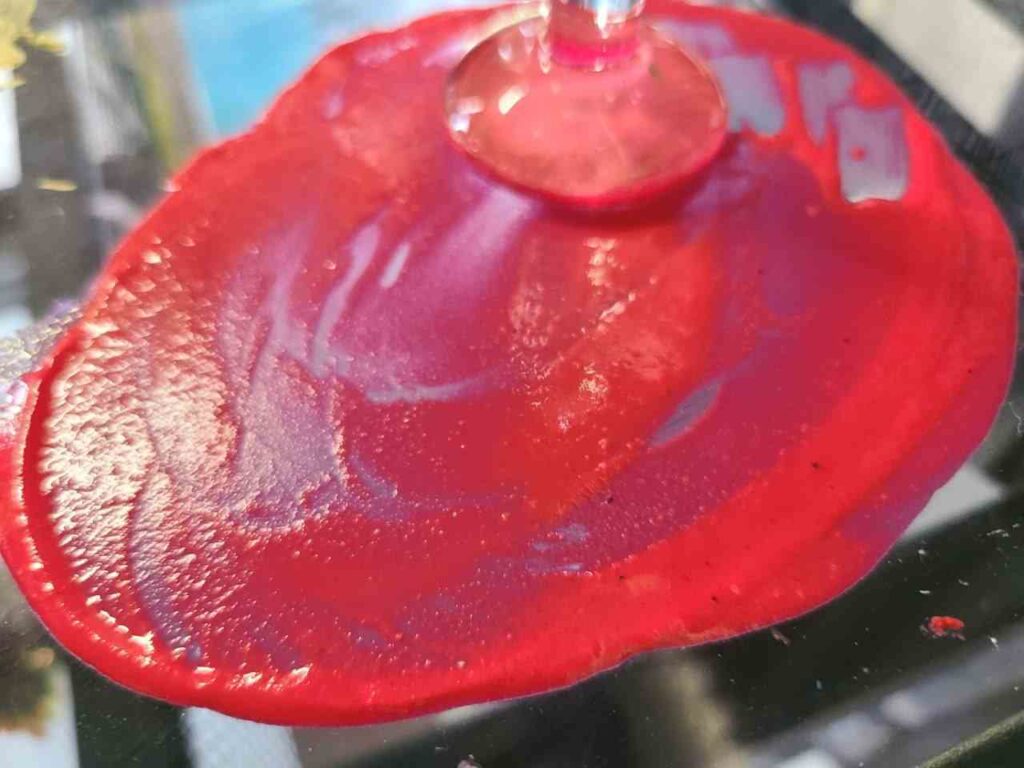
I also used no-name pigments ordered online and they came too silica-like.
And they made chalky paint that I won’t use and it doesn’t look professional.
In general, there are 4 groups of pigments:
- Organic, for ex., Phthalocyanine (Phthalo gree or blue), Prussian, Crimson, etc.
- Lake pigments (also organic) contain some mordant like metallic salt in it. Mostly used for cosmetics and non-permanent paints.
- Inorganic like Cadmium, Cobalt, Lead, Titanium Oxide etc. They contain metals and sometimes are a bit usafe in large amounts,
- Natural organic pigments are not quite permanent. Ex., Indian Yellow, Indigo, Sepia, Bone Black, and Sap Green. Some pigments are still made of shells, flowers, bones etc. Colors like ochres, umbers, and siennas are really produced from earth in good brands. Natural pigments made of vegetable or animal extracts are used for food coloring as well.
- Synthetic pigments today are produced in labs, for ex., Zinc White.
What acrylic medium to use?
Acrylic medium acts like an acrylic paint base.
Most mediums are made of 100% acrylic polymer emulsions and they are widely available in stores.
I’ve tested a few acrylic-based mediums and you can also use vinyl acrylic emulsion.
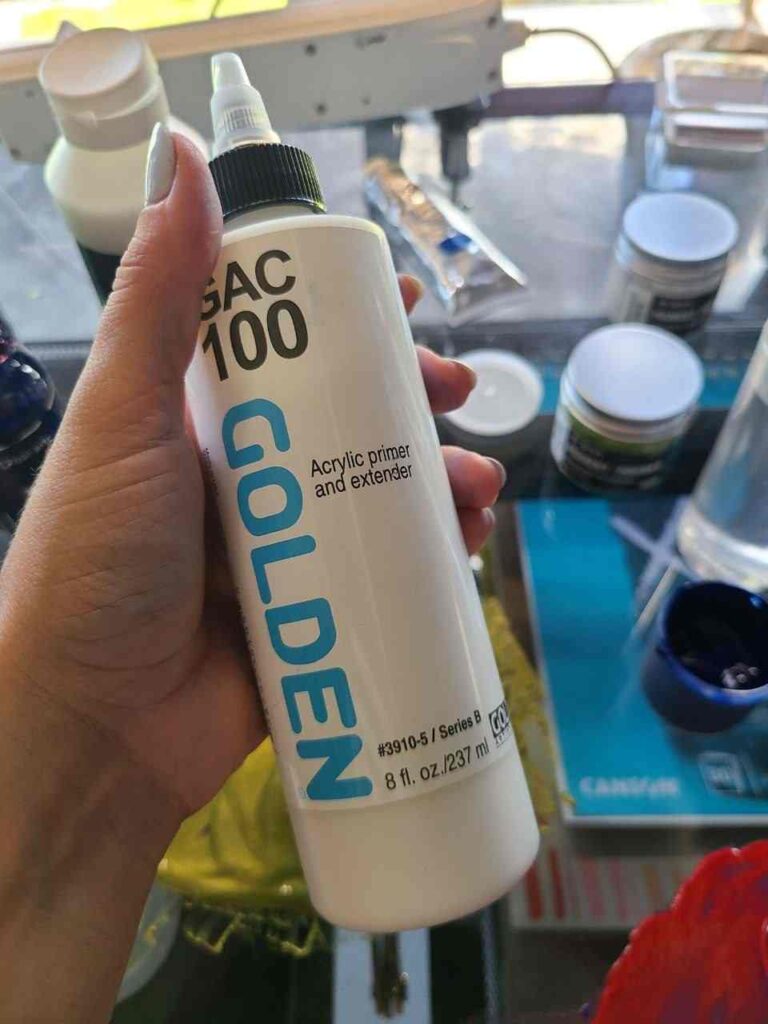
- Golden GAC100 (the brand recommends it for making acrylic paint)
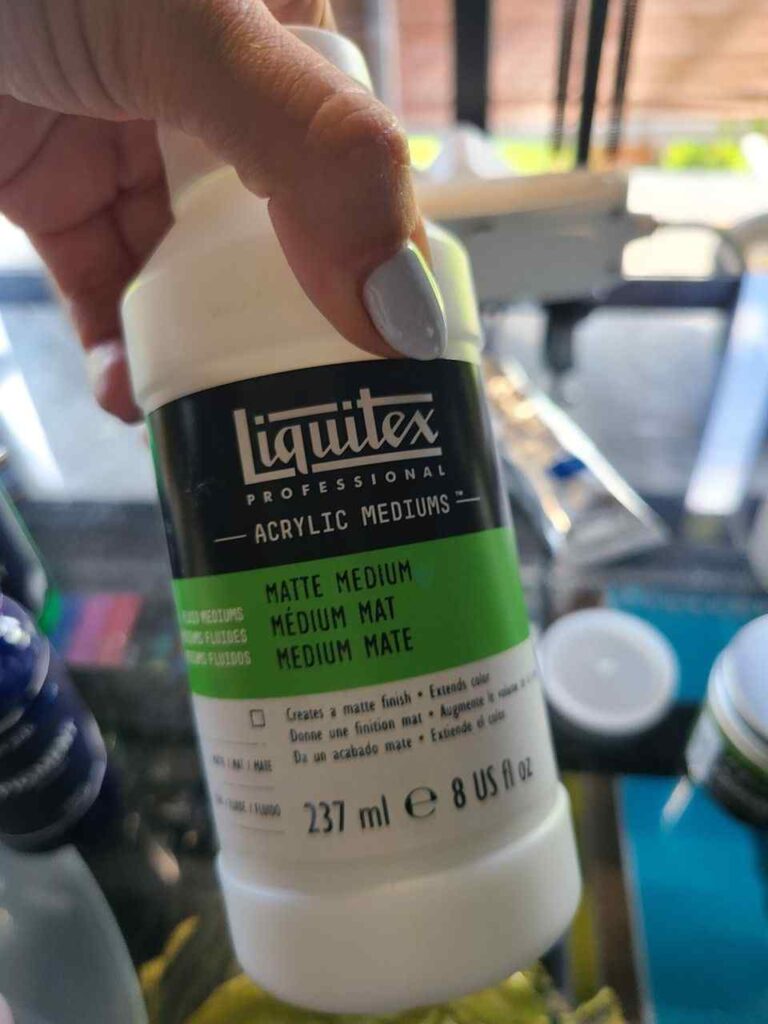
- Acrylic medium in gloss or matte (I tried Liquitex, works great)
- Acrylic medium gels (work best to my liking, I used simply Pebeo gel)

Step 2 – Dissolve the pigment
Mix the pigment with a small amount of water and alcohol to form a paste.
I was very reluctant to use alcohol but it is true (I tested) that a touch of alcohol does help to mix the pigments in a paste faster and makes it easier to mull.
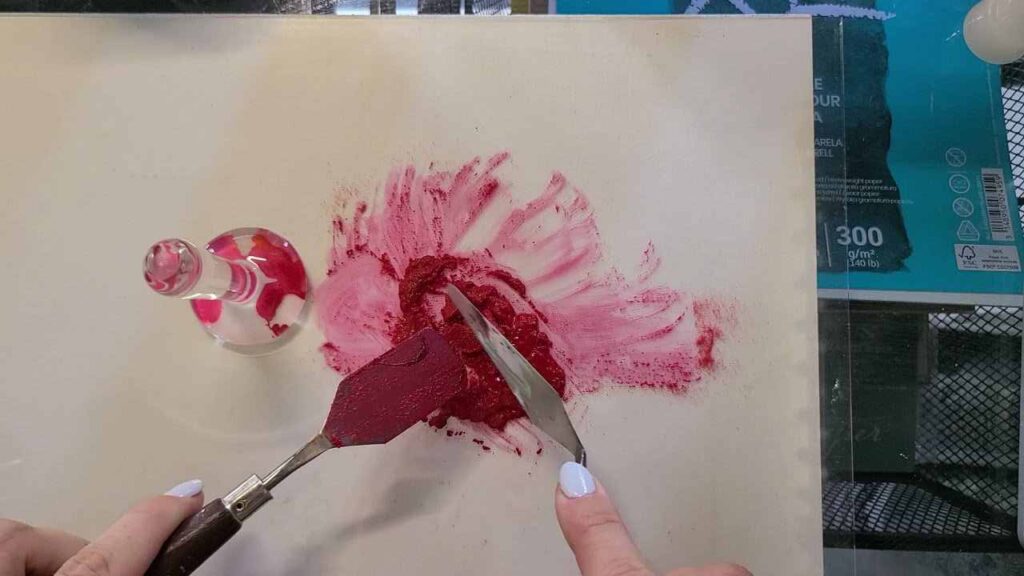
Regarding water..it is ok to use tap water, but if you are not sure your tap water is good (where I currently stay you can’t drink tap water) you better opt for distilled water as it has no impurities that will affect paint quality.
Mull for 3-5 minutes moving the muller in circular or 8-shape movements.
At this point it is not yet paint, it will look more like a homogeneous paste.
Remember, the more pigment you add, the stronger the color.
Step 3 – Add the acrylic medium or binder to the pigment paste
The amount of medium you use will depend on the consistency you want for your paint.
If you want a thicker paint, use less medium.
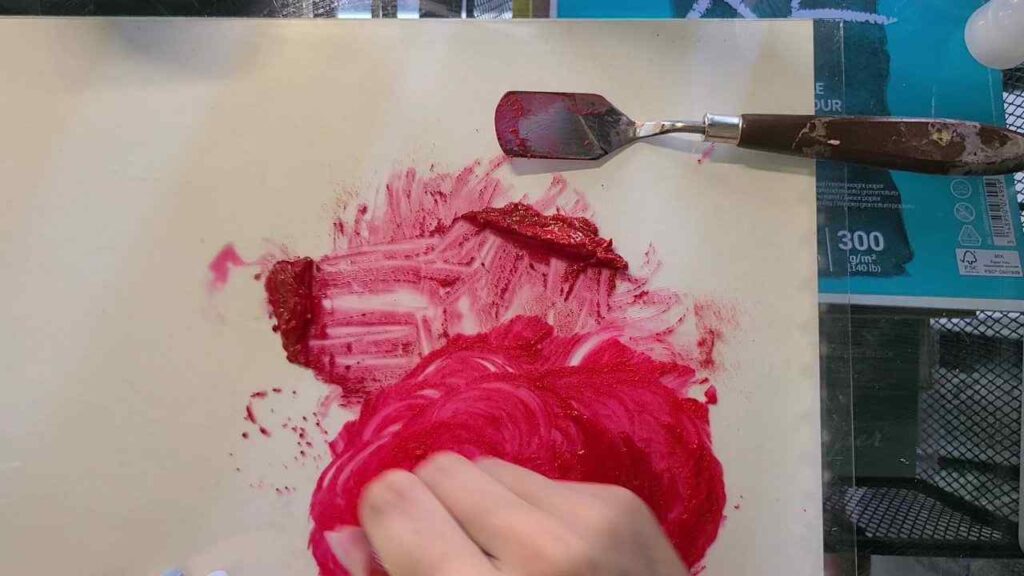
If you want a thinner paint, use more medium.
Through my tests, I like how acrylic gel works better than liquid acrylic medium. The gel makes nice soft body acrylic paint.
Mix the pigment and medium together thoroughly. You can use a palette knife to quickly mix them and then mull again for another 3-5 minutes.
If the paint is too thick, you can add a little water to thin it out. Be careful not to add too much water, as this can affect the quality of the paint.
Once you have the consistency you want, your acrylic paint is ready to use!
At this step, you can also add acrylic retarder to make a slower-drying acrylic paint, or any other agents you think would be great (like preservatives or chalk for cheap opacity intensifier).
Note: It’s important to use caution when working with pigments, as some can be toxic. Always wear gloves and a mask when handling pigments, and work in a well-ventilated area.
Step 4 – Store Properly
To store homemade paint use airtight containers but best option is to buy special metal tubes.
Label it with a sticker, add a date, pigments used and roughly the ratio for future reference.
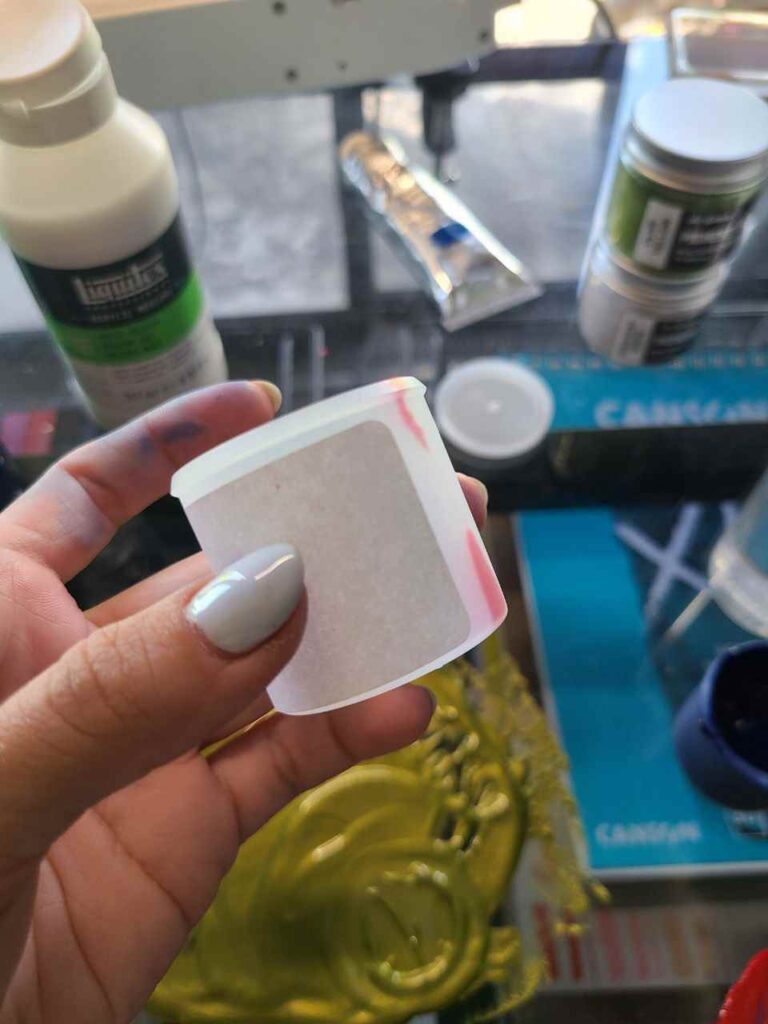
If you’re serious about making paints, I would suggest keeping a notebook where you write down all brands of binders and additives you tried and what worked best.
Step 5 – Test Results
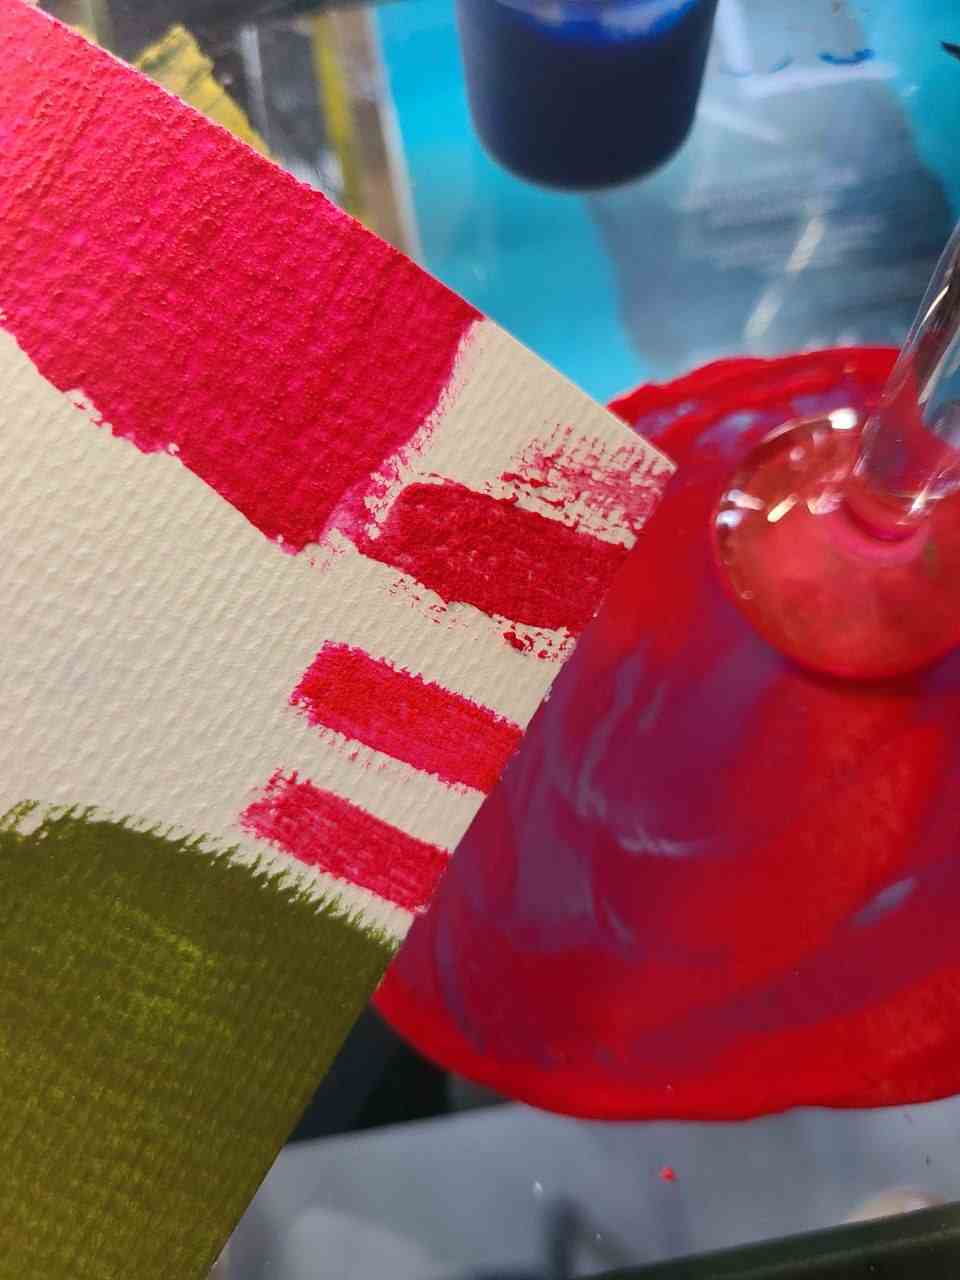
When using less ground pigments you get chalky paint.
I don’t know how they made it, it just said powder pigment on the description but when you look at it you see it’s not really powder, it looks closer to fine sand. And it is not what we need. I think it had some fillers to it.
And the results were a bit better if using alcohol to dilute it, and with heavy acrylic gel, but still, like you mixed paint with baking soda.
No matter how long I’ll mull it. Not the professional quality I’m after:
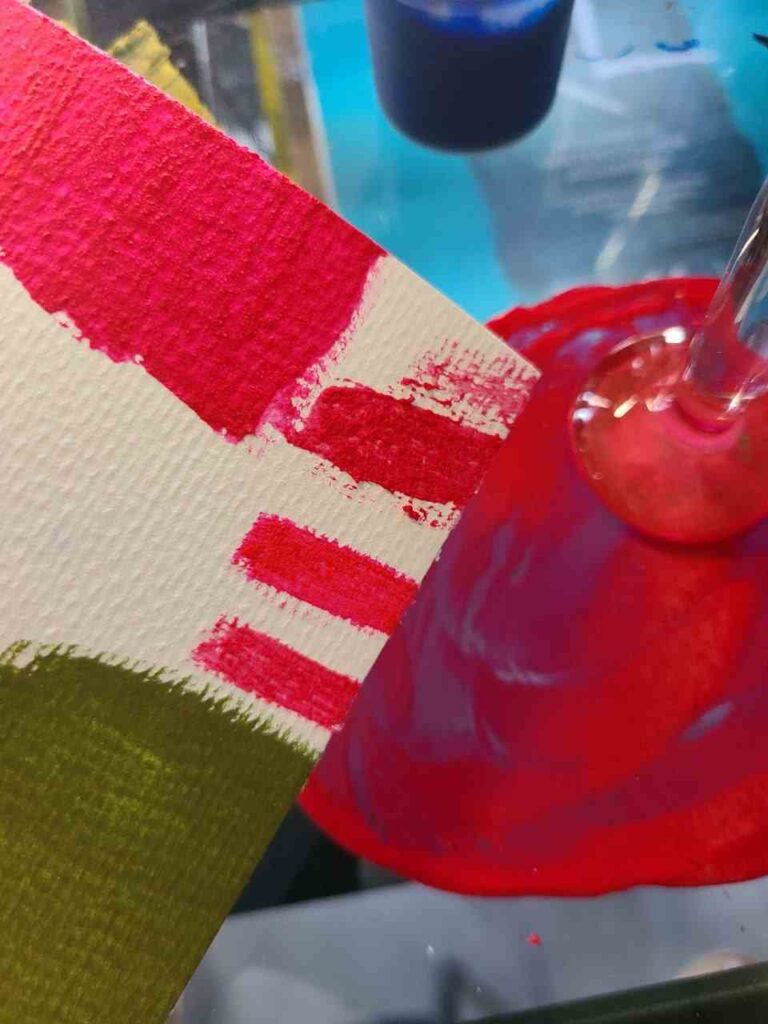
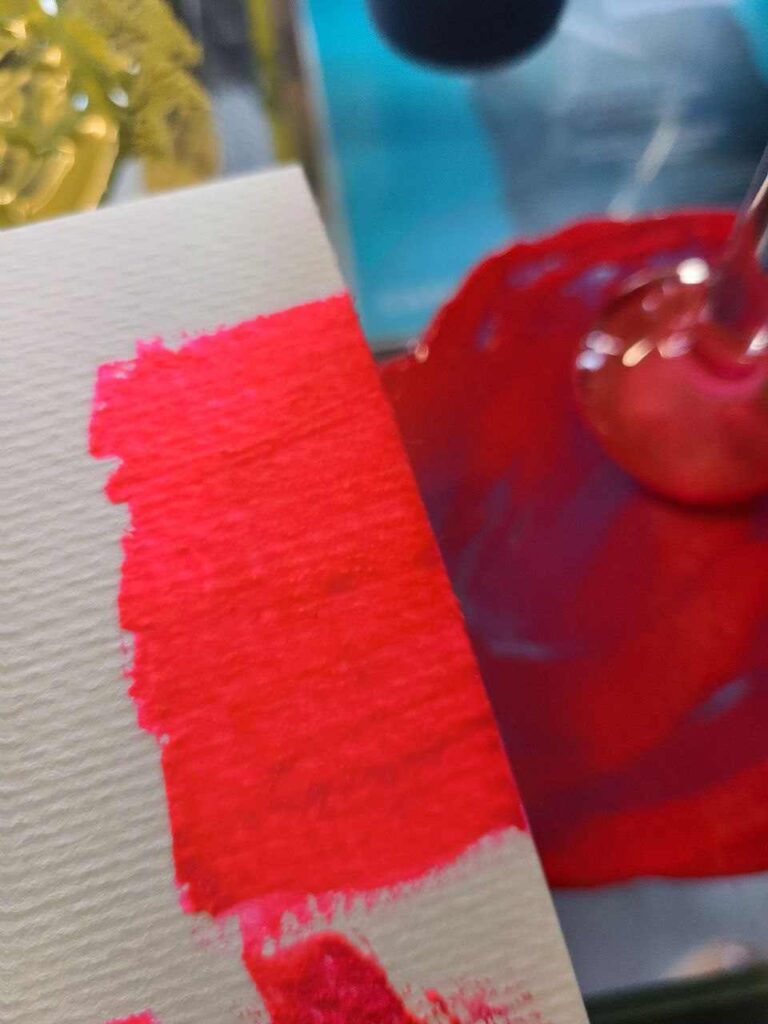
Fine-grinded paint pigment powder (like it was supposed to be!) works like magic and creates stunning homemade acrylics with all the needed characteristics.
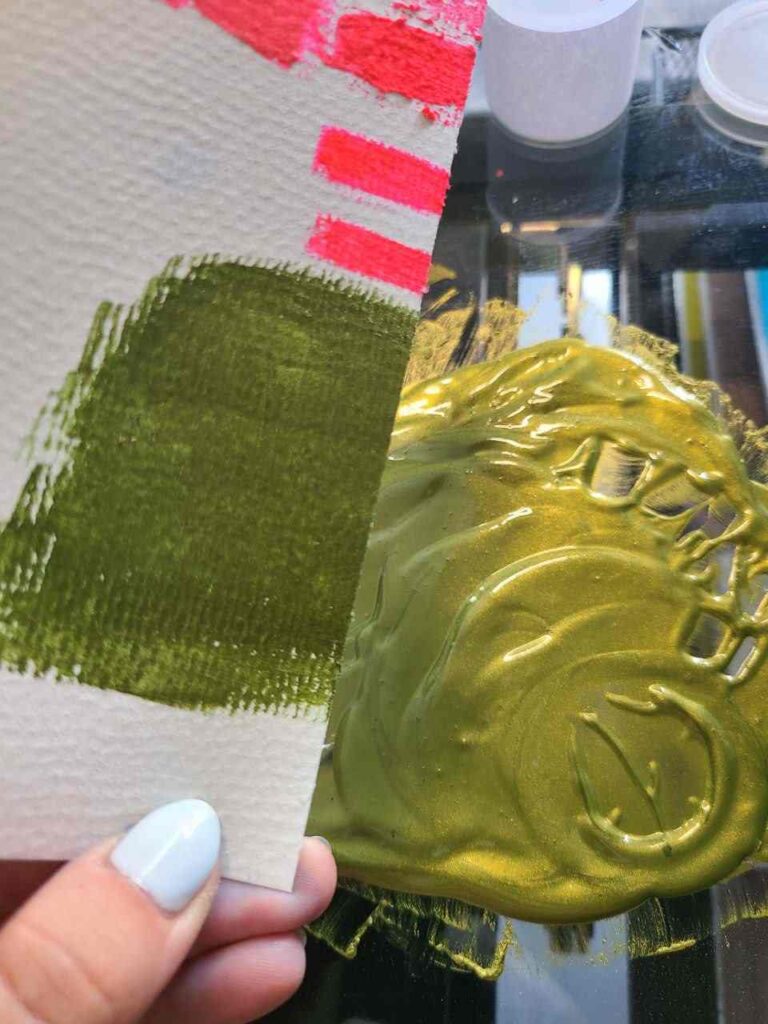
how much paint do I get?
It is very hard to measure accurately a diy paint-making process, but I can tell that I used 12 gr of pigment for the first experiment, and even with a binder it won’t be enough even for small diy cups used for painting date nights kits.
You need much more than that to fill a 20 or 60 ml tube.
Can you make your own acrylic paint without acrylic binder? Ex., with glue or flour?
No, it is not possible to make professional, high-quality acrylic paint without an acrylic binder.
The acrylic binder is what allows the paint to adhere to surfaces and dry to a water-resistant finish. The acrylic binder is what makes the paint acrylic.
Without the binder, the pigment particles would not stick together and would not adhere to the surface being painted.
Additionally, the binder also helps to protect the pigment from fading or deteriorating over time.
Water-based paints recipes labeled as acrylic and calling for white glue or starch or flour are simply misleading. It makes a DIY craft poster-like paint but not acrylics.
I saw a lot of videos on YouTube with titles like Homemade acrylic paint with no powder etc, but they simply have nothing to do with reality – they are making some sort of paint, not acrylic, not archival, not professional.
Please be aware of it.
At the same time, using household items you can easily make a DIY gesso for acrylic painting.
Making Acrylic Paint With Liquid Pigments
I haven’t seen recipes to make acrylic paints with liquid pigments, but I was curious to test it.
You can make acrylic paint without powder pigments: mix liquid water-based pigments with acrylic medium.
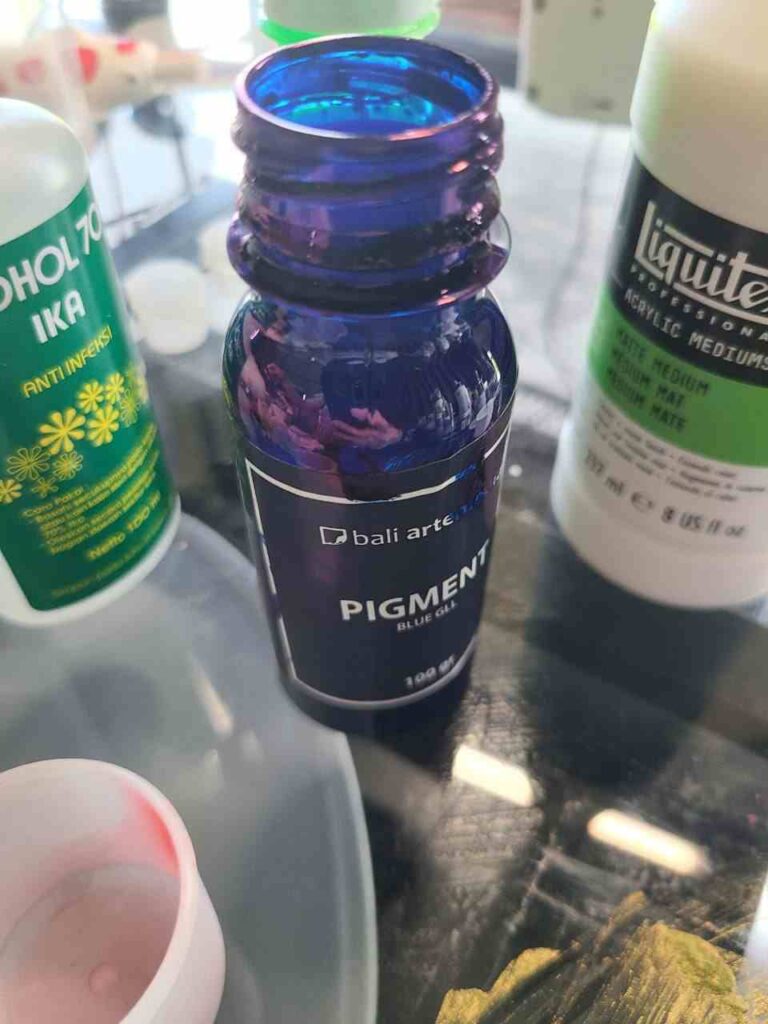
Spoiler: I loved the result!
Supplies:
- Water-based liquid pigment
- Jar
- Acrylic medium gel or liquid.
The process is much easier than when we use powdered pigments!
You just need to mix a bit of pigment with larger amount of binder thoroughly and your paint is done! I did roughly 2 parts medium to 1 part pigment but I recommend testing.
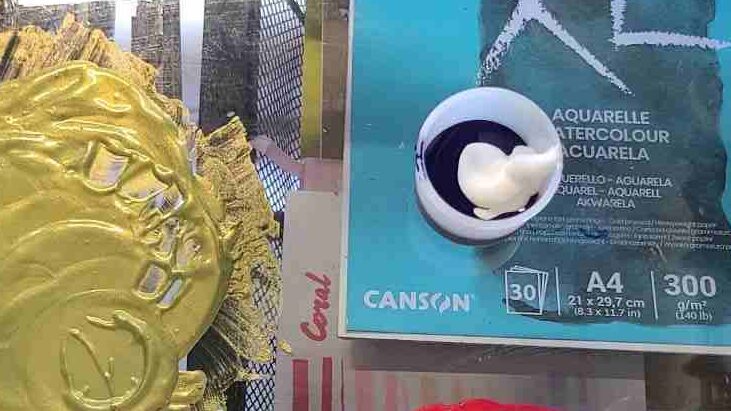
To adjust the value of the color, you can always add white.
The outcome was such a nice acrylic paint! Soft, with no lumps or issues we can face if we use powder pigments.
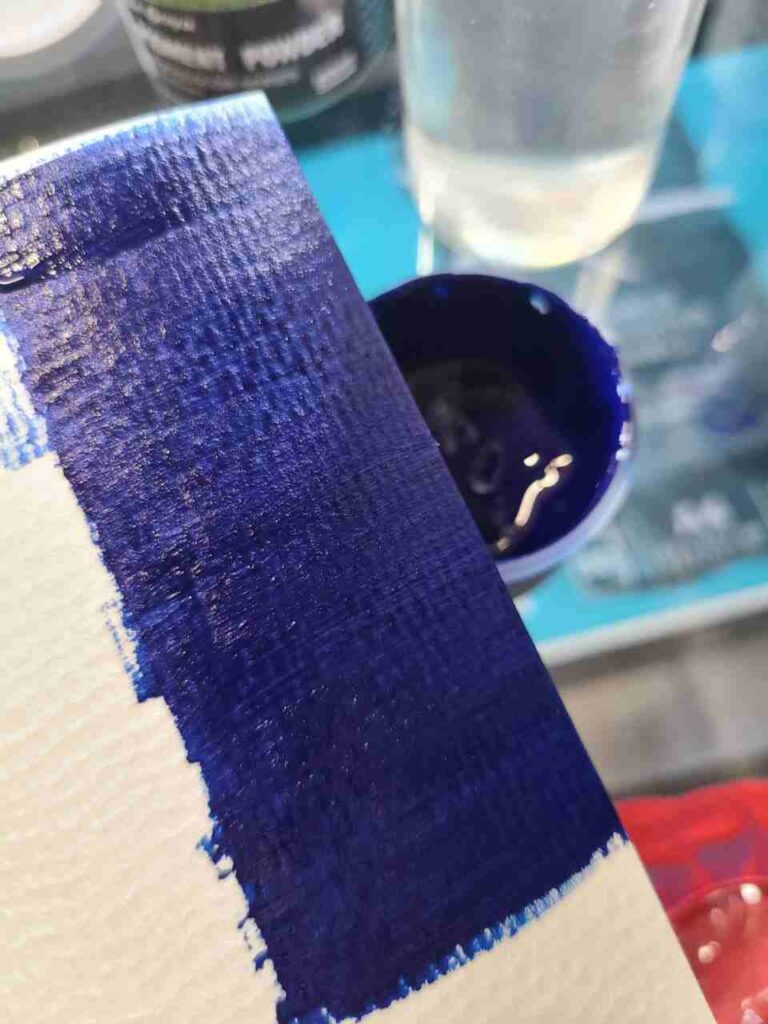
It covers the painting surface nicely and dries fast.
Final Thoughts
I personally think that making your own acrylic paint at home is an accessible and creative endeavor for progressing painters.
This DIY acrylic paint can be used on various surfaces same as store-bought acrylics, and it has the same water-resistance and opacity, but won’t last as long as manufactured ones as we don’t add any preservatives (though we can if you can source them!)
This DIY approach not only offers you and me a cost-effective alternative but also empowers us to experiment with different consistencies and hues! It gave me SO MUCH confidence to realize I can do it!
Somehow it also feels very traditional and satisfying to work with hands to create something.
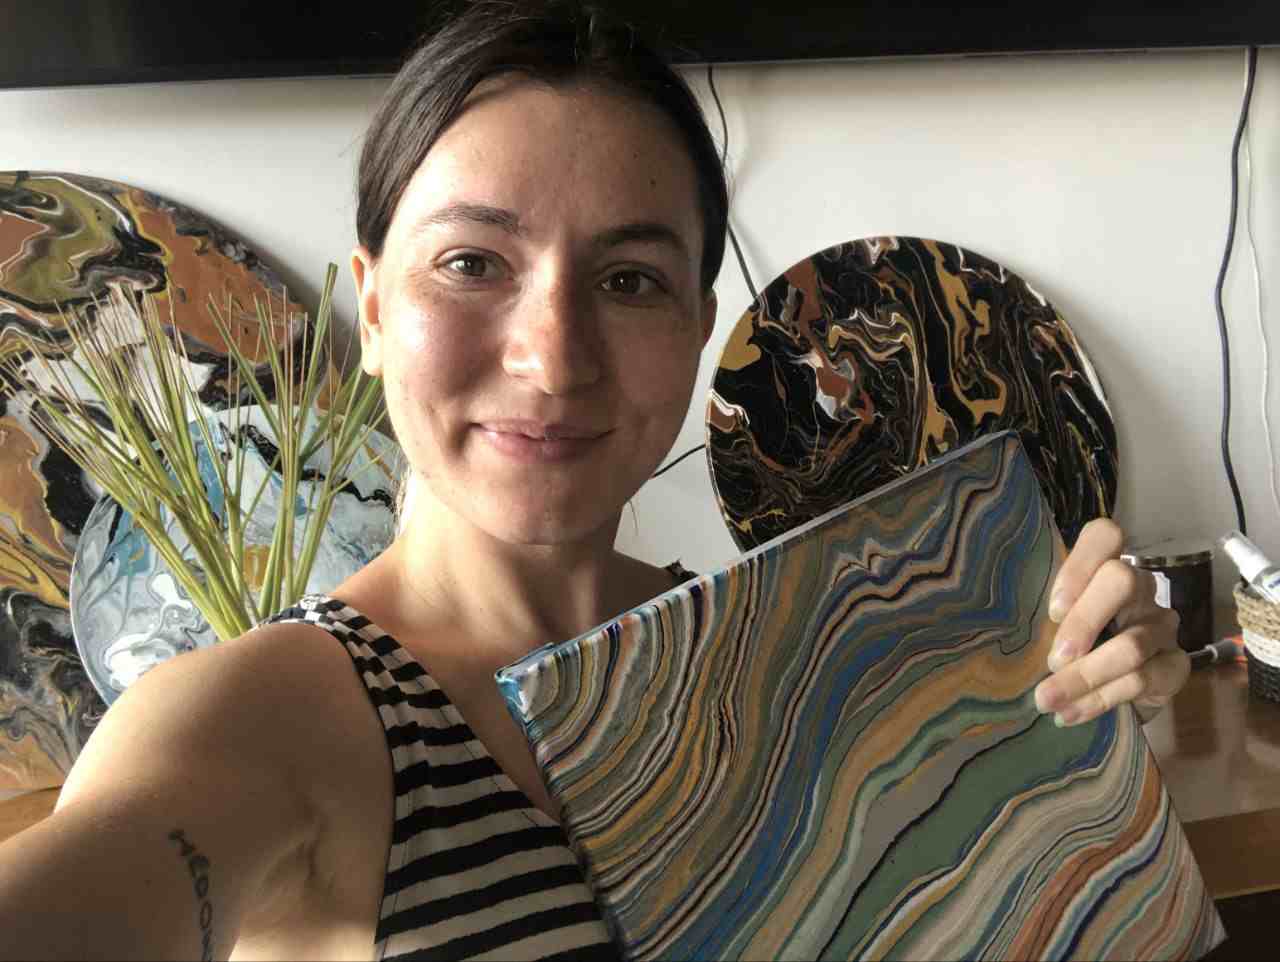
Masha Eretnova, born in 1991, is a Buenos Aires-based certified teacher, artist, and member of the Professional Artist Association with 20+ years of personal painting journey.
She started painting and drawing very early and is now an international abstract artist and educator passionate about acrylic painting, gouache, and crafts.
Her works are part of international exhibitions and contests, including ArtlyMix (Brazil), Al-Tiba 9 (Spain), Exhibizone (Canada), Italy, and many more.
Besides her artistic pursuits, Masha holds a post-grad diploma in Teaching Film Photography and 2 music school diplomas: piano and opera singing.
