Last Updated on May 29, 2026 by Masha Eretnova
Summer is long. Beautiful, but long. And if you’ve ever found yourself Googling “things to do with kids that don’t involve a screen” at 10am on a Tuesday in July, you are not alone.
This Build a Fish craft for kids is exactly the kind of activity you need in your back pocket — simple enough for preschoolers, satisfying enough to keep older kids busy, and the finished result is genuinely adorable.
Best of all? You just need to print, cut, and glue. That’s it. Grab the free printable below and let’s dive in.
What Is the Build a Fish Craft?
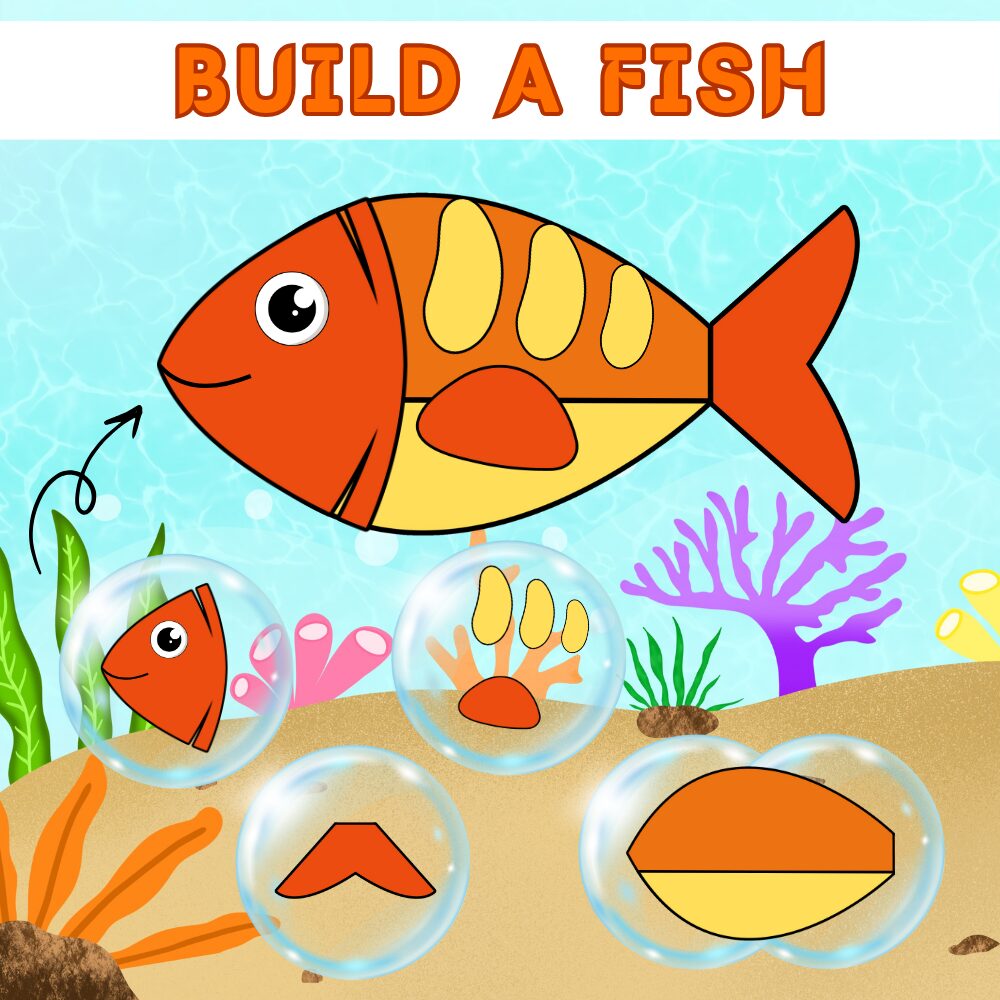
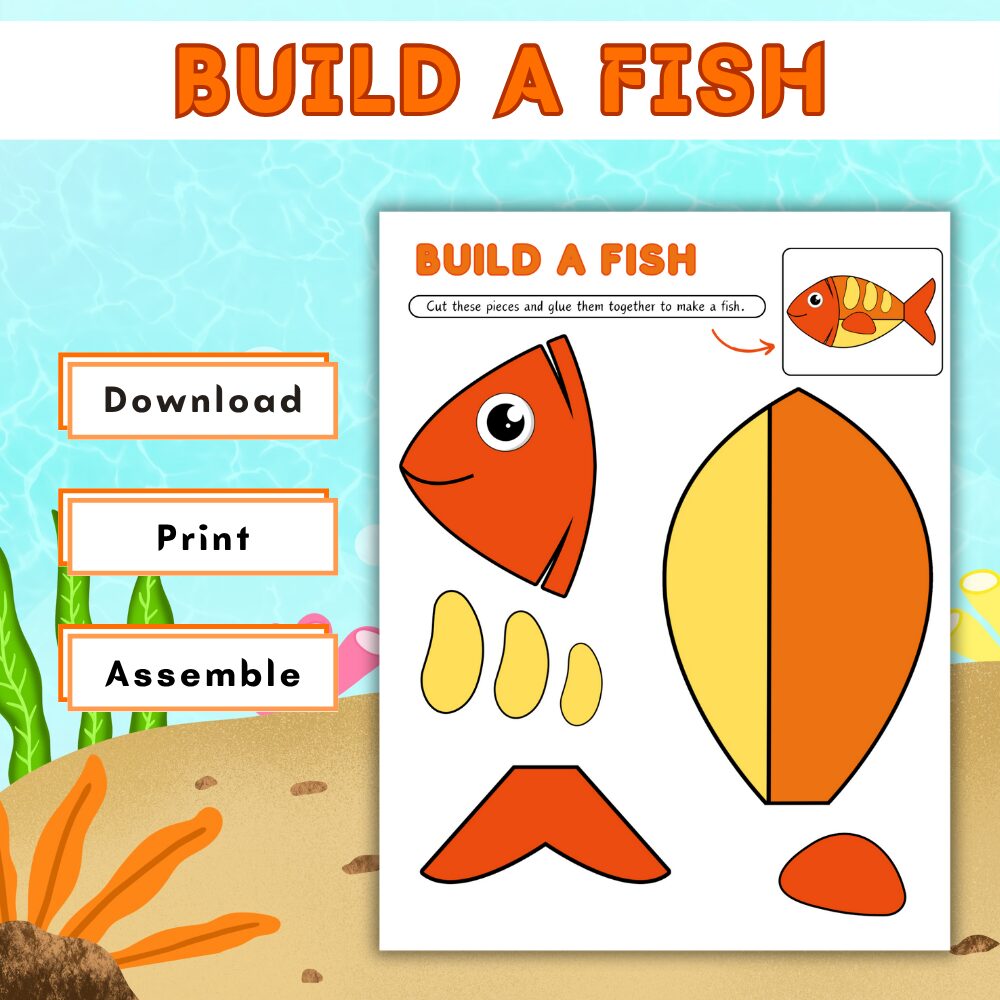
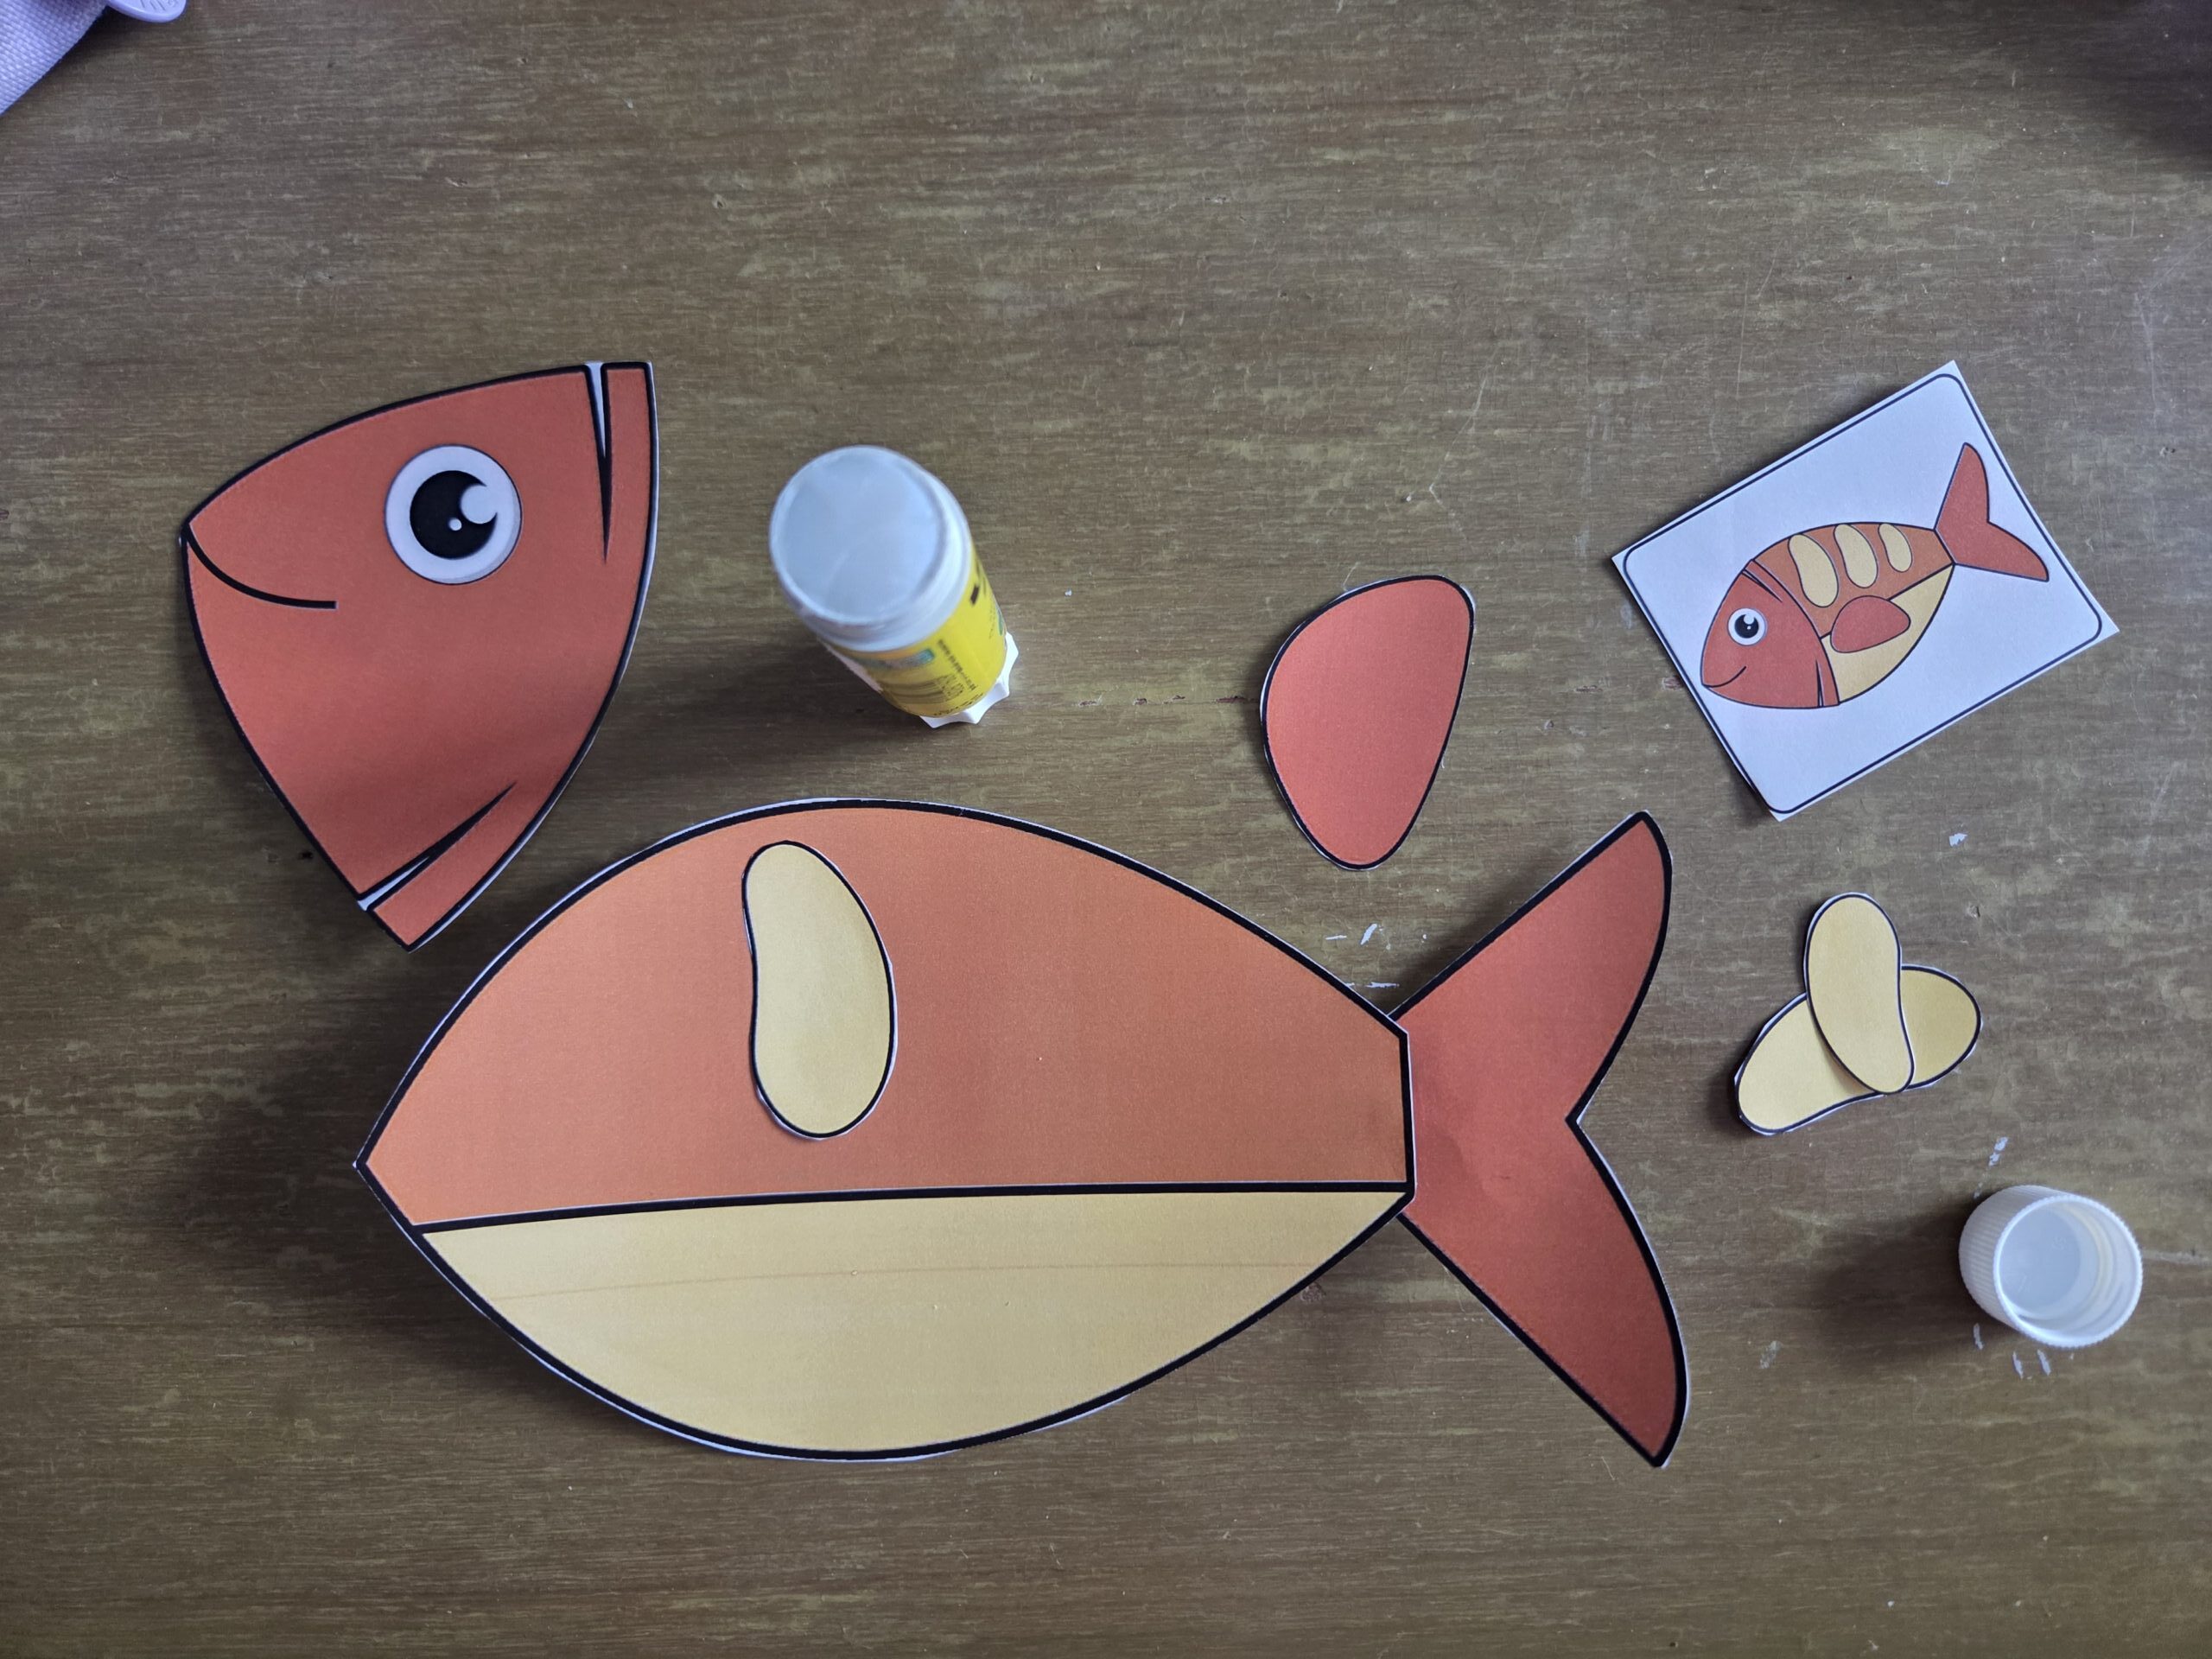
This is a cut-and-assemble paper craft where kids cut out the individual parts of a colorful fish — the body, head, tail, fins, and scale details — and glue them together to create their own completed fish.
A reference image is included right on the printout so kids can see exactly what the finished fish looks like and figure out how the pieces fit together.
It’s the perfect blend of fine motor practice (cutting along lines, handling small pieces) and creative play (assembling something that looks genuinely fun when it’s done). For preschool-aged kids especially, the pride of holding up a fish they built themselves is hard to beat.
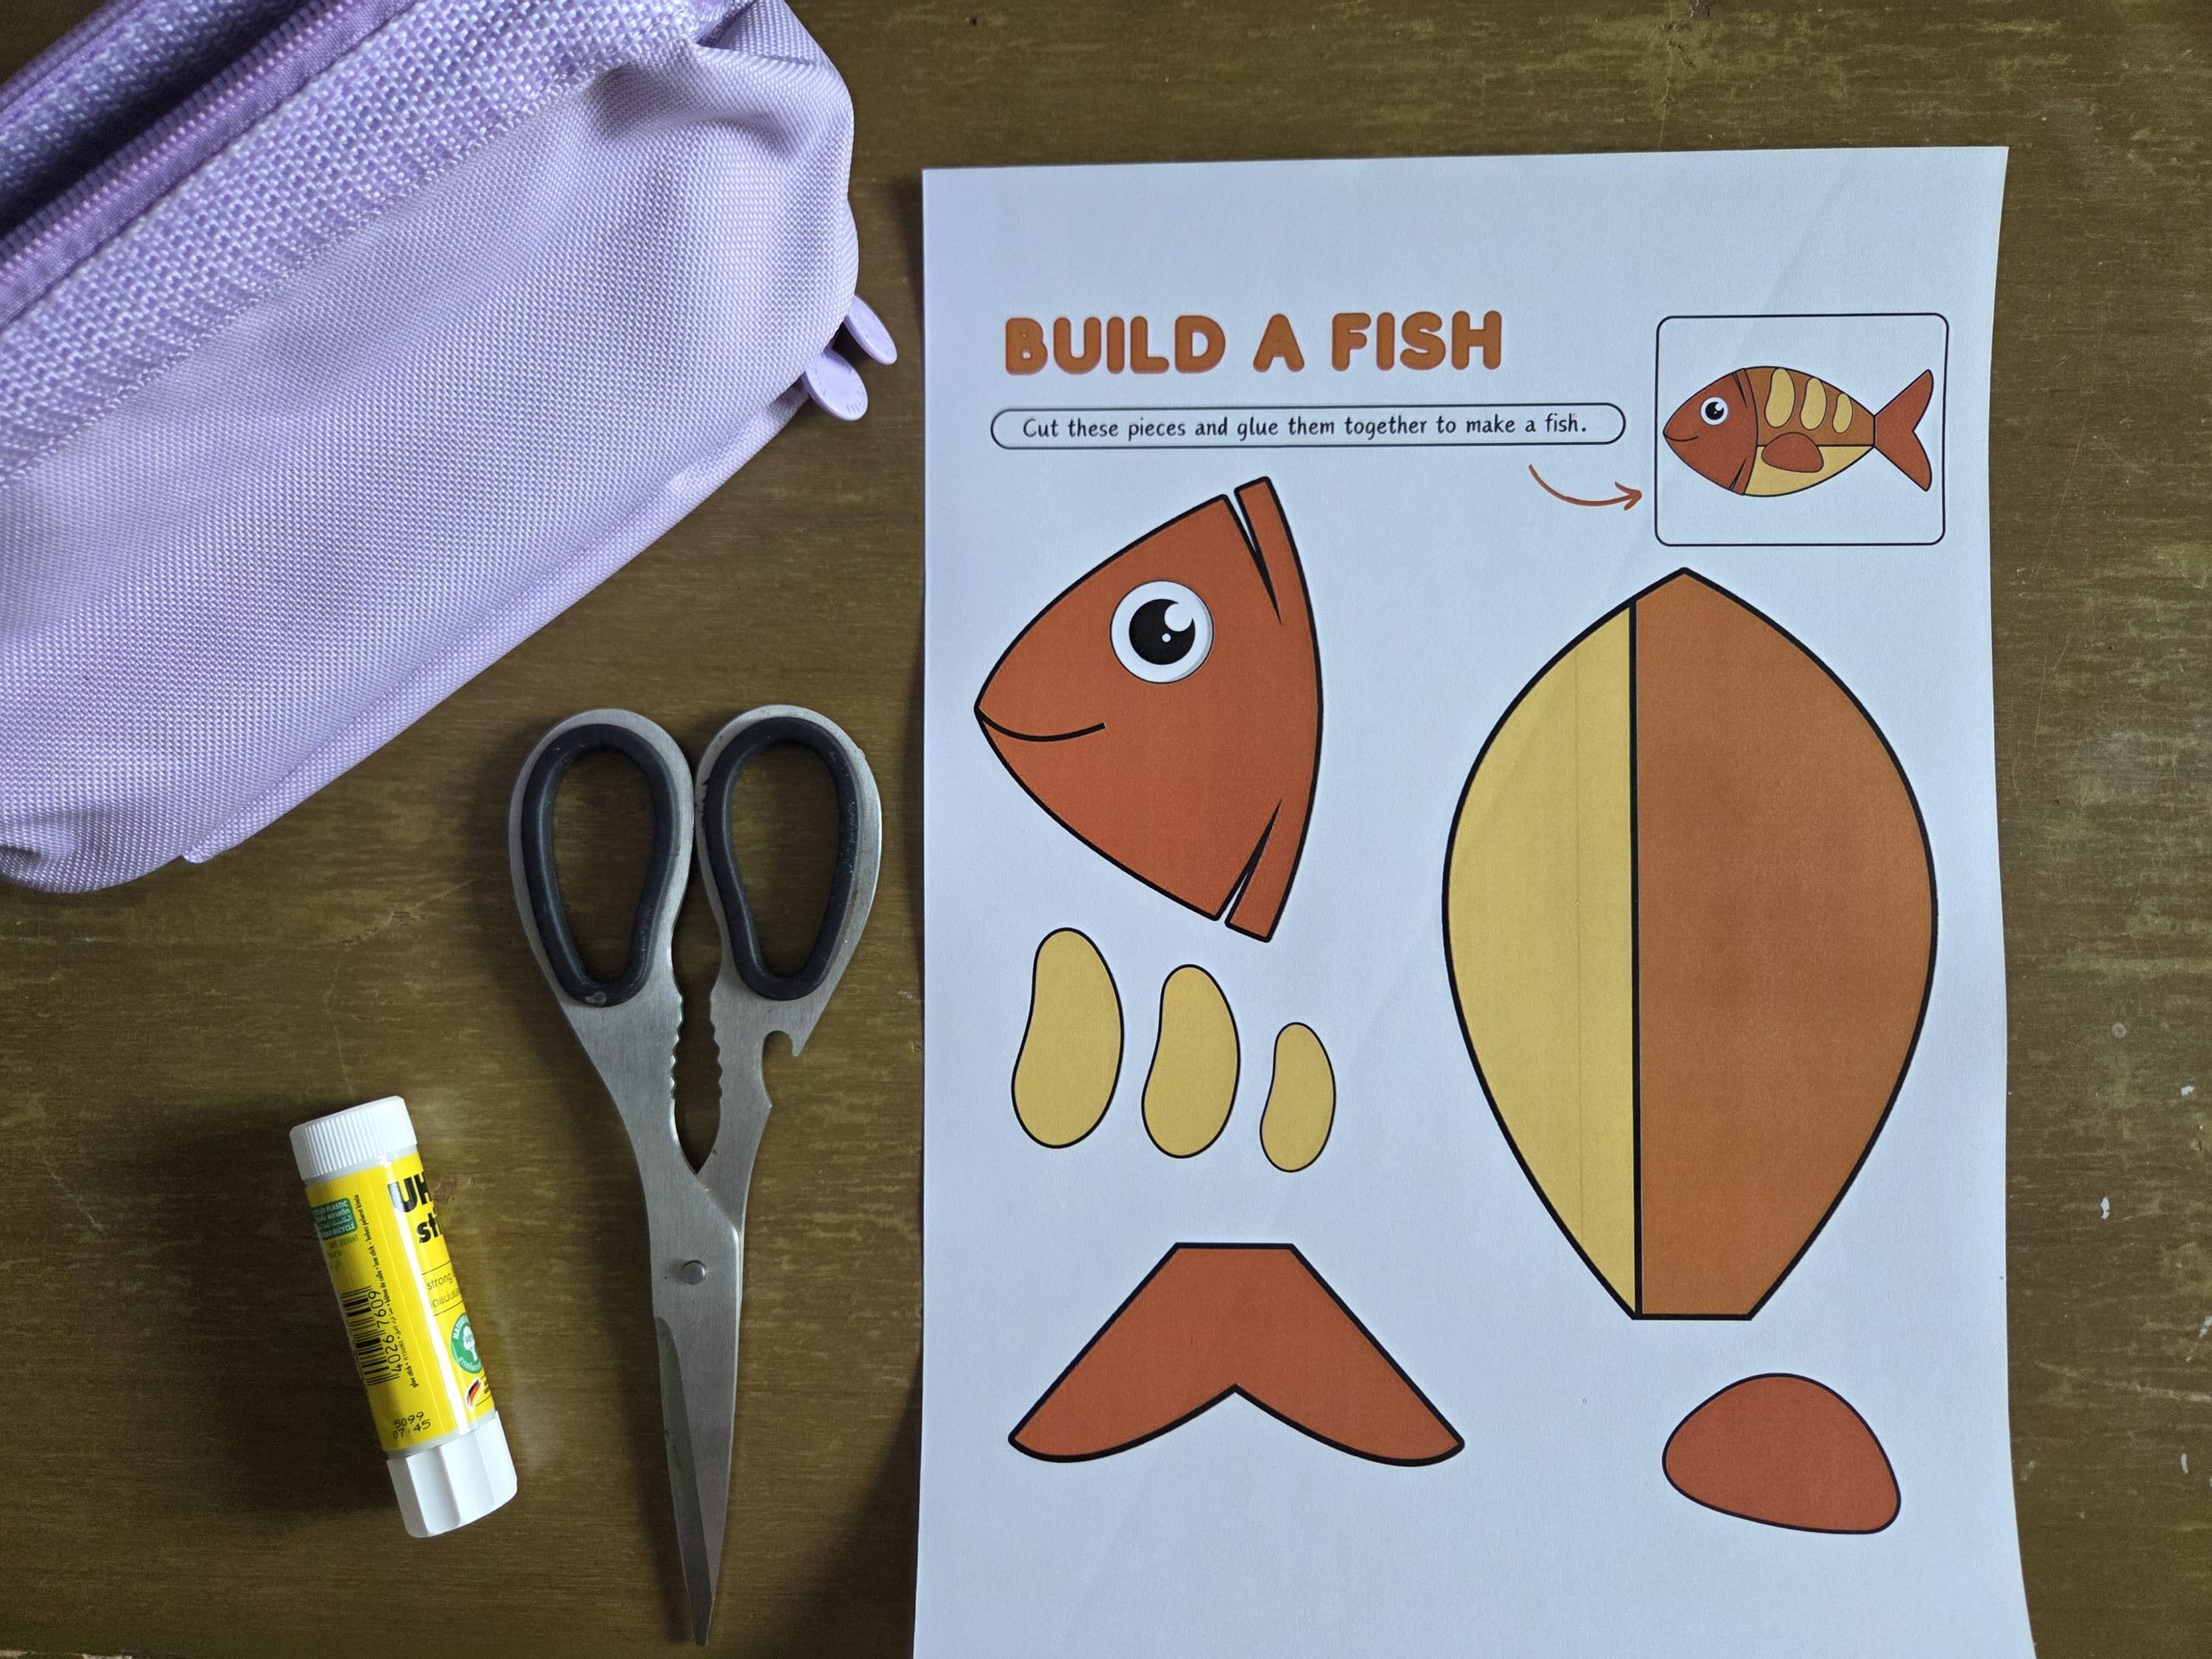
What You’ll Need
This is as low-prep as crafts get. Here’s your full supplies list:
- The free printable — one sheet per child (download link below — just enter your email for instant access)
- A printer — color printing gives the most vibrant result, but black and white works too if kids want to color it themselves first
- Child-safe scissors — or an adult can pre-cut for very young children
- A glue stick — liquid glue works but a glue stick keeps things neater and dries faster
Optional extras that make it more fun:
- Googly eyes to replace or layer over the printed eye
- Glitter glue for a sparkly under-the-sea effect
- Blue construction paper as a background to mount the finished fish on
- Crayons or markers if printing in black and white so kids can color their own fish
How to Do the Build a Fish Craft: Step by Step
Step 1: Download and print
Grab the free PDF using the link below — just pop in your email address and it’ll land straight in your inbox. Print on standard letter-size paper.
For the best results, use color ink, but grayscale works if you want to turn this into a coloring activity first.
Step 2: Talk through the pieces
Before diving straight into cutting, spend a minute looking at the sheet together. Point to each piece and ask your child what they think it is — the head, the body, the tail fin, the small fins, the scale details.
Then look at the reference image in the corner and see if they can figure out where each piece goes. This little step adds a puzzle element that kids love.
Step 3: Cut out the pieces
Let kids cut out each piece along the bold outlines. For preschoolers who are still developing scissor skills, this is great practice — the shapes are chunky and forgiving. If your child is very young or you’re doing this as a group activity and want to save time, you can pre-cut the pieces yourself.
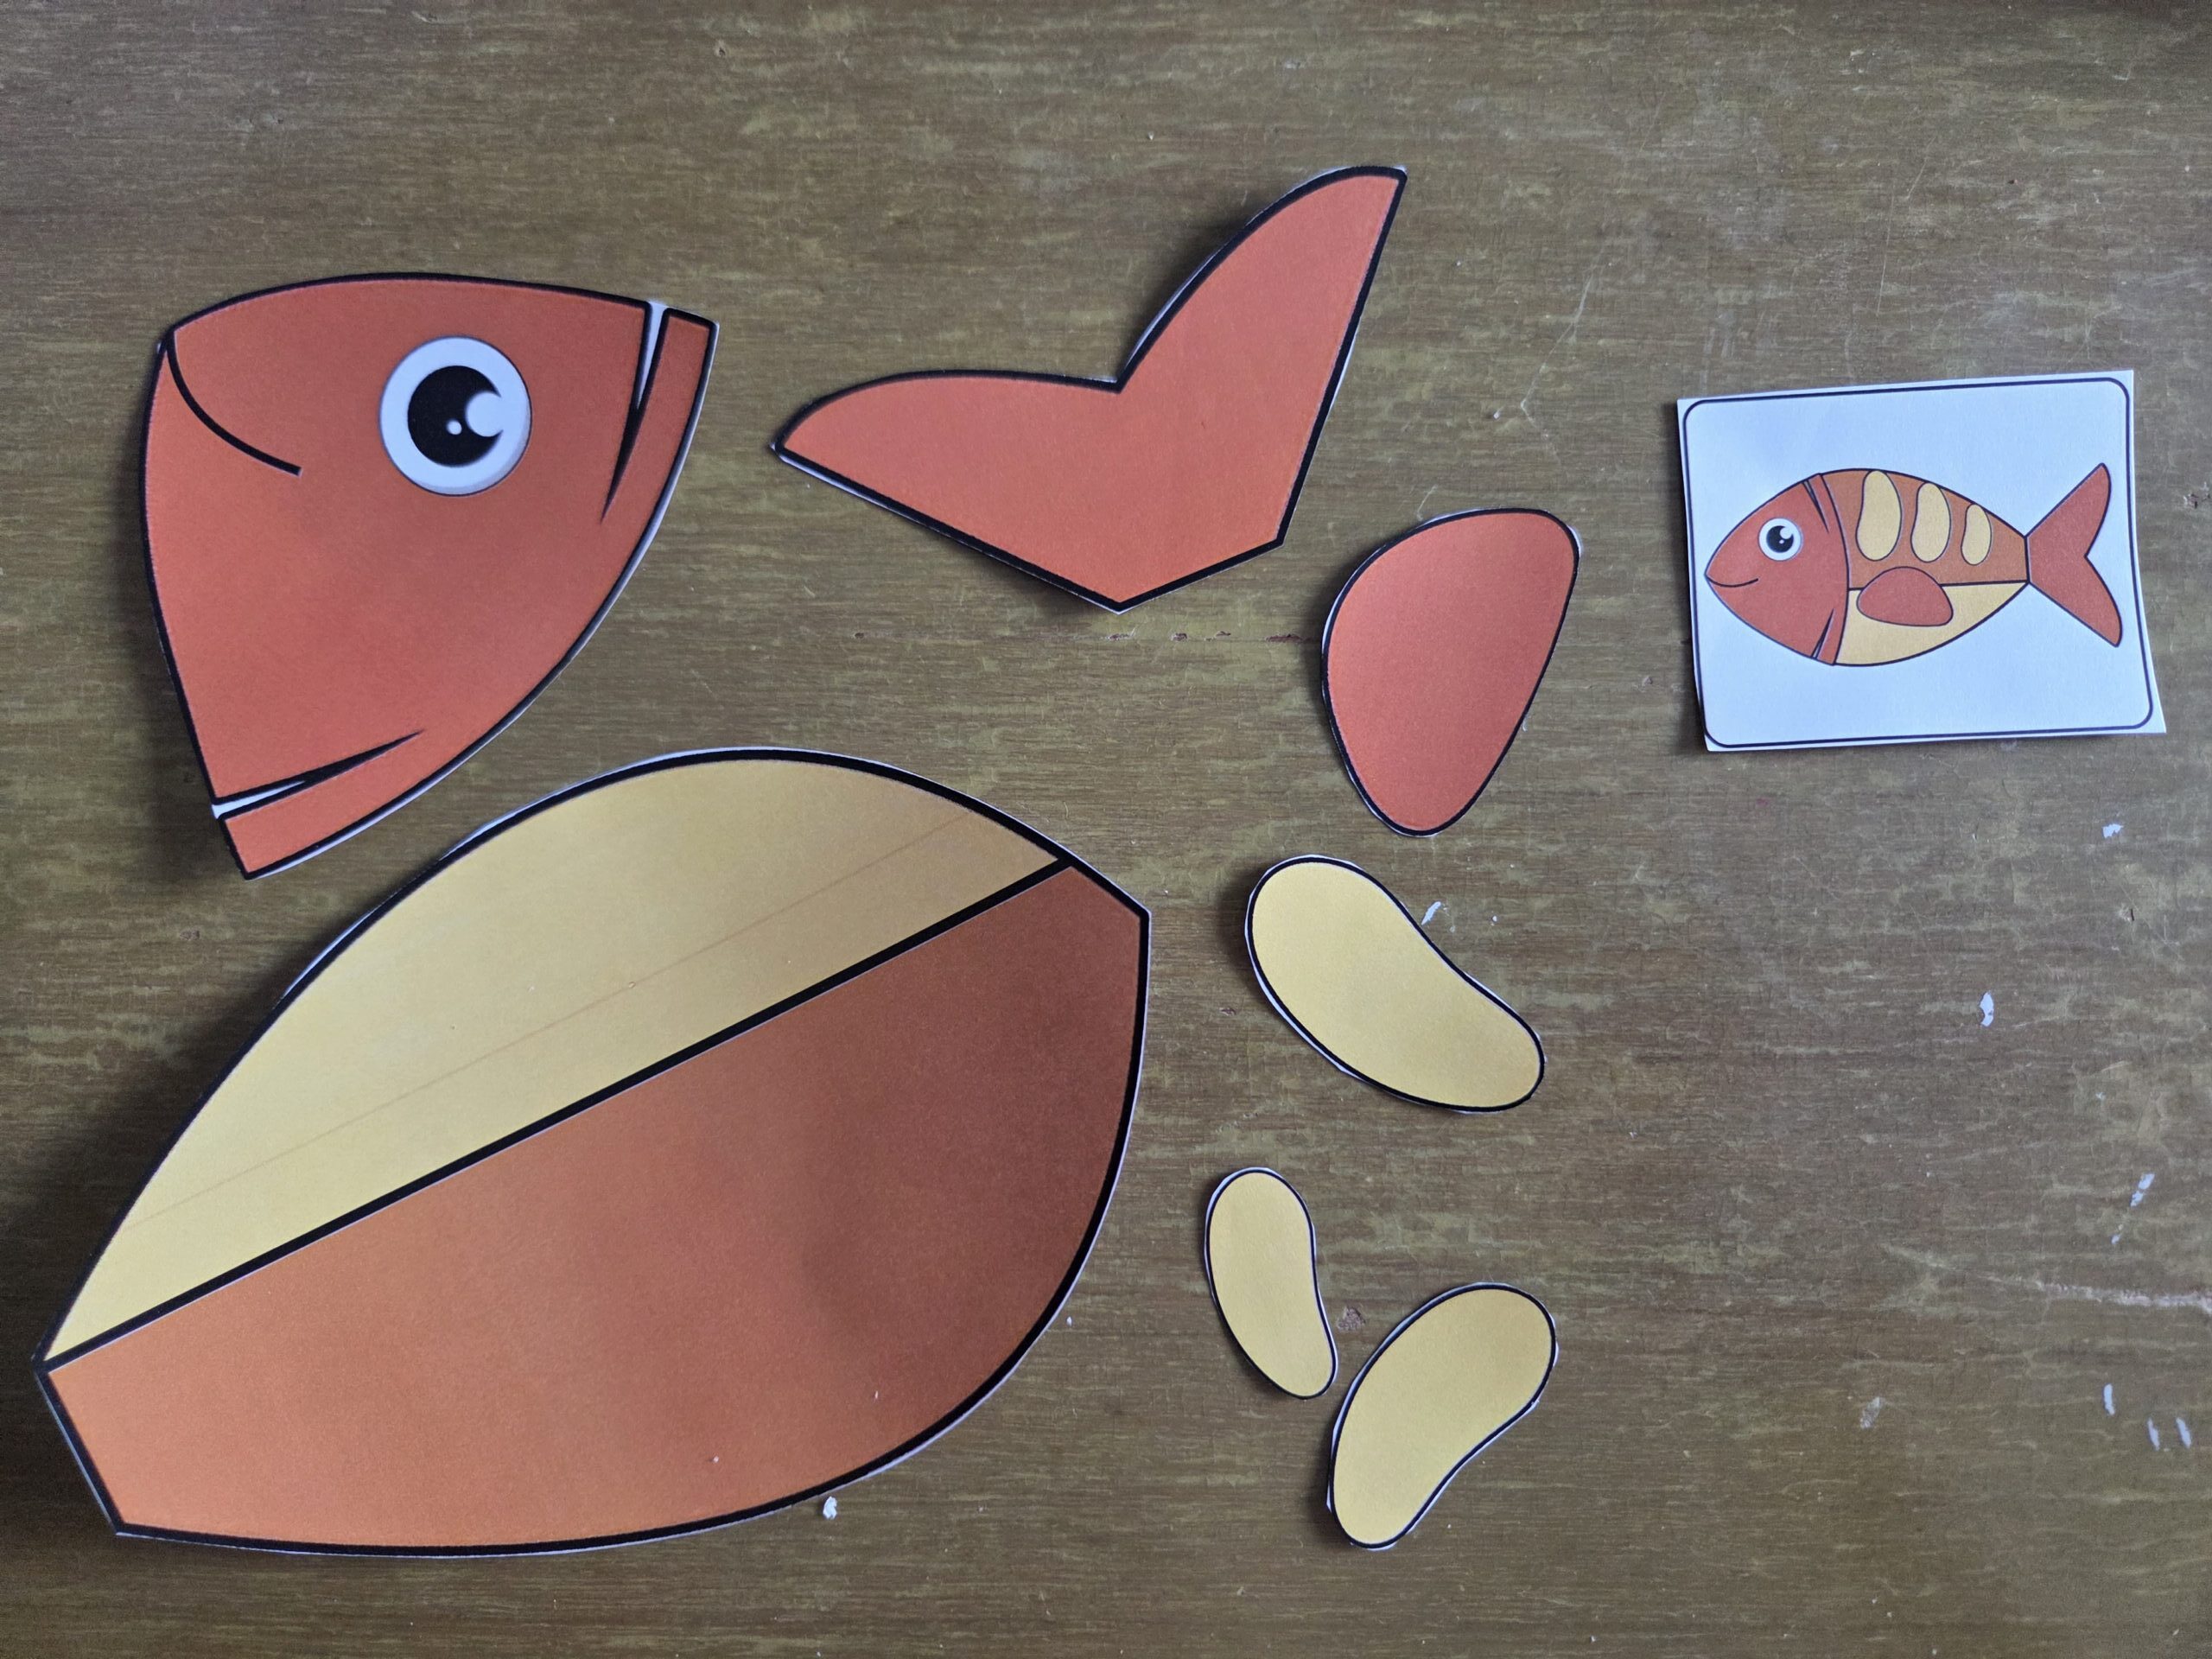
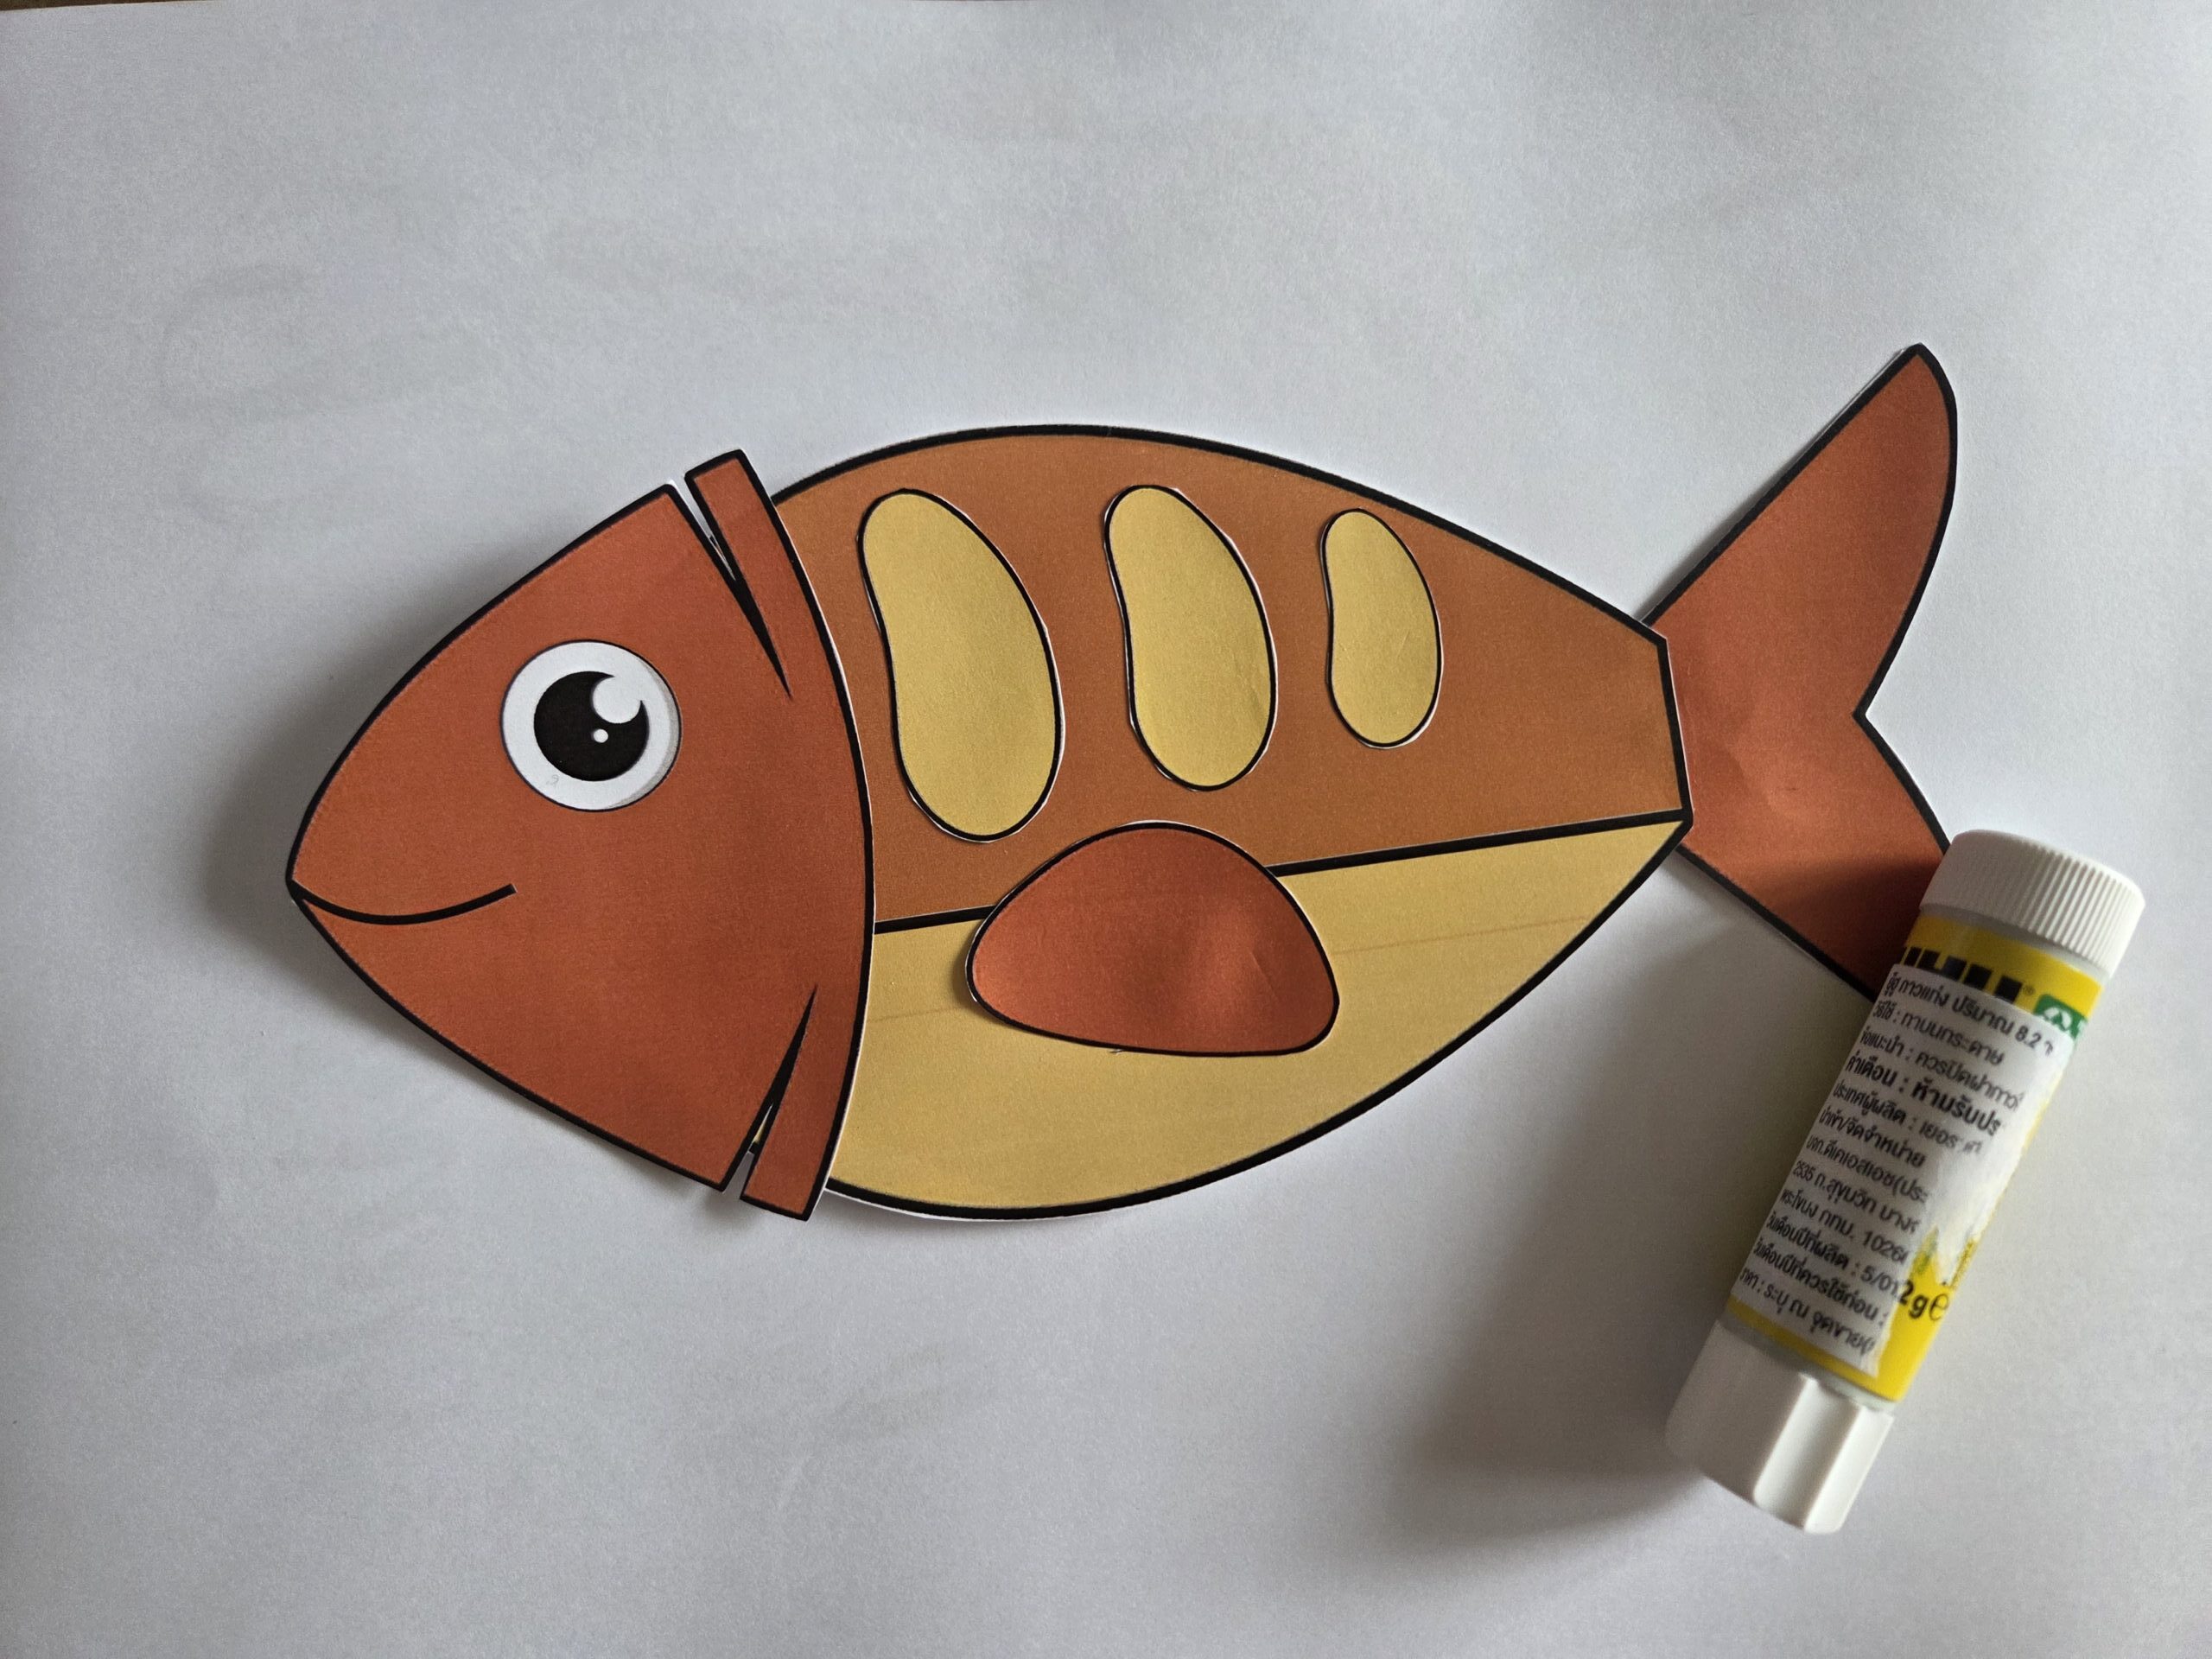
Step 4: Assemble the fish
Using the reference image as a guide, kids arrange the pieces on their work surface before gluing anything down. Once they’re happy with the layout, glue each piece into place. Start with the large body piece, then add the head, then the tail, then the fins and scale ovals on top. Let it dry for a few minutes.
More Ocean-themed crafts:
- Dolphin / Ocean Habitat Color by Number
- Ocean Animals Directed Drawings
- Ocean Animals Paper Crafts
- 3D Ocean Animals Crafts
- 3D Stingray Craft
- Ocean Resin Art on Wood
- Build a Jellyfish Paper Craft
- Under The Sea Activity Mats For Kids
- 3D Patterned Clam Craft
- Cut-and-Glue Octopus Paper Craft
Step 5: Add your finishing touches
This is where it gets really fun. Stick on a googly eye, add some glitter glue along the scales, or mount the whole fish on a sheet of blue paper and draw in some seaweed and bubbles to create a full underwater scene. Some kids will want to stop at Step 4; others will spend another 30 minutes decorating. Both are perfect.
Why This Craft Works So Well for Summer
It’s genuinely screen-free. There’s nothing passive about cutting and gluing — kids are physically engaged the entire time, which makes this a great reset activity when you notice screens have been on too long.
It builds real skills. Cutting along lines, applying glue neatly, and following a reference image all develop fine motor control and spatial reasoning. It’s the kind of activity preschool and kindergarten teachers use for good reason.
It travels well. Print a few copies before a road trip, a beach day, or a visit to grandparents’ house. Tuck them in a folder with a glue stick and a pair of scissors — instant activity kit.
It works at any age. A three-year-old will need help with the cutting and love gluing the pieces down. A six-year-old will handle the whole thing independently. An eight-year-old might want to flip it over and decorate the back, or use it as inspiration to draw their own fish. One printable, lots of possibilities.
It’s an easy jumping-off point for ocean learning. After the craft, ask your kids what they know about fish. What do fish eat? Where do they live? What colors can real fish be? It naturally opens into conversation about ocean and under the sea themes that can keep going well past the craft table.
Get the Free Printable
Ready to build your fish? Download the full Build a Fish printable PDF completely free — just enter your email below for instant access.
👉 [Enter your email to download the free Build a Fish printable]
You’ll get the PDF straight to your inbox. No spam — just simple, screen-free activity ideas for kids.

Masha Eretnova, born in 1991, is a Chiang Mai-based certified teacher, artist, and blogger with 20+ years of personal painting journey.
She started painting and drawing very early and is now an international abstract artist and educator passionate about acrylic painting, gouache, and crafts.
Her works are part of international exhibitions and contests, including ArtlyMix (Brazil), Al-Tiba 9 (Spain), Exhibizone (Canada), Italy, and many more.
Besides her artistic pursuits, Masha holds a post-grad diploma in Teaching Film Photography and 2 music school diplomas: piano and opera singing.