Last Updated on March 13, 2024 by Masha Eretnova
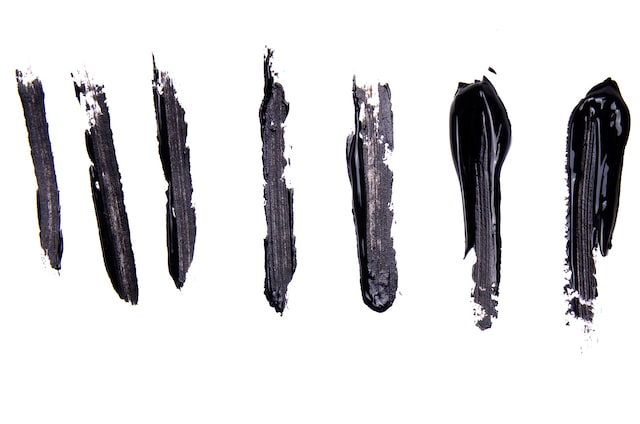
If you are about to give a new life to your door or cabinets the last thing you need is a brush stroke – it will be like a sore!
It is absolutely possible to prevent brush strokes and marks painting walls and furniture and I will share a few tricks.
And if you already have some brushstrokes – I will share a simple hack to get rid of them.
This article contains affiliate links. It means no extra cost for you but a little commission (2-3%) for me to support my hobby and blog. Thank you!
Key points:
- Choose softer brush
- Do not overwork the same area
- Use lower-sheen paint
- Thin the paint
- Load the brush without drips
- Use self-levelling paint
- Prime the surface until it is smooth
1 – Use lower-sheen paint
Key takeaways:
- high-quality paint
- lower-sheen paint for even and smooth surfaces
- flat paint for walls with imperfections
- slow-drying paint
Type of the paint.
There are a lot of paints available on the market. While you’re painting on canvas, or paper, choose one you master the best: oil, acrylic, gouache. Watercolor is very unlikely to leave any brush strokes if you thinned your paint properly. Basically, opaque and matte paint will help you prevent brushstrokes.
If you’re painting furniture or wood, the best way to paint without brush streaks is to paint with a matte or chalky paint. Chalky paint requires more knowledge and experience, as some of them still can leave some marks.
Painting walls, take a look at lower-sheen paint and flat paint:
- Lower-sheen paint still has a smooth and a little bit of gloss. Lower-sheen paint is less likely to leave brush strokes. But it does have one big do not: it works better with even surfaces. Lower-sheen paint will highlight all imperfections of the surface.
- Flat paint is great for walls. It isn’t reflective and can mask all wall’s imperfections. This paint can be shiny, which means you need to master brush techniques and paint carefully.
Almost all indoor and outdoor paint are acrylic-based, as acrylic was first introduced to household projects. The most common paint for walls is latex (acrylic) paint. Oil-based paint can be used for wood work, acrylic paint is commonly used for wooden panels and furniture too.
Working time.
Working time, or open time is how long it takes this paint to dry to touch, so, technically it is how much time you have to paint.
The main reason we have brushstrokes or marks is that the paint hasn’t flowed out easily and completely before it’s dried.
Ex., acrylic paint is considered to be fast-drying, as it takes it 5-20 minutes to dry to touch. Painting furniture or walls you need paint that dries in 24 hrs.
Choose paint with a longer working time or use special mediums, like extenders. Don’t buy cheap paint, as the price depends fully on the grade of the paint and the brand.
Recommended Paint brands :
| Paint | Use | Price (prices are changing, please check before buying) |
|---|---|---|
| Benjamin Moore Advance | (satin or eggshell) with longer working time. For household and furniture. | above $100 |
| Rust-Oleum Painters Touch | Flat paint is suitable for a large variety of surfaces, including metal, ceramic, etc. Premium latex paint. For furniture. | around $10 |
Read also: 18 Tips To Avoid Brush Strokes In Acrylic Painting
2 – Thin your paint
Painting with no-thinned paint can lead to brush strokes. For water-based and oil-based paint the thinners are different.
For example, for watedr-based paint you can use Floetrol, for oil-based paint linseed oil or special thinner for oils (natural or solvent-based).
3 – Paint in thin layers
Thin layers are easier to control, dry faster and leave less space for brush strokes to appear.
You may have to do 2-3 coats on walls or trims but they will be perfectly smooth.
4 – Load your brush right
It is important to load your brush right to avoid brush marks.
The paint should not be dripping, and the brush needs to be loaded from all sides evenly!
Only dip the tip of the brush in the can or in the tray – do not load all the brush till the handle!
5 – Use a paint sprayer instead of a brush painting furniture
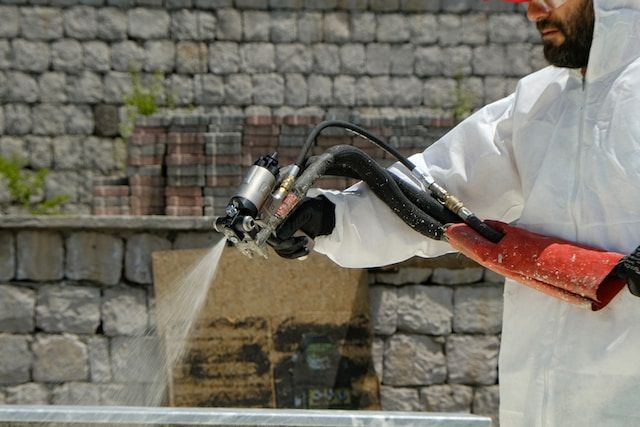
The easiest way to paint large flat surfaces of furniture without brush strokes or marks is to use a sprayer.
A sprayer will be more expensive than a set of brushes but it saves a lot of time.
It will also use less paint, as it will be thinned for spraying. It is almost guaranteed to have an even, smooth finish while painting with a sprayer.
YATTICH Paint Sprayer has about 1,500 reviews and costs around $50, not including paint.
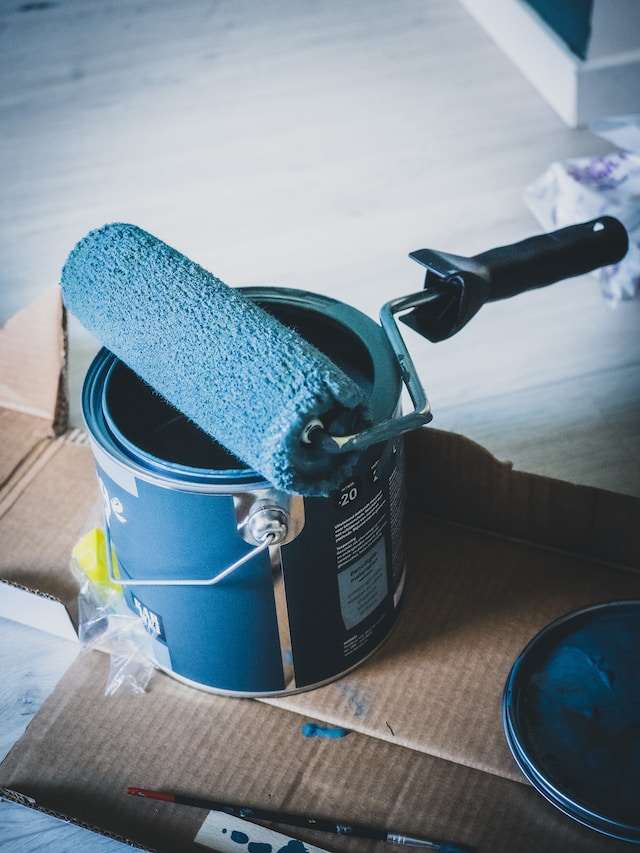
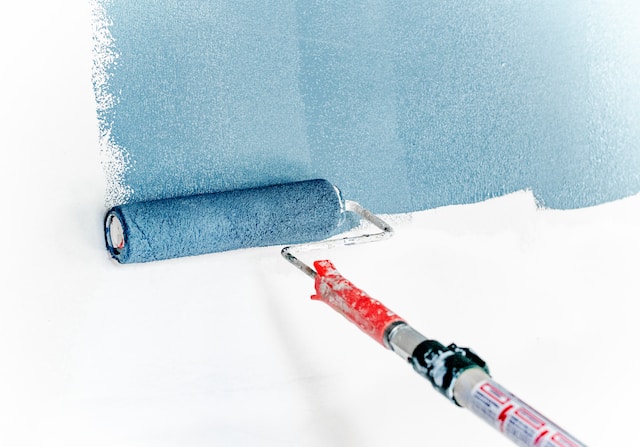
6 – Use a roller instead of a brush
Another good alternative to a brush is a roller. Rollers are commonly used to paint walls.
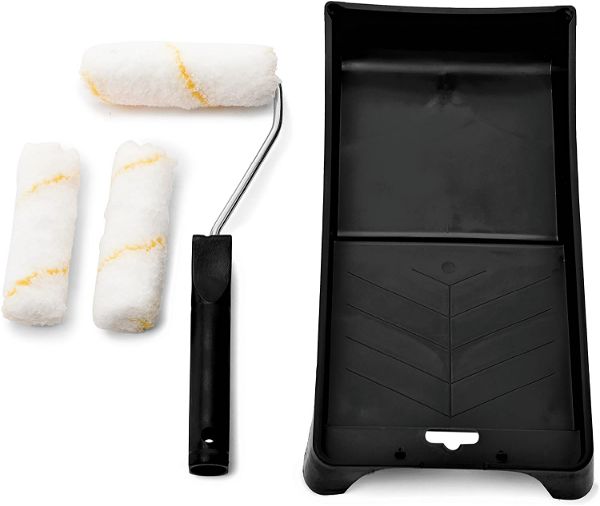
They are cheap, easy to use, and replace. Apart from a roller, you will need a tray too.
If you are just planning to paint some pieces at your house, buy a set: for example, the set of 3 foam rolls, 1 roller, and 1 tray will cost only around $10 on Amazon.
If you are looking for more professional rollers, check reviews and Homedepot.
The size of the roller depends on how large the surface you’ll paint on.
Painting with rollers, make sure you use the right amount of paint: paint is not dripping, but the roller is fully loaded.
Brush or roller?
- Brushes are usually great for canvases and furniture, and for painting details
- Rollers and sprayers are better for walls and large projects. Microfiber rollers are a great option.

7 – Paint in the details first
This approach works amazing with painting furniture, doors and walls. The best way to avoid streaks when painting with a brush is to paint the details first, and then paint larger areas.
Painting details first, you let yourself the option to smooth all paint later, when you will paint large, and avoid mistakes and touch-ups.
8 – Don’t go back over semi-dry paint
Every painting has its own dry time. Read labels carefully and make sure you do not paint over semi-dry paint, as it will cause a mess.
If you made a mistake or you want to repaint an area, wait until it dries, sand it gently and paint over again.
9 – Reload your brush. Again.
We need to use the right amount of paint, a brush should be fully loaded, but it should also be reloaded often.
A partly loaded brush, a bare brush, a brush with not enough paint left on it will create an uneven coat, that you will want to go over immediately, but you cannot do it!
So better reload often and check the brush.
10 – Always paint wood in one direction.
This “rule” ifor painting furniture is to always follow the grain for wood.
11 – Go horizontal
If you’re painting a flat or large surface, do not place it vertically, as thinned paint or an excessive amount of fluid paint can run down.
Protect the floor and place your project horizontally. This way you see the whole surface and it is easier to paint and control the painting process.
12 – Make sure you and the surface are stable
No matter vertical or horizontal is your project, or how big is your furniture piece, you need to stabilize it, as any random movement can ruin the whole painting.
- When you’re painting furniture, panels, doors, etc, make sure the surface on what it stands is even and you can stabilize the door or window when it is open. You can also use clamps.
- when painting high walls make sure your ladder is stable.
13 – Apply 2 (or more) THIN coats
For most paint project on furniture or walls, you need to use only 2 coats of paint.
2 coats are optimal. More coats can make your surface dry slower, look messy, thick, and unprofessional. do not overdo things.
More coats will NOT COVER mistakes, but a new coat can create more and enhance the imperfections of the previous coat. If you want to cover mistakes, let the surface dry, sand it and paint again.
2 coats will still make colors shine and will last longer, than heavy weighted 3 or more coats.
14 – Let it dry
Most mistakes, imperfections, cracks, and even strokes happen when we do not let each layer dry properly. And at the same time, most of mistakes can be corrected once the area is dry.
Dry time is important no matter what kind of paint you use and if you use a brush, sprayer, or roller. Always wait. If it is a large area, wait at least 24 hours.
15 – Get a sandpaper
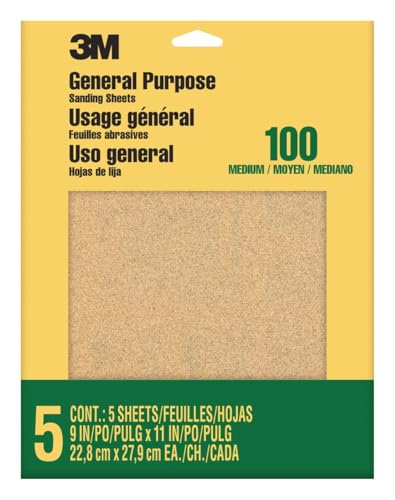
A 220 grit sandpaper is your loyal friend while painting on wooden panels, furniture, or walls.
- sandpaper helps you prepare the surface so it is smooth.
- it can help you cover mistakes.
- you need to sand the painted area between layers to get an even and smooth surface.
If you made a mistake or you notice too much paint somewhere: let this area dry, sand it and paint over.
To make sure your finished project will look great, smooth, and professional sand every layer after it’s dried.
16 – Master proper brush technique for house projects
- do not hold a brush with your whole wrist
- do not press on the brush too hard, let it flow
- hold your brush at an angle to the painted surface.
- Dip only a third of the brush into the paint.
- Tap the brush to get rid of excess paint.
- Paint details and small areas first, like corners
- Use appropriate brush shape to achieve needed effects:
- if you need to cover large areas use flat brushes
- to paint details, frames, etc. use an angular brush
17 – Paint in sections
As we know, paint can dry fast, any uneven application, and going over the semi-dry area can cause marks. There is why it is smart and effective to break large areas into sections.
Paint one section at a time instead of trying to cover the whole area at once. It makes the process easier to control and prevents brush streaks.
A section should be quite evident, if it is a panel door, you can’t break one panel into 2 sections.
18- Prepare the surface
For household projects a prepared surface is the key to the best results. Walls with imperfections or unprimed food will ruin your painting job.
Preparing wooden surface
To prepare wooden panels or furniture in general, there are 3 steps: clean it, sand it, apply at least 2 coats of sealing, 2 coats of priming, and start painting. If there are knots, seal them with a knot sealer.
Related: How to Prime Wood
Always sand wood following the direction of the wood grain! DO NOT use colored sand sandpaper, as it can tint the surface.
How to prepare walls before painting:
- remove all imperfections and dirt
- repair all holes
- sand the surface with a 220-grit sandpaper
- wash the area with a sponge
- prime
- sand primer
- clean again. The surface should be dust-free before you paint.
- let it dry and paint
A well prepared smooth surface is already 50% of success in getting rid of any brush marks.
19 – Don’t mix different paint types
Even before you start painting, make sure you have enough paint. If you accidentally run out of oil-based paint, you cannot use water-based on the same area.
First of all, the drying process is different so you can have cracks or the whole thing will peel off.
Then, colors can be different.
Besides brush strokes, you will have uneven look, If you paint a large area there is a big chance that the line between 2 different paints will be visible.
20 – Tip-off
Tipping off is a brush technique used to prevent brush marks.
- choose small section
- apply small brush marks with paint quickly to cover all section
- pull your brush across the painted area at an angle of about 45 degrees to the surface to smooth the surface
- leave it to set and dry
Tipping off helps create a smoother finish and it is widely used, even for boat painting.
21 – Try brush and paint before starting
When you are about to paint walls, furniture, doors, especially for the first time or with a new brand of paint you’ve never used before, try brushes and paint on a smaller area to test it.
- get your brush and a small amount of paint.
- try it on a surface similar or exact same that you will paint onto.
- let it dry and see the results. Check the paint is mixed thoroughly and the brush doesn’t shed.
- if everything is ok, paint your project.
Why do strokes happen when painting?
Normally, strokes happen because of 5 main reasons:
- the surface was not prepared and had imperfections, and dirt, and was uneven.
- you did not apply proper techniques, and press too hard
- you choose the wrong paint or brush.
- you use too much paint.
- you did not wait until layers are dried.
What to do if I already have brush strokes?
The most effective way to fix strokes and marks that already happened is to sand them, as sanding can remove all the imperfections.
- let the area dry completely
- sand it with 220 grit sandpaper
- clean the area from dust
- paint over.
What to do if I already have strokes from roller?
If you’re painting with a roller and you left some streaks, it is worth trying to touch the painted surface with a brush and smooth it.
- let the painted area dry fully
- don’t let paint drip, touch up the strokes with a brush
- let it dry.
I shared a few tips to avoid brush strokes and I hope they will help you achieve smoother paint application!
How do you prevent brush strokes when painting furniture?
If you use a roller or a sprayer you can avoid brush strokes and marks. Working with brushes, do not overload the brush with paint, use professional brushes and paints. The secret to avoiding streaks and marks is to never overwork a wet or semi-dry area and painting in one direction without pressing too much on the brush.
How do you paint oil based paint without brush strokes?
Use linseed oil to thin down oil-based paint and tap off excess of paint every time you load your brush to avoid visible brush strokes.
How do you touch up paint without brush strokes?
Use the same color and sheen of the paint and a small brush or a small roller to touch up an area on the wall. Do not overlap fresh layers of paint with old paint too much.
Whether you are about to paint a wooden or metal door, trim, an old cabinet or a wall you can avoid brush strokes.
And not only by using sprayers or rollers.
Choosing the right consistency of the paint, as well as investing in flexible, non-shedding brush with a good shape will definitely save you some trouble painting.
Did this help you resolve the issue? How do you avoid marks? Share your tips in comments

Masha Eretnova, born in 1991, is a Chiang Mai-based certified teacher, artist, and blogger with 20+ years of personal painting journey.
She started painting and drawing very early and is now an international abstract artist and educator passionate about acrylic painting, gouache, and crafts.
Her works are part of international exhibitions and contests, including ArtlyMix (Brazil), Al-Tiba 9 (Spain), Exhibizone (Canada), Italy, and many more.
Besides her artistic pursuits, Masha holds a post-grad diploma in Teaching Film Photography and 2 music school diplomas: piano and opera singing.
Last update on 2026-07-21 / Affiliate links / Images from Amazon Product Advertising API