
Last Updated on June 7, 2026 by Masha Eretnova
The Fourth of July rolls around and the kids need something to do with their hands.
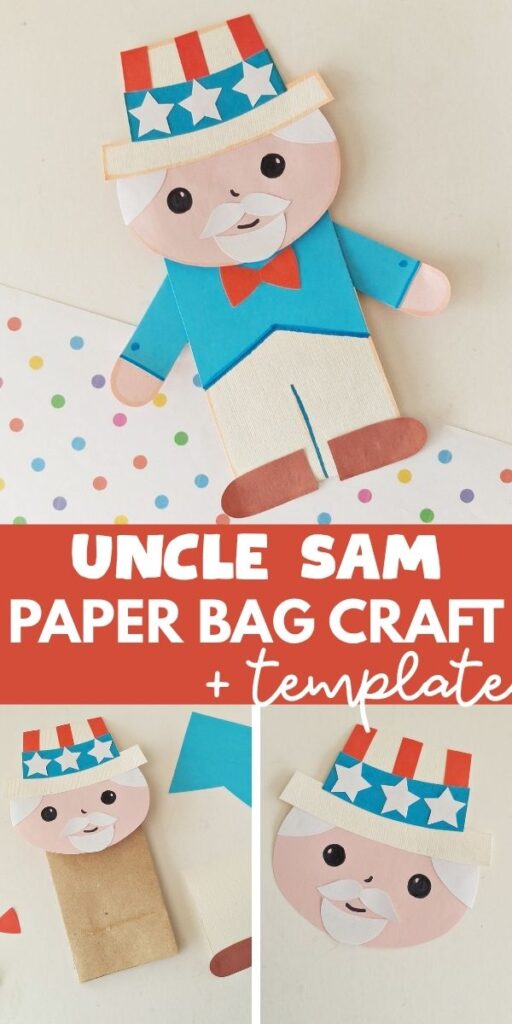
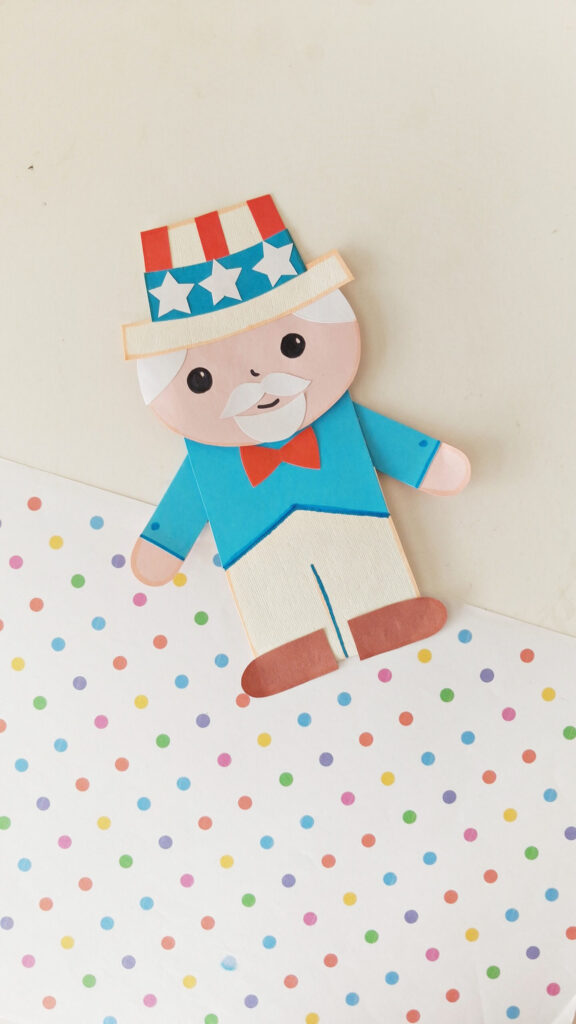
This Uncle Sam paper bag craft gives them a project they can finish in one afternoon and play with afterward. Children cut out the printable pieces, glue them onto a plain lunch sack, and end up with a puppet they can hold and move.
The craft + template suits Independence Day, Memorial Day, Flag Day, Veterans Day, and any classroom unit on American symbols.
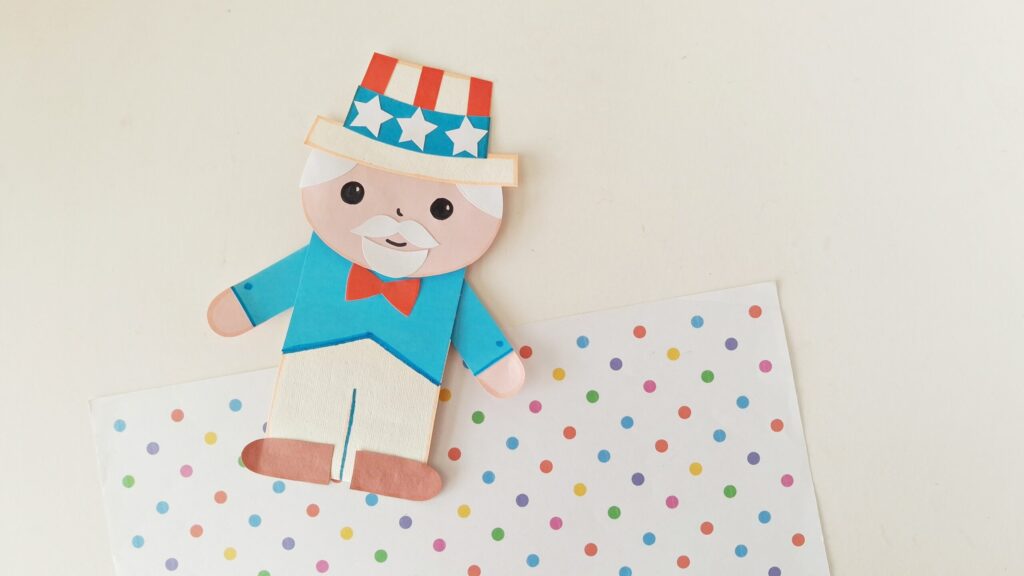
The finished puppet stands about as tall as a paper bag, with a striped stovepipe hat, a white mustache and beard, a blue jacket, and brown shoes. Kids slip a hand inside the bag and the puppet talks, waves, and marches. The project teaches scissor control and gluing while introducing a piece of American history.
What You Get in the Uncle Sam Paper Bag Craft
The printable template holds every shape your child needs to trace and cut. You can get it for free at the end of the post.
You supply the colored paper and a brown lunch bag, and the template does the rest. Each piece has a clean outline, so younger kids can follow the edges with scissors and older kids can cut the curved beard and mustache on their own.
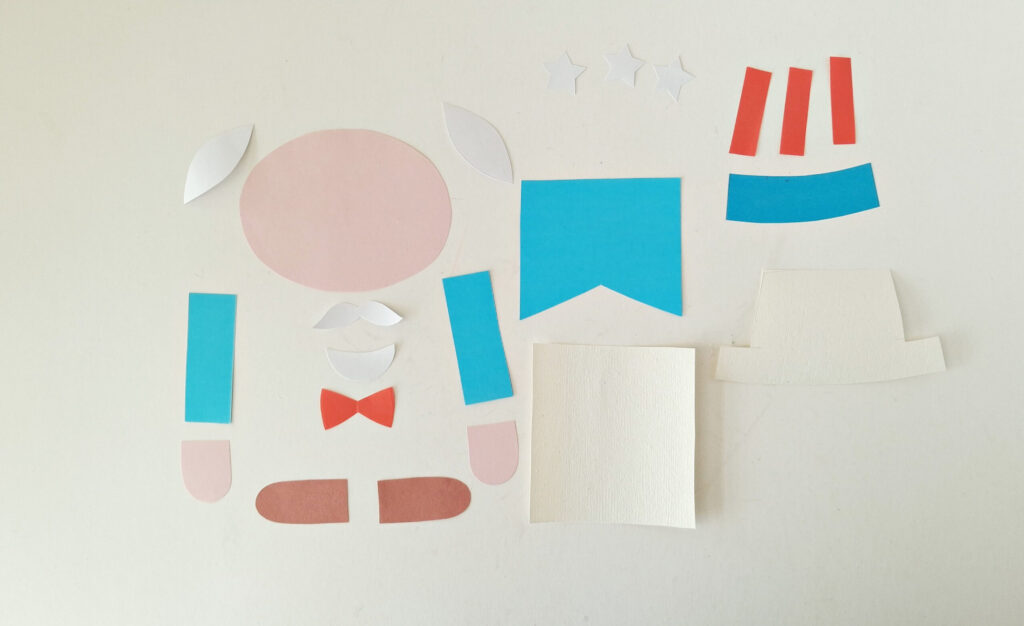
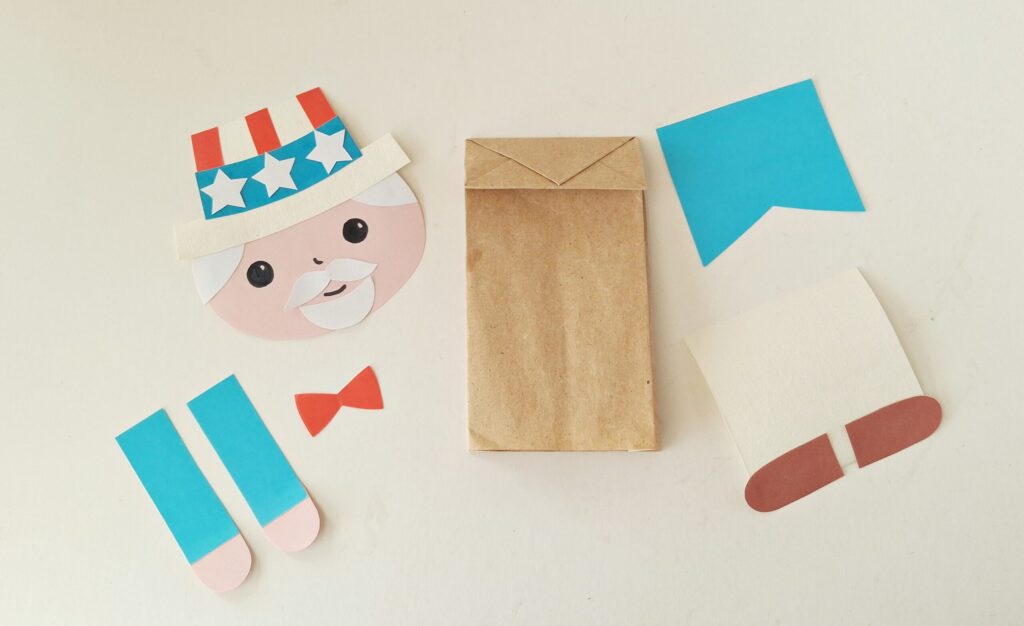
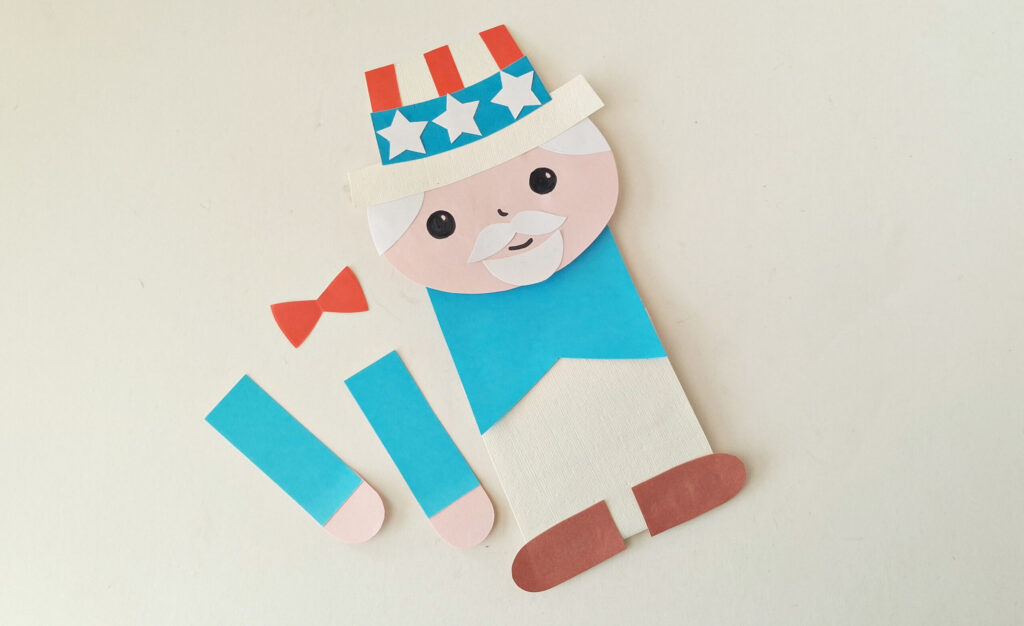
Here is what the template includes:
- An oval face in pink
- Two lens-shaped hair pieces in white
- A mustache and a round beard in white
- A stovepipe hat with three red stripes on the crown and a blue star band
- Three white stars and a hatband
- A blue jacket with a pointed bottom
- Two blue arms with pink hands
- White trousers with two brown shoes
- A red bow tie
Supplies You Need
Gather these before you start so the project runs without stops:
- Colored craft paper in red, blue, white, tan or light pink and brown
- The printable template + black and white printer
- A pencil
- A pair of child-safe scissors (you can use regular ones if you ar the one cutting everything)
- Glue
- Markers: black, yellow, and blue. With fine tips!
- A paper lunch bag
Who Was Uncle Sam?
Parents and teachers can use this craft to share a quick history lesson.
Uncle Sam is the bearded man in the star-spangled top hat who stands for the United States government, and he traces back to a real person.
According to the most widely cited account, the name links to Samuel Wilson, a meatpacker from Troy, New York, who supplied barrels of beef to the U.S. Army during the War of 1812.
Wilson stamped the barrels with “U.S.” for United States, but because he was known locally as “Uncle Sam,” soldiers began referring to the food as “Uncle Sam’s.” Historians note the term may have appeared even earlier, so the true origin stays a little fuzzy.
The local newspaper picked up the story, and Uncle Sam spread as a nickname for the federal government.

- Mahaffey, Brooke (Author)
- English (Publication Language)
- 32 Pages – 05/31/2021 (Publication Date) – The Little Dandelion Press (Publisher)

- Montgomery Harris, Judi (Author)
- English (Publication Language)
- 36 Pages – 06/22/2025 (Publication Date) – Independently published (Publisher)
Political cartoonist Thomas Nast popularized the image in the late 1800s and added the white beard and the stars-and-stripes suit. The familiar version reached its peak fame on James Montgomery Flagg’s “I Want You” recruiting poster in 1917. In 1961, Congress passed a resolution that recognized Wilson as the namesake of the national symbol.
You can share as much or as little of this as your child can absorb. For little ones, “Uncle Sam stands for America” works fine. Older kids enjoy the barrel-stamping story.
Older kids will also enjoy this book (5-9 yo):

- Dalgliesh, Alice (Author)
- English (Publication Language)
- 32 Pages – 06/01/1995 (Publication Date) – Aladdin (Publisher)
How to Make the Uncle Sam Paper Bag Craft
Print the template, set out your supplies, and work through these steps.
Step 1: Cut Out the Pieces
Download the template and cut out the patterns. Pick red, blue, white, light pink/tan and brown craft paper. Trace each pattern onto the matching color, then cut along the lines. Lay the pieces out so you can find them as you build.
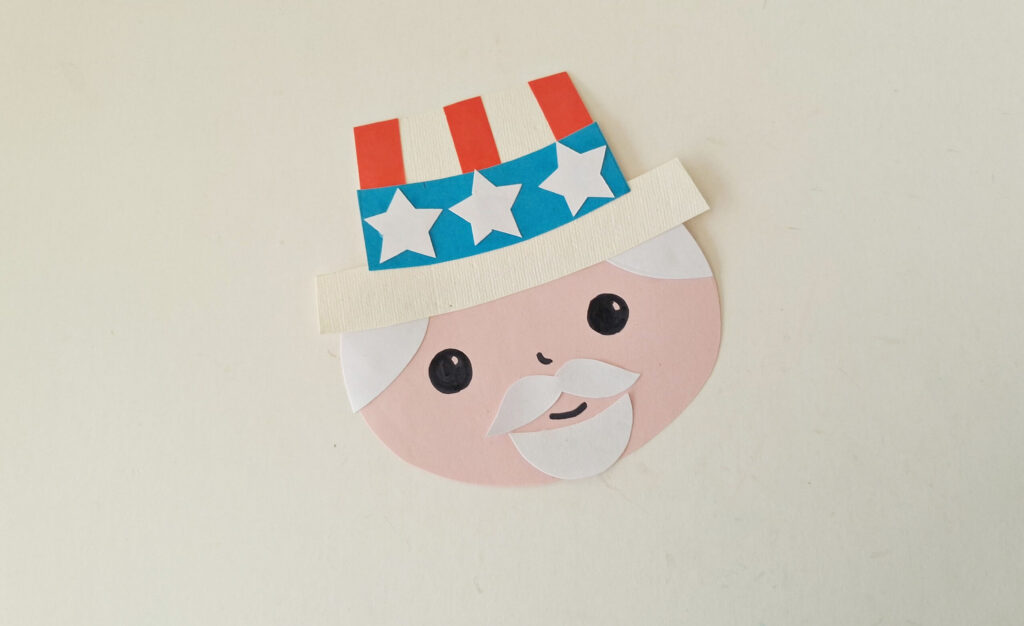
Step 2: Add the Hair
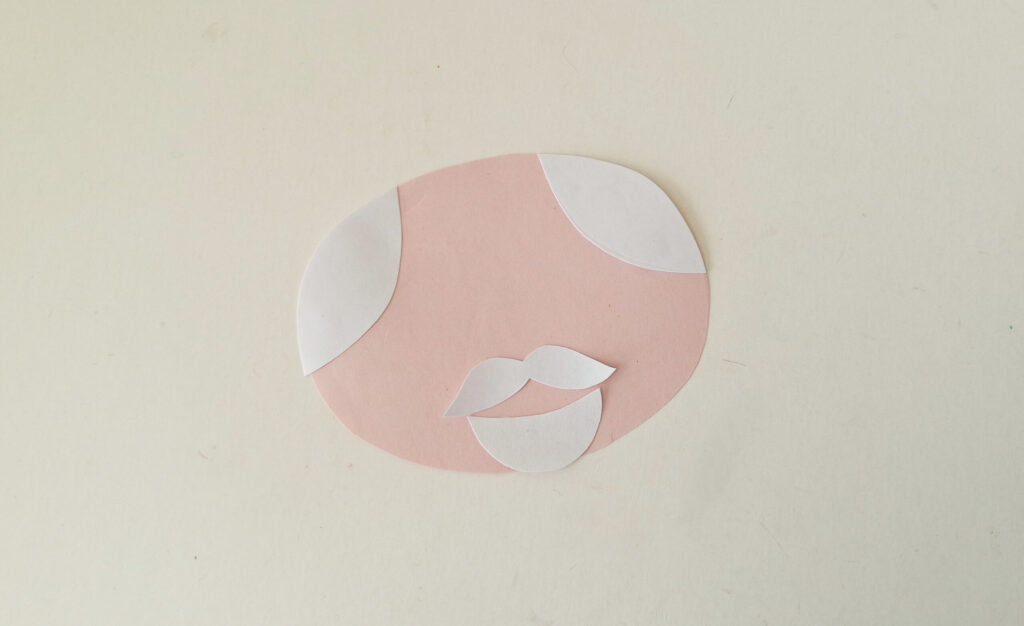
Glue the two lens-shaped white hair pieces on the top corners of the head, one on each side of the top edge.
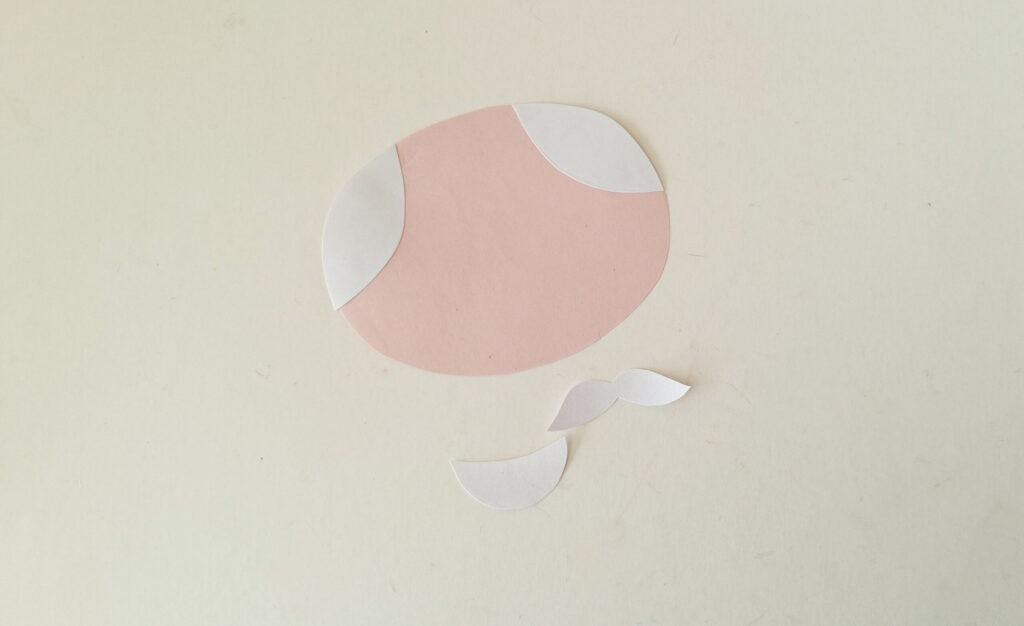
Step 3: Add the Beard and Mustache
Glue the round beard and the mustache onto the lower part of the face.
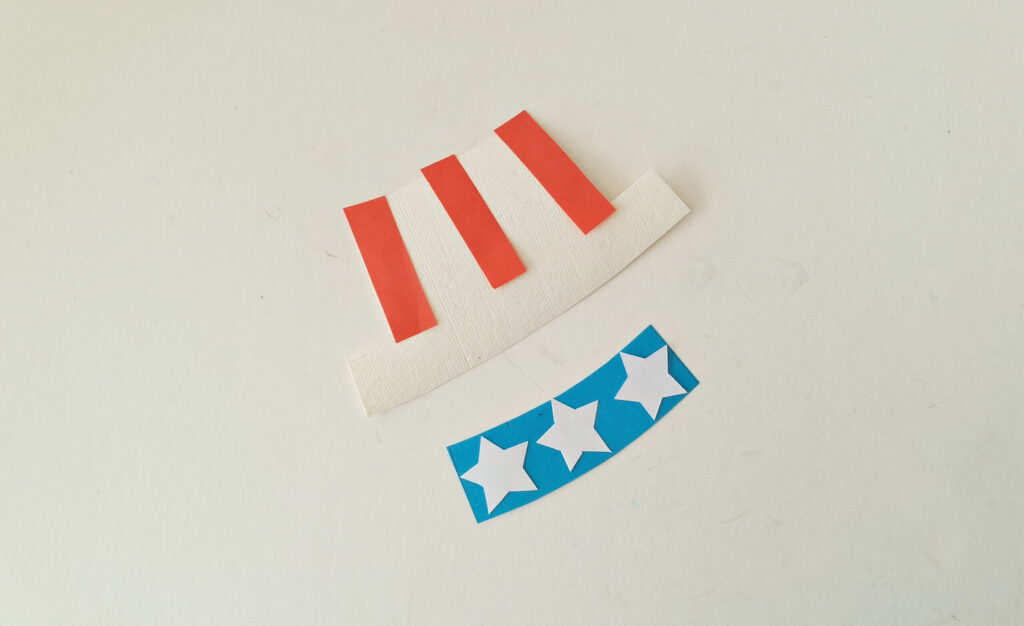
Step 4: Build the Hat
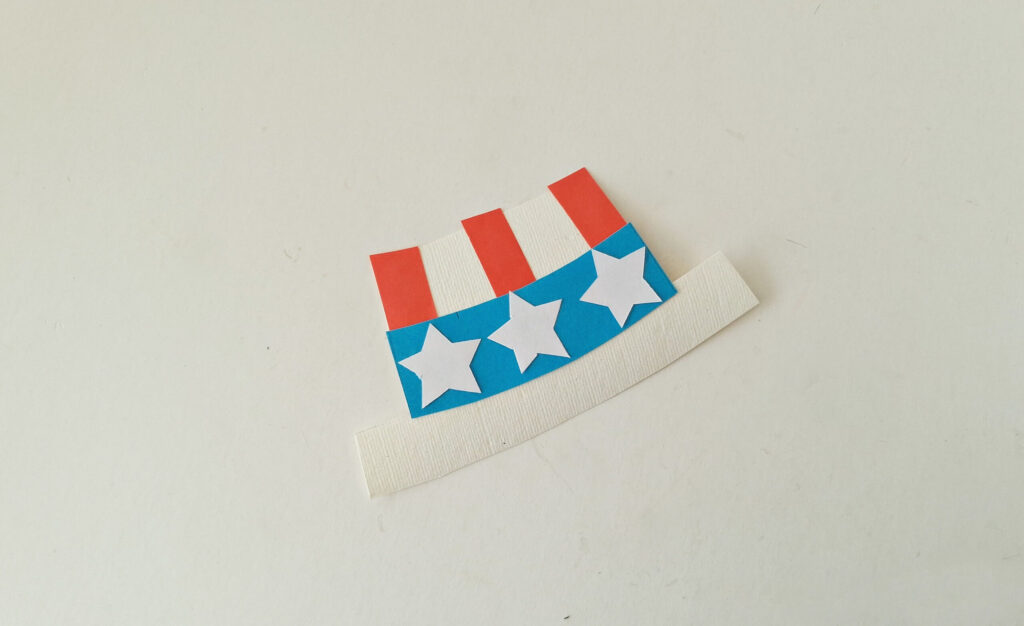
Take the hat pieces. Glue the three red strips onto the crown of the hat. Glue the three white stars onto the blue band.
Glue the star band onto the base of the hat.
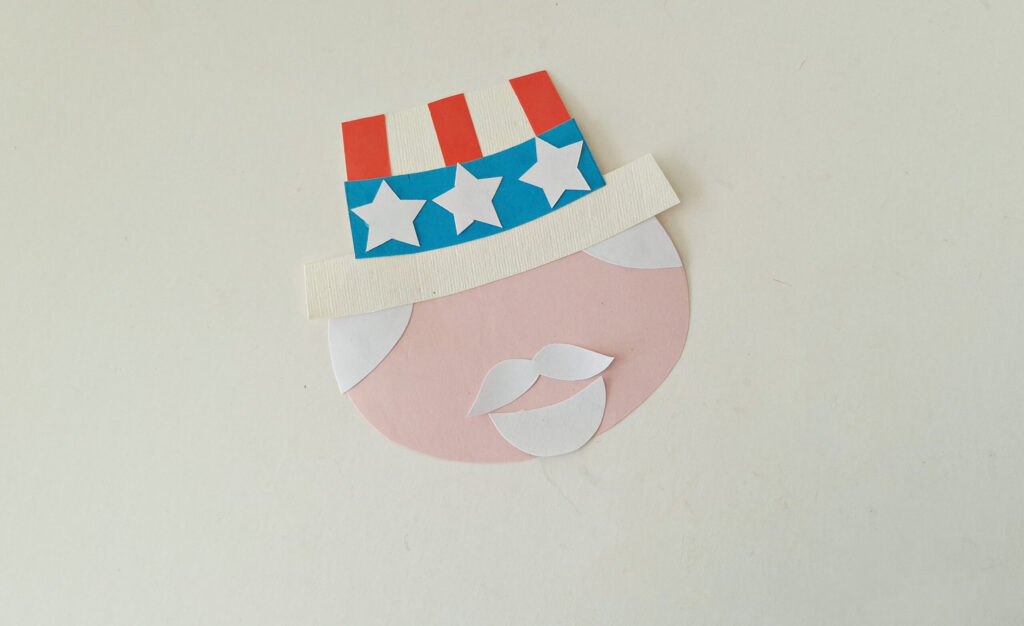
Step 5: Place the Hat on the Head
Glue the finished hat onto the top edge of the head.
Step 6: Draw the Face
Use a black marker to draw two eyes, a small nose, and a smile.
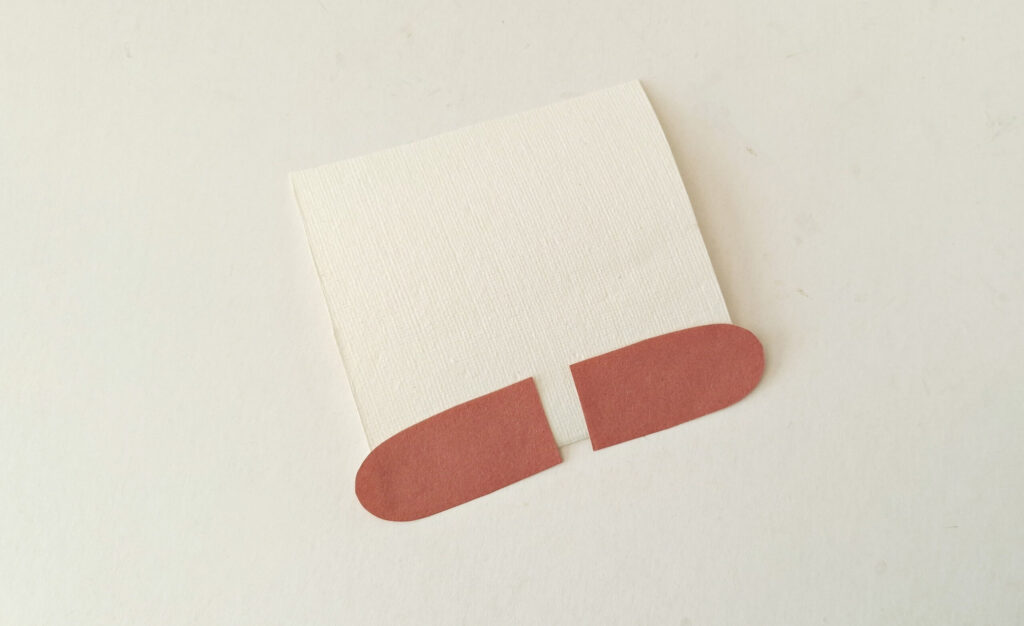
Step 7: Make the Legs
Take the white trousers square. Glue the two brown shoes onto the bottom edge.
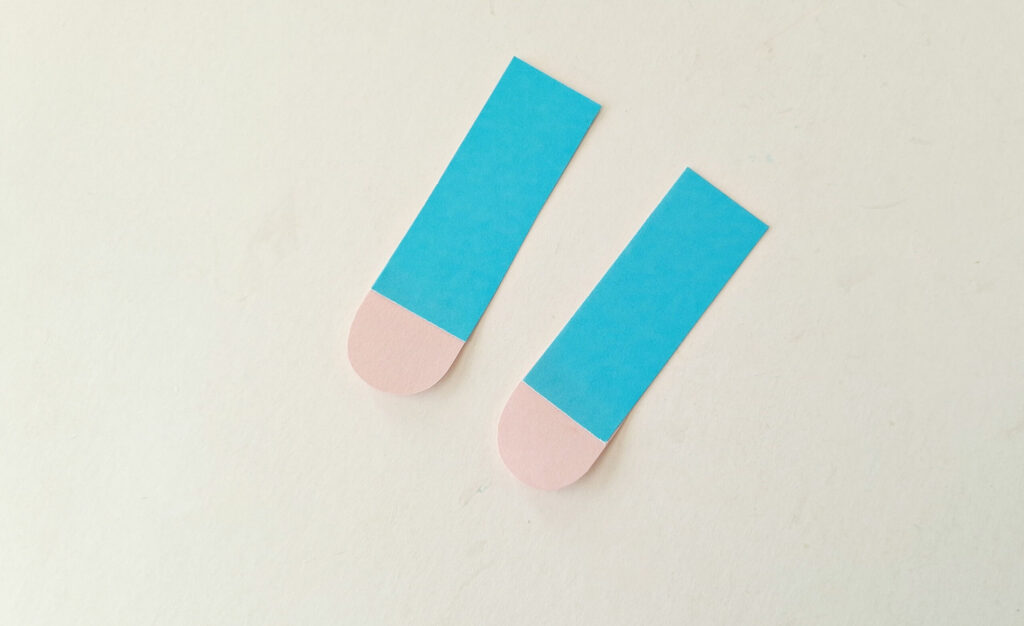
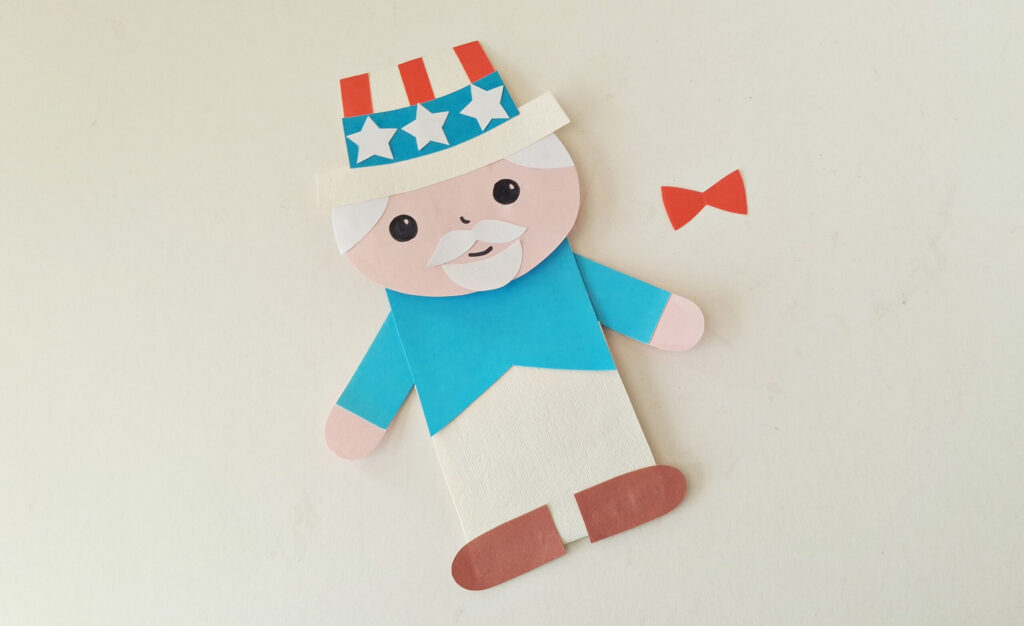
Step 8: Make the Arms
Glue the pink hands onto the ends of the two blue sleeves.
Step 9: Prep the Bag
Gather every piece and a clean paper bag. Fold the flat bottom of the bag toward the front so it forms a flap.
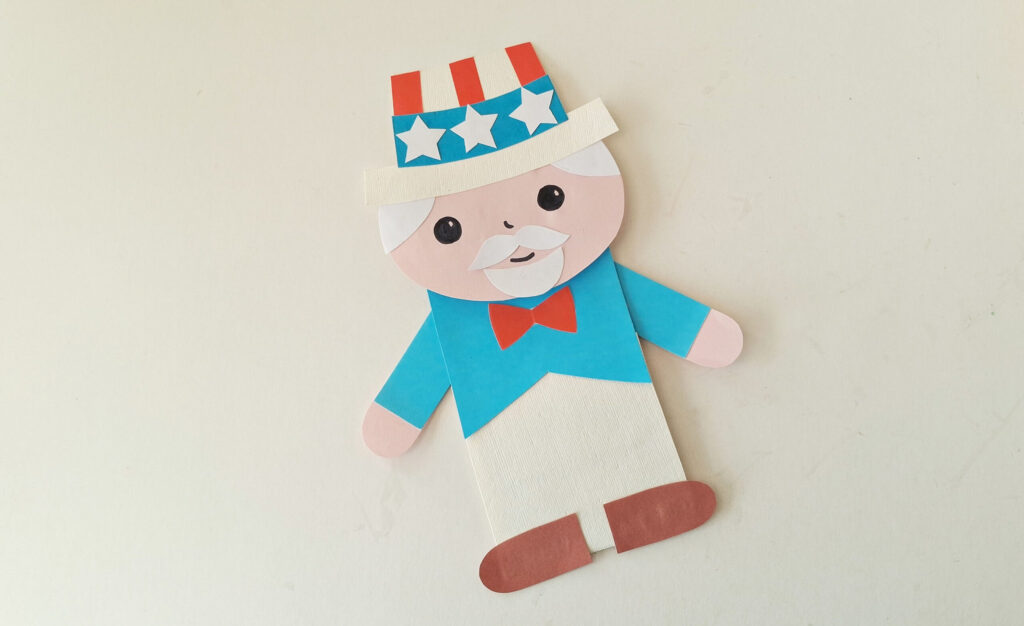
Step 10: Assemble Uncle Sam Paper Bag Craft
Glue the head onto the folded bottom flap of the bag.

Then, decorate the body (the bag). Glue the blue jacket and the white trousers onto the front of the bag, below the head.
Attach the arms. Just glue one arm to each side of the bag (behind the bag, not on top of the jacket)
Finally, glue the red bow tie just below the beard.
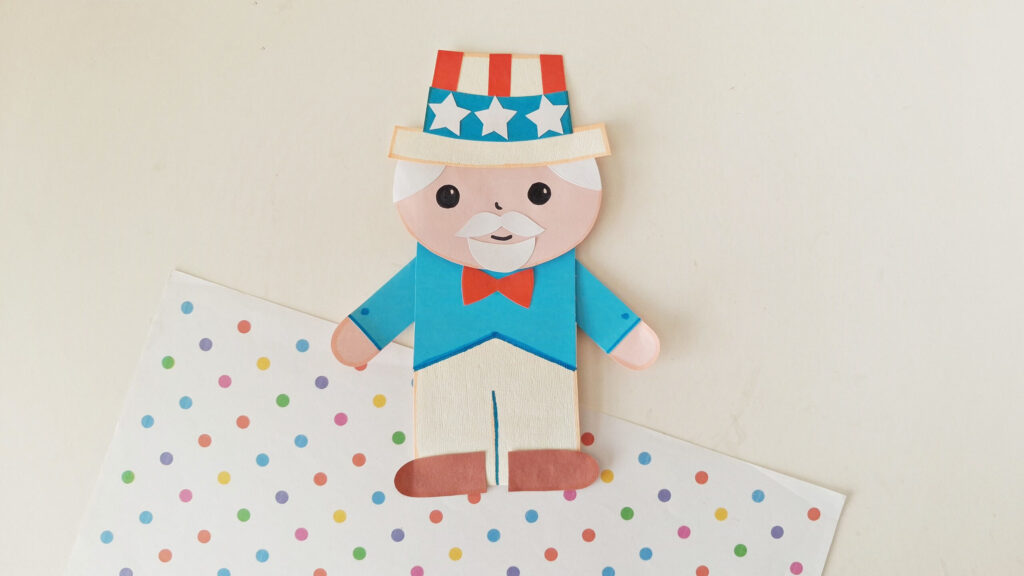
Take blue marker and add details: outline the jackets and the pants, and with a yellow marker outline the hat and sides of the pants!
Your Uncle Sam puppet is ready for 4th of July celebration!
More 4th Of July Crafts:
- 10+ Patriotic 4th Of July Crafts For Preschoolers
- 4th Of July Brick Placemats For Kids
- 15+ Creative 4th Of July Crafts For Teens
- 8 Easy 4th Of July Wood Crafts
- 15 Fun 4th Of July Crafts For Adults
- 50+ Easy 4th of July Crafts for Kids
- 13 Fun 4th July Crafts For Toddlers
- 12 Easy American Flag Crafts For Kids
What Age Is This Craft For?
This craft works best for kids ages 4 to 8.
Preschoolers can glue the pieces in place while a grown-up cuts the trickier curves like the beard and mustache.
Kids ages 6 and up handle most of the cutting and gluing themselves. The marker step and the order of layering give older kids a chance to work independently.
For a classroom, this fits a group of early elementary students. Print one template per child, pre-cut the curved pieces for the youngest, and let the rest cut their own.
Tips for the Best Results
Use a glue stick for flat pieces and a small dot of craft glue for the stars and bow tie. Let each layer dry for a moment before adding the next so the pieces stay put. If a child wants a bolder look, trace the hat stripes onto brighter red paper.
Turn the finished puppet into a small show. Kids can make Uncle Sam wave during a backyard barbecue or march in a pretend parade. You can also make it a hanging wall decoratioin by attaching a string behind the body!
Grab Your Free Template
Ready to make your own Uncle Sam paper bag puppet? Enter your email below and we’ll send the printable template straight to your inbox. Print it, cut it, and craft along with your kids this patriotic season.
Looking for more patriotic fun? Pair this with our Fourth of July word search for a full holiday activity afternoon.

Masha Eretnova, born in 1991, is a Chiang Mai-based certified teacher, artist, and blogger with 20+ years of personal painting journey.
She started painting and drawing very early and is now an international abstract artist and educator passionate about acrylic painting, gouache, and crafts.
Her works are part of international exhibitions and contests, including ArtlyMix (Brazil), Al-Tiba 9 (Spain), Exhibizone (Canada), Italy, and many more.
Besides her artistic pursuits, Masha holds a post-grad diploma in Teaching Film Photography and 2 music school diplomas: piano and opera singing.
Last update on 2026-06-07 / Affiliate links / Images from Amazon Product Advertising API