Last Updated on June 9, 2026 by Masha Eretnova
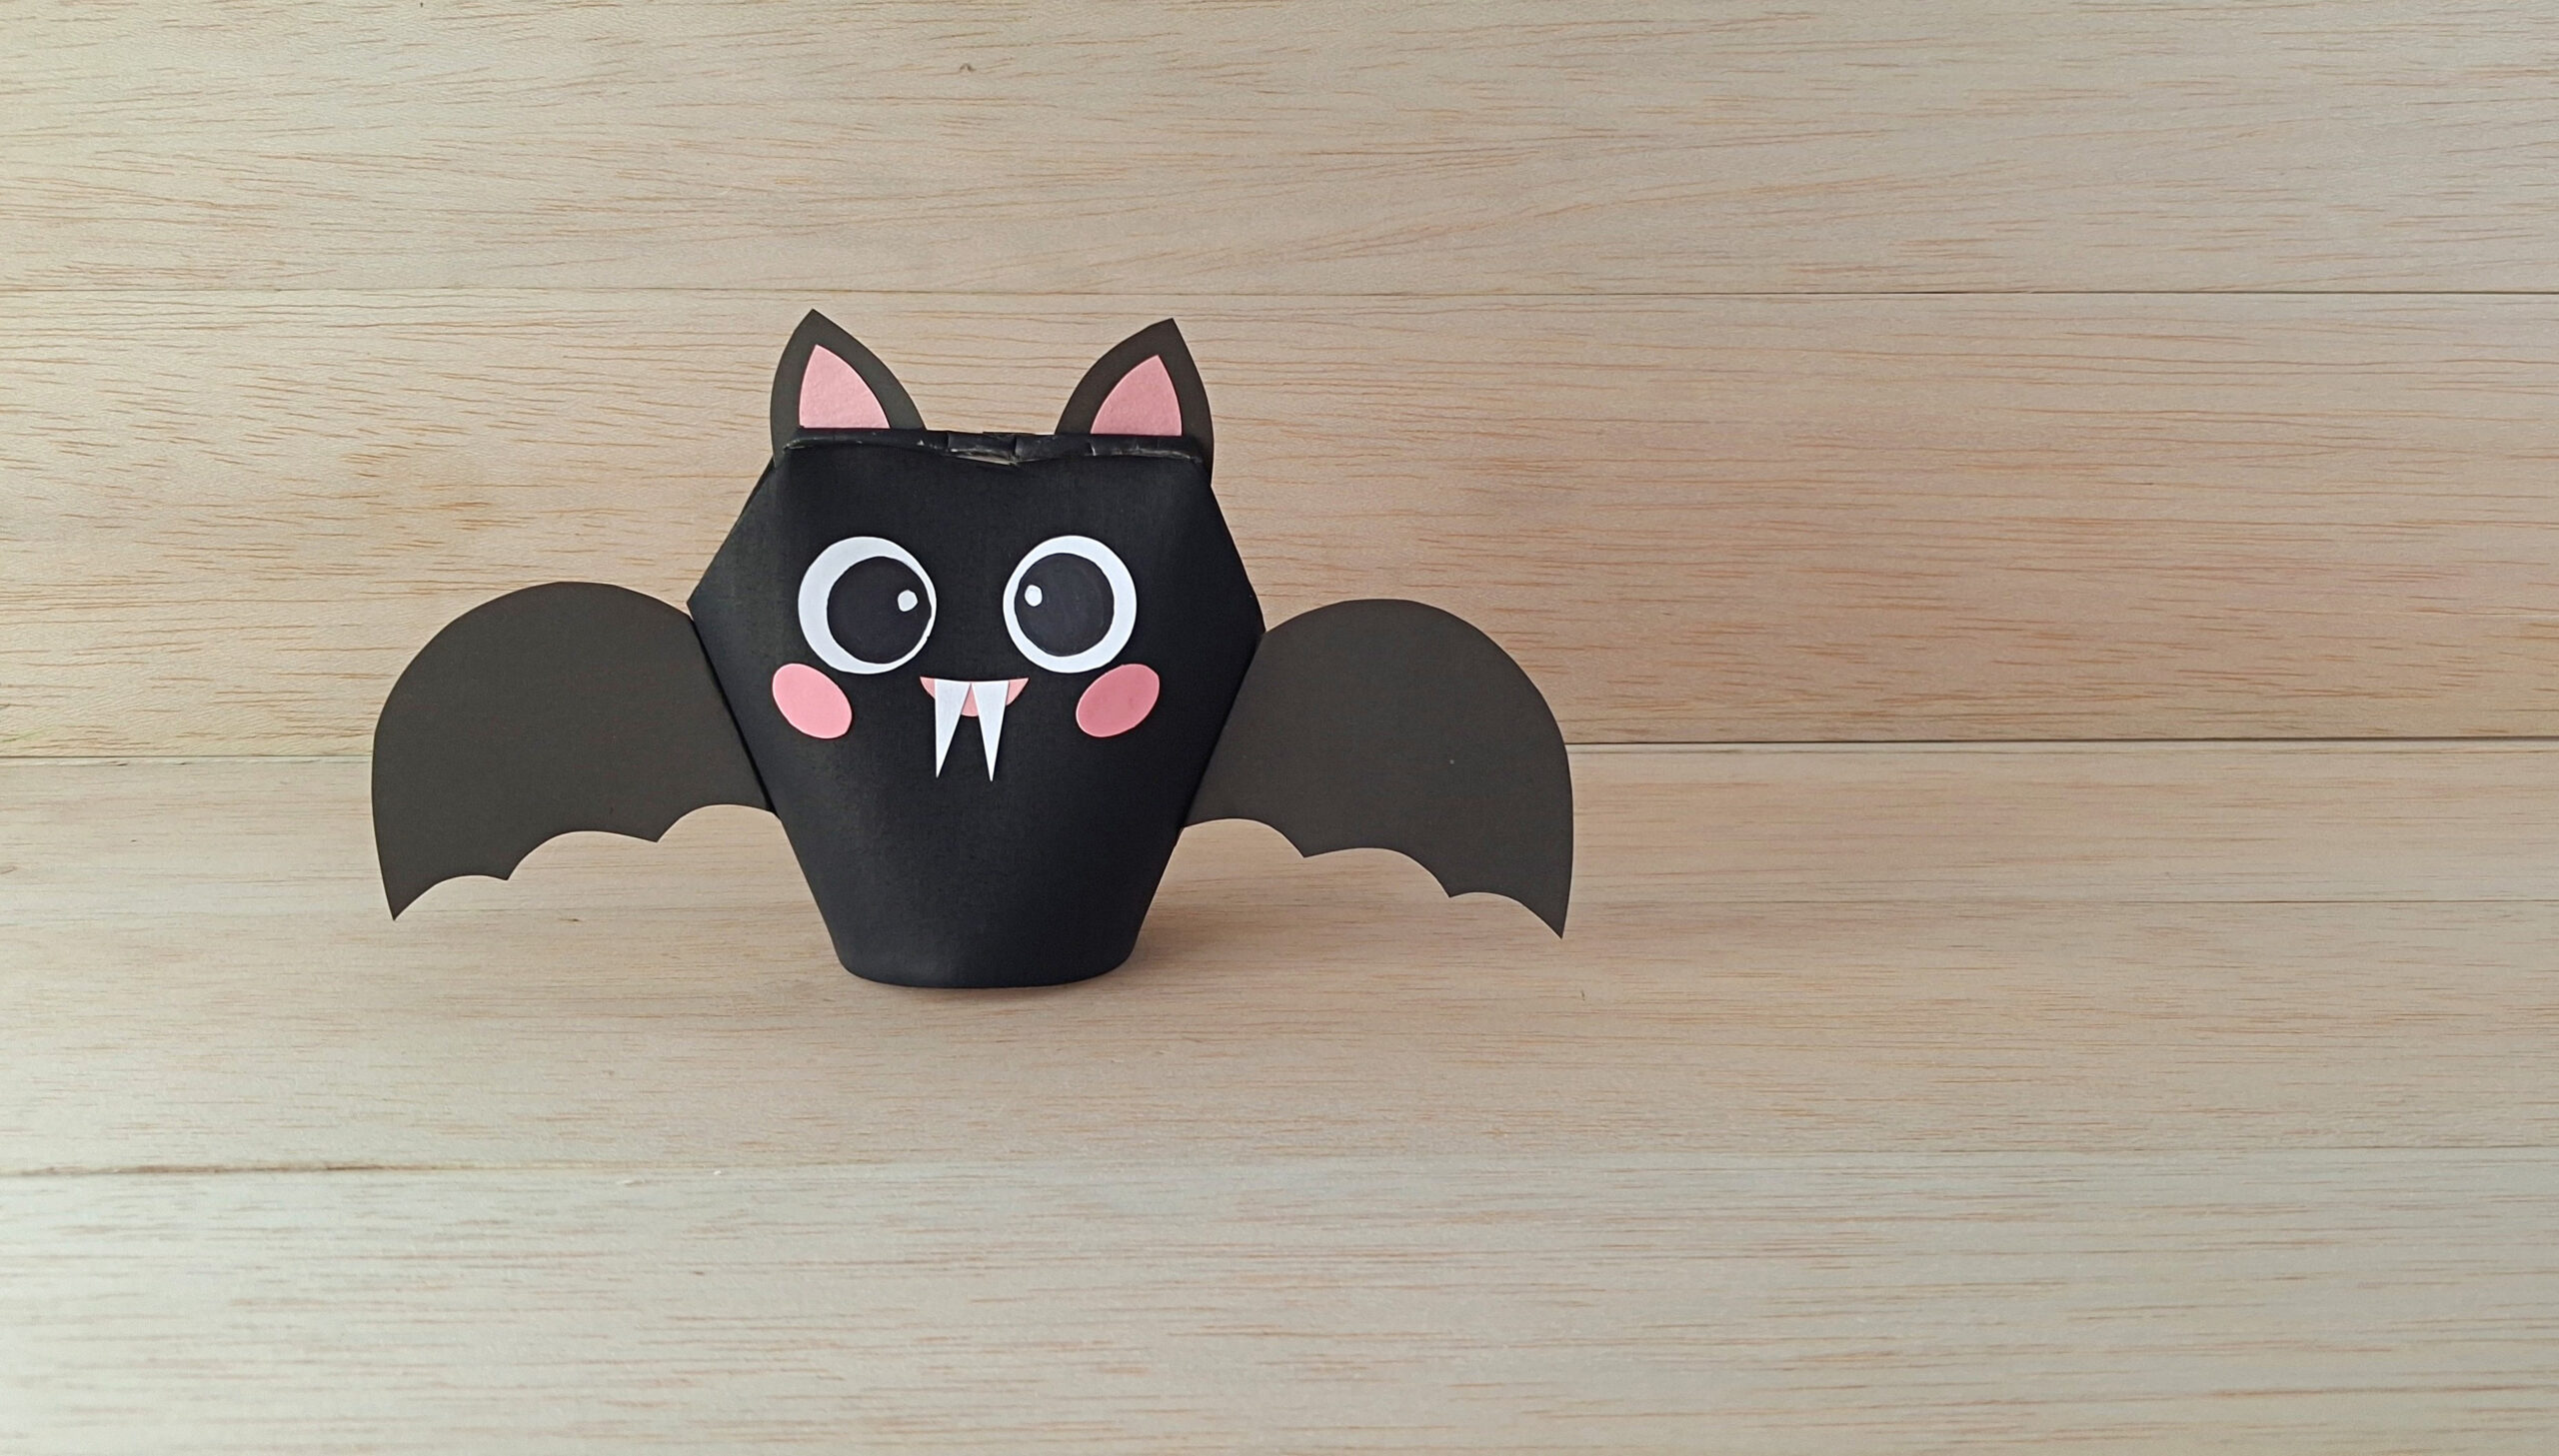
Need a Halloween craft that uses what you already have in the kitchen? This paper cup bat craft turns one plain cup into a chubby, fang-toothed bat with a cat-like face.
I will share exact steps and free template to make it with your kids for Summerween or Halloween.

The whole project costs almost nothing. One paper cup, some craft paper, and a bit of black paint. Very easy project for an afternoon!
You also get a supply list, an age guide, the skills this craft builds, and a few Halloween book picks to read once the glue dries.
What Age Is This Paper Cup Bat Craft Good For?
This craft fits kids ages 4 to 10, with the level of help shifting by age.
Preschoolers (ages 4 to 5) need an adult for the cutting and the cup-folding steps. They handle the painting and the gluing on their own, which is the part they enjoy most. Cut the template pieces ahead of time so they jump straight to assembly.

Kids ages 6 to 8 manage most steps with light supervision. They cut along the template lines, fold the cup, and place each face piece. An adult steps in for the stapling.
Older kids ages 9 to 10 complete the bat start to finish. Hand them the template and let them work through it, then check the wing folds before the final glue-up.
Supplies You Need
- Paper cup
- Craft Acrylic paint (black, or any color you like your bat cat to be!! Purple, green, orange, or multi-colored)
- Paintbrush
- Colored craft papers (black, pink, white)
- Template (download at the end)
- Pencil
- A pair of scissors (regular or child-safe if younger kids are working on this craft)
- Craft glue
- Stapler, optional, instead of glue.
Most of these sit in a craft drawer already. A standard disposable paper cup works best because it flattens cleanly. Acrylic paint covers the cup in one or two coats and dries fast.
How to Make a Paper Cup Bat Craft
Follow these steps in order. Set out a sheet of scrap paper first so paint and glue stay off the table.
Step 1: Clean the Cup
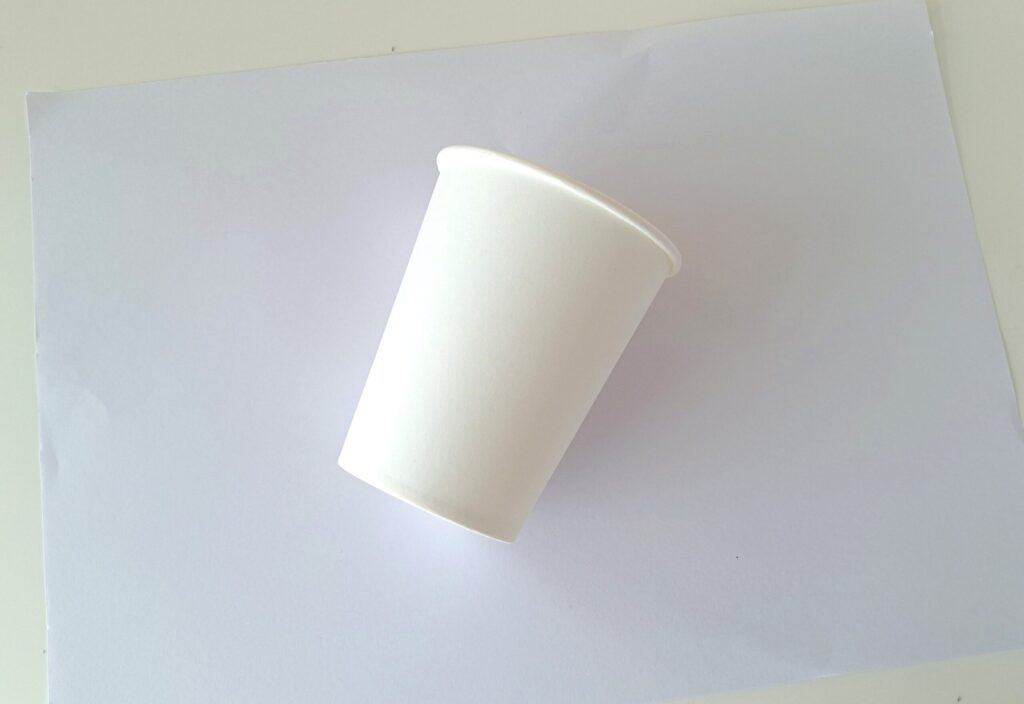
Select a paper cup and wipe its outer surface clean. A dry cup holds paint better and gives the face pieces a smooth base.
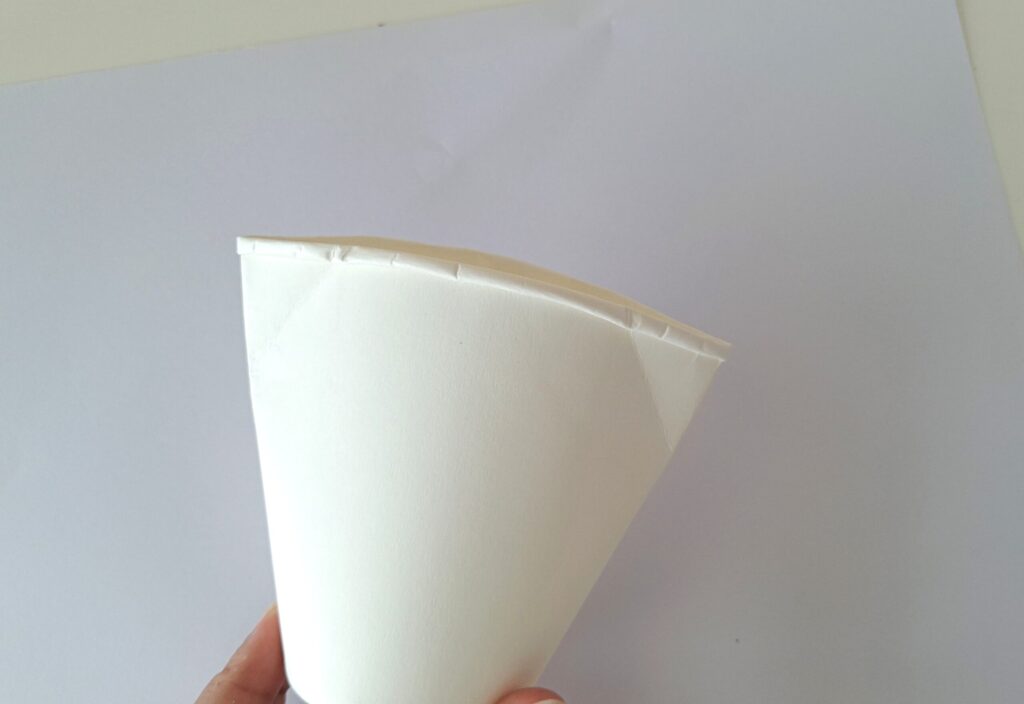
Step 2: Flatten the Open End

Lay the cup on a flat surface on its side. Press the open rim flat into a neat straight edge. This flat edge becomes the top of the bat’s head.
Step 3: Fold In the Corners
Fold in the two corners of the flattened open side, like the start of a paper airplane. This shapes the points where the ears sit later.
Step 4: Unfold the Corners
Open the two corner folds back out. The crease lines stay visible and act as guides for the next fold.
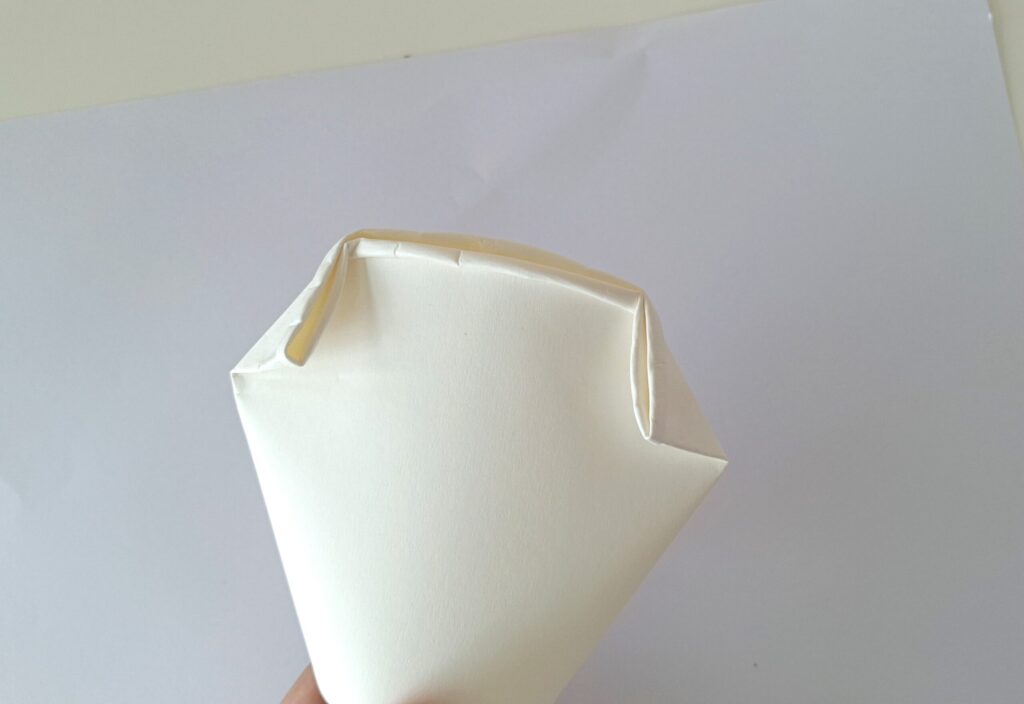
Step 5: Fold the Corners Inward
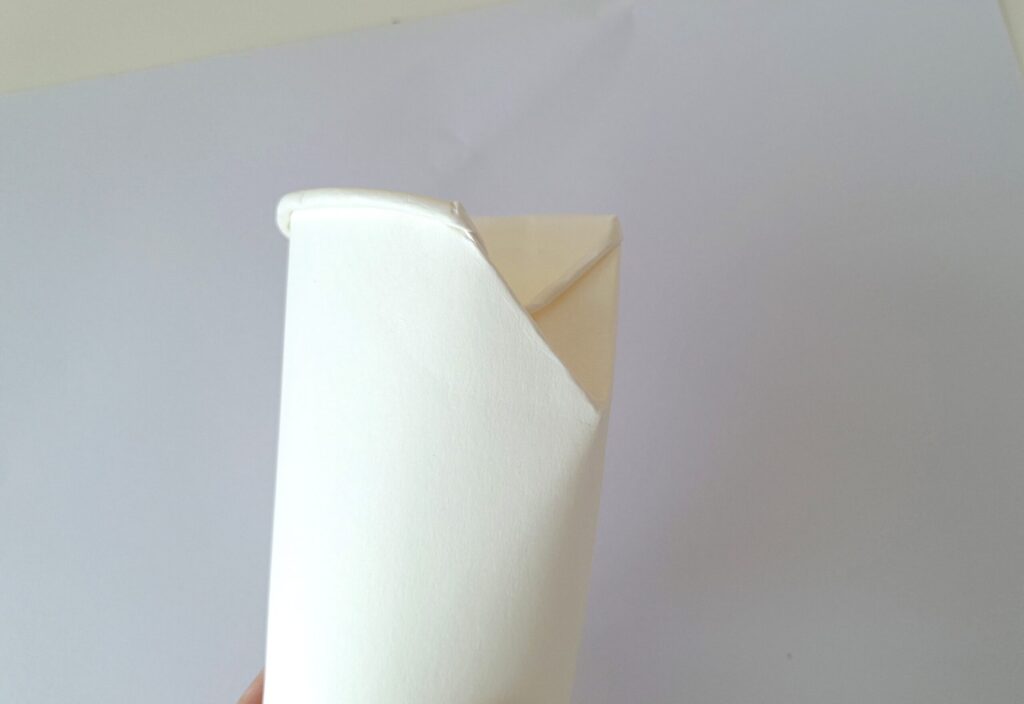
Now fold the corners inward along the crease lines. The top of the cup narrows into a tidy peak with two small points on either side.
Step 6: Secure the Folds

Apply glue under the folds or run a staple across them to hold the shape. Press firmly and let any glue set before moving on.
Step 7: Cut the Template Pieces

Choose your craft paper colors. The template includes patterns for the eyes, mouth, fangs, ears, wings, and blush spots. Trace each piece onto the matching color, then cut along the lines. Use black for the wings and outer ears, pink for the inner ears and blush spots, and white for the eyes and fangs.
Step 8: Build the Ears and Mouth

Glue each pink inner ear cutout onto its black outer ear cutout. Glue the two fang cutouts onto the pink mouth cutout, pointing straight down. These small assemblies dry while you paint.
Step 9: Paint the Cup

Brush a coat of black paint over the flattened cup, covering both sides. Add a second coat if the white shows through. Let the paint dry completely before you touch it again. Skipping this dry time smears the paint and lifts it off the cup.
Step 10: Attach the Ears

Once the paint dries, glue the ear pieces to the top points of the cup so they stand up above the head.
Step 11: Add the Eyes

Glue the eye pieces to the front of the cup, just below the ears (should be on the same side that pink ears are!). Set them close together for that wide-eyed, cute look.
Step 12: Add the Mouth and Blush

Glue the fanged mouth below the eyes. Add a pink blush spot on each cheek. The face is now complete.
Step 13: Fold the Wing Edges
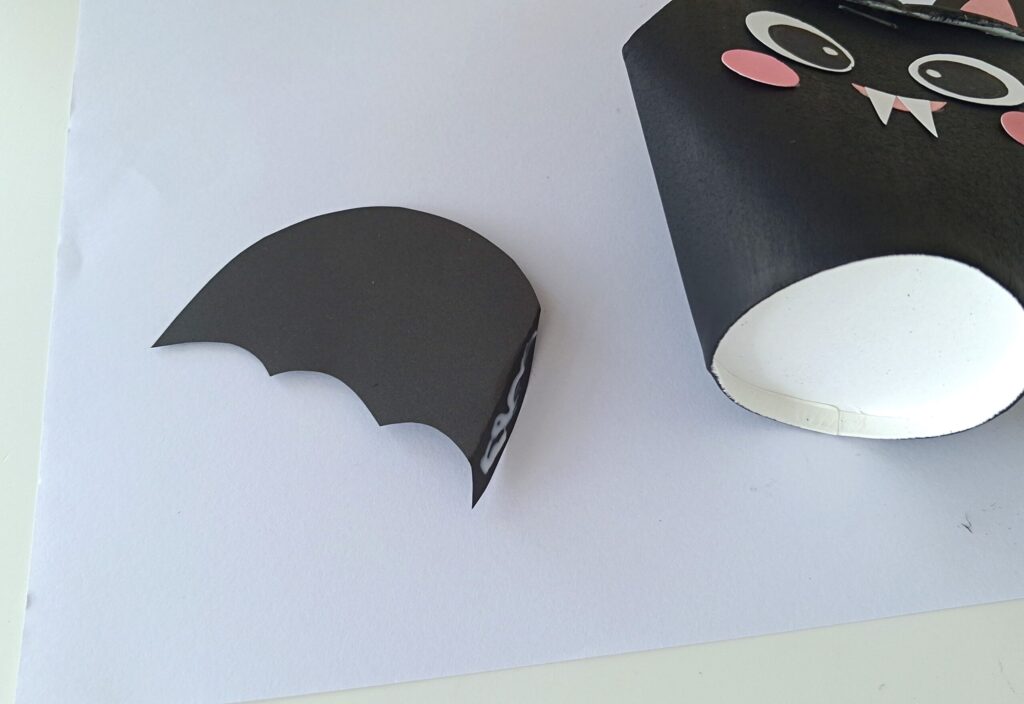
Make a thin fold along the straight inner edge of each wing. Apply glue to that folded tab. The fold gives the wing a flat surface to stick to the round cup.
Step 14: Attach the Wings

Press one wing onto the left side of the cup and one onto the right. Hold each in place until the glue grabs.
Your paper cup bat is ready to perch.

What Skills This Craft Builds
This bat does more than fill an afternoon. Each step trains something useful.
Cutting the template pieces builds scissor control and hand strength. The shapes include curves and points, so kids practice steering the blade.
Folding and gluing the cup develops spatial reasoning. Kids see how a flat rim becomes a 3D head, which is early geometry in action.

Placing the eyes, ears, and wings calls for planning and symmetry. Kids judge where each piece goes and match the left side to the right.
Painting two even coats teaches patience. The bat only looks right after the paint dries, so kids learn to wait for a better result.
Halloween Books to Read With This Craft
Pair the finished bat with a story. These picture books match the same friendly, not-scary tone and suit the same age range.


Make a Whole Colony
One bat looks great, but a row of them makes a display. Try different paint colors for each one, or change the eye and blush colors. Kids love lining them up along a windowsill or taping them to a wall for a Halloween scene.
This craft also works for a classroom or party. Prep the template pieces in advance, set out cups and paint, and let a group build their bats together.
Get the Free Template
Want the exact template used in this craft? Download it here and start making your own paper cup bats today. Enter your email and the printable lands in your inbox, ready to print at home.

Masha Eretnova, born in 1991, is a Chiang Mai-based certified teacher, artist, and blogger with 20+ years of personal painting journey.
She started painting and drawing very early and is now an international abstract artist and educator passionate about acrylic painting, gouache, and crafts.
Her works are part of international exhibitions and contests, including ArtlyMix (Brazil), Al-Tiba 9 (Spain), Exhibizone (Canada), Italy, and many more.
Besides her artistic pursuits, Masha holds a post-grad diploma in Teaching Film Photography and 2 music school diplomas: piano and opera singing.
Last update on 2026-07-22 / Affiliate links / Images from Amazon Product Advertising API