
Last Updated on August 12, 2026 by Masha Eretnova
Looking for cute owl crafts kids can make but not throw away and really use? I think this owl corner bookmark will be an amazing idea for kids of elementary age.
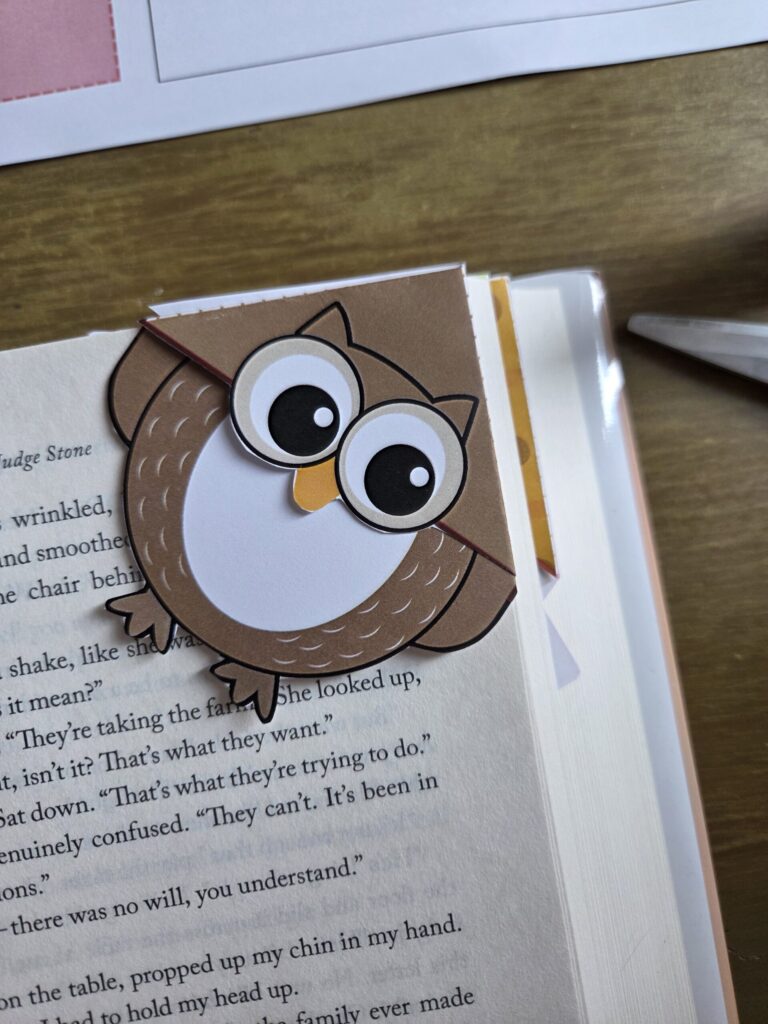
I used thicker print paper and the bookmarks sit perfectly on the corners, but as printing paper is still thinner that cardstock, these corner bookmarks will sit tighter if you put them over a few pages.
Supplies You Need
- Color printer as printing the template in black and white won’t really be suitable for coloring.
- Thick print paper so bookmarks holds up better over time.
- Scissors (Child-safe scissors for younger kids)
- Glue stick
If you want to extend the lifespan of the bookmarks, run a strip of clear tape along the inside pocket seam after gluing. Optional, but it makes them noticeably more durable, especially for younger children who aren’t always as gentle with their books as we may hope for.
Total time to make this is under an hour for any age, but older kids and adults will be done within 20-30 minutes tops.
More crafts for kids:
How to Make Watermelon Corner Bookmarks
Step 1: Print
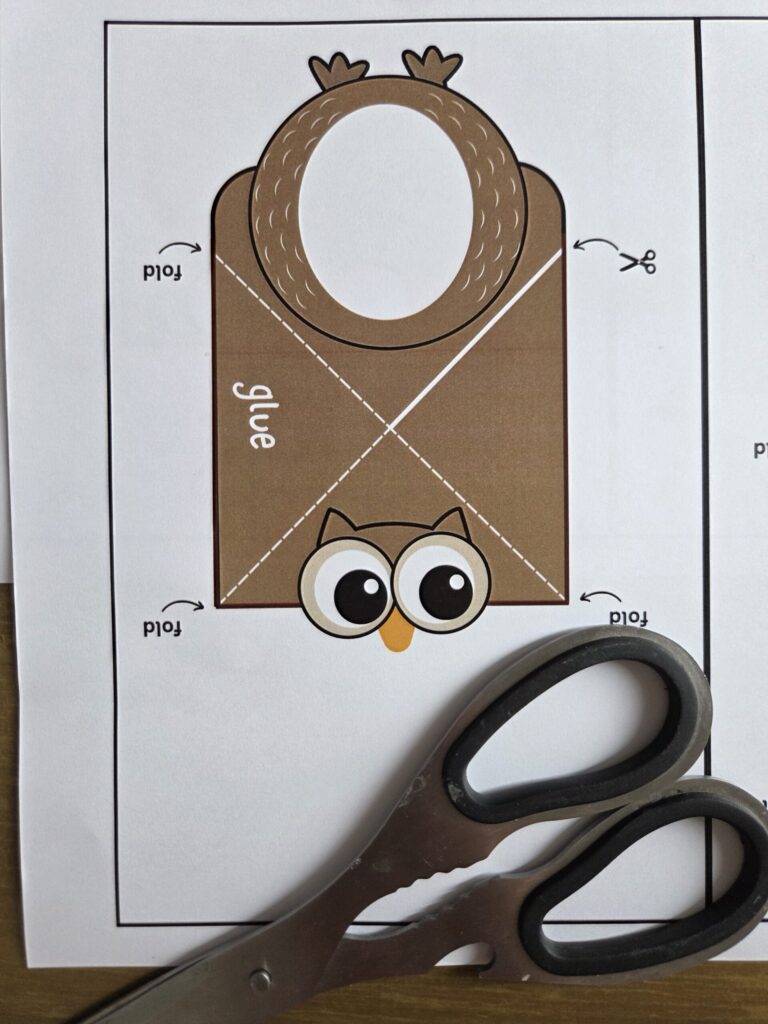
Download the PDF below and print the template on standard letter or A4 size paper.
Step 2: Cut Along the Outer Solid Line
Each template has a solid black outline, this is out guideline to cut it out.
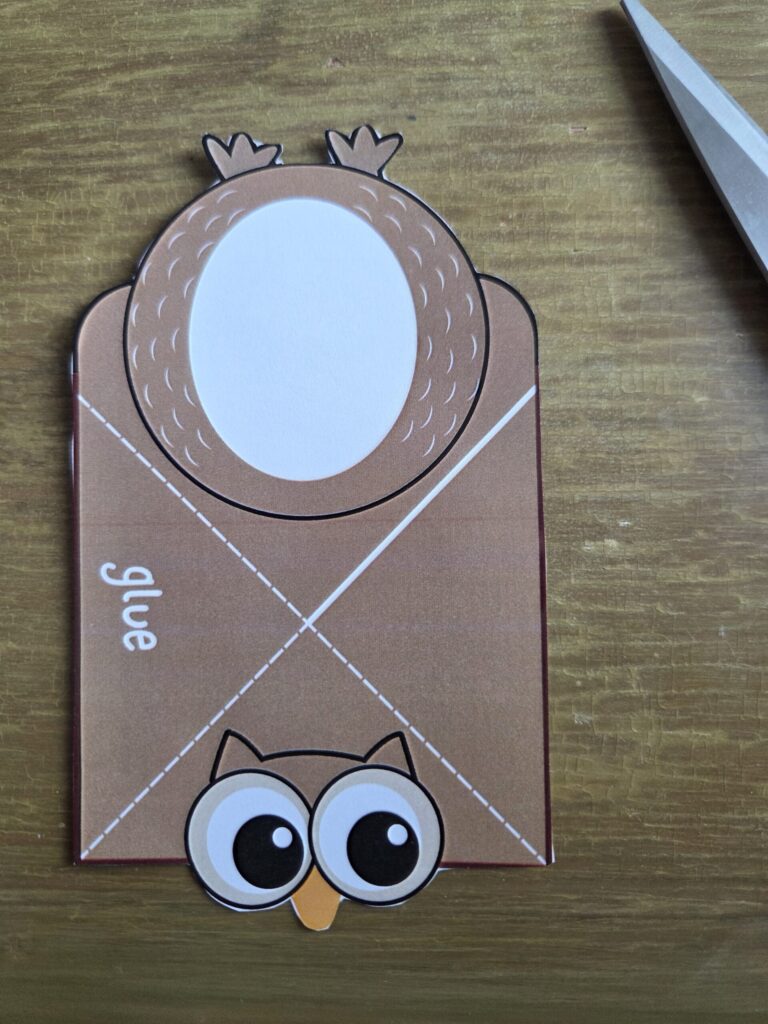
Owl is very simple even for kids to cut out, except little owl’s toes.
It is a good practice to remember to turn paper following the line rather than the working (cutting) hand with scissors.
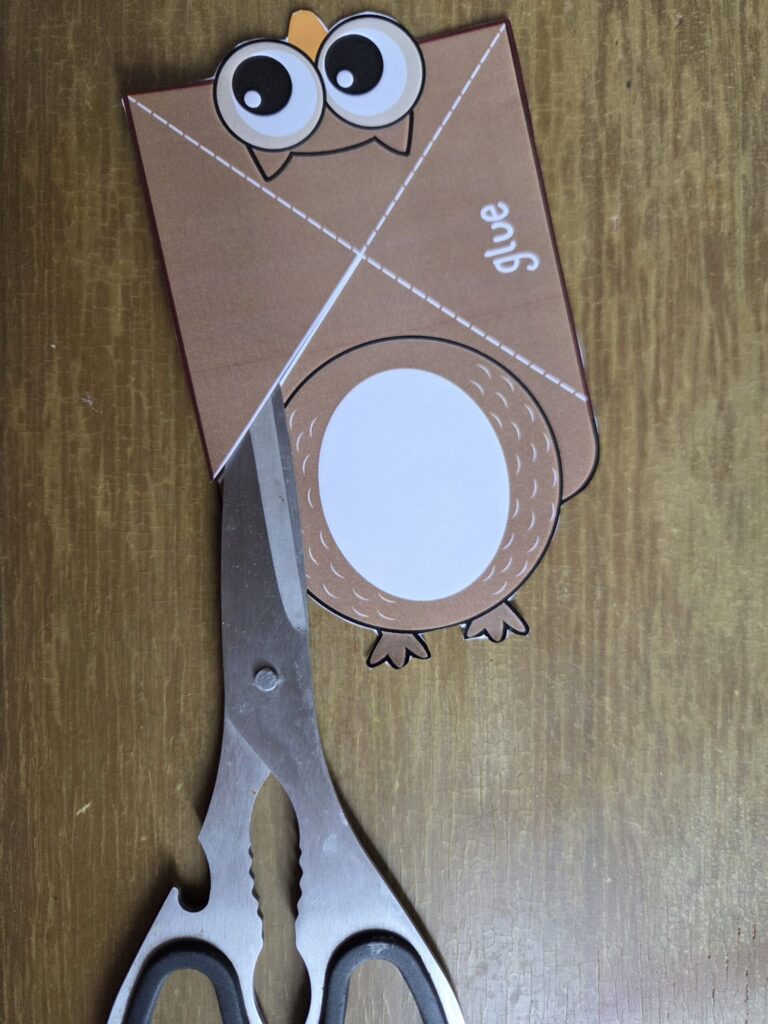
Step 3: Cut Down the Center White Solid Line
You will see that the template has three dotted lines in the owl body and one thicker white solid line running down the middle from the corner of the rectangle.
You will need to cut this out as clean as possible.
Step 4: Folding
Owl bookmark has three dotted fold lines running from the center. First, fold the body, and follow the folding steps clockwise:
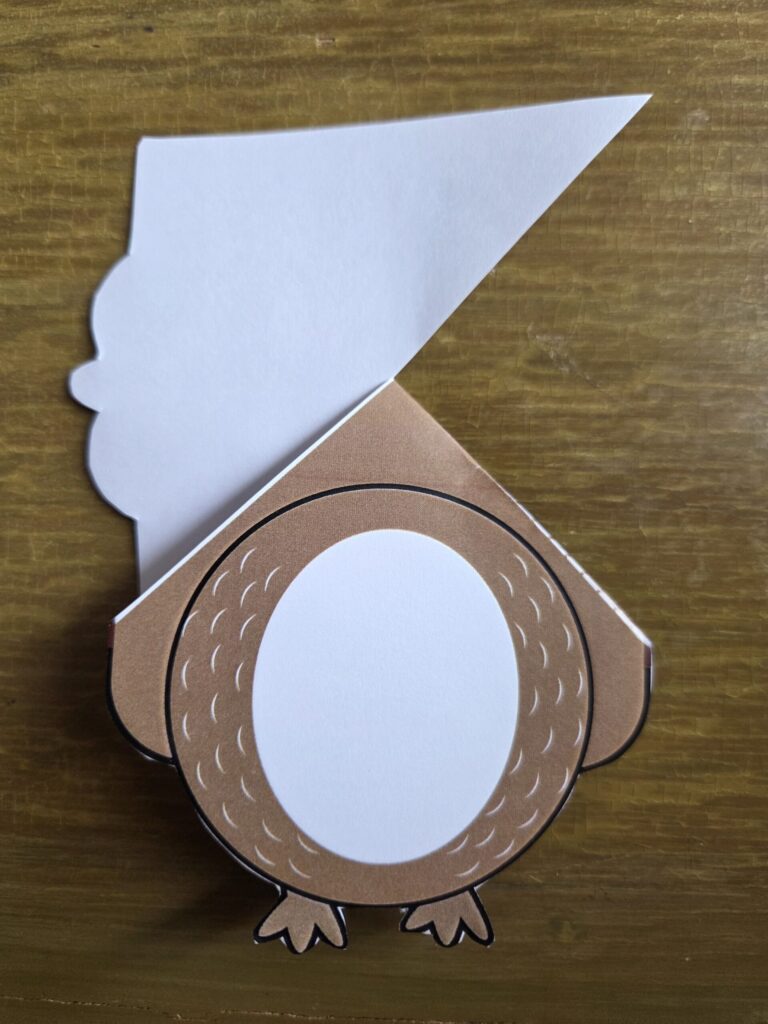
Fold one at a time, strictly! You can flip the bookmark back and forth:
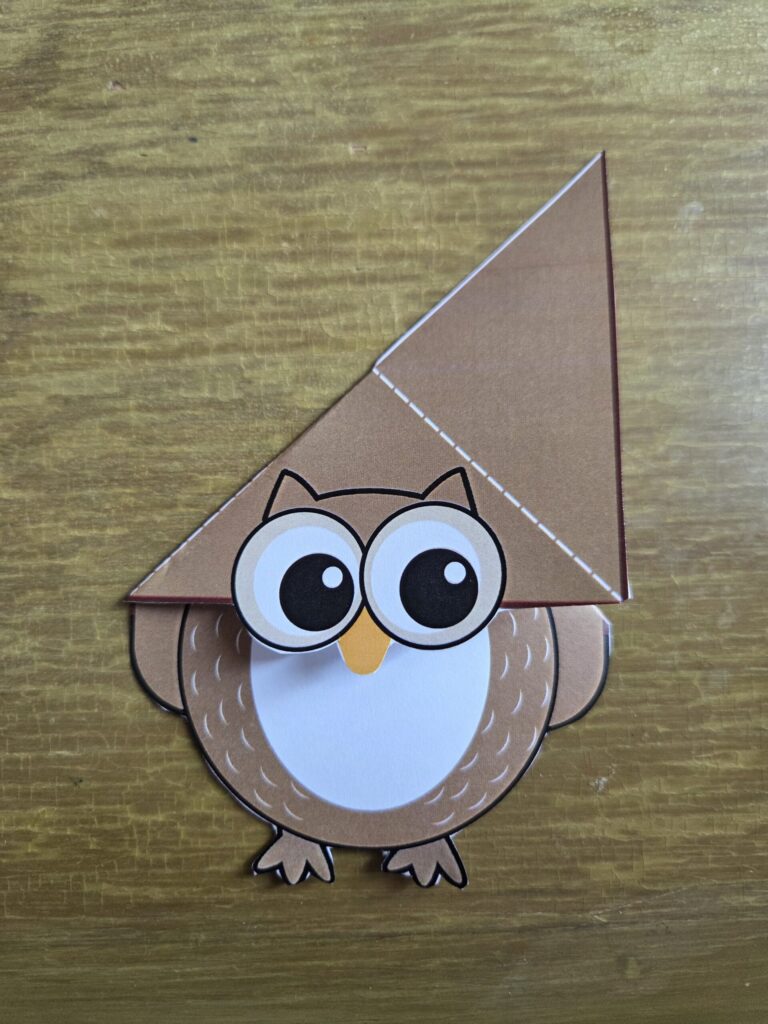
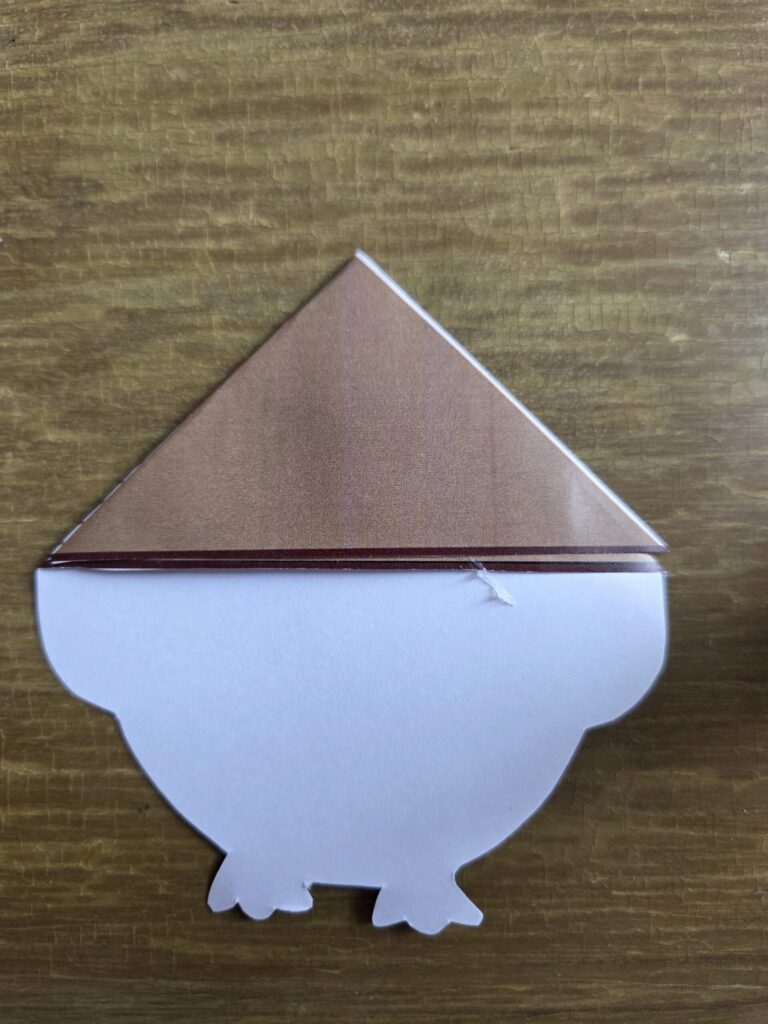
Then, fold the last flap, so when you flip the bookmark, you see the word glue under it.
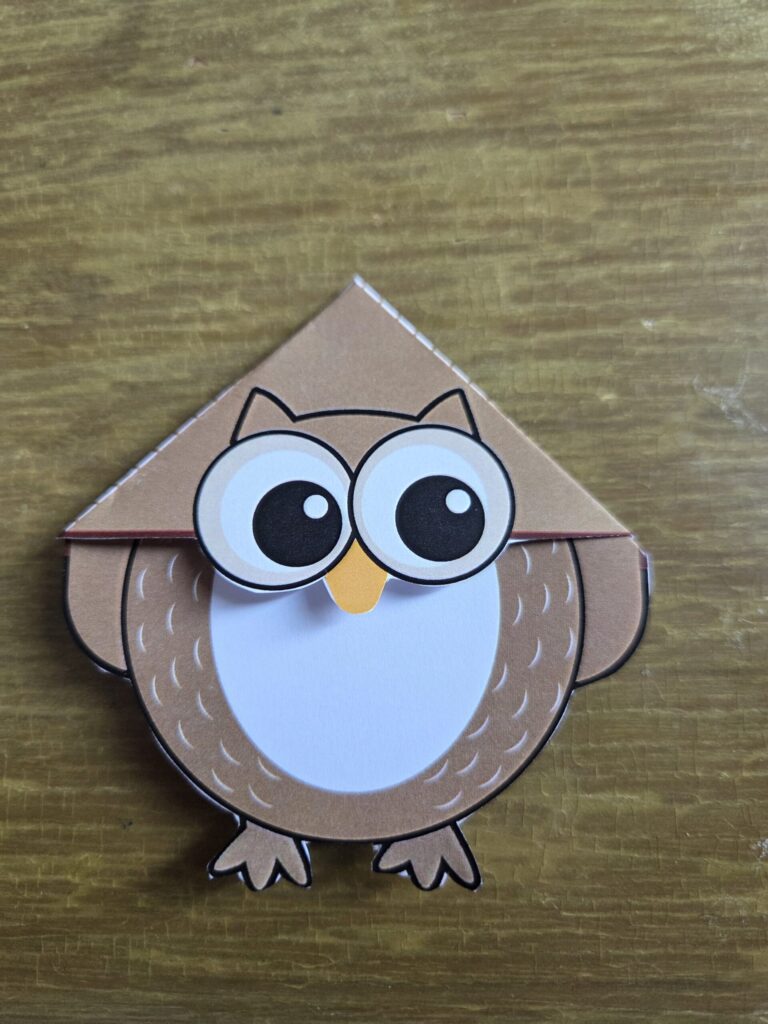
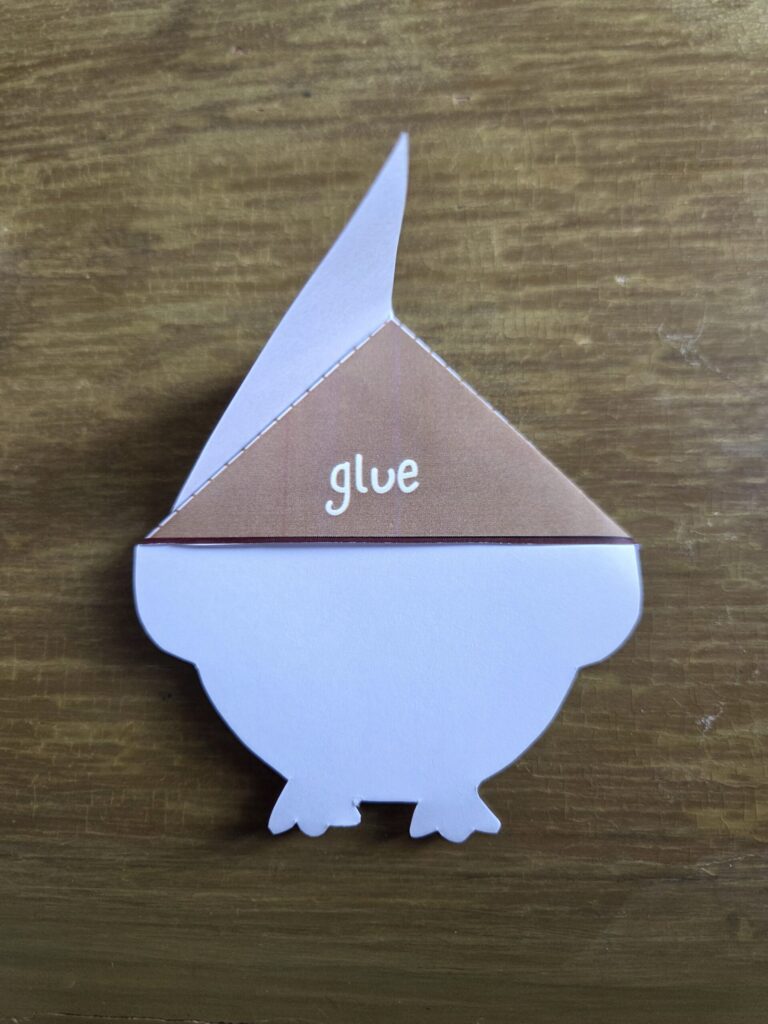
Step 5: Glue The Bookmark
Glue that last flap, press nicely so the whole surface bonded well.
How To Use This Owl Bookmark
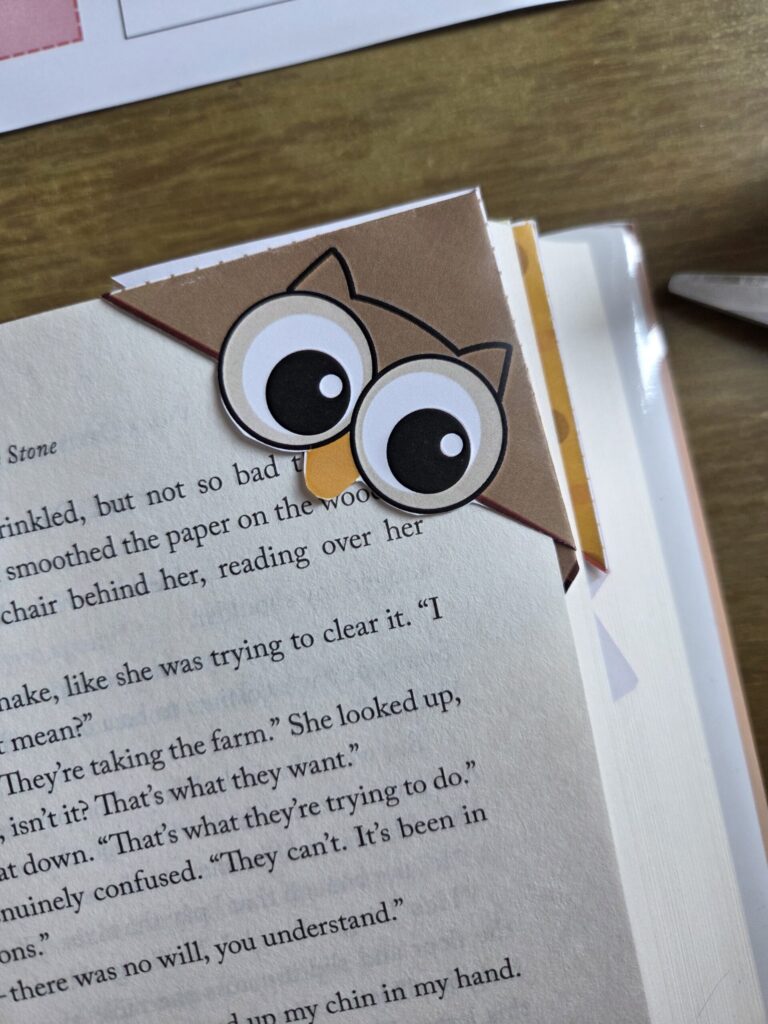
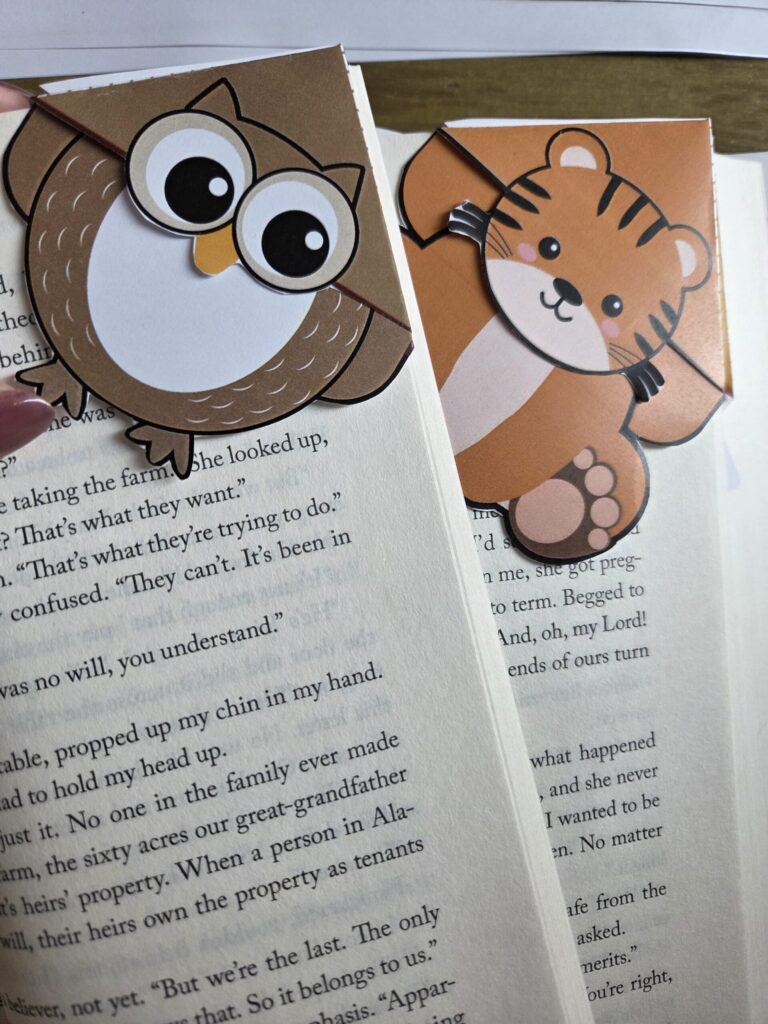
The owl corner bookmark is super easy to use and it doesn’t stick out too much, so you can easily carry the book in your bag.
Now, there are two ways the owl sits over the page’s corner:
Ready to craft?
Grab the free owl template right away:
What Age Is Owl Corner Bookmark Craft Good For?
I think that this owl bookmark tutorial is best for ages 6 and up with adult help, and kids 10 and older can do it on their own without any issues.
This bookmark craft builds real fine-motor and sequencing skills while kids think they are just making something cute. Plus, kids can work on scissor control and hand strength.
As all craft, it is a great patience practice, too (sometimes for both parent and kid haha)
A few tips
The center cut is the trickiest step, and if kids cut the dotted fold line instead of the solid white line, the whole thing falls apart. So please keep an eye on the step number 3.
Photo paper or card stock from a home printer works well, too.
If you don’t want to glue it, you could technically use a stapler but only to staple the two back flaps, not all the layers! Or it won’t slide onto the page at all.
This owl corner bookmark is a part of these free 10-page summer bookmarks collection, you can browse here.

Masha Eretnova, born in 1991, is a Chiang Mai-based certified teacher, artist, and blogger with 20+ years of personal painting journey.
She started painting and drawing very early and is now an international abstract artist and educator passionate about acrylic painting, gouache, and crafts.
Her works are part of international exhibitions and contests, including ArtlyMix (Brazil), Al-Tiba 9 (Spain), Exhibizone (Canada), Italy, and many more.
Besides her artistic pursuits, Masha holds a post-grad diploma in Teaching Film Photography and 2 music school diplomas: piano and opera singing.