Last Updated on September 9, 2026 by Masha Eretnova
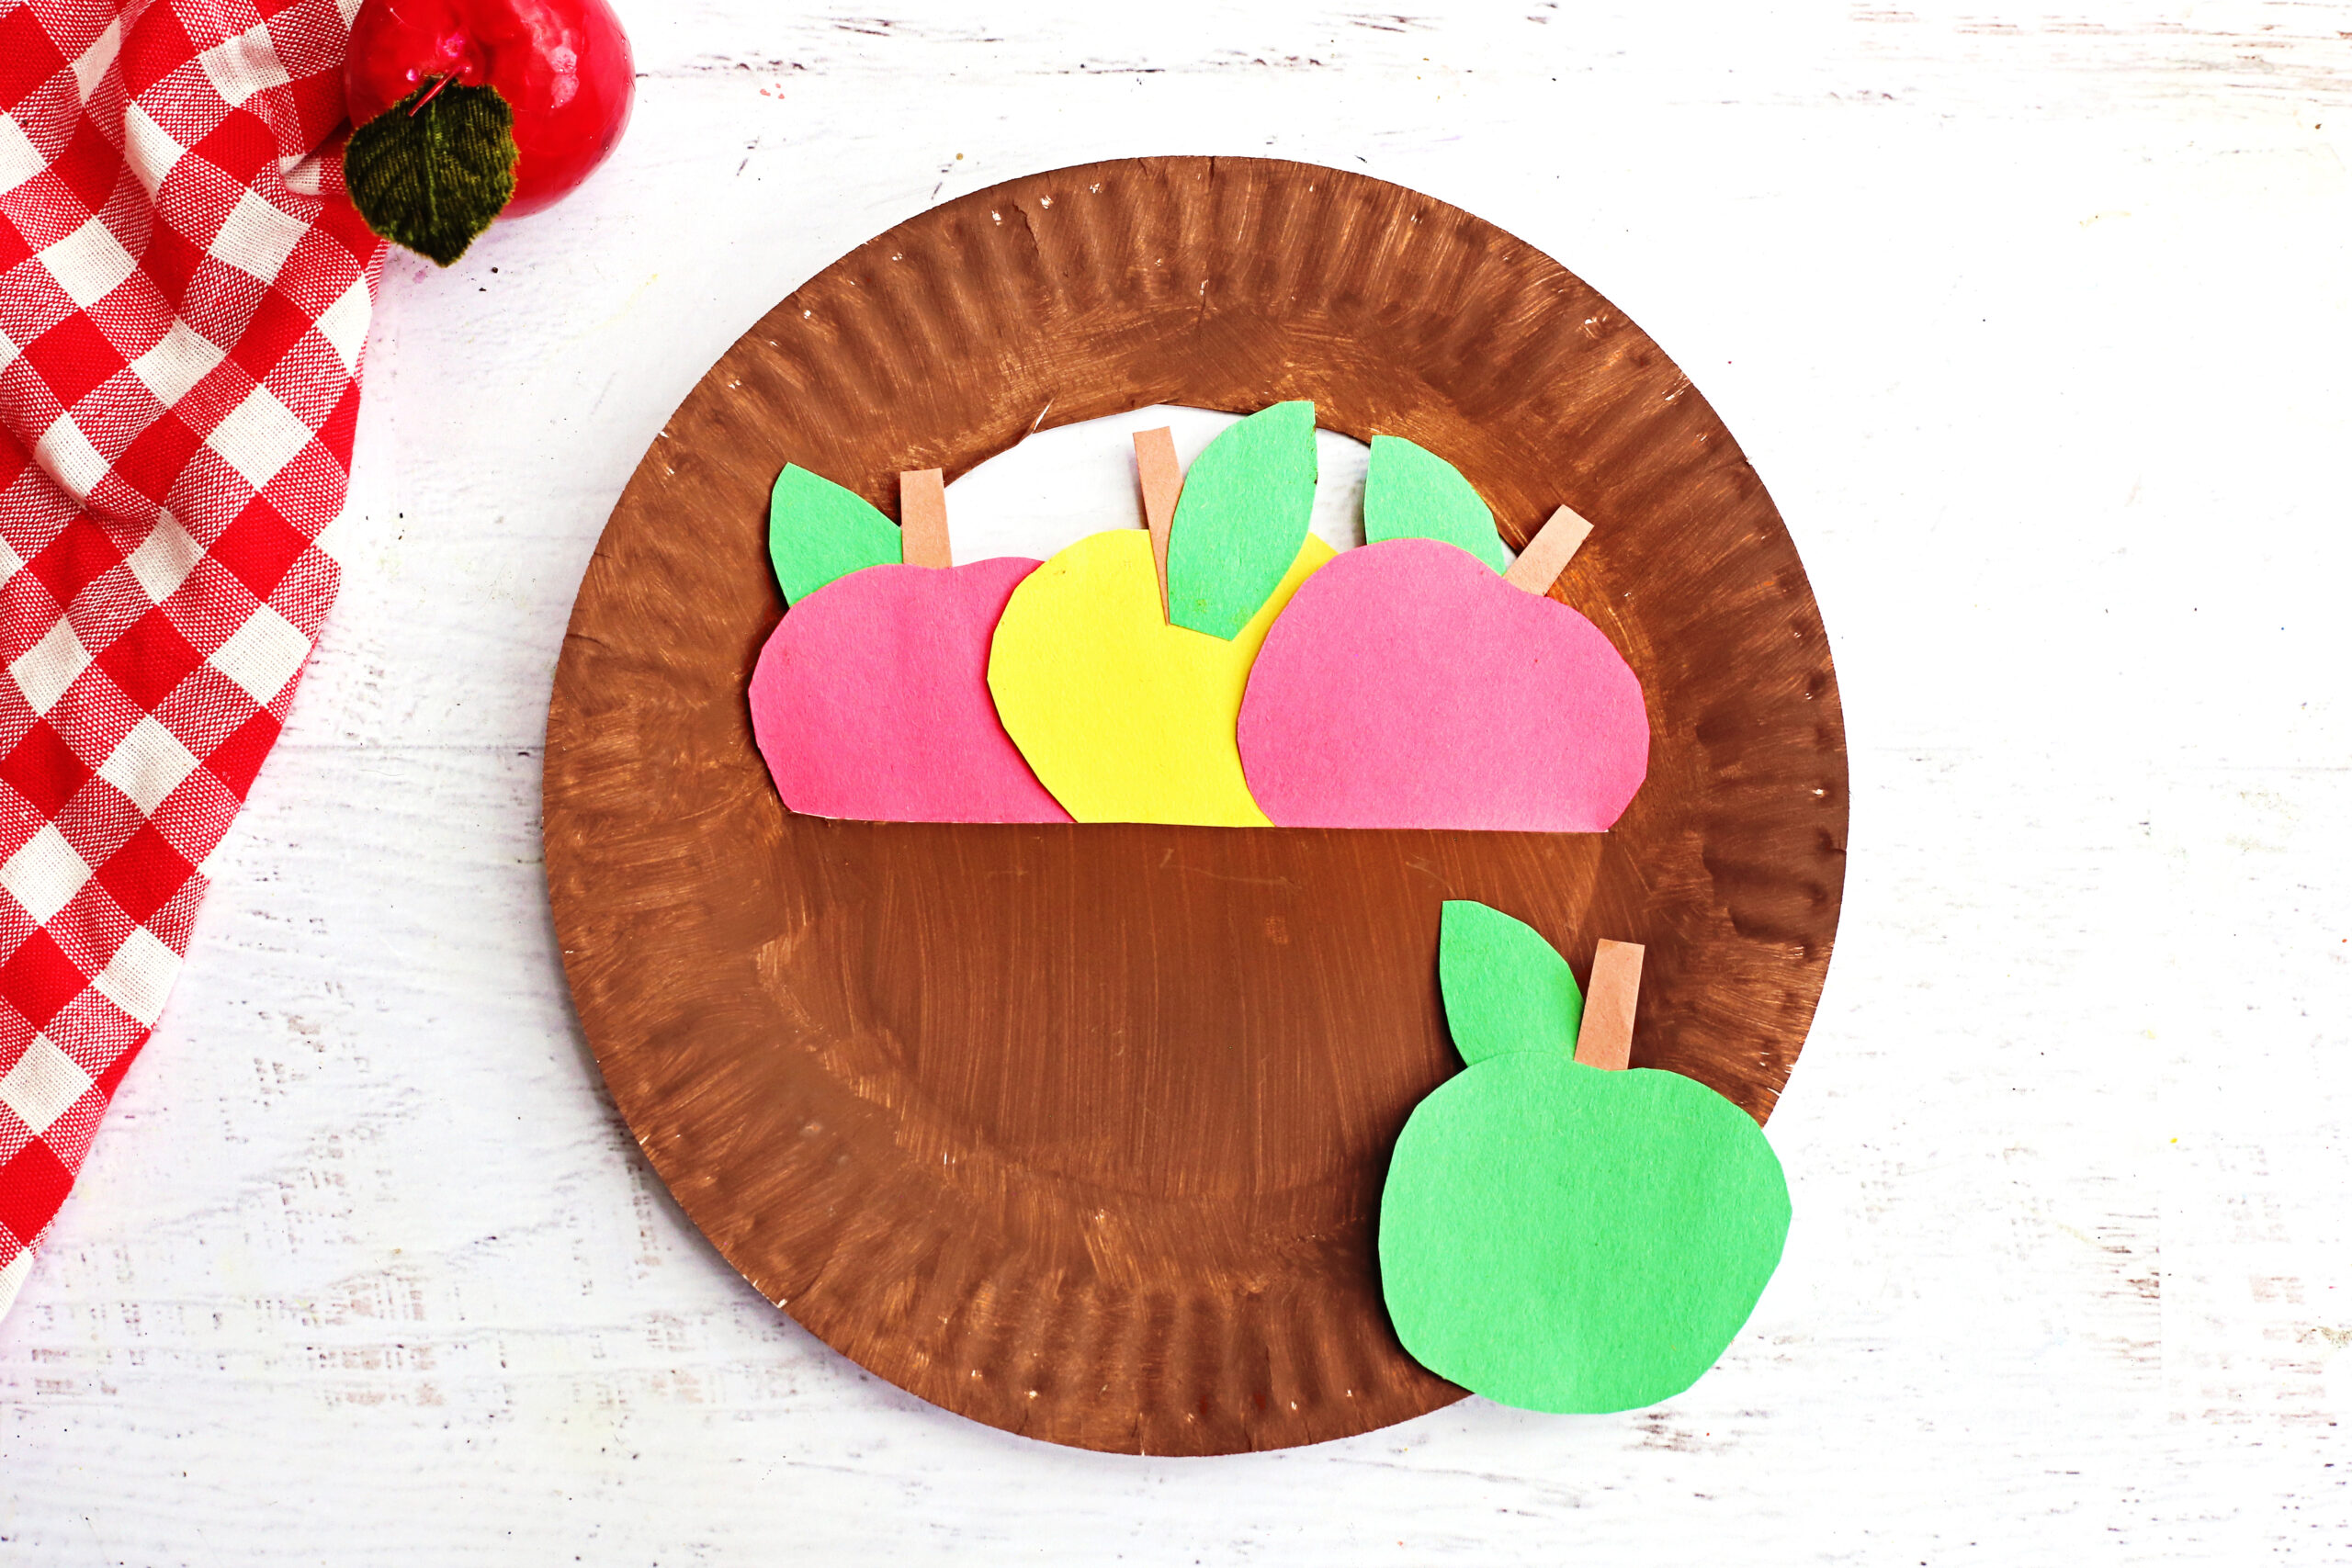
Looking for a fun fall apple craft with frugal materials? Use a paper plate to make this adorable paper plate apple basket with colorful apples for back-to-school season and fall crafting!
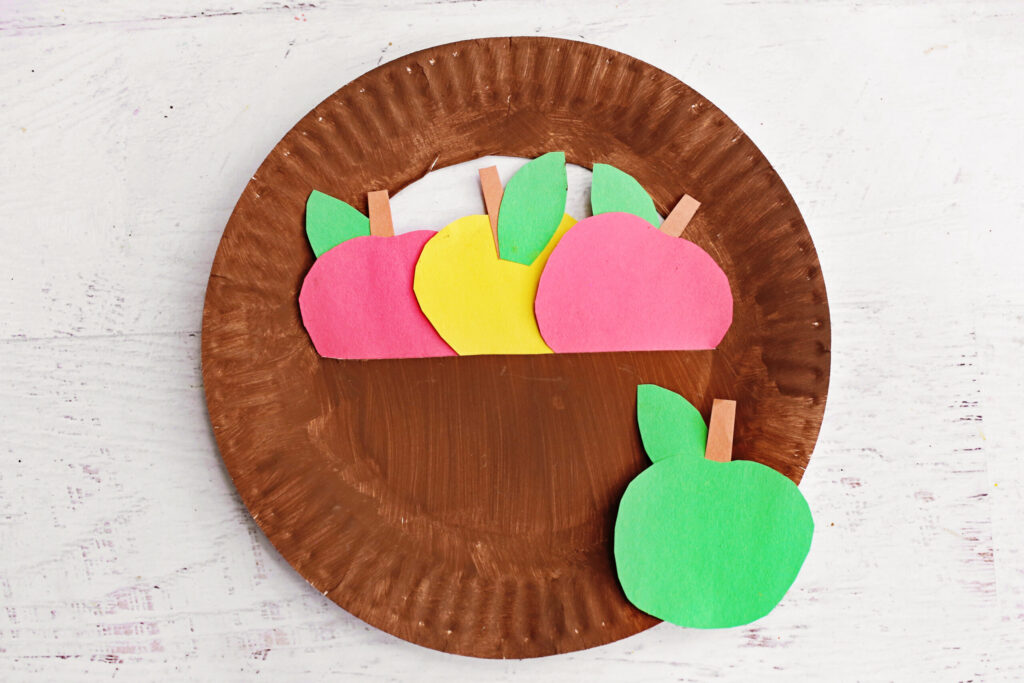
The whole craft takes no more than 30 minutes from start to finish and can be a great practice for cutting, gluing, and counting!
This craft works for ages 3 to 9 and takes about 30 minutes, plus drying time for the paint. Younger children need a bit of help with cutting, but everything else they can do on their own.
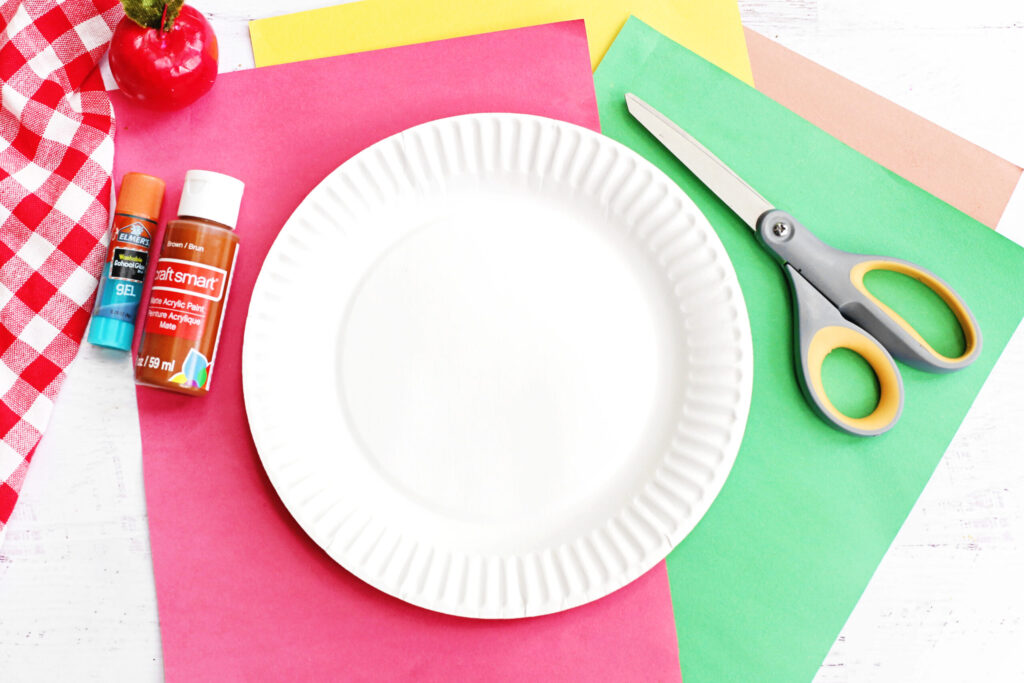
Supplies
- Paper plate. Pick a sturdy one. Thin party plates buckle once wet paint sits on them, and the handle tears when a child picks the basket up. A plain white dinner-size plate works best. Coated or glossy plates repel paint, so skip those.
- Brown paint (acrylic, craft, poster paint will do). Acrylic, craft paint, or poster paint all work. Craft acrylic covers a white plate in one or two coats and dries in minutes. Poster paint needs longer and shows brush lines more.
- Paintbrush. A flat brush around 1 inch covers the plate fast. A wide foam brush works even better if you have one, especially with a group.
- Colored cardstock or construction paper (red, green, yellow, and brown). Cardstock holds its shape and survives handling. Construction paper works, but the apples curl and the leaves flop once glue dries. Use cardstock if you plan to reuse the apples for counting or sorting.
- Scissors (child-safe scissors if kids are helping). Adult scissors for the plate, child-safe scissors for the apple shapes.
- Glue stick. A glue stick beats liquid glue here. Liquid glue soaks through thin paper and wrinkles the apples as they dry.
Paper Plate Apple Basket looks gorgeous but takes very few simple steps to make it and will work for kids of all ages, even little ones can help with gluing apples!
Prep Work
Cover the table. Brown paint, especially acrylics, can get places and soak into the wood.
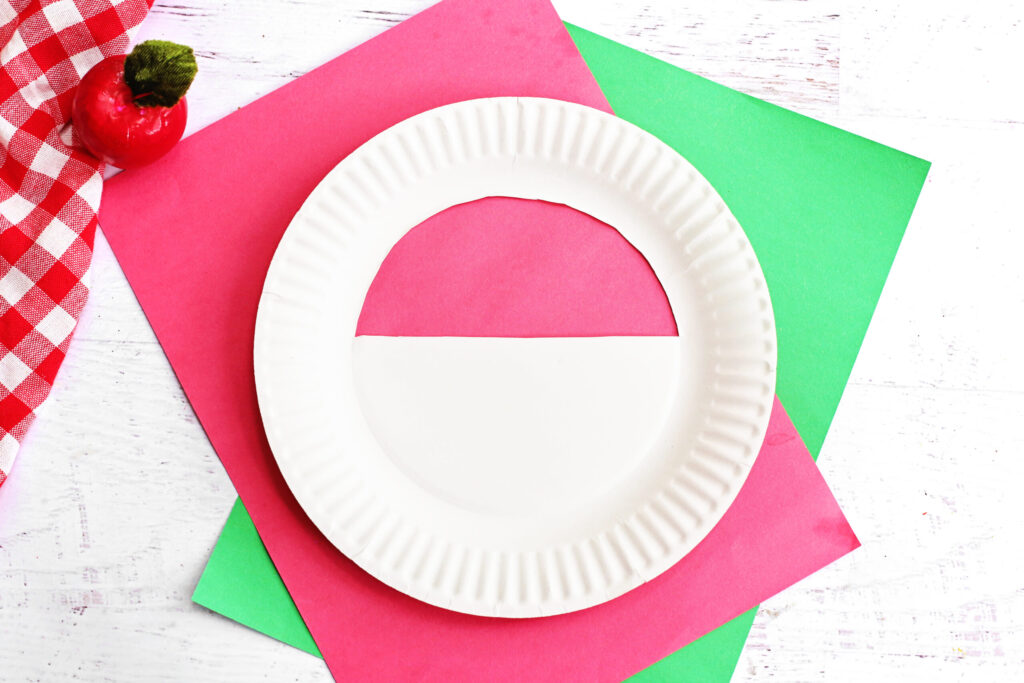
Cut the plate opening yourself before you hand it over. The half-circle cut needs a firm grip and a steady angle, and it decides how the whole basket looks.
For a group, prep ahead. Cut every plate the night before and stack them. Trace apple shapes onto cardstock so children only cut along a line. For a class of 25, count on one plate each, four apples each, and about 15 minutes of prep per table.
Paint the plates first thing if you are short on time. They need 10 to 15 minutes to dry, and children can cut apples while they wait.
Steps To Make Paper Plate Apple Basket
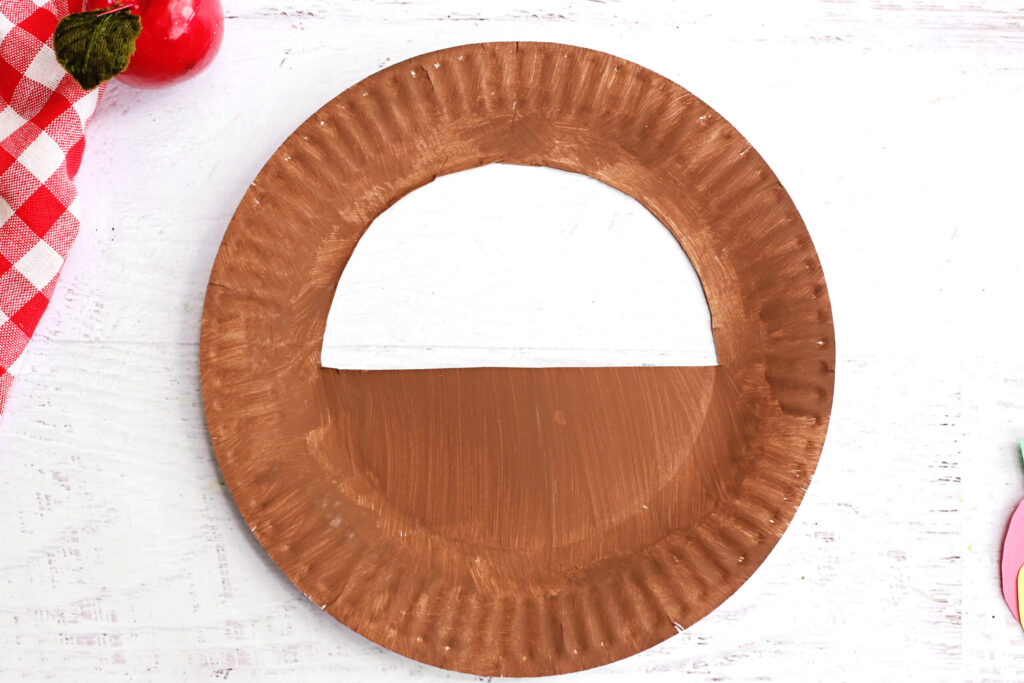
Cut a half-circle opening across the top middle of a paper plate, leaving the outer rim attached to create the basket handle.
Paint the paper plate brown and allow it to dry completely. You can do several layers if you don’t like how dark the color is or if seeing white paper plate through the paint bothers you. Acrylics dry really really fast so it won’t take long.
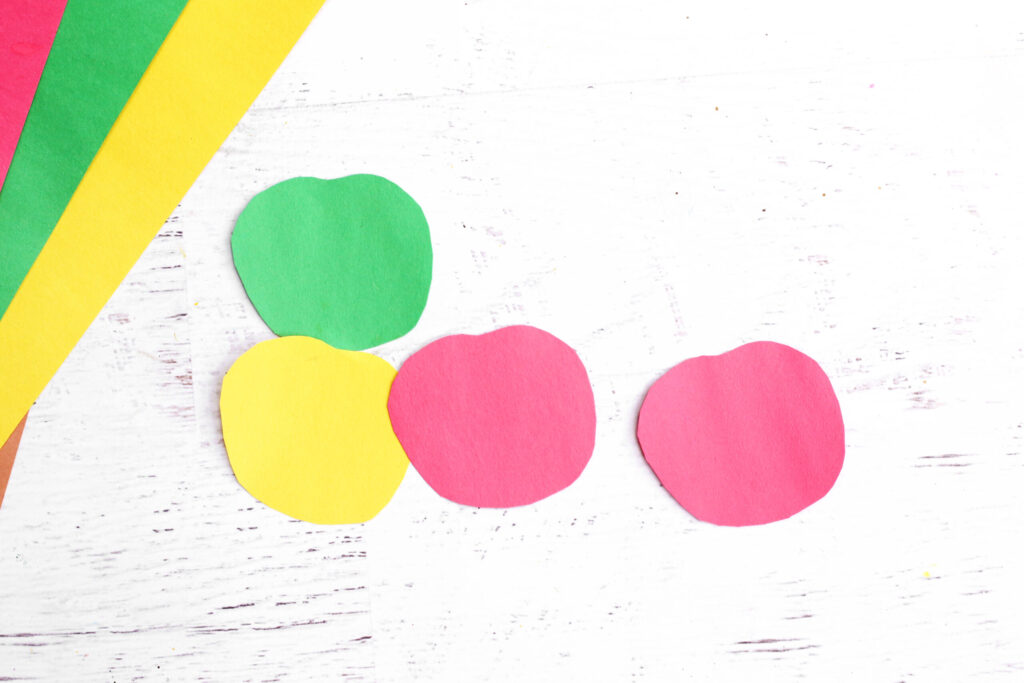
Cut several apple shapes from colored paper. Pencil them up if you don’t feel confident doing it freehand.
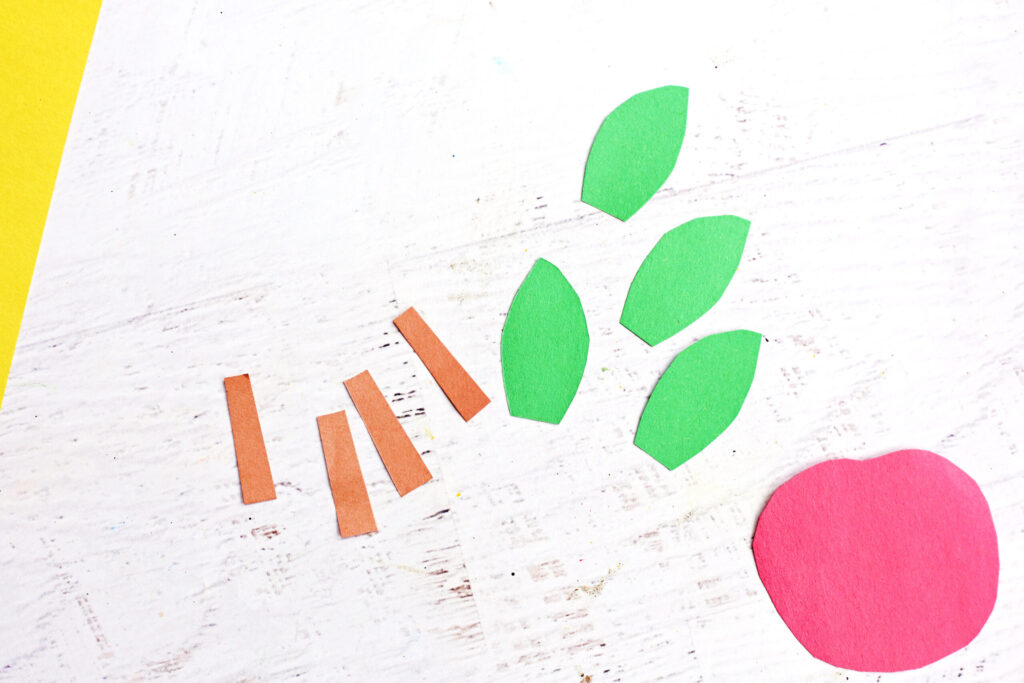
Cut small brown rectangles for the stems and green leaf shapes. Try not to make rectangles too perfect, maybe a little narrower on one end, one thinner, one chunkier – to make it more natural 🙂
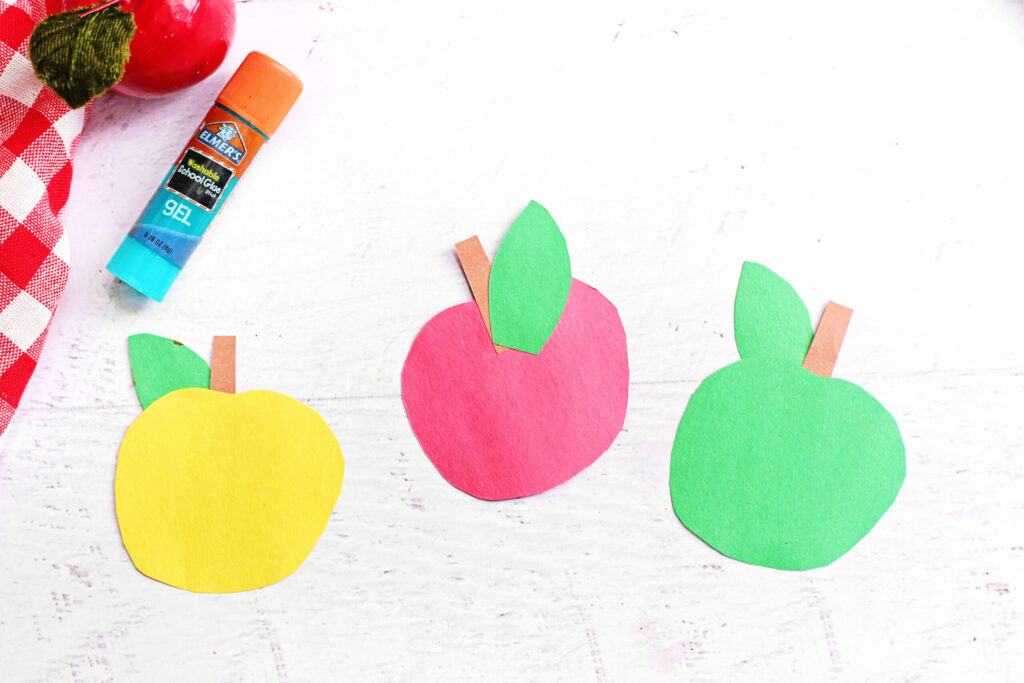
Glue one stem and one leaf onto the back of each apple.
Arrange the apples inside the basket opening, slightly overlapping them to make the basket look full.
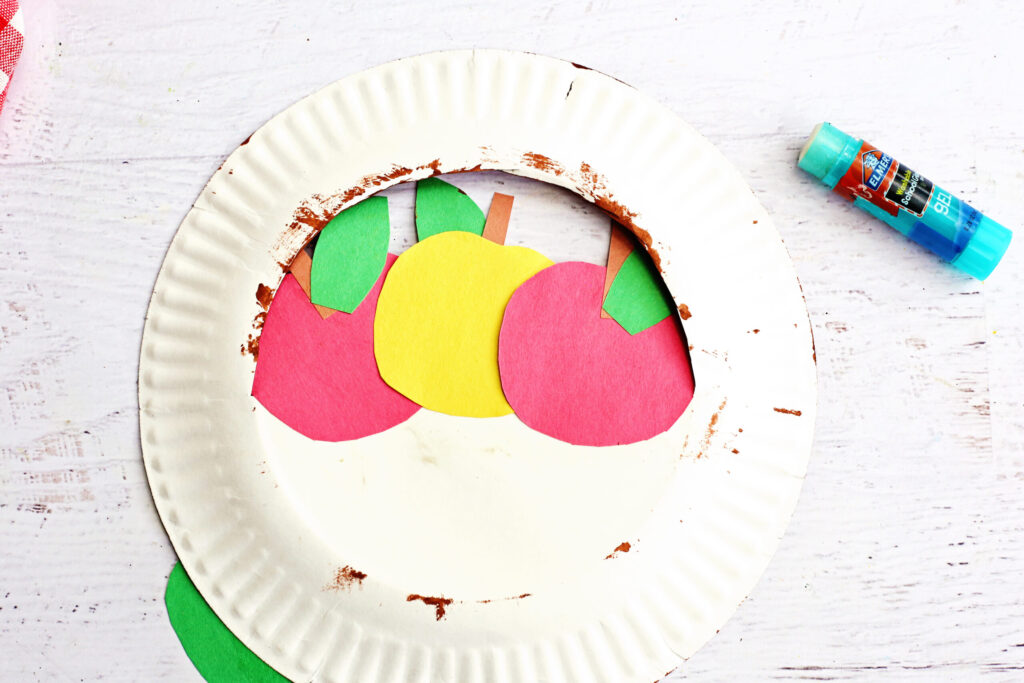
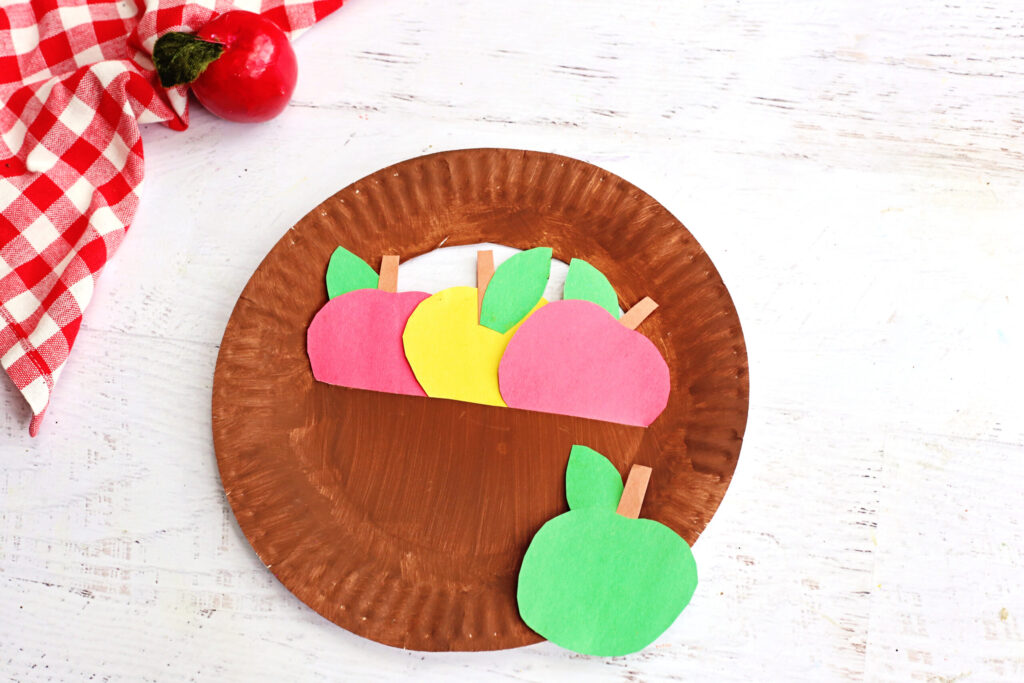
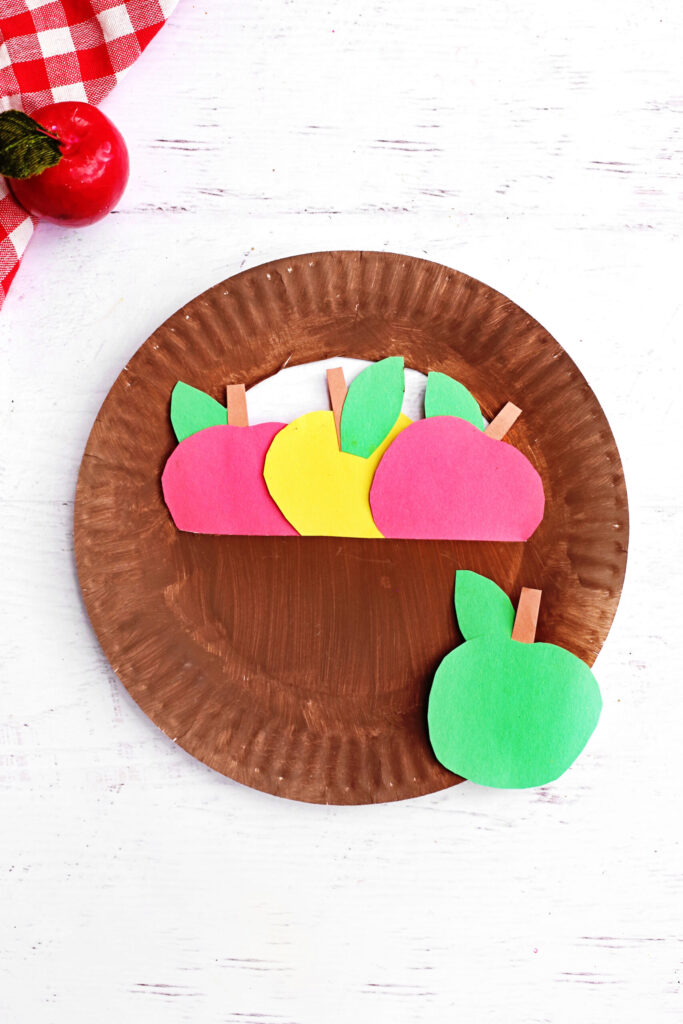
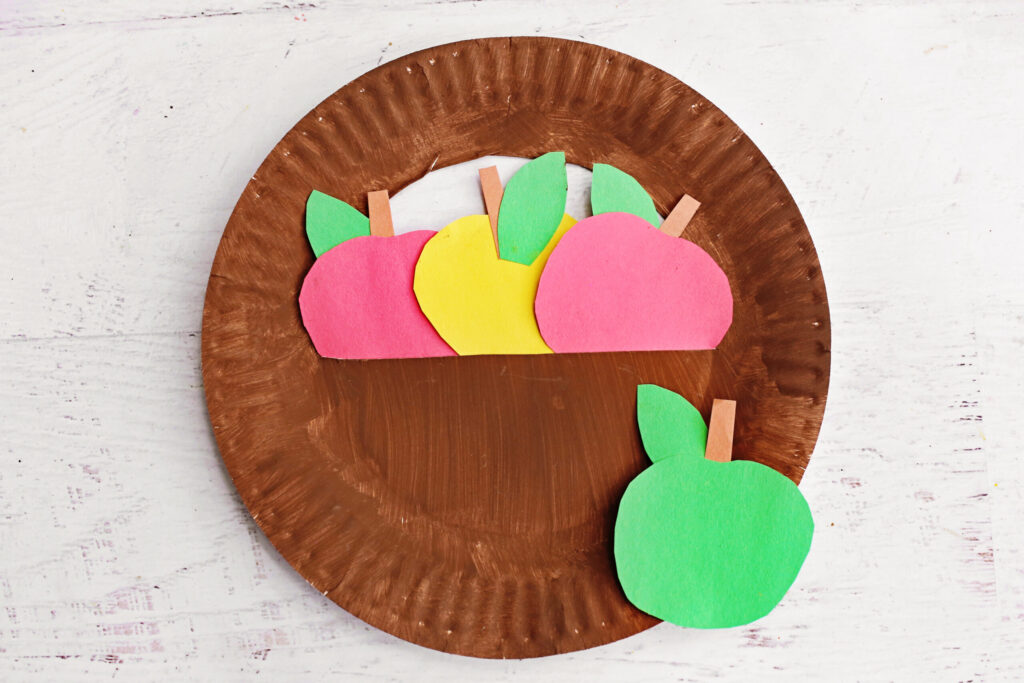
Glue the apples in place behind the basket edge, leaving the tops visible.If you’d like, make an extra apple to glue outside the basket for decoration.
Tips For Using This Apple Craft
First of all, making a few apples of different colors will make the basket vibrant, but it is not mandatore, of course. You can have your apples of one color or of magic colors, too 🙂
To support learning numbers and colors you could actually make several baskets for kids to collect apples of certain color only or to practice math and basic calculations or a fruit market play (you can cut out different fruits!).
Counting and early math. Numbered apples cover counting to ten, addition to five, and one-to-one matching. Ask a child to put four apples in and take two out.
Color recognition. Several baskets, one color each, and a mixed pile to sort.
Fine motor practice. Cutting curved apple shapes, controlling a brush, and pressing small pieces flat all build hand strength. The curved cut is harder than a straight one and worth the practice.
Bulletin board display. A row of finished baskets across a fall board looks strong, and each child’s name fits on the handle.
Market play. Cut other fruits — pears, oranges, bananas — and set up a stall with paper coins. This stretches one craft into an afternoon.
Fall harvest and back to school. The craft fits apple week, harvest topics, and the first weeks of the school year.
So this apple basket paper plate craft is amazing as a back to school and fall harvest season craft for school and home. If you wish to reuse the apples you should make them out of cardstock and could use double-sided tape to let kids “put” them inside the basket and take them out.
AGE ADAPTATIONS
Ages 2 to 3. Cut everything ahead: plate, apples, stems, leaves. Give them the brush and the glue stick and let them paint and stick. A toddler placing four apples anywhere on the plate has done the craft just perfectly 🙂
Ages 4 to 5. They can paint the plate and glue the pieces. Draw apple outlines on the cardstock so they cut along a line. Expect wobbly edges, which look fine once the apples overlap.
Ages 6 to 8. Hand them the whole thing apart from the plate opening. At this age they can draw their own apple shapes, cut stems and leaves, and arrange the basket themselves. Ask for six apples instead of four and let them overlap the layers.
Ages 9 and up. Add detail. Shading on the apples with a lighter marker, a woven paper strip across the basket front, or a small paper tag. Older children finish fast and want somewhere to put the extra effort.
Classroom version, 25 children. Cut every plate in advance. Set out four trays: painting, drying, cutting, gluing. Move children between them in small groups. Total classroom time runs about 40 minutes across two sessions if you let the paint dry properly between them.
COMMON PROBLEMS AND FIXES
The plate warps after painting. Wet paint on one side pulls the paper as it dries. Use thin coats instead of one thick one, and press the plate flat under a book for five minutes once it dries. A heavier plate barely warps at all.
White shows through the brown paint. Craft acrylic on a glossy plate needs two coats. Let the first dry fully — five minutes is plenty — then go over it again. Painting in one direction on the first coat and across it on the second covers better than scrubbing.
Apples fall off. Glue sticks lose grip on painted surfaces. Two fixes: press each apple for a slow count of ten, or put a small dot of white glue behind the top edge where the apple meets the basket rim. Let the paint dry completely first. Glue on damp paint never holds.
Glue soaks through and wrinkles the apples. Liquid glue is the culprit. Switch to a glue stick, or use less liquid glue and press the apple flat under a book while it dries.
The handle tears. The rim is doing all the work, so cut the opening a little shallower and leave more plate on either side. If it has already torn, tape the back of the handle with clear tape. Nobody sees it once the apples cover the front.
Paint won’t stick to the plate at all. Some plates carry a wax coating. Wipe one with a damp cloth and test a small patch. If the paint still beads up, switch plates. No amount of technique fixes wax.
VARIATIONS
Pumpkin patch basket. Swap the red apples for orange pumpkins and add green curly vines cut from thin strips. Paint the plate brown as usual.
Easter egg basket. Pastel cardstock eggs with stripes and dots drawn on. Add a paper grass fringe along the front edge, cut with short snips into a green strip.
Spring flower basket. Circles with petals glued behind them, in yellow, pink and purple. Green stems poke up between the flowers.
Counting basket. Number each apple from 1 to 10 and skip the glue. Use double-sided tape or a strip of velcro dots so children add and remove apples during a counting game.
Color sorting set. Make three or four baskets and one pile of mixed apples. Each basket takes one color.
Name basket. One letter per apple. Children sort their own name into the basket, which suits preschool and kindergarten.
Berry basket. Small purple and blue circles clustered together, on a smaller paper plate or a paper bowl.
FAQ
What paint works best on a paper plate? Craft acrylic. It covers in one or two thin coats and dries in about five minutes. Poster paint and tempera both work, but they take longer and show brush marks.
Can I use a plastic plate? Not without preparation. Paint slides off plastic and peels once dry. If plastic is all you have, sand the surface lightly and use a primer first, which adds more work than the craft is worth.
How long does the paint need to dry? Craft acrylic dries in five to ten minutes. Poster paint needs 20 to 30. Wait until the surface feels cool and dry to the touch before gluing anything on.
Can I laminate the apples? Yes, and it helps if you plan to reuse them. Laminate before you add stems and leaves, then attach those on top with double-sided tape.
Does it work with a paper bowl? A paper bowl makes a deeper basket and holds more apples, though the handle is harder to cut. Bowls suit the berry variation well.
How do I store the finished basket? Flat, in a folder or a large envelope. Stacking crushes the apples that stick out past the rim.
Can I make this without paint? Use brown cardstock or a brown paper bag cut to a plate shape. The look changes a little and the prep drops to nothing.
How many apples fit? Four to six on a dinner-size plate. Six looks fullest, with the back row peeking between the front ones.
Cheap supplies, half an hour, and a basket that holds up on a wall all autumn. Save the extra apples, they get used again by November.
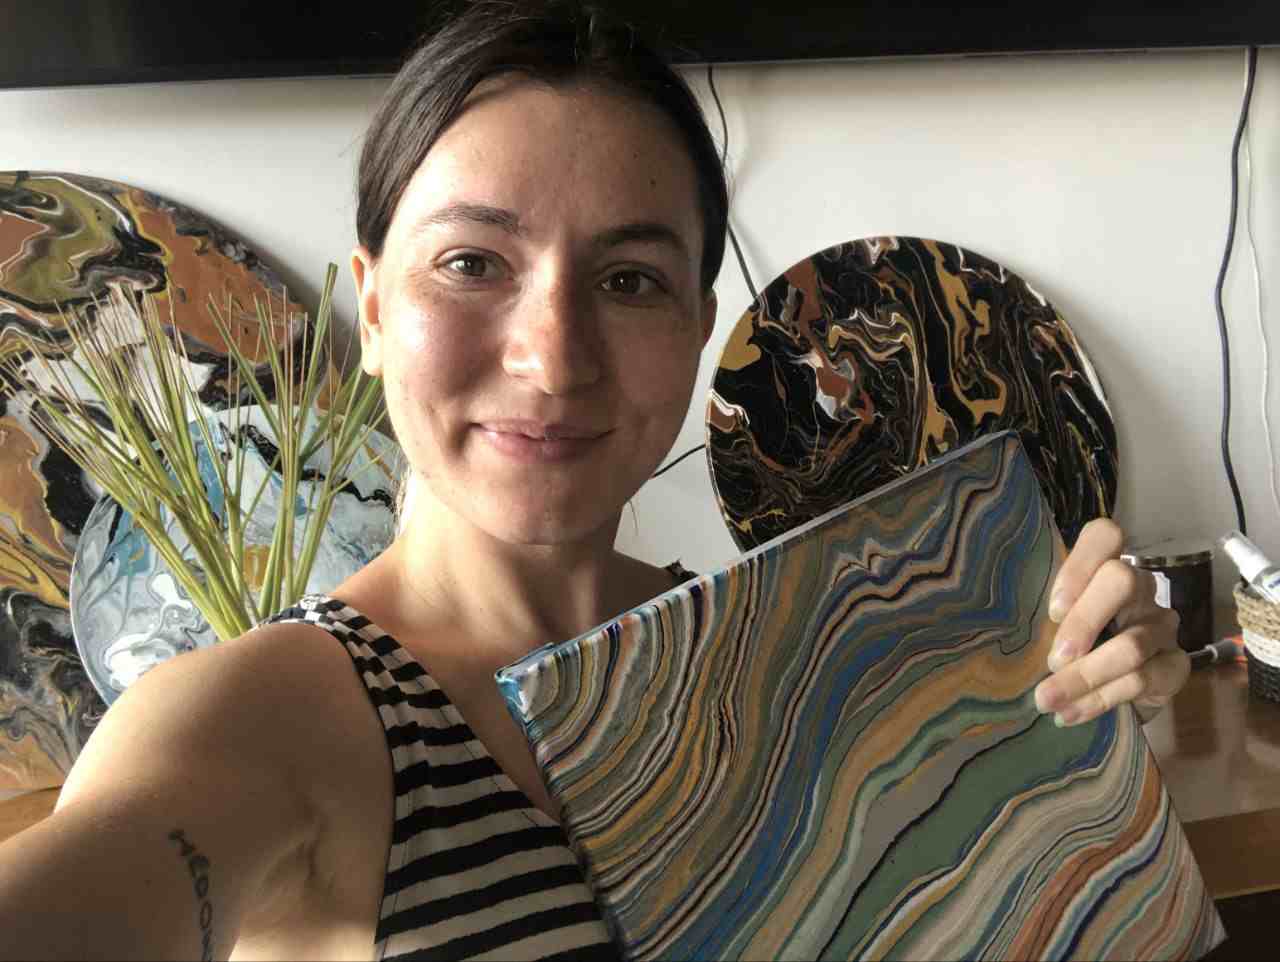
Masha Eretnova, born in 1991, is a Chiang Mai-based certified teacher, artist, and blogger with 20+ years of personal painting journey.
She started painting and drawing very early and is now an international abstract artist and educator passionate about acrylic painting, gouache, and crafts.
Her works are part of international exhibitions and contests, including ArtlyMix (Brazil), Al-Tiba 9 (Spain), Exhibizone (Canada), Italy, and many more.
Besides her artistic pursuits, Masha holds a post-grad diploma in Teaching Film Photography and 2 music school diplomas: piano and opera singing.