
Last Updated on March 22, 2024 by Masha Eretnova
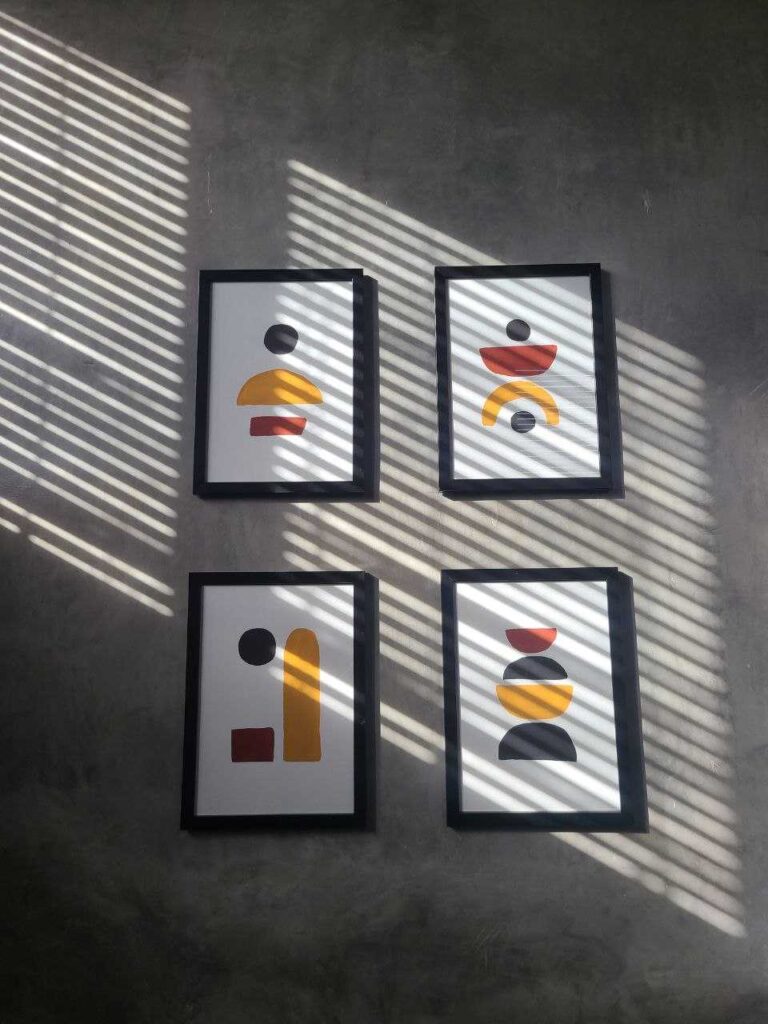
I noticed that my kitchen wall has a very nice light coming through shades in the morning.
I immediately thought that it would be a perfect place to hang some abstract art in earthy tones (as our kitchen is sort of industrial and wooden mix).
I had my new Himi Maya Gouache set and I decided to try it and make easy gouache wall art!
Here is my easy step to make abstract wall art with gouache (you can honestly use any paint you want) that includes 4 A4 paintings on watercolor paper using only 3 colors.
Table of Contents
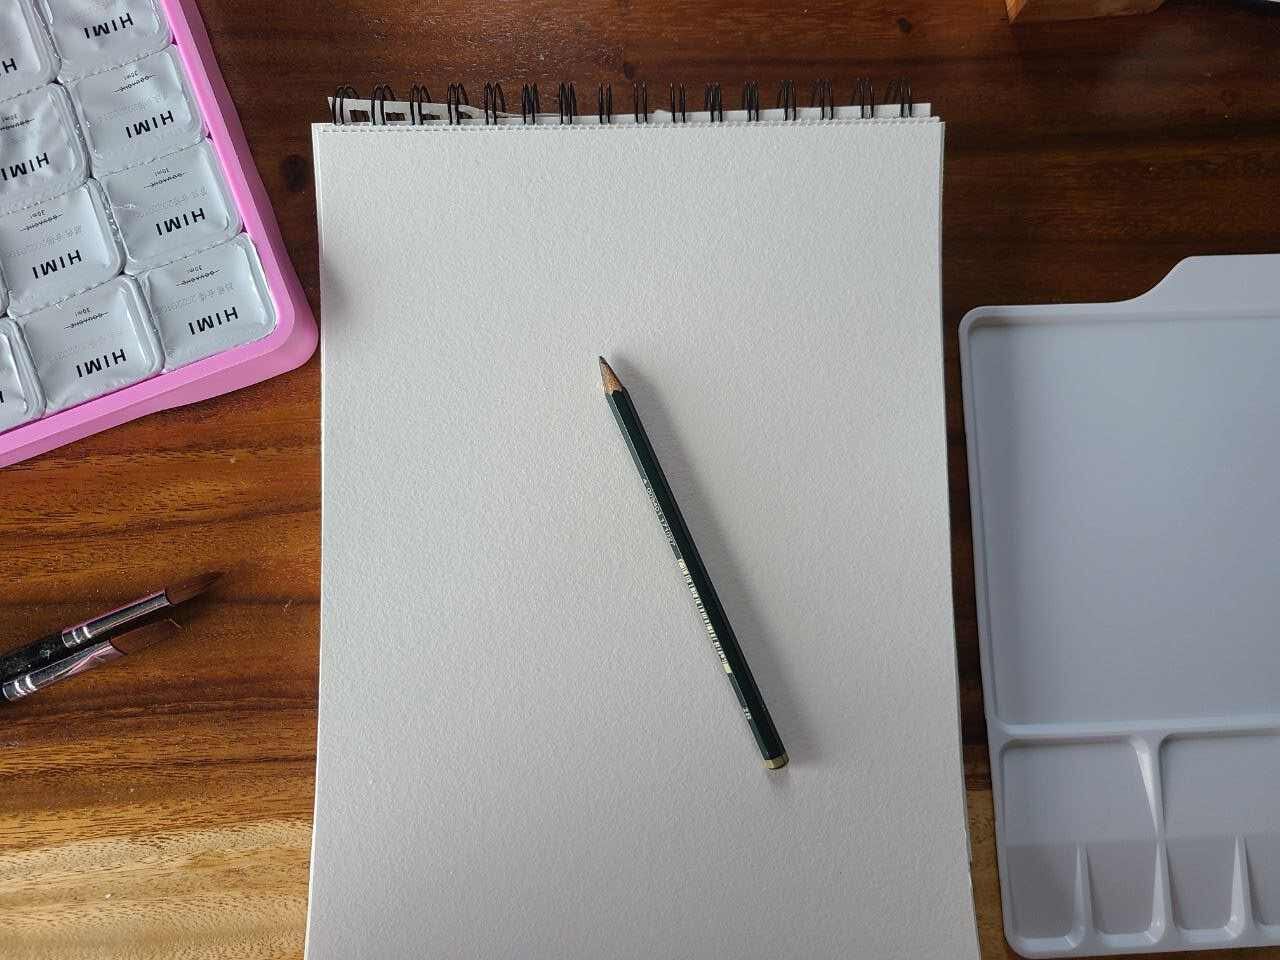
What you need to make some wall art:
- Gouache
- Flat brush
- Water
- Pencil, eraser
- Watercolor paper
- frames (I got 4 black frames from a cheap DIY store)
General tips for working with gouache
- Gouache has beautiful consistency and texture, with just a drop of water it flows like a luxe Dior lipstick (I think women can understand me).
- Gouache is washable and if you make any mistake you can correct it easily. But it also makes gouache vulnerable – thus you need a frame with glass to make sure water won’t get to your finished painting and destroy it.
- Gouache dries to a matte velvety finish. It is never glossy. If you want it to be glossy, use glossy varnish over dried painting.
Learn more about gouache with me: Painting with Gouache for Beginners: 7-Step Ultimate Guide
Step by Step Instructions to Make Gouache Wall Art
I make abstract art in general, no matter what medium, so for the wall, I also went with abstract.
I got the idea from browsing some online shopping platforms selling prints, then I went on Pinterest to get some more inspiration and just made screenshots of everything I like.
Then I went through all of them again and just picked the one I felt is the best match for my kitchen.
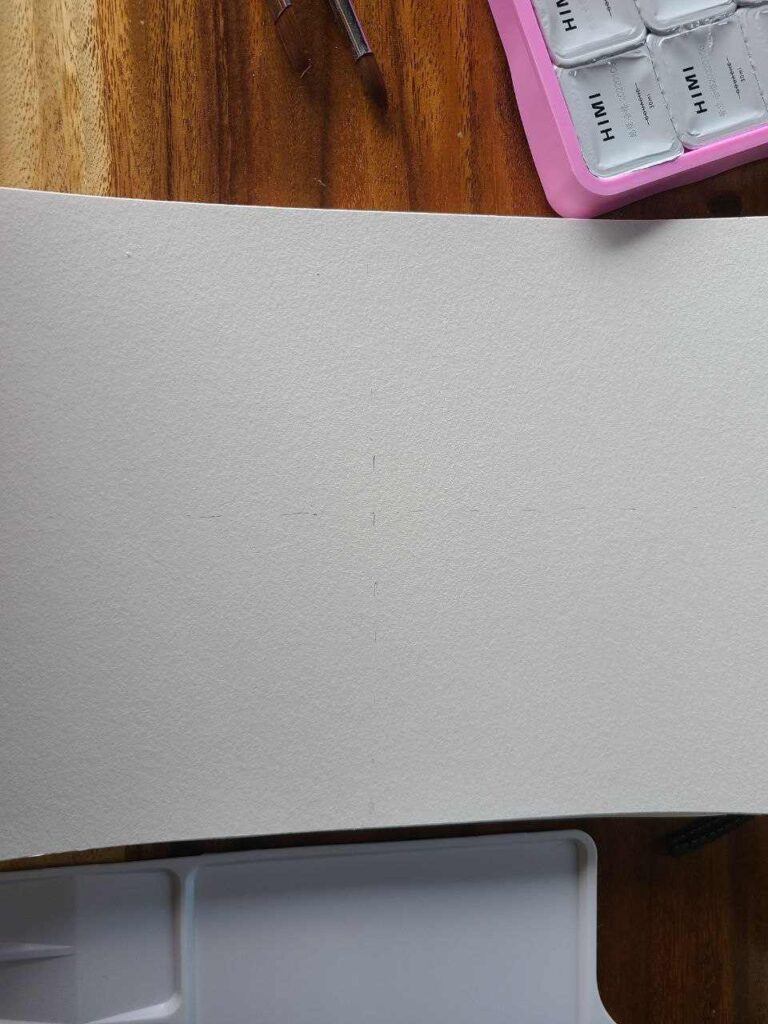
Step 1 – Simple Sketch
First, find the center of each paper sheet and mark how many cm you will step from the top and the bottom on each of them.
This way all 4 paintings will have the same proportions and will look harmoniously together.
Then, based on the reference you found, make a light sketch.
Don’t press too hard on the pencil, the lines can be visible through gouache transparent colors.

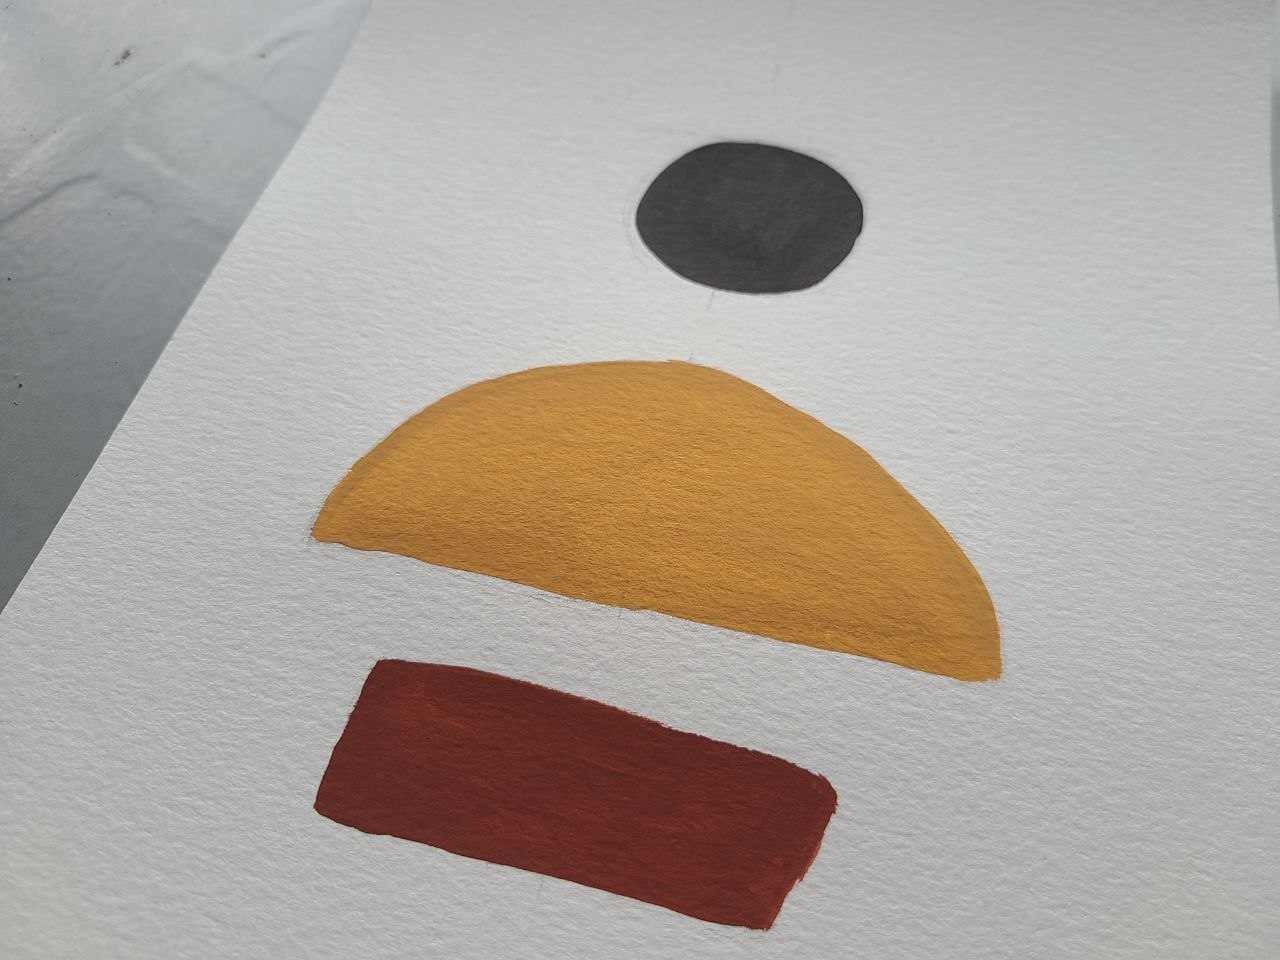
Step 2 – Color the shapes
Based on my reference I have 3 colors only.
When I color, I try to make it more efficient, so if I colored the black circle on the first painting, I immediately color all black shapes on all remaining paintings.
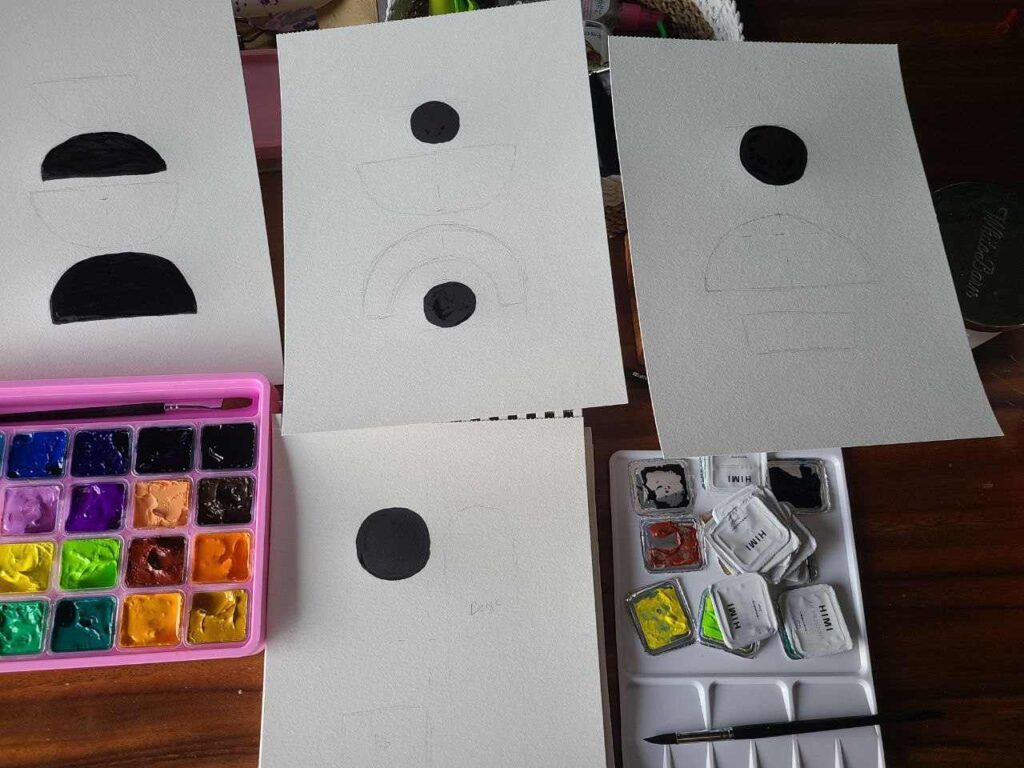
After that, I can clean the brush and move on to another color. It makes the process super fast and I only change colors 3 times while all 4 paintings are done.
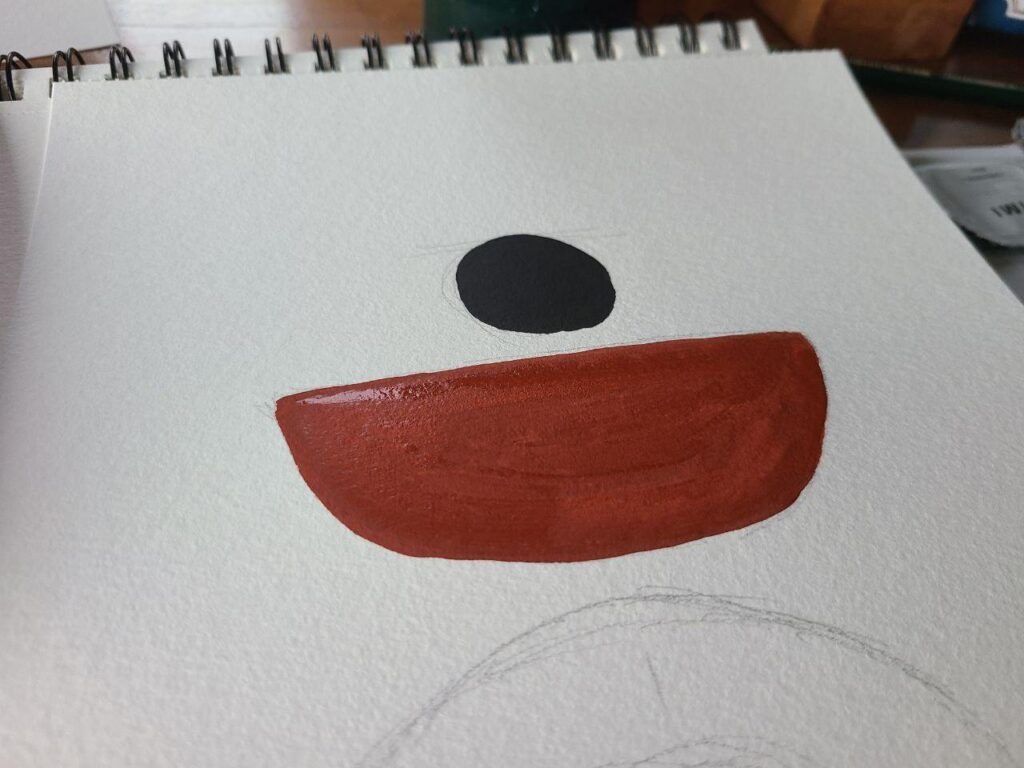
Gouache offers great coverage and dries slightly darker than it is when it is still wet.
With a good brush and good gouache, there will be almost no brush strokes.
Step 3 – Erase the pencil sketch
Clean up. Make sure there is no pencil marks visible on your paintings.
Step 4 – Let it dry
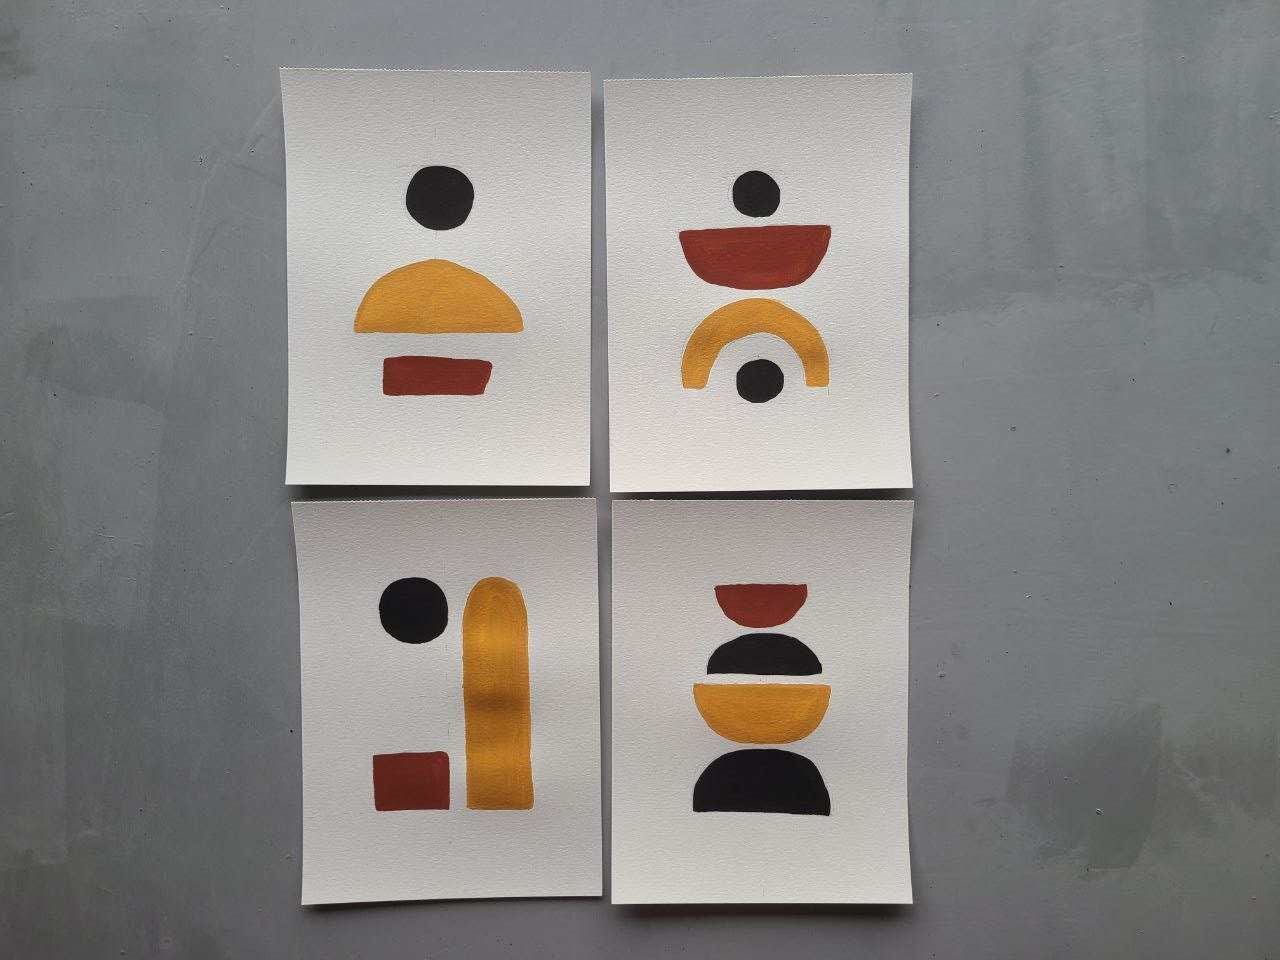
Your abstract wall art is done! It is important to let it dry first.
Then lay it out how you will hang it and step back – do you like it? Is it just as you imagined? Is there anything you want to change or add?
If yes, do it! Gouache is forgiving and you can correct mistakes, add details or repaint it with a different color if you wish.
I was pretty happy with mine:
Step 5 – Frame
Frames change the look of any painting significantly.
Frames make it complete, better and cleaner looking, more professional if you will. The black frames matched perfectly my wall art:
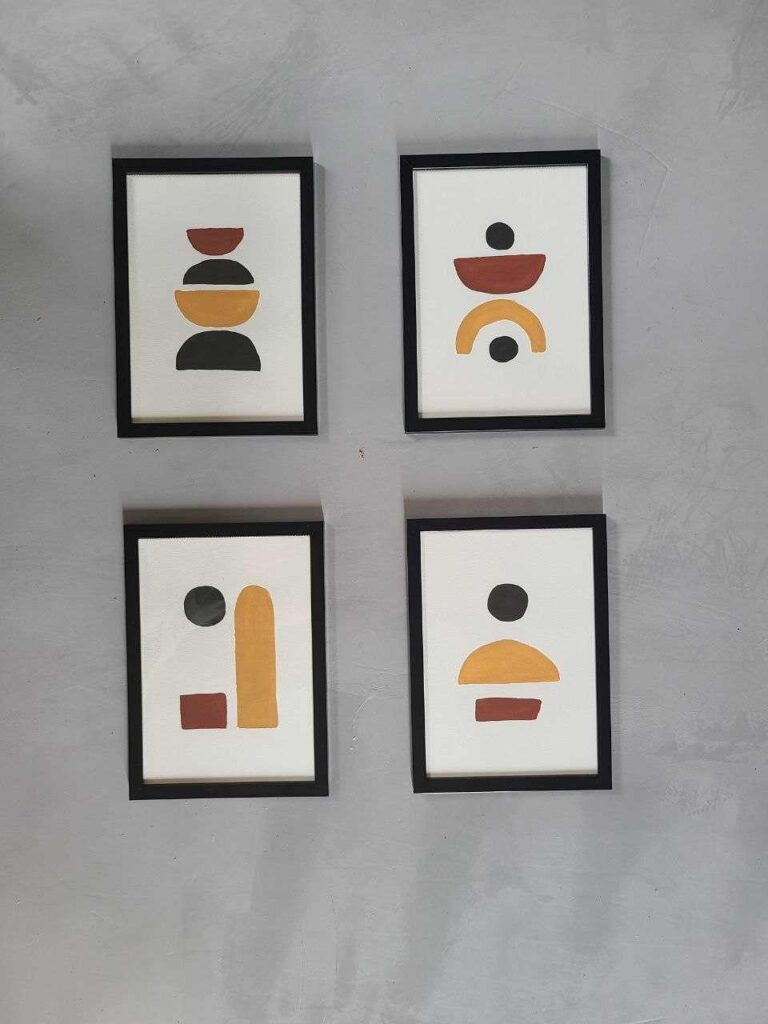
And finally, you can hang it!
Tip: if you don’t want to drill the walls, no problem.
We drew on paper and if you are like me and bought cheap frames – they are also super light! So I used double-sided tape to attach them to the wall. It works – they are still there 🙂
Please do not hesitate to share with me your wall art! Email me or tag me on Instagram.

Masha Eretnova, born in 1991, is a Chiang Mai-based certified teacher, artist, and blogger with 20+ years of personal painting journey.
She started painting and drawing very early and is now an international abstract artist and educator passionate about acrylic painting, gouache, and crafts.
Her works are part of international exhibitions and contests, including ArtlyMix (Brazil), Al-Tiba 9 (Spain), Exhibizone (Canada), Italy, and many more.
Besides her artistic pursuits, Masha holds a post-grad diploma in Teaching Film Photography and 2 music school diplomas: piano and opera singing.