Last Updated on March 23, 2024 by Masha Eretnova
Acrylic paint is not often used for hydro-dipping projects and the reason is simple – acrylic paint simply sinks.
Many blogs suggest household items that will help you solve the issue and hydro dip with acrylics but most of them probably never test what they suggest.
I did and failed most of time, but there is still a way to successfully make acrylic paint float and hydro dip.
You can only hydro-dip with acrylic paint if you use borax to make the paint float. Mix borax with water in a container, drip some paints, swirl a pattern, and dip your item. Hydro dipping allows you to make unique designs for shoes, guitar bodies, crafts, paper, and many more.
This article is your guide on how to hydro-dip with acrylic paint for different kinds of objects.
Whether you are a beginner or a seasoned artist, you will find hydro dipping with acrylic paints a fun and cool project to do.
Table of Contents
What is hydro dipping?

Hydro dipping is also referred to as water transfer printing, immersion printing, or hydro imaging. This process allows the paint to float on a container filled with water.
The best thing about hydro dipping is the fact that it doesn’t require any expensive equipment to perform.
You can create whatever design or pattern you want using various paint colors. You simply need to immerse the object in the water with paint to customize it.
You can hydro-dip different things, from water bottles to helmets, tumblers, cell phone cases, and a lot more. You can expect the results to be durable, permanent, detailed, and unique.
Hydro dipping is an excellent way to transform ordinary objects into new and unique pieces.
The term hydro dipping may sound fancy but actually, it is easy to do and so much fun.
Can I use acrylic paint to hydro-dip?
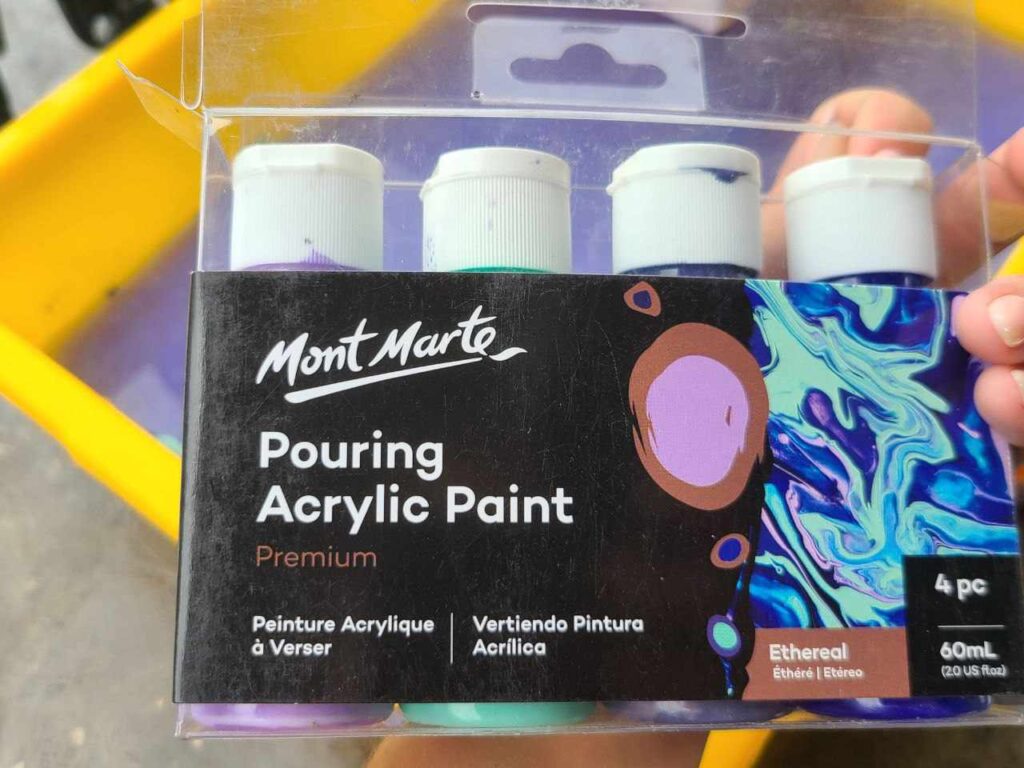
I’ve tried Mont Marte pouring acrylic paint and regular acrylic.
You can use acrylic paints for hydro dipping even though acrylics were never intended as hydrographic paint.
So you would need to add borax to water to make acrylic paint float.
But bear in mind that dipping with acrylics is ultimately not worth the effort and you may be disappointed. I would stick to Marabu paints or Spray paints.
Some suggest that Glue mixed with water is a cheap DIY floating medium alternative that you can use for acrylic paints. However, I tried it and it simply doesn’t work.
Many crafters use acrylic paint because it is highly versatile and can be used on plastics, wood, and other types of surfaces. With acrylic paints, you can easily decorate 3D objects.
Acrylic paints also work well with flat surfaces.
You will also find that using a binding agent can greatly help your acrylic paint stick to the object well. As soon as you are done dipping your object, allow the paint to dry completely.
Afterward, you can apply a clear coat.
When using a clear coat, you have to check whether the acrylic paint is compatible with it. If the acrylic paint and clear coat are not compatible, you may notice poor paint adhesion.
Please keep in mind that as acrylics were not designed for dipping, the results will greatly vary and cannot be 100% consistent.
For beginners and curious crafters, using acrylic paint or spray paint will be enough, but not for professional or commercial use.
How do you float acrylic paint on water?
If this is your first time using acrylic paint, you may notice that it may not float on water. This is because acrylic paint is denser than water.
I’ve tried to make acrylic paint float with just water, glue, silicone oil, pouring medium, and liquid detergent and it does NOT work. Only borax can help your acrylic paint float for hydro dipping.
Add borax to add density to the water making it denser than acrylic paint. The ratio of the mix is 1:3 water to borax.
But lots of blogs still suggest it so I will share this information (maybe they didn’t actually test it) just to give you an idea, maybe for you, it will work, but I say again, it failed completely to me.
- To make acrylic paint float on water, you can make a mixture of glue and warm water.
- Pouring acrylic paint over this mixture can make the acrylic paint float.
- Another option would be adding silicone oil or glycerin.
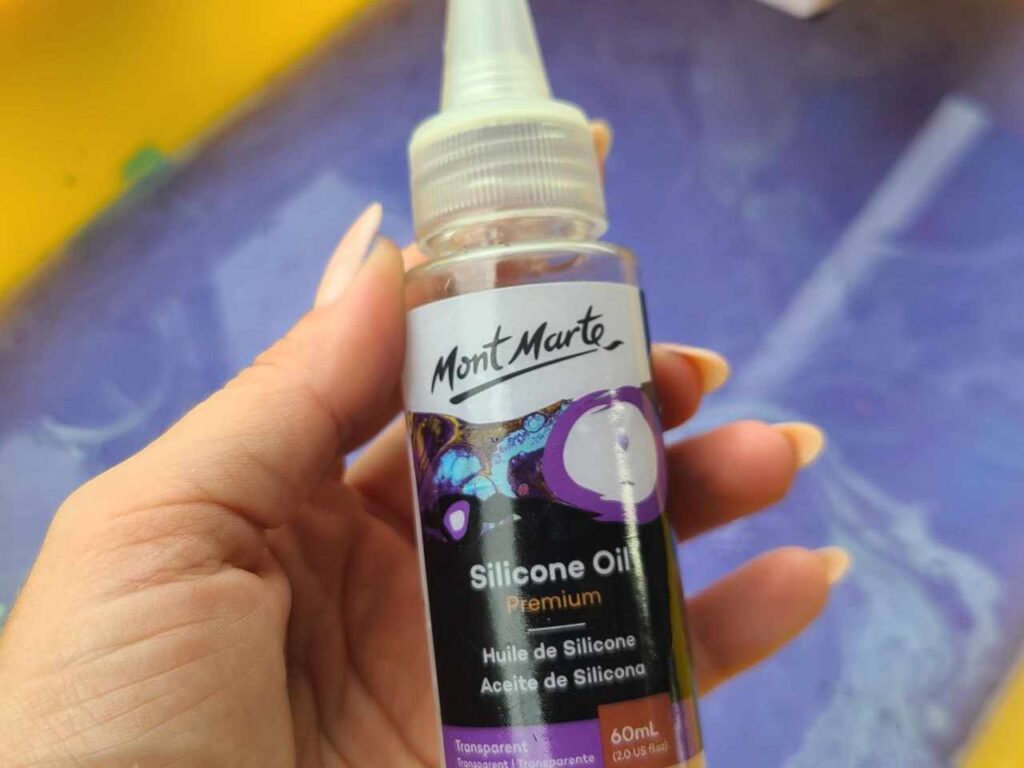
However, adding glycerin or silicone oil has the tendency to change the properties of acrylic paint.
Thus, it is advisable that you do a paint test to check for its floating ability before beginning any hydro-dipping project.
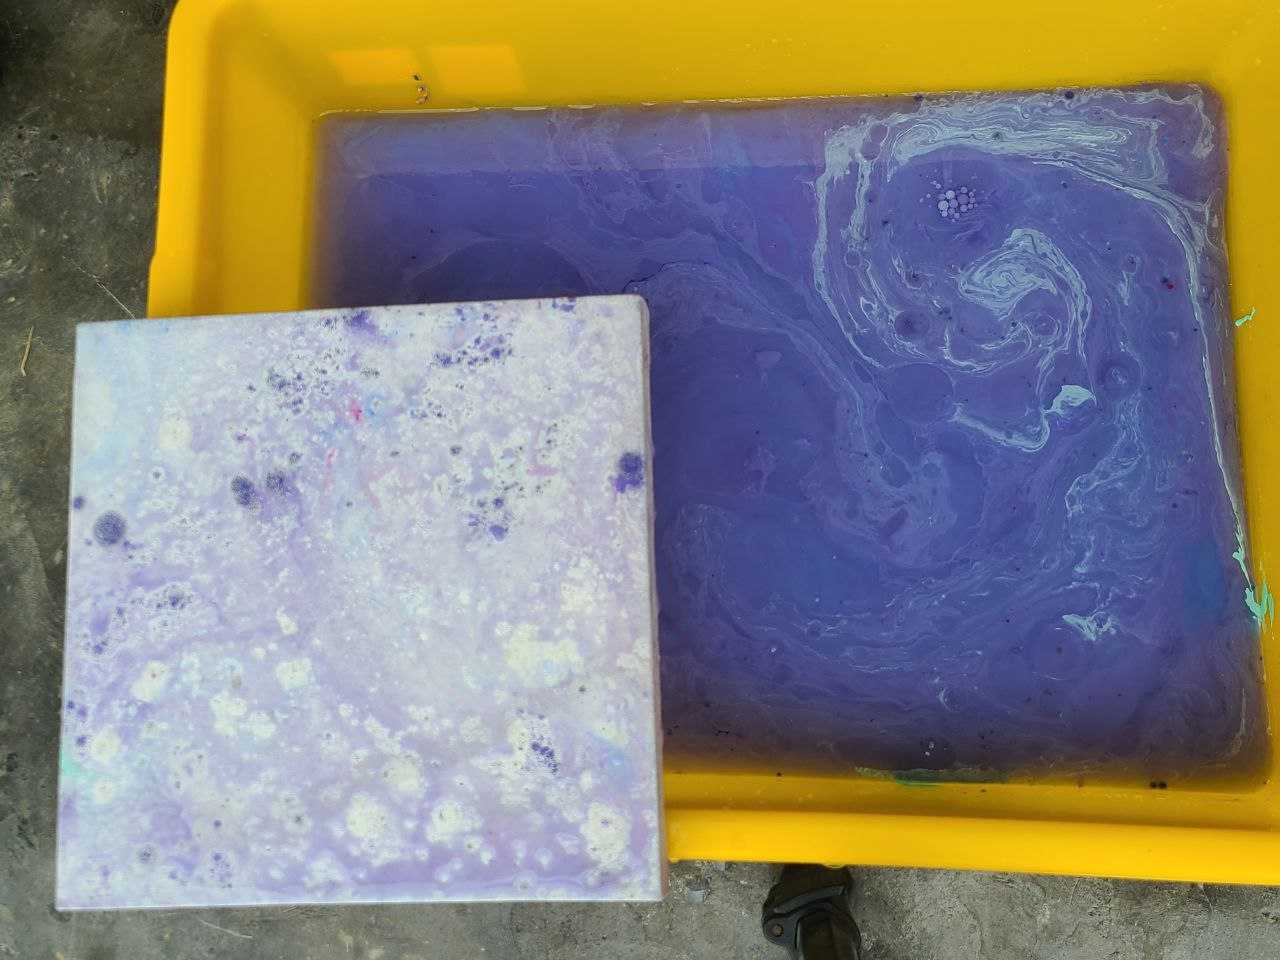
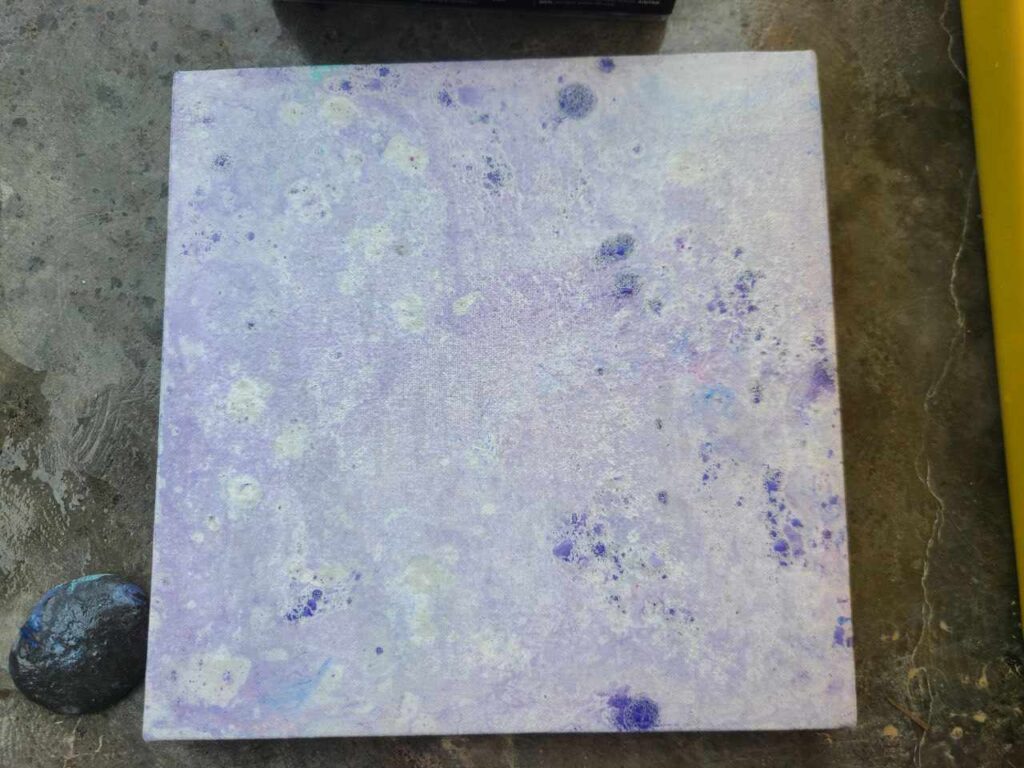
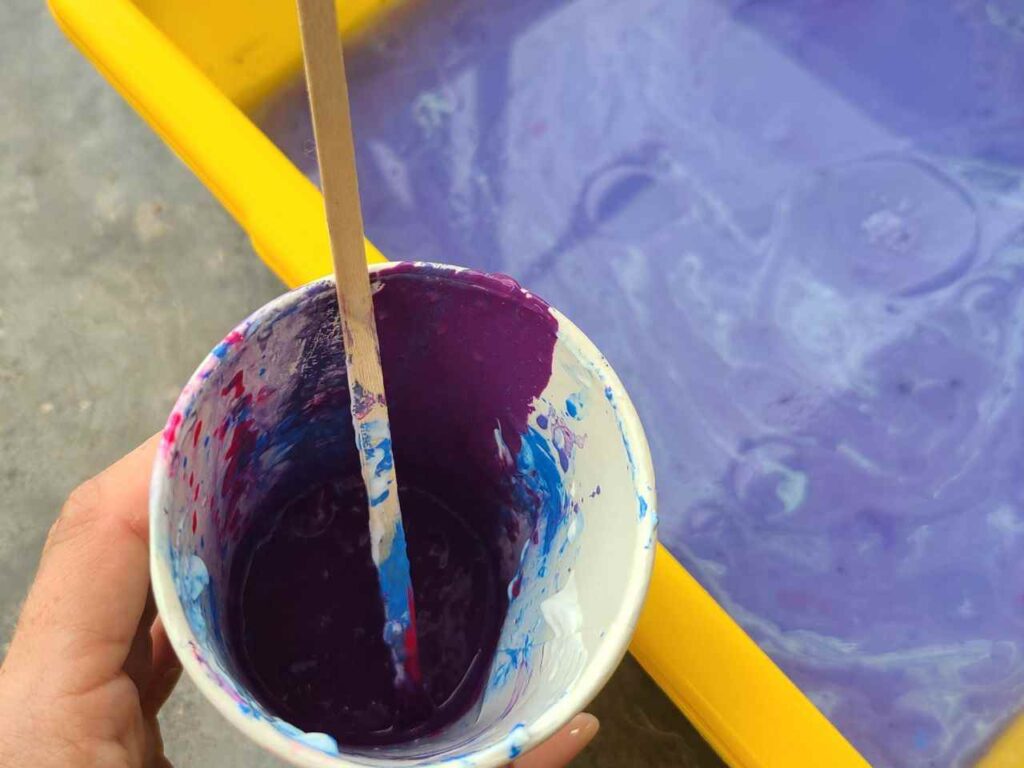
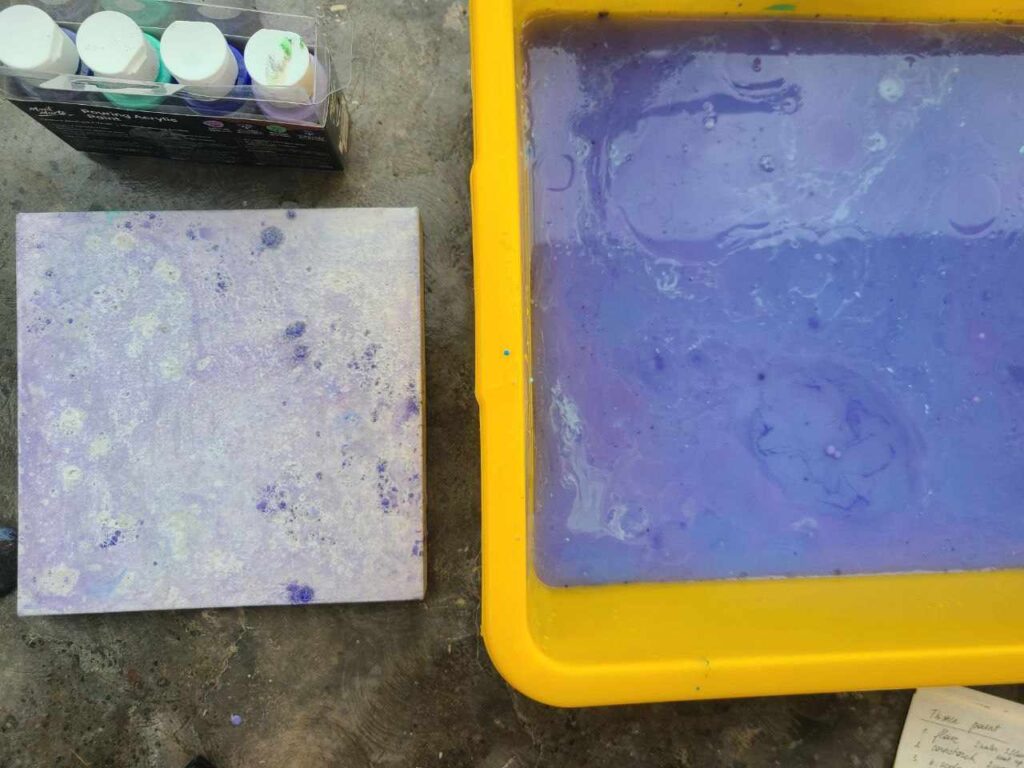
This is what I got using silicone oil, acrylic paint and trying to dip a small canvas.
To me, it is a failure, but it has a charm to it. I don’t think I would recommend it unless this is exactly the effect you are looking for. It also feels oily to the touch (makes sense, we used silicone oil):
How to thin acrylic paint for hydro dipping? 2 Methods
Thinning is not the same as making paint float, but it is to achieve the right consistency of the paint, so when you drip it or pour it over the warm water in the bucket it has a nice flow.
There are different techniques that you can do to thin acrylic paint for hydro painting:
- The most basic method to thin regular acrylic paint is by adding water until you have achieved the paint consistency you are looking for (no more than a 50/50 paint-to-water ratio)
If you are going to use water to thin acrylic paint, you should aim to achieve a consistency similar to whole milk.
Before beginning your actual project, it is best that you test your paint first in a small cup by placing a drop into the water mixture.
You may expect to see some paint floating and spreading onto the water’s surface. While some may sink to the bottom of the container which is absolutely fine.
You may need to thin the paint more if you notice that most of the paint sinks to the bottom. If the paint spreads quickly and far apart, you need to thicken your acrylic paint.
- Aside from using water, you may also use an acrylic medium to thin acrylic paints. You can use either a pouring medium or a flow release agent.
2 hydro dipping Techniques For acrylic paint
There are 2 acrylic dip painting techniques that you can try for hydro dipping with acrylic paint.
These techniques are marbling three-dimensional objects (3D) and paper marbling.
More acrylic painting techniques: 25 Acrylic Painting Techniques For Beginners to Paint like a Pro
Marbling (3D Objects) with acrylic paint
Marbling is the most common and popular method of hydro dipping.
Marbling is a technique where paint floats on the water’s surface to create extraordinary swirls.
It works for plastic, glass, acrylic plastic, wood, paper mâché, metal, polystyrene, shoes, guitars, and many more.
To execute the marbling technique on 3D objects, you need the following materials and supplies:
- Tub of water (water should not be treated with chemicals)
- Acrylic paint (acrylic colors of your choice)
- Borax
- 3D object to dip (for example, a shoe)
- Toothpick, stick, brush, dropper, or pipets (to lay paint on the water surface)
If you are planning to hydro-dip several objects, make sure that you have enough supply of paint and water for each object.
Here is the procedure to create one of a kind design for 3D objects using the marbling technique without adding any mediums:
- Fill a container with warm water. Do not pour too much water, leave enough space for you to safely spray or drip paint. Mix with borax to make acrylics float.
- One after the other, add your paint to the tub of warm water.
- Using a stick, create your desired pattern by swirling the paint.
- You may continue adding more paint colors to the tub until you are happy with your paint design.
- Cover areas of the object that you don’t want to be painted with painter’s tape.
- Once you are done, you can now dip it with acrylic paint. Don’t wait for too long, you only have a few minutes of the “dip window” to make sure acrylics adhere to the item.
- Slowly, bring out the submerged object from the tub. Let the excess paint drip off from the object.
- Settle the object over a non-stick surface or over wax paper to completely dry.
This method works for shoes, guitars, tumblers, rocks, and whatever your imagination wants.
Paper Marbling
Paper marbling is a technique that began as early as the 15th century.
This is a printmaking technique used mostly on paper but can also be applied to fabrics and other types of surfaces. For the paper marbling technique, you would need the following materials:
- A flat and wide tub or tray filled with water
- Acrylic paint (acrylic colors of your choice)
- Paper or fabric
- borax or liquid detergent
- Toothpick, stick, or paintbrush (to manipulate the paint on the water surface)
Here is the procedure to perform the paper marbling technique:
- In a 1:3 ratio, mix water and borax or liquid detergent. A few drops of liquid detergent aid in the spread of paint easily. *Liquid detergent method did NOT work for me, but I know that it works for some.
- Gradually, add the paint colors to the water to achieve your desired design.
- Using a stick create your desired pattern by swirling the paint.
- If you are satisfied with your swirling pattern, you can dip the paper or fabric.
- Slowly, take out the submerged paper or fabric from the tub or tray. Let the excess paint drip off.
- Settle the paper or fabric over a non-stick surface or over wax paper to dry.
This approach is also reminding of Ebru – paper marbling technique, but it uses a little bit different supplies. Read also: Ebru Painting Materials for Beginners
Best way to hydro dip – using spray paint
Using spray paint is the most common and popular method for hydro dipping. Using acrylic spray paints gives you better control and produces the right consistency or coverage.
Spray paint works best on 3D objects and flat surfaces like paper. The materials you need to hydro dip using spray paint are as follows:
- A tub or deep container that can accommodate the object to dip
- Dipping water
- Masking tape or painter’s tape
- Gloves and protective gear
- Acrylic spray paints (colors of your choice)
Below are the steps on how to hydro dip with acrylic spray paint:
- Fill the tub with water.
- Wear protective clothing and gloves.
- Spray acrylic paint into the water. It is advisable to just use 3-4 colors of paint to achieve the marble effect. The paint design may look opaque if you add more than 4 colors. Don’t spray too close to the water’s surface for it can cause air bubbles to form.
- Tape with painter’s tape or masking tape areas of the object you don’t want to be painted on.
- Slowly, dip the object into the water. Let the object move around allowing the paint to cover the whole surface of the object.
- Slowly, lift the object out of the water, remove the painter’s tape, and set it to dry. Let it sit on a non-stick surface or a sheet of wax paper.
If you prefer not to use spray paint, you can still create hydro-dipping projects. You can try the paper marbling method that is discussed above or use nail polish instead of paint.
Hydro Dipping With Nail Polish
You can use several alternative methods to perform hydro dipping.
One method is the use of nail polish. The great thing about using nail polish is the fact that you have a wide selection of colors to choose from.
Also, nail polish is highly durable and sticks well to most types of surfaces.
The materials for hydro-dipping using nail polish are as follows:
- Nail polish (colors of your choice)
- Object to dip
- Large and deep container filled with water
- Stick
- Masking tape
- Disposable gloves
- Parchment paper or wax paper
- Acetone (optional: for cleaning up)
Here are the steps on how to hydro dip with nail polish:
- Prepare all the materials in your work area. You have to act fast for nail polish dries up quickly.
- Thoroughly wipe clean the object you are going to dip
- Begin drizzling the nail polish into the container. You can use different colors of nail polish for your design.
- Use the stick to make a marbling pattern.
- If you are satisfied with the pattern you have made, you may start dipping the object. Let the object stay submerged for roughly 2-3 seconds for the nail polish to completely stick.
- While still submerged, slowly, move the object to a portion of the container without the nail polish and pull the object out from the water.
- Leave to dry on a non-stick surface or over parchment or wax paper.
You can easily hydro-dip a rock or a phone case with nail polish as it is a small surface (and nail polishes come in small bottles).
2 More Methods for Hydro-Dipping Projects
If you consider yourself a pro in doing marbling or simple hydro-dipping projects with acrylic paint, you may want to take a step higher and try more methods for hydro-dipping.
Here are the other 2 methods that you can try that don’t require spray paint:
1) Enamel Paint Plus Borax Method
You may use oil-based paints that could float on water with borax to create unique swirl patterns. This method is commonly used on guitars but can also be applied to several surfaces as well.
Oil-based paints are great on most flat surfaces. However, oil-based paints are a bit challenging to work with, especially for beginners.
So, if you are a beginner but want to experiment with hydro dipping with oil-based paints, it is best that you master the basic procedure for hydro dipping using other paints first.
2) Hydrographic Film Method (Hydro Dipping Film)

This method requires a hydrographic film to be placed on the water’s surface in the tub or container. Aside from a hydrographic film, this method also needs paint, water, an aerosol activator, and protective gear.
This method will dissolve the film turning it into a layer of floating paint.
An activator is important in hydro dipping with film. The activator dissolves the film to make it liquid so it can adhere to the submerged surface. Using an activator has several benefits such as high-quality output, enhanced colors, as well as easy and quick adheres of film to the object.
When an object is dipped, the paint sticks to the surface or object. This process is applicable to metal, plastic, wood, and glass surfaces.
Conclusion
Hydro dipping with acrylic paint is now trending and many artists and DIYers tried acrylic paint as it is easy to thin and has excellent paint coverage.
Even though acrylics were not made for dipping there are several ways you can hydro-dip different types of objects using acrylic paint.
With hydro dipping, you can never expect a certain outcome of your project. Every single dip produces a unique result. This is definitely a fun activity that you can do at home.
I have some good tips from readers under my related video on Youtube, we share what worked else for us: Watch the video.
Have you tried hydro-dipping at home?

Masha Eretnova, born in 1991, is a Chiang Mai-based certified teacher, artist, and blogger with 20+ years of personal painting journey.
She started painting and drawing very early and is now an international abstract artist and educator passionate about acrylic painting, gouache, and crafts.
Her works are part of international exhibitions and contests, including ArtlyMix (Brazil), Al-Tiba 9 (Spain), Exhibizone (Canada), Italy, and many more.
Besides her artistic pursuits, Masha holds a post-grad diploma in Teaching Film Photography and 2 music school diplomas: piano and opera singing.