Last Updated on May 29, 2026 by Masha Eretnova
In the summer heat all I can think of is a slushie and an ice cream. Kids get cranky with all this weather super fast and with summertime break in full, we have to keep them busy.
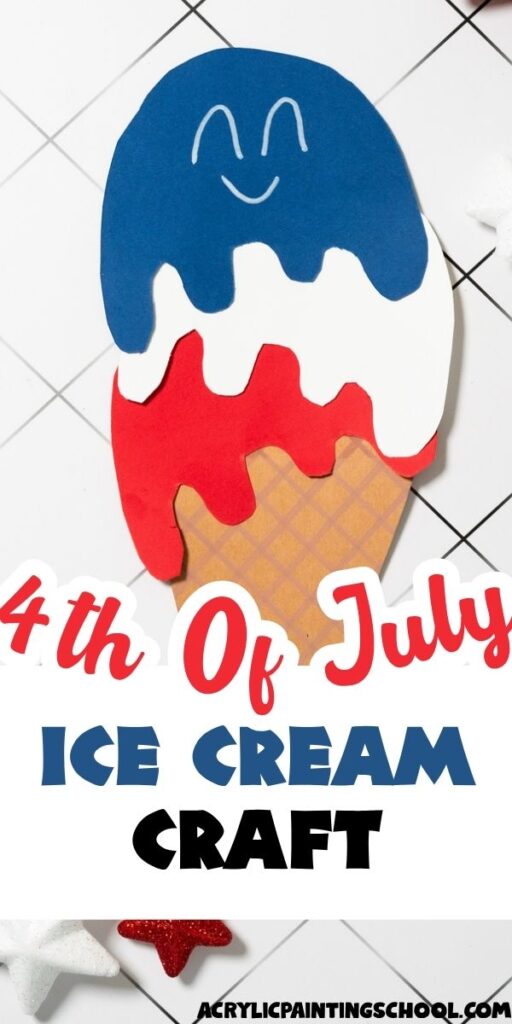
For 4th of July there are so many crafts to make, here is one that is fun and food-centered, yet still with patriotic colors.
This 4th of July Ice cream craft is easy to make for preschoolers with some parents’ help, and kids at elementary school can do it on their own (that’s for you teachers!).
Supplies
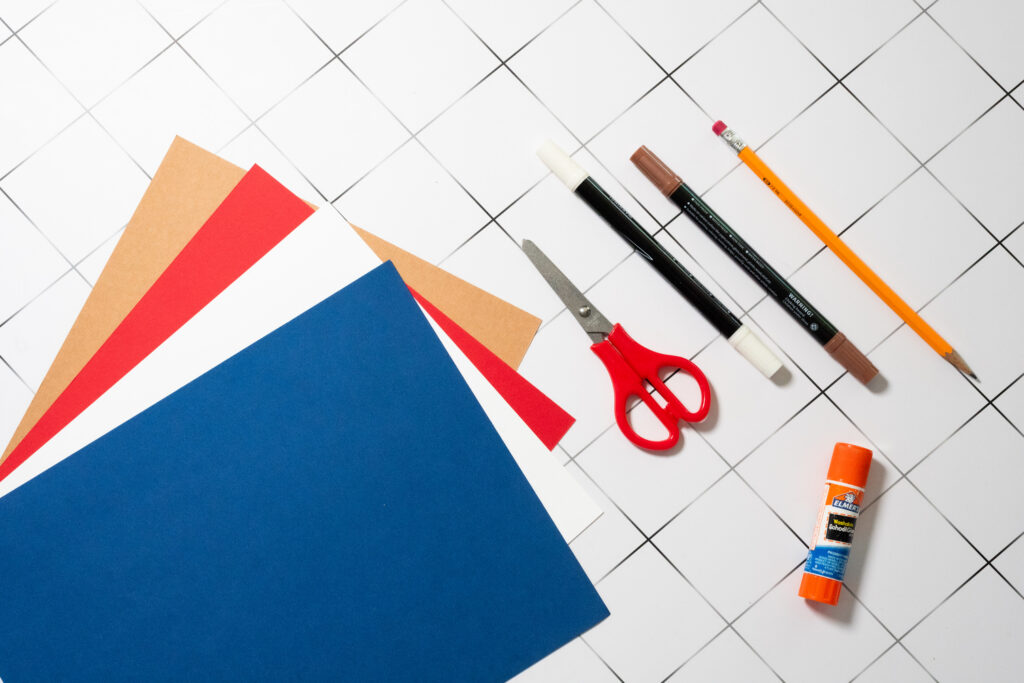
- Brown and white markers or paint pens (for the face and cone details).
- Construction Paper: Red, White, Blue, and Tan (Light Brown).
- Pencil
- Scissors
- Glue Stick
Step By Step Tutorial
Step 1. Draw and Cut the Shapes:
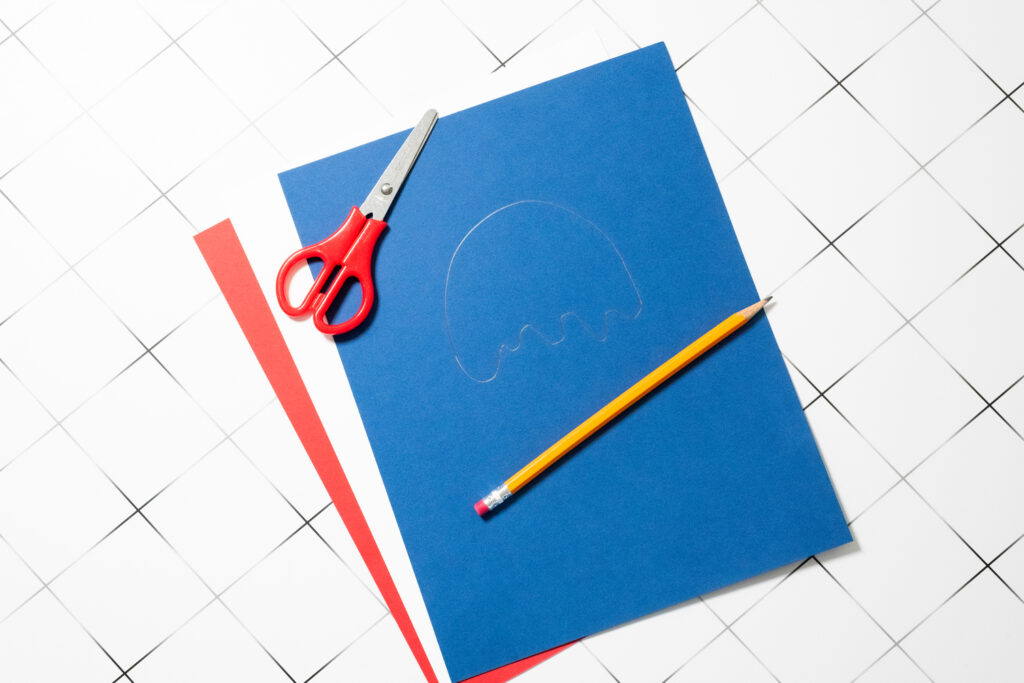
Draw and cut three “drippy” ice cream scoop shapes from the Red, White, and Blue paper.
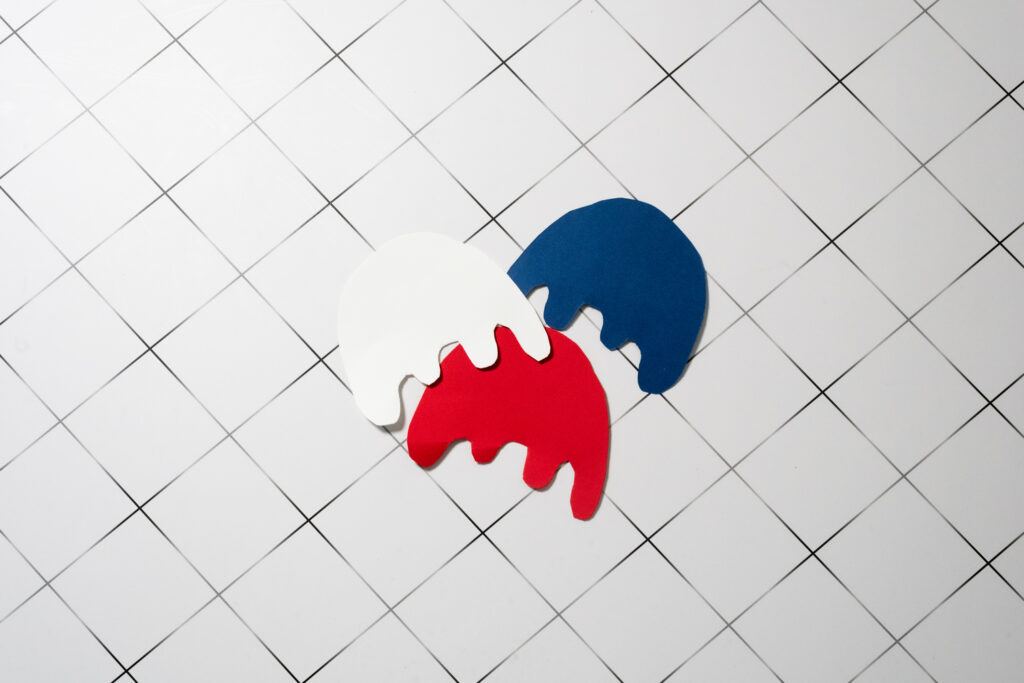
Draw and cut a large triangle from the Tan paper for the cone.
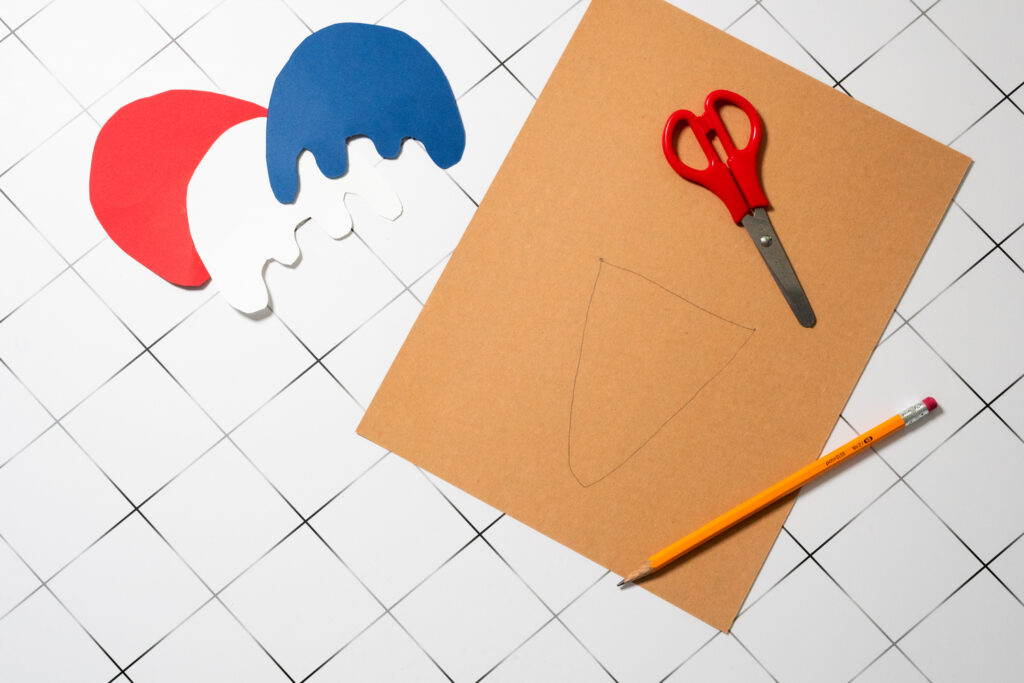
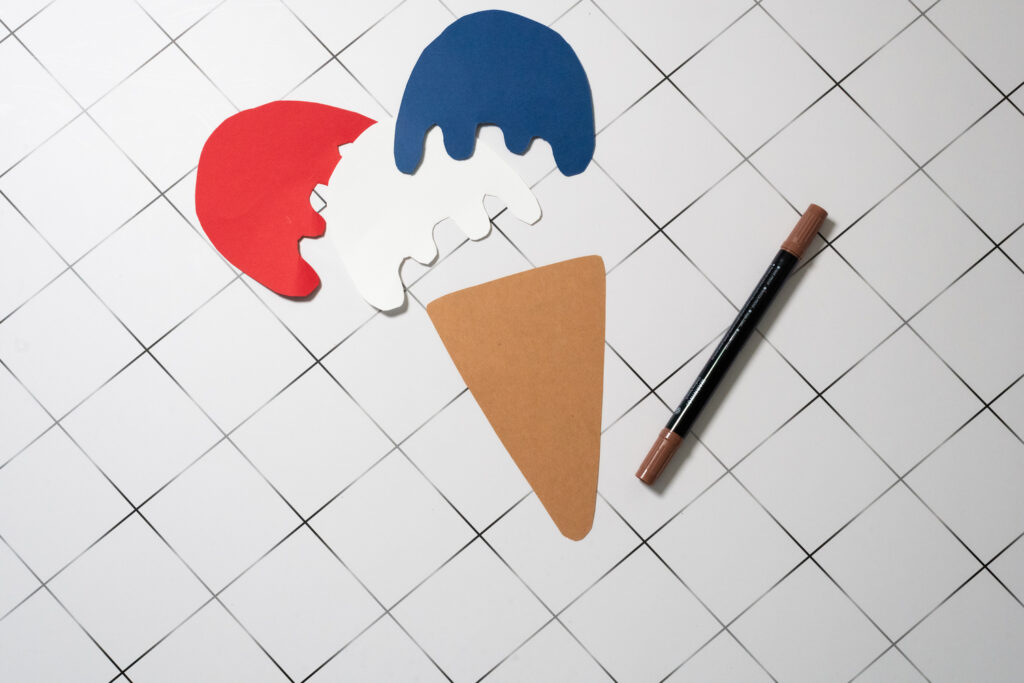
Tips for Getting the Drip Shapes Right
The drip/scoop shape is the heart of this craft, and it’s easier than it looks once you know the trick.
How to draw a good drip shape?
Start by drawing a large dome or half-circle at the top — this is the scoop.
Then, along the flat bottom edge, draw 3 to 5 uneven rounded bumps, like little teardrops hanging down. They don’t need to be uniform; in fact, the messier and more organic they look, the more realistic the “melting” effect will be.
Cutting tips:
Use sharp scissors and go slowly around the curves. For young kids, rounded-tip scissors still work fine — just have them take their time. If the bumps are too fiddly to cut, simplify to 2 or 3 larger drips instead.
Symmetry trick:
If your child wants a more even scoop shape, fold the paper in half before drawing half the dome on the fold. When you cut and unfold, you get a perfectly symmetrical scoop. Then just cut the drips freehand along the bottom.
Make each successive scoop slightly larger than the one above it so the stack looks natural — the red (bottom) scoop should be the widest, and the blue (top) the smallest.
This is very much a free-hand part of the craft, but if you find yourself struggling, I made a very basic template you can print and trace. Grab it here.
How to use it:
- Print the template on regular white printer paper.
- Cut out each shape along the outline.
- Place each shape onto your colored construction paper — blue scoop on blue paper, red scoop on red paper, white scoop on white paper, and the triangle on tan/brown paper.
- Trace around each template piece lightly with a pencil.
- Remove the template and cut along your pencil lines.
- Proceed with the tutorial as normal.
Teacher tip: Print one set of templates, laminate them, and reuse them year after year. You can also trace them onto cardstock to make sturdier reusable stencils that hold up to repeated use by small hands.
More 4th Of July Crafts:
- 20 DIY 4th of July Home Decorations
- 4th Of July Brick Placemats For Kids
- 50+ Easy 4th of July Crafts for Kids
- 12 Easy American Flag Crafts For Kids
- 10 Fourth Of July DIY Wreath Ideas
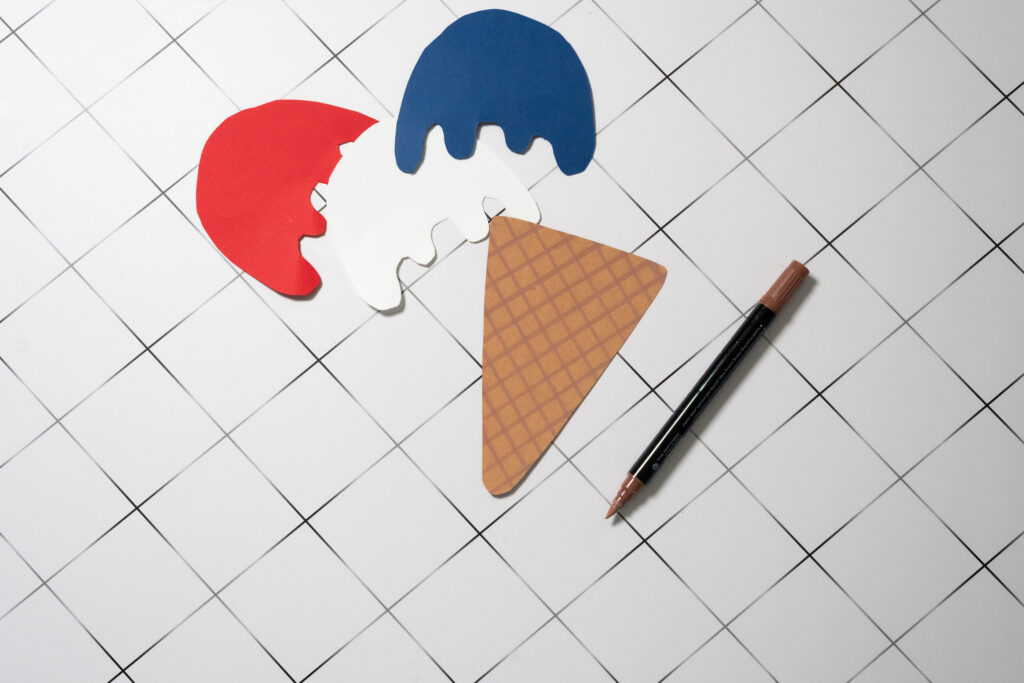
Step 2. Detail the Cone:
Using a black marker, draw diagonal intersecting lines across the tan triangle to create a textured “waffle” pattern.
Step 3. Assemble the Scoop Stack:
Add glue to the top of the cone. Glue the Red scoop to the cone.
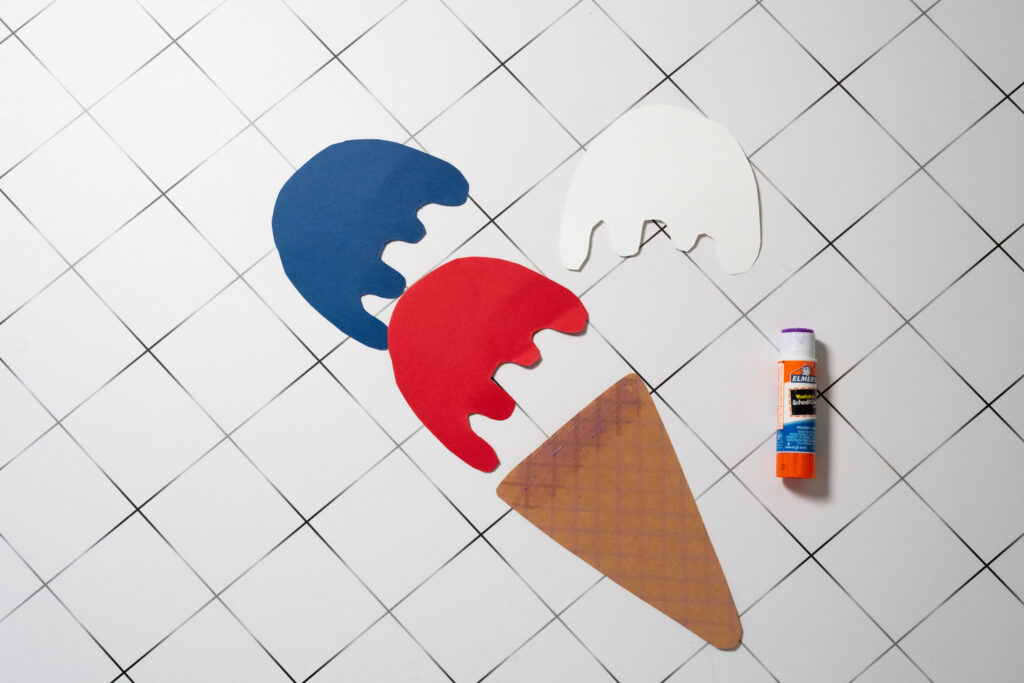
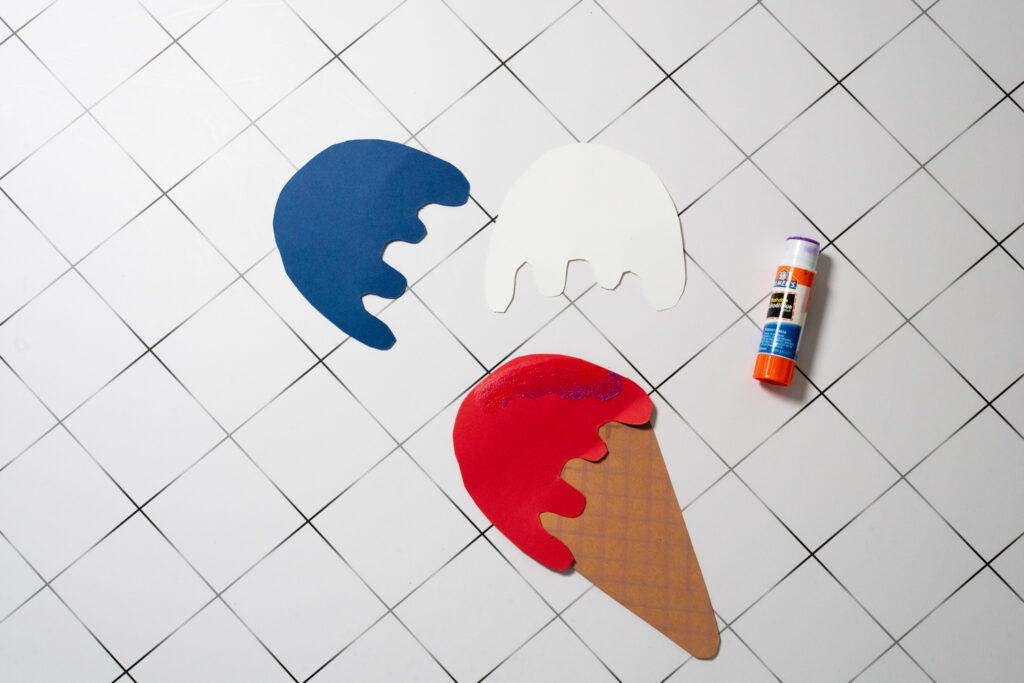
Add glue to the right top side of the red scoop and attach white scoop. Add some glue on top of it, too.
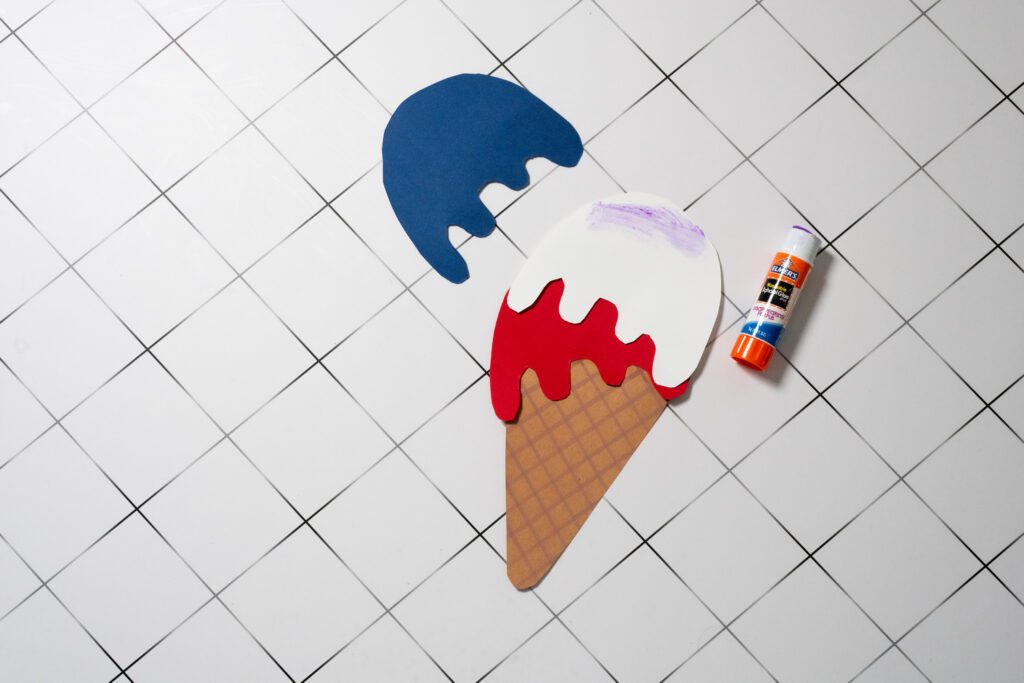
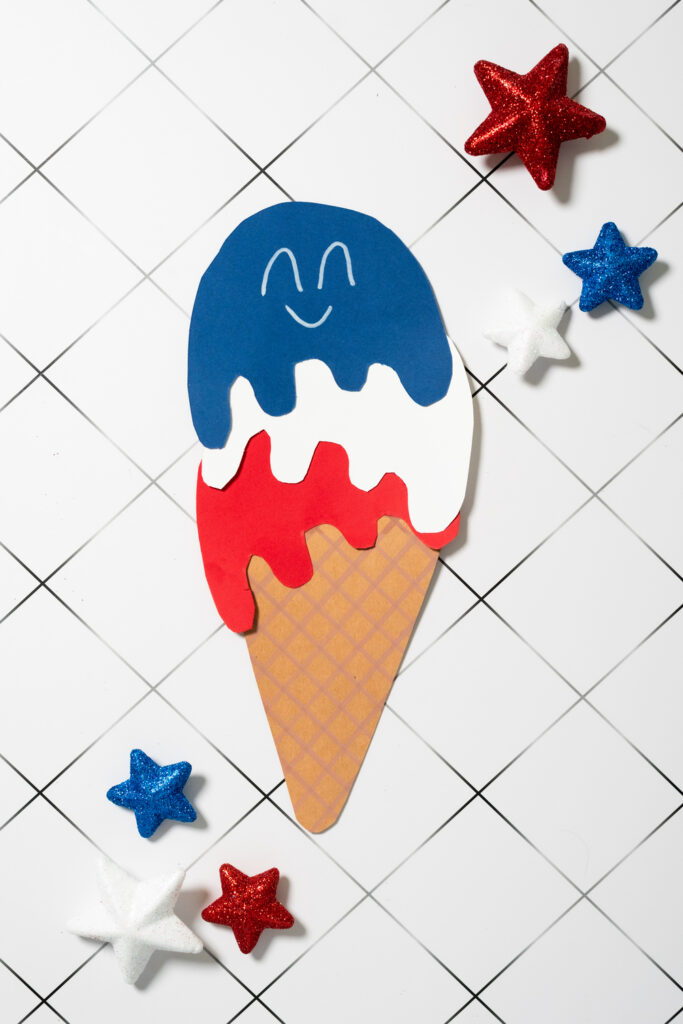
Glue the Blue scoop onto the top of the White scoop to complete the patriotic stack.
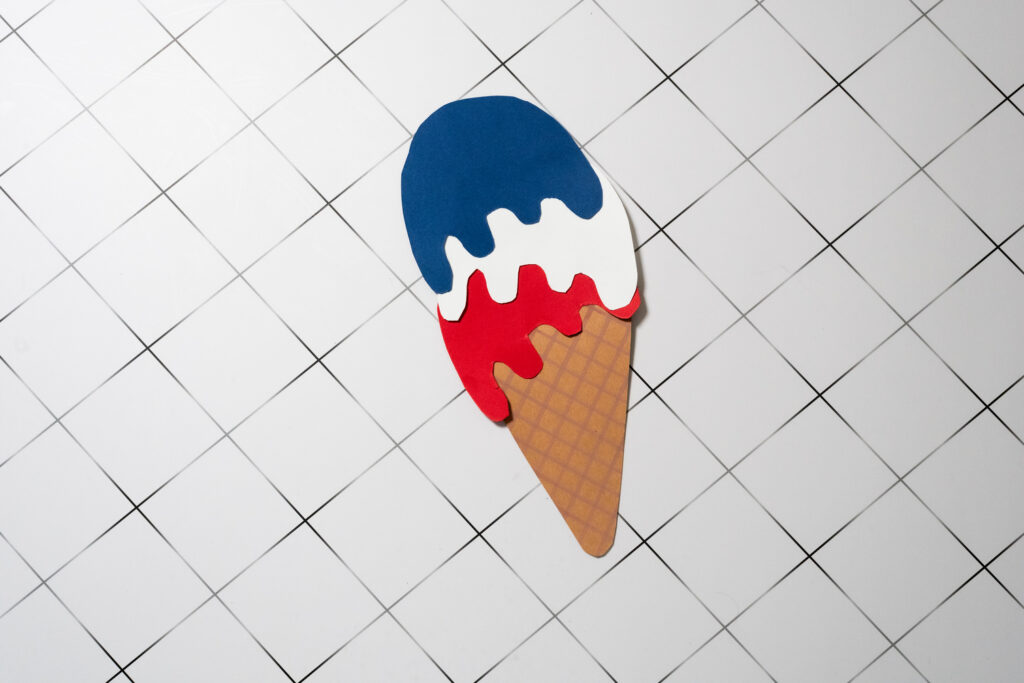
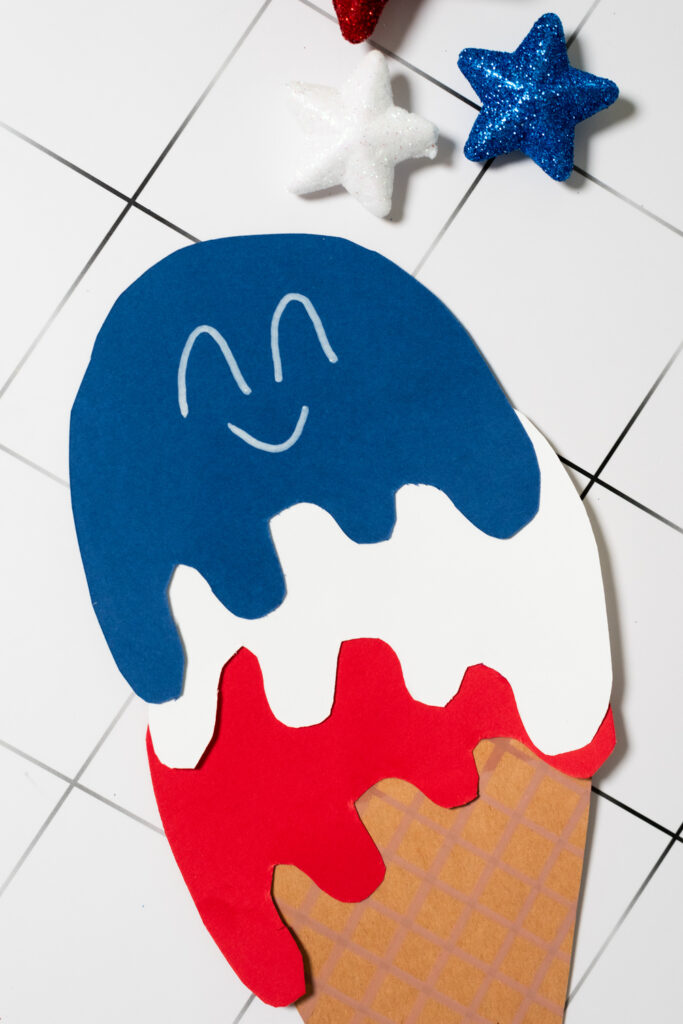
Step 4. Draw the Face:
On the Blue scoop (the top layer), use the white marker to draw a simple, happy smiley face with closed “napping” eyes.
More 4th of July & Summer Craft Ideas
If your kids loved this one, here are more crafts to keep the creativity going all summer long:
Done!
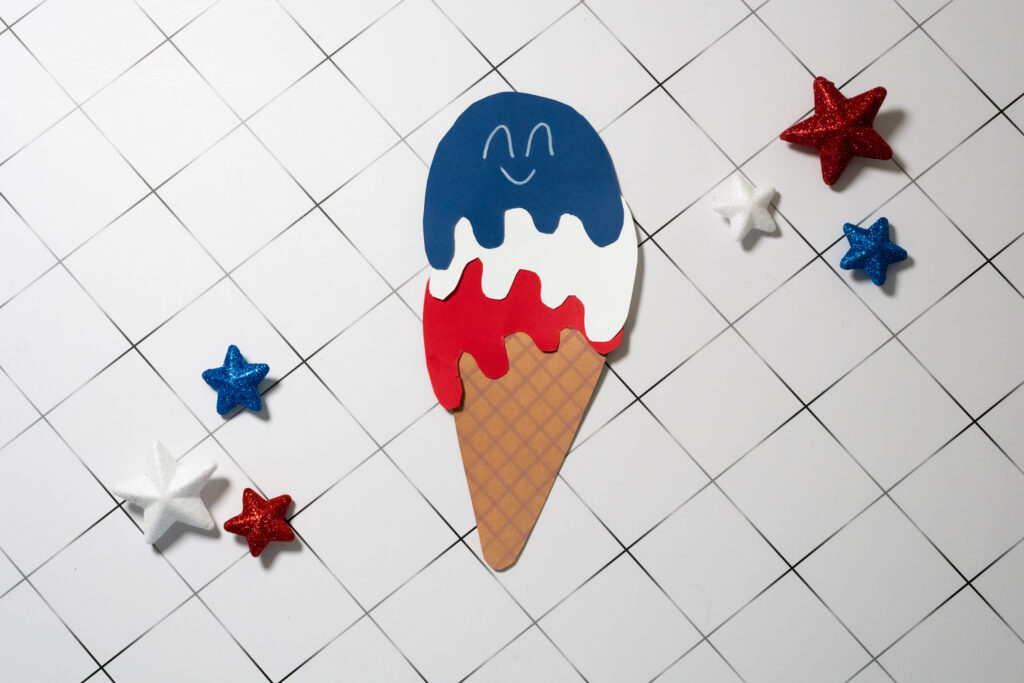
Your 4th of July ice cream craft is ready! If desired, style it on a piece of white paper with stars, patriotic glitter, draw American flag, and so on.
Who This Craft Is For?
This ice cream craft works beautifully across a wide range of ages, and it’s one of those rare projects that genuinely scales with the child.
Preschoolers (ages 3–5): Little ones will need a grown-up to do the cutting, but they can absolutely help with the gluing and drawing the smiley face. Keep their version simple — pre-cut the shapes for them and let them assemble and decorate. It becomes a wonderful fine motor activity.
Early Elementary (ages 6–8): Kids this age can handle the full project from start to finish with minimal help. They may need guidance on drawing the drip shapes, but the cutting and gluing are very manageable.
Older Kids (ages 9+): They can take full creative ownership — experimenting with the face design, adding details, or making multiple cones to create a garland.
Sunday School: This is a fantastic activity for a patriotic Sunday school session around Independence Day. The red, white, and blue theme makes it instantly festive, and the simple steps mean even mixed-age groups can all participate at the same time without anyone falling behind.
Preschool Classrooms: Teachers, this one is ideal for your classroom. Pre-cut the shapes the night before, set out the glue sticks and markers, and let the kids assemble and decorate. It takes about 20–30 minutes, cleanup is minimal, and every child ends up with something they’re genuinely proud of.
Variations & Ways to Customize
Once you’ve made the basic version, there are so many fun directions you can take it.
- Foam sheets instead of construction paper: Craft foam gives the finished piece a slightly 3D, squishy look and holds up much better if kids want to display it for the whole summer. The cutting technique is exactly the same.
- Add sprinkles: Dot white or yellow glue over the blue scoop and shake on glitter for a sparkly “sprinkle” effect. Sequins or small paper punched circles work beautifully too.
- Make it a card: Glue the finished ice cream onto the front of a folded piece of white cardstock and write “Happy 4th of July!” inside. It makes an adorable handmade card for grandparents or neighbors.
- Turn it into a garland: Make several smaller versions — one per child if you’re doing this in a group — and string them together along a piece of twine for a festive party or classroom banner.
- Tissue paper version: Crumple small squares of red, white, and blue tissue paper and glue them onto the scoops instead of using solid paper. This gives a more textured, painterly look that older kids especially enjoy.
- Add a flag: Cut a tiny rectangle of white paper, draw a miniature American flag on it with markers, glue it to a toothpick, and stick it into the top blue scoop. Instant patriotic upgrade.
FAQs
What age is this craft suitable for? This craft works for kids ages 3 and up. Preschoolers will need help cutting, but can handle gluing and decorating independently. Kids 6 and older can typically complete the whole project on their own.
How long does it take to make? About 20–30 minutes from start to finish, including cutting, assembling, and decorating. If you pre-cut the shapes ahead of time (ideal for preschool or Sunday school), the assembly alone takes about 10 minutes.
Can I use tissue paper instead of construction paper? Yes! Tissue paper gives a softer, more textured look. Because it tears easily, it’s best to draw and cut the shapes from a layer of regular copy paper first, then glue the tissue paper on top of each shape before assembling.
Do I need a template, or can my child draw the shapes freehand? Either works. Older kids and confident crafters tend to enjoy the freehand approach. For group settings like preschool classrooms or Sunday school, the printable template saves a lot of prep time.
What if I don’t have tan/brown construction paper for the cone? A brown paper bag works perfectly — it’s almost the ideal texture and color for a waffle cone. Cut a flat piece from the bag and use it exactly like construction paper.
Can this be made ahead of time? Absolutely. You can pre-cut all the shapes days in advance and store them flat. The gluing and decorating is the fun part — save that for the day of your party or class.

Masha Eretnova, born in 1991, is a Chiang Mai-based certified teacher, artist, and blogger with 20+ years of personal painting journey.
She started painting and drawing very early and is now an international abstract artist and educator passionate about acrylic painting, gouache, and crafts.
Her works are part of international exhibitions and contests, including ArtlyMix (Brazil), Al-Tiba 9 (Spain), Exhibizone (Canada), Italy, and many more.
Besides her artistic pursuits, Masha holds a post-grad diploma in Teaching Film Photography and 2 music school diplomas: piano and opera singing.