Last Updated on March 22, 2024 by Masha Eretnova
Do you have an art studio or are you considering if now is the right time to create one? Or maybe you are managing your creativity in your garage, spare room or even the corner of your bedroom?
My art studio organization tips work for all types of studios, don’t worry!
Keeping your art studio organized is key. No one likes to work in a messy environment and an organized art studio can help you have a more efficient and successful workspace. In this article, we will explore art studio organization ideas and organizing an art studio for best performance and creativity.
So how to organize an art studio? Let’s dig in!
This article contains affiliate links. It means no extra cost for you but a little commission (2-3%) for me to support my hobby and blog. Thank you!
Art Studio Organization Ideas From An Artist
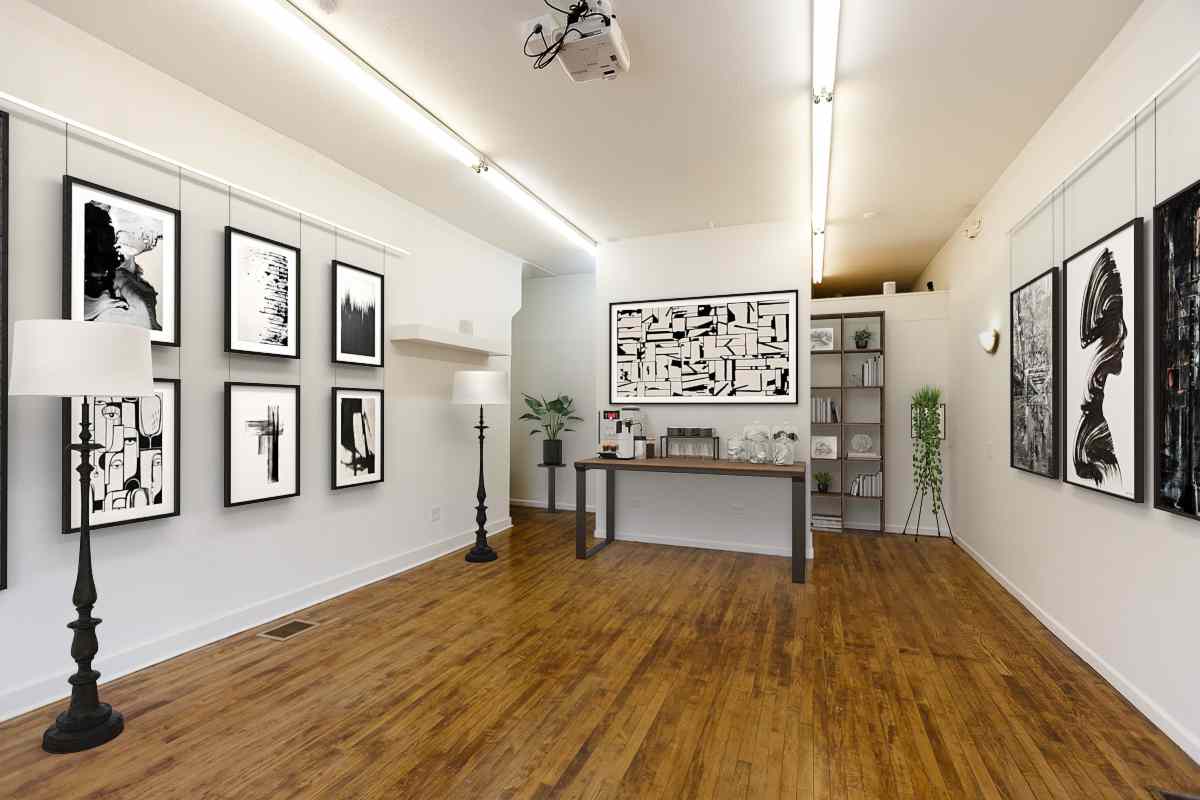
Art studios can be set up in many different spaces and rooms. You can rent an art studio space or set up an art studio in your home.
You don’t need a massive space to have a functional art studio.
You can transform almost any space and organize your DIY art studio well!
Fact: The absolute majority of beginners don’t have a fancy studio right away. And we’ve all been there, myself included, even though I have a separate space I can use for an art studio, I still keep art supplies on both floors in my house…
1 – Choose your art table studio wisely
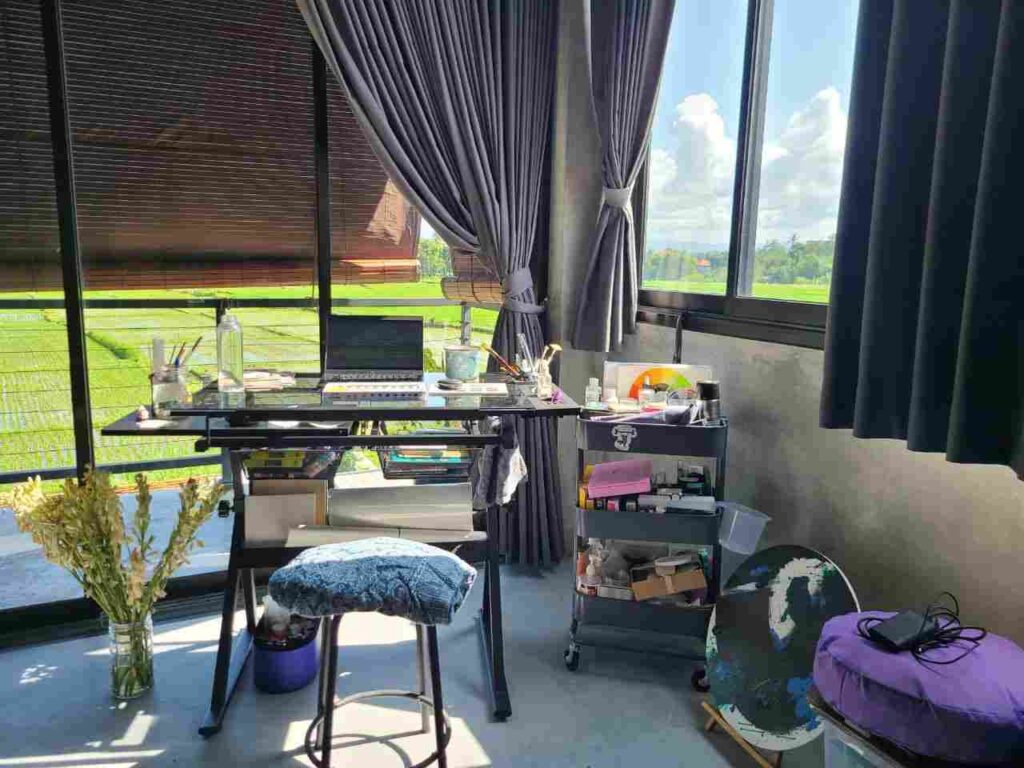
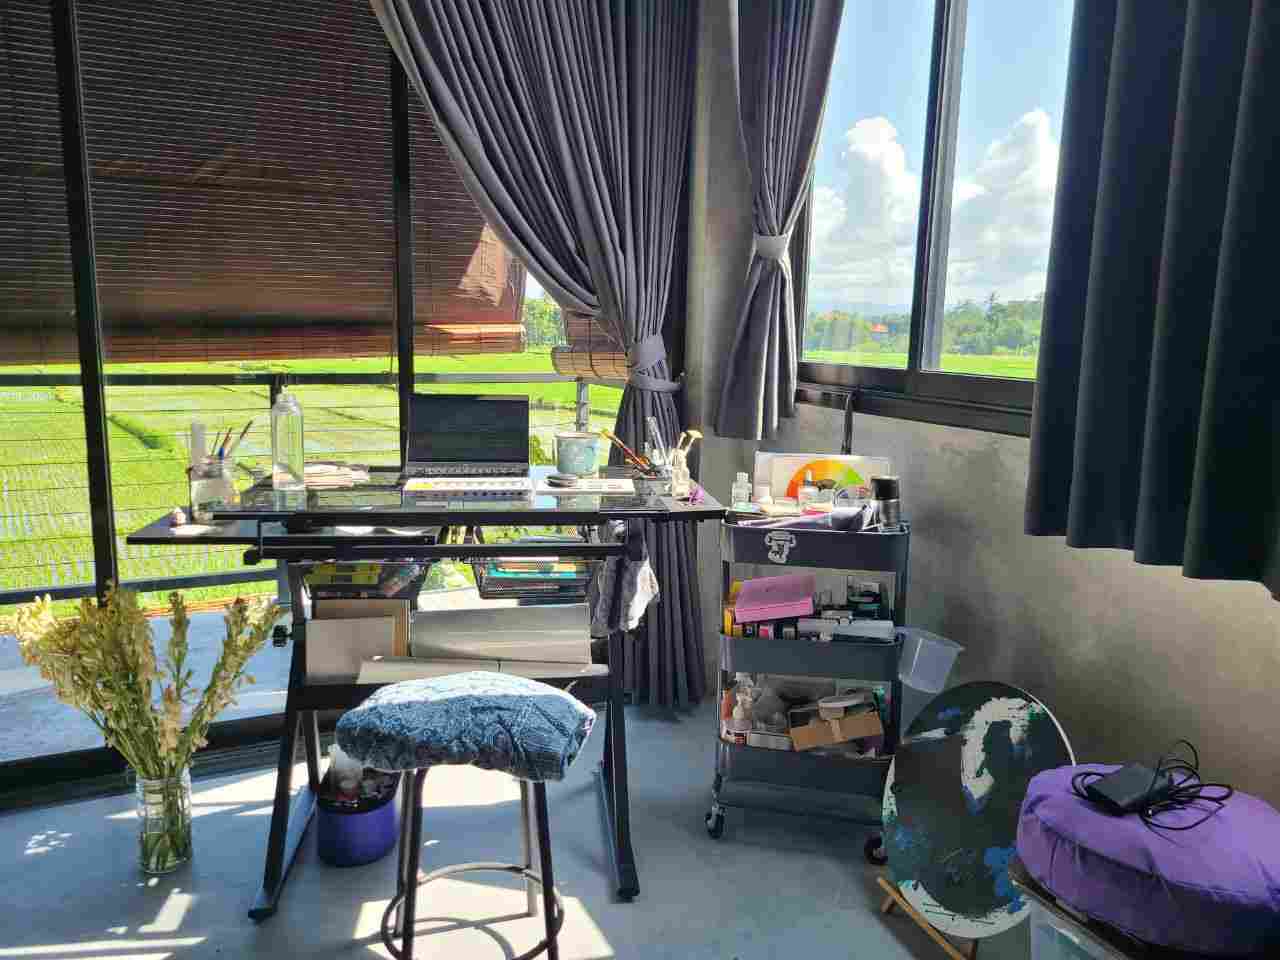
For me, a desk or table is one of the most important components of an art studio.
Whether you’re a graphic designer or a painter, you must have the best and most functional desk space. If your studio is set up in a small space, you may want to have a wall-mounted desk that folds up and down to maximize your space.
When I first started painting series, I didn’t even have room for an extra table in my room I was renting. I was painting on the floor! Not only it’s messy, but my back hurt…I’m serious!
At the same time you may rightfully argue, but why do I need it, I’m painting on an easel. Well, it’s only in movies holding your huge palette in one hand is actually cool, in practice it’s not really comfortable nor efficient.
A good art table:
- not wood or you are ok with staining it forever. Plastic or glass will be best as you can remove paint easier than from wood.
- ideally you can adjust the height and the angle, but it is optional. It is true that we should not really paint on completely flat surfaces as it alter the perspectives.
- wide and large enough so you can setup your working area while painting (your brushes, water jars, paints, palette, mediums you are using)
- some drawers or shelves for storing. For me it is optimal when the shelves are not on the level of my feet as I’m definitely going to crash it all! And I simply love to have space for feet.
- ideally on wheels, so you can easily move it around for cleaning, for better light, and just if you want to reorganize the space.
2 – Hide extra supplies with a curtain
If you have an open table or shelves you may want to hide your extra supplies. You can easily do this by hanging a curtain.
This is an easy way to keep your small art studio organized and clutter hidden when guests come over to check out your latest work.
It works especially well if you art corner is in your living room or bedroom. A curtain makes it look tidier.
3 – Repurpose an old card catalog

Vintage furniture can add charm to your art studio and make it more functional.
You could repurpose a card catalog, an old door for a work surface, or a dresser. These items can all add to organizing your art studio.
Find them at a thrift shop, on a flea market or maybe you already had one!
4 – Use wire shelving
Wire shelving units are lightweight and come in all shapes and sizes. Some of them are pretty heavy duty and can hold up to 150 kg (in case you do lots of epoxy resin art).
Store items from your home art studio loosely on the shelves or use storage baskets for paper, printer cartridges, and drawing supplies.
Also can hang things on the sides easily, for example paint tubes or tools.
Super easy to buy – Amazon has its own wire shelves even – and it’s budget-friendly. I bought mine from ACE Hardware.
5- Stay organized with rolling carts
Rolling carts are another way to stay organized.
You can easily wheel the cart into a closet when you’re done using the supplies or tuck it in a corner. You also have the option to roll the cart into another room and work on your projects. It is your own portable art studio.
I loooove rolling carts. They are multi functional! You can easily hang stuff on the sides, roll them around, keep different supplies at different shelves – I am an absolute fan.
Here is my carts… If you are an art supplies hoarder like me, you will need two…or more 🙂
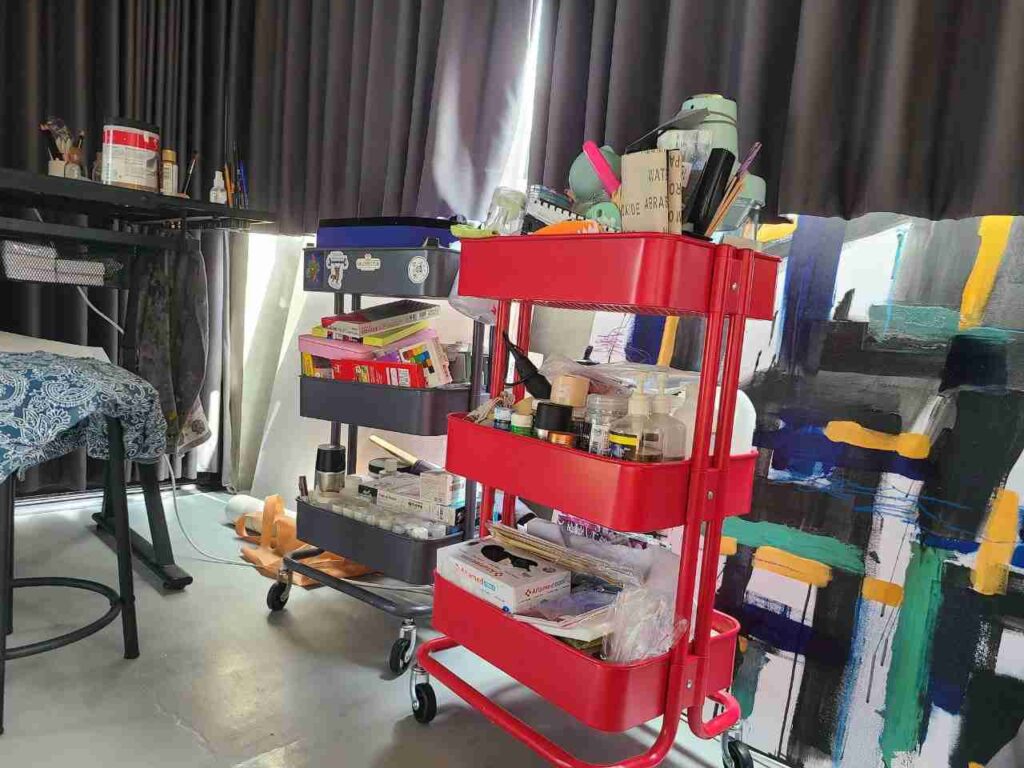
Easy to buy on Amazon or IKEA.
PRO TIP: I recommend having 2 carts. This way you can also use them as a working area. Set them at a distance and lay a piece of wood or a canvas – done! More working space!
6 – Repurpose a wine rack
Another creative way to organize your art studio is to use an old wine rack to store your supplies.
You can set up the rack on a countertop and organize your pens, markers, and colored pencils. You can coordinate the items by color. The wooden racks can be moved easily throughout the space.
7 – Make technology work for you
There are apps available for artists that can save time and space.
An app called ArtStudio is a mobile photo-editing and painting app that can help you problem-solve paintings without ruining the original painting.
The app also has multiple drawing and painting tools and every imaginable opaque or transparent color. Projects in the process can be stored neatly to be used later.
Another type of apps saving your space and money are apps that generate pictures of your art, already framed, in different interiors.
You can use these photos for online galleries, to better display your art or simply find the best frame for a specific painting.
Most of these apps have some sort of free access, while full access is paid. For ex., ArtPlacer, Canvy, WallApp, FrameIT (Android) help you preview your art on the wall.
I use FrameIt – the most affordable alternative with so many “walls” options!
8 – Eliminate non-essentials
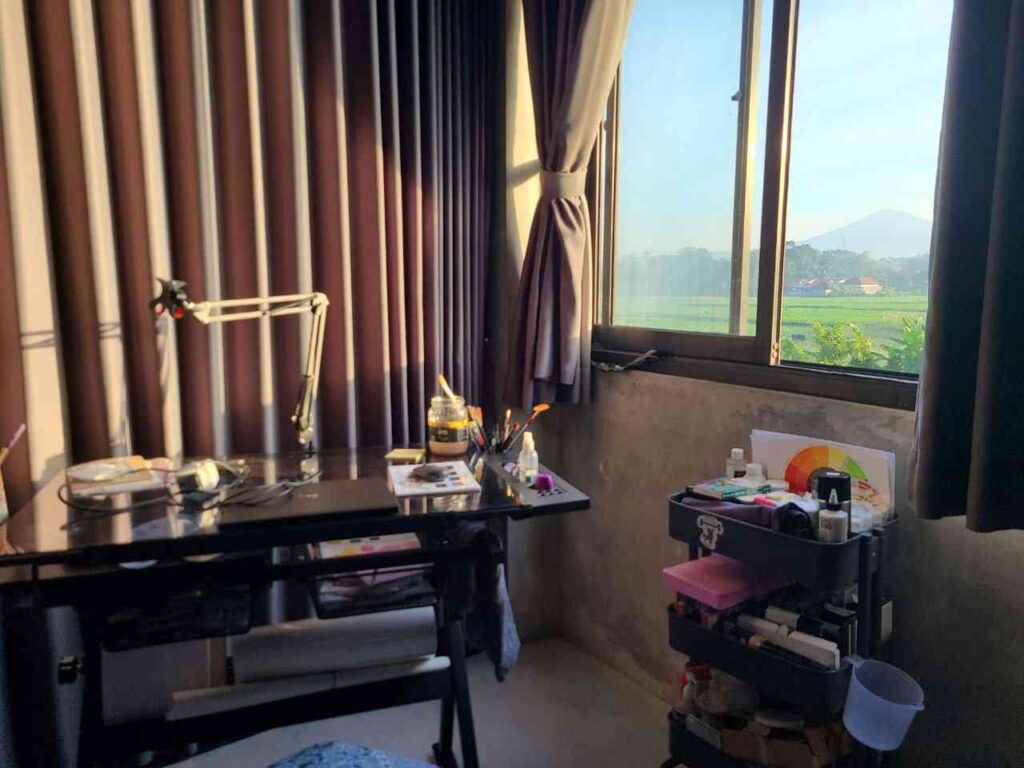
When you’re organizing your art studio, it is essential that you get rid of stuff you don’t need or will never use.
Declutter regularly. I have 10 projects I wanted to do, 3 more I’m currently working on and a few that are stored somewhere there and I know for fact I’m not going to finish them.
This can be difficult and you may need extra time to sort and get rid of things. Don’t toss things that could still be used, but find a place to donate the items. It is best to donate locally.
9 – Think vertically
No products found.Your walls can provide a great place to organize your art studio.
You can use wall space to hang canvases in progress.
You can also hang shelves and hooks to store supplies.
Be sure your shelves are not too deep because supplies can get hidden behind others. You can use hooks to hang items such as drop cloths, painting aprons, and even canvases.
Smaller hooks, used on the wall or peg boards, are great for storing art tools and supplies.
IKEA has a good system like this, but can easily buy on Amazon or elsewhere.
10 – Use containers for writing, drawing, and painting instruments
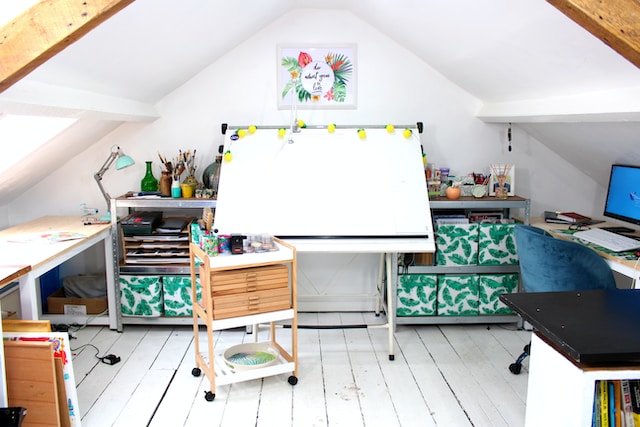
Make sure you have plenty of containers to store your writing and creative instruments. You can easily use mason jars or tins to store your paint brushes, pencils, pens, and markers.
You can find containers at the Dollar Store or Target. T
hese open containers allow your tools to always be visible and easily accessible. You don’t want to overstuff or cram your art tools into these containers.
11 – Have a designated place to store your works in progress
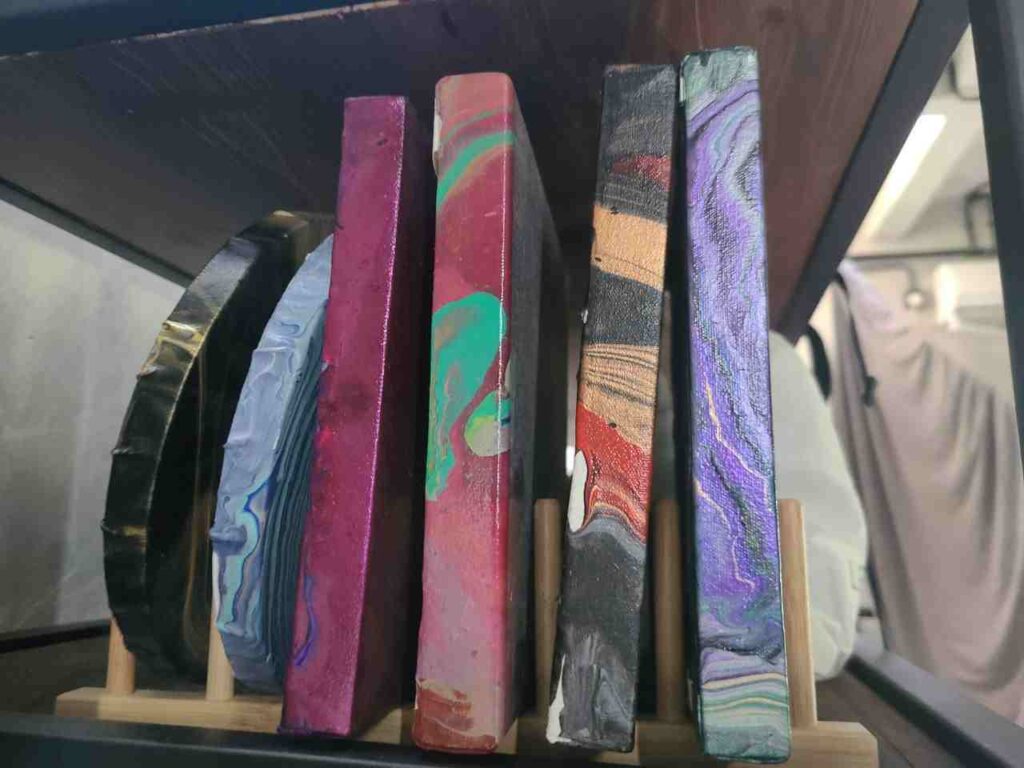
Many times artists, myself included, are working on more than one project at a time.
It is important to have a place to store your projects that are in process. This will allow you to clear off your workspace so that your projects are not damaged.
Lay parchment paper in between canvases and artworks to make sure they don’t stick to each other.
You can also tackle the problem from another angle: move all your finished works to a gallery. You can rent an art studio space to organize a small event or permanently exhibit your work, or participate in some fairs and by selling some art you will free up space as well!
12 – Use bins and boxes for larger items
Create separate containers for different sorts of materials and tools.
You can also group together all the supplies for a type of project, so your watercolor paints, brushes, and paper are all in a single box for easy use.
Plastic shoe boxes are a great option and affordable.
13 – Hang your storage

Hanging things is a great way to keep your studio organized. It’s a flexible option and you can arrange it as you see fit.
You could use pegboards, curtain rods, or hang a string or wire along the wall and use clothespins to display your artwork. Many artists do that with paint tubes: hang a string and clip tubes with a paper clip!
Also, over-the-door storage is an option. Smaller over-the-door organizers are also great for pens, markers, glues, and paint.
14 – Label your containers
Labeling your containers can be a game changer.
By labeling your containers you can more easily find your supplies and where to return them when you’re done.
Labels can be fun and unique. Labeling your art supplies can be a project of its own – you can designs the labels, draw and paint them or even make stickers 🙂
If you don’t want to handmade them, you can always use any template in Canva.
15 – Use additional light
Not all of us are full-time artists. Sometimes we only have time to paint after our main job. It’s ok.
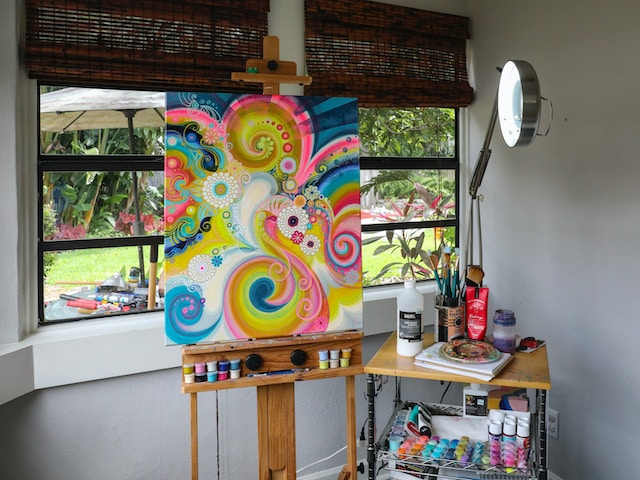
Artificial light can affect how we see the colors, so I do recommend painting mostly with natural light, but if you are also working on crafts, super detailed paintings or projects, you need an extra lamp.
If you have a desk or a rolling cart you’re using – perfect, you can just attach a lamp to it.
16 – Remember the art supplies storing rules
To make sure your work at art studio is focused on art and not on fixing something that went wrong, your best bet is to store art supplies in a proper way.
Then, you can directly start painting or crafting next time you have inspiration.
- Brushes – Ideally vertically, bristles up. You can also store them in drawers but better vertically.
- Paint – Lids closed tightly, no direct sunlight, no humidity.
- Canvases – Vertically, no humidity, well-aired room.
- Resins – no direct sunlight, no humidity, lids closed tightly. Only vertically.
Markers, pencils, paper pads can be technically stores as you please.
17 – Invest in health – get a good chair
We are spending hours drawing and painting and while we are excited about it we simply don’t notice how our back and neck are hurting sometimes.
It may sound funny now, but if we want to stay creative until our golden age, we need to act now. And I personally don’t like chairs with no back that offer no support.
Many artists love painting standing and it works fine, but if you have hours of hand drawing or detailed painting, this is not something we should be doing for years.
18 – Drying rack – space saver!
I often work at home and the biggest struggle is not even storing finished or unfinished work but drying them in a way that no cat hair will get in there and they are simply not in my way.
If you have very limited space, you can buy a drying rack and hang it on the wall. Some of them can be customized for your projects.
19 – Easily document the process
Part of being a selling artist nowadays is social media and the Internet.
Videos of painting and drawing processes, tutorials and reveal short videos are super popular and bring followers and new fans, as well as future buyers.
Get a phone holder to record videos without disrupting your process.
I have 2 tripods I’m using when I’m not too lazy to do it, haha. I upload videos on YouTube and repurpose them for all other social media.
20 – Rent an already well-organized studio
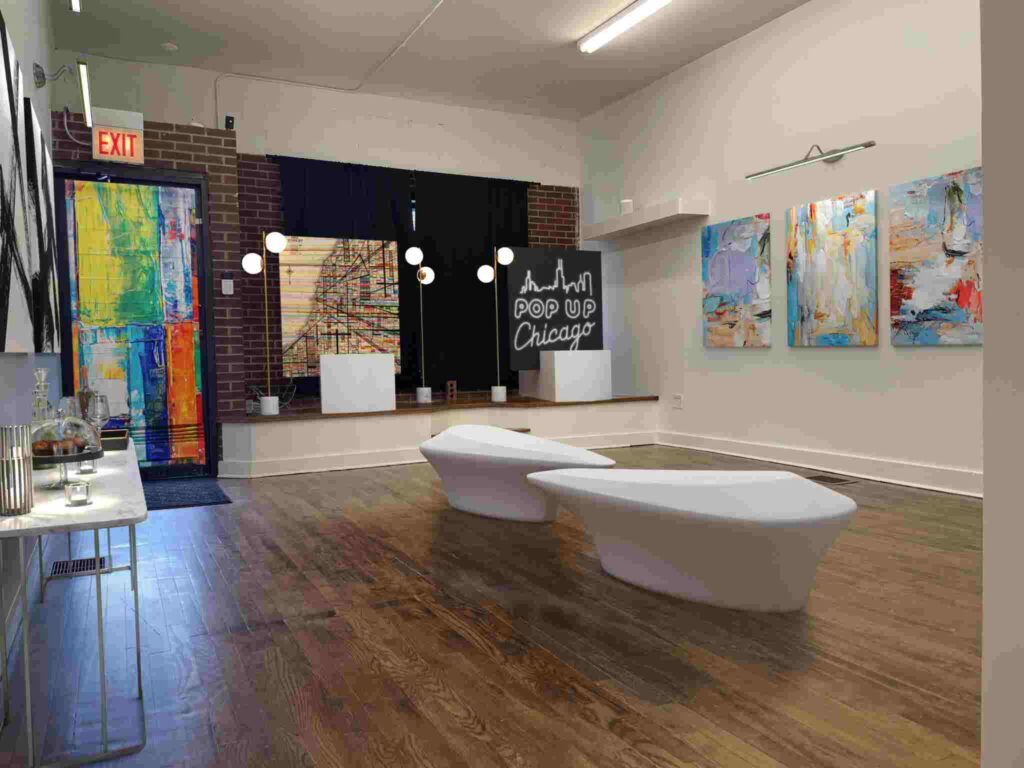
Well, finally, there is a very obvious solution for those of use who have no space at home and are not keen to paint in garage or basement.
Easy enough, instead of investing money in organizing a studio we can just rent one!
Check if there is any art centers or small galleries in your area and just walk in and ask. Some of the perks of renting a studio is that you can make new friends, host your first exhibition and keep your home clean and free of art supplies and canvases.
Finally, staying organized is a key part of having a successful art studio. Trying out various setups will help you find your best solutions. Everyone is different so you’ll have to find what works for you.
After all…our art studio is a little bit our second home where we can be truly ourselves, alone with our ideas, thoughts and dreams. An organized studio allows space for our mind to be productive and creative. So organizing our art studio is a little act of self-love if you wish 🙂
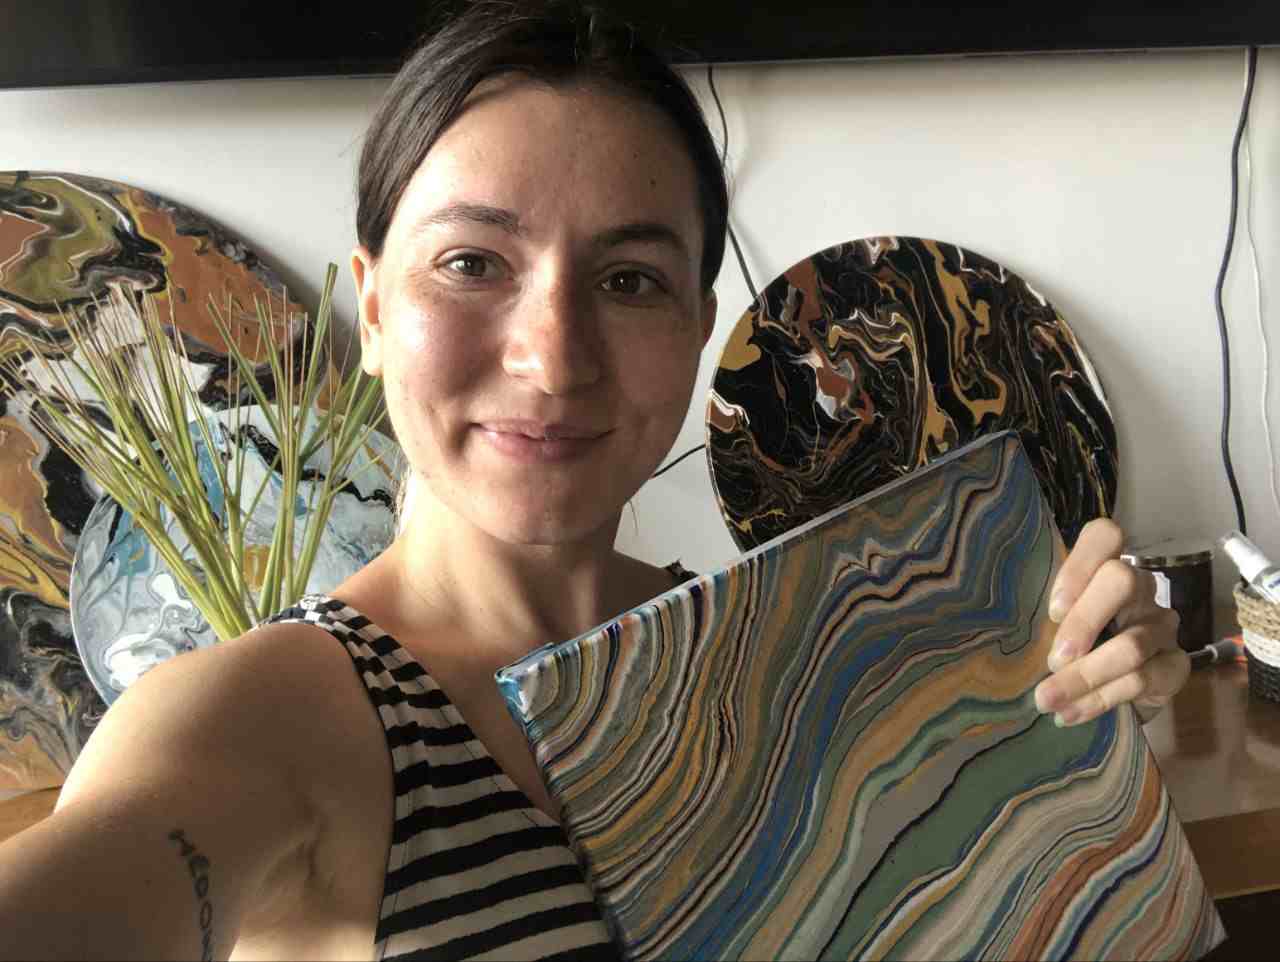
Masha Eretnova, born in 1991, is a Buenos Aires-based certified teacher, artist, and member of the Professional Artist Association with 20+ years of personal painting journey.
She started painting and drawing very early and is now an international abstract artist and educator passionate about acrylic painting, gouache, and crafts.
Her works are part of international exhibitions and contests, including ArtlyMix (Brazil), Al-Tiba 9 (Spain), Exhibizone (Canada), Italy, and many more.
Besides her artistic pursuits, Masha holds a post-grad diploma in Teaching Film Photography and 2 music school diplomas: piano and opera singing.
Last update on 2024-07-27 / Affiliate links / Images from Amazon Product Advertising API
