Last Updated on March 22, 2024 by Masha Eretnova
Do you like all these easy DIY videos on social media? What if I tell you that you an actually make a very cute tray for organizing jewelry in one hour?
The secret ingredient is Jesmonite! Let me show you how I used it to make this tray:

Table of Contents
I love jesmonite much more than epoxy, and I truly believe jesmonite is much more beginner-friendly. Let me show you how to use jesmonite in an easy way and we will make a colorful jesmonite tray in just 40 minutes.
If you need to learn more about what exactly is Jesmonite and where to buy it, please refer to my article: Jesmonite Alternatives USA.
This article contains affiliate links. It means no extra cost for you but a little commission (2-3%) for me to support my hobby and blog. Thank you!
how to make jesmonite tray
Supplies
- Jesmonite or an alternative (this eco resin is available in the US)
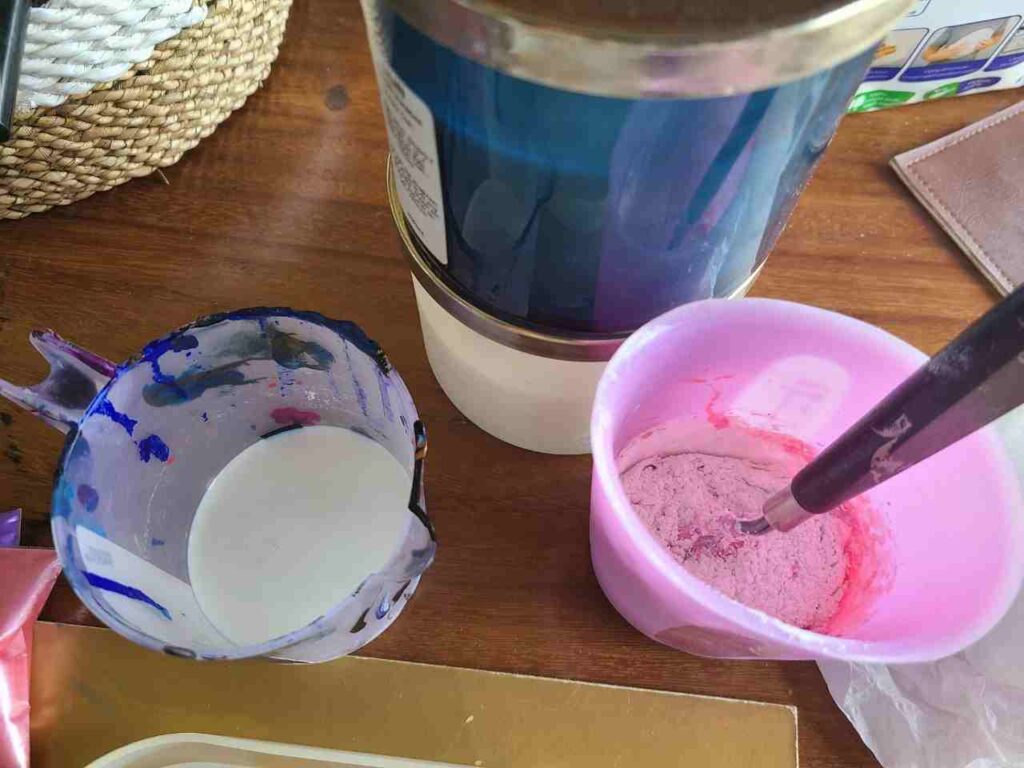
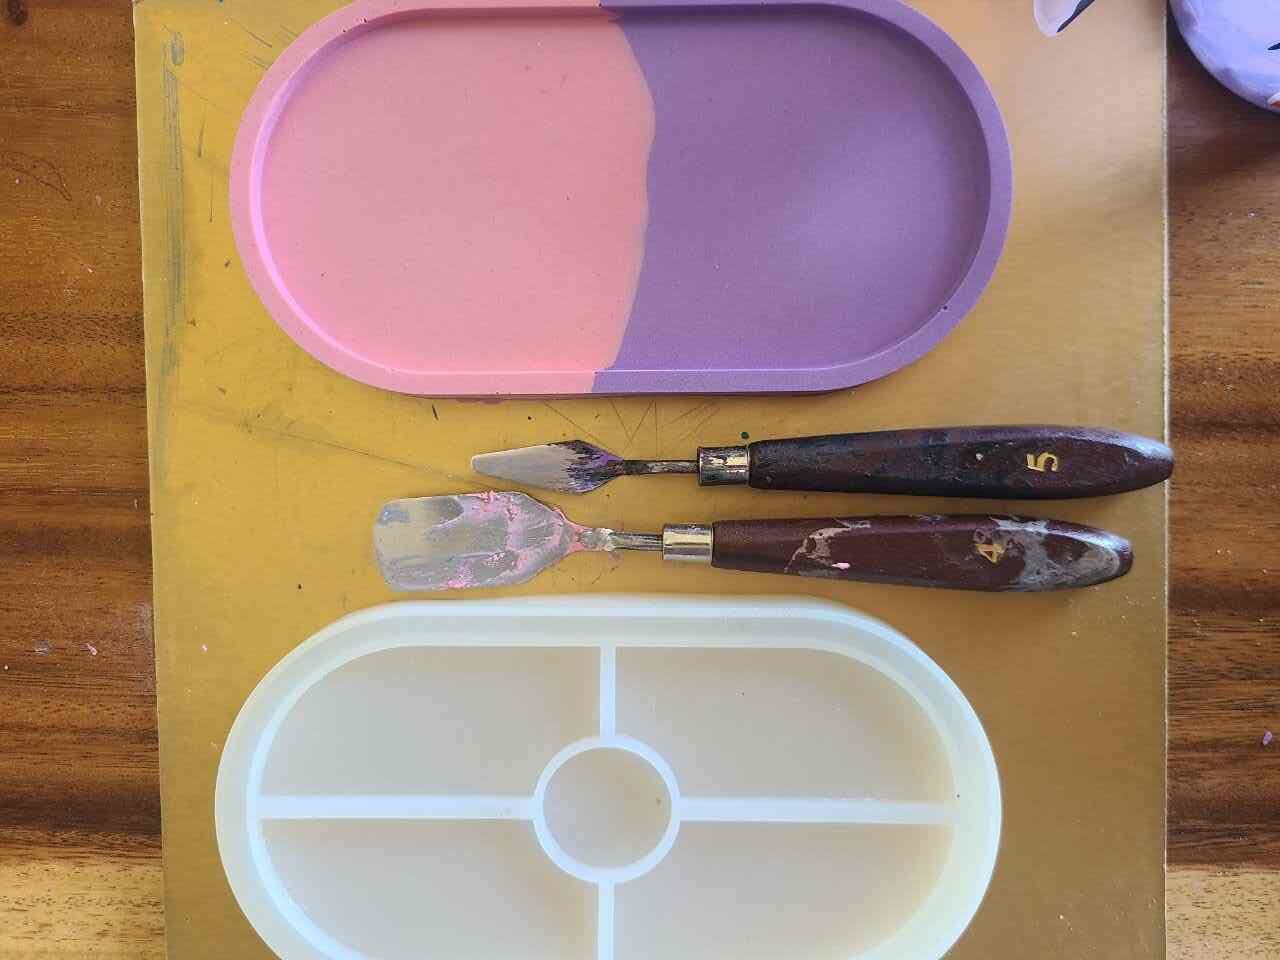
- Jesmonite Pigments (colors you want to use). For my tray, I’m using pink and purple powder pigments.
- Mold, I’m using this tray mold.
- Cups and stirring sticks
- Digital scale
- Wax
- Tweezers or toothpick
- Sandpaper
For the regular oval tray, I used approximately 250 gr of Jesmonite powder base and roughly 100 ml of liquid base.
Instructions to Make a Jesmonite Tray

- If you are using original Jesmonite your ratio will be 2.5 parts of powder base to 1 part of liquid base. If you will use plaster, eco resin, or any other alternative follow the guidelines on the package.
- for a regular tray, you will need approximately 250 gr of powder base and roughly 100 ml of liquid base.
- 20gr of the pigment per 1 kg of jesmonite/mixture. Follow this ratio for bold colors, for more pastel tones I used less pigment.
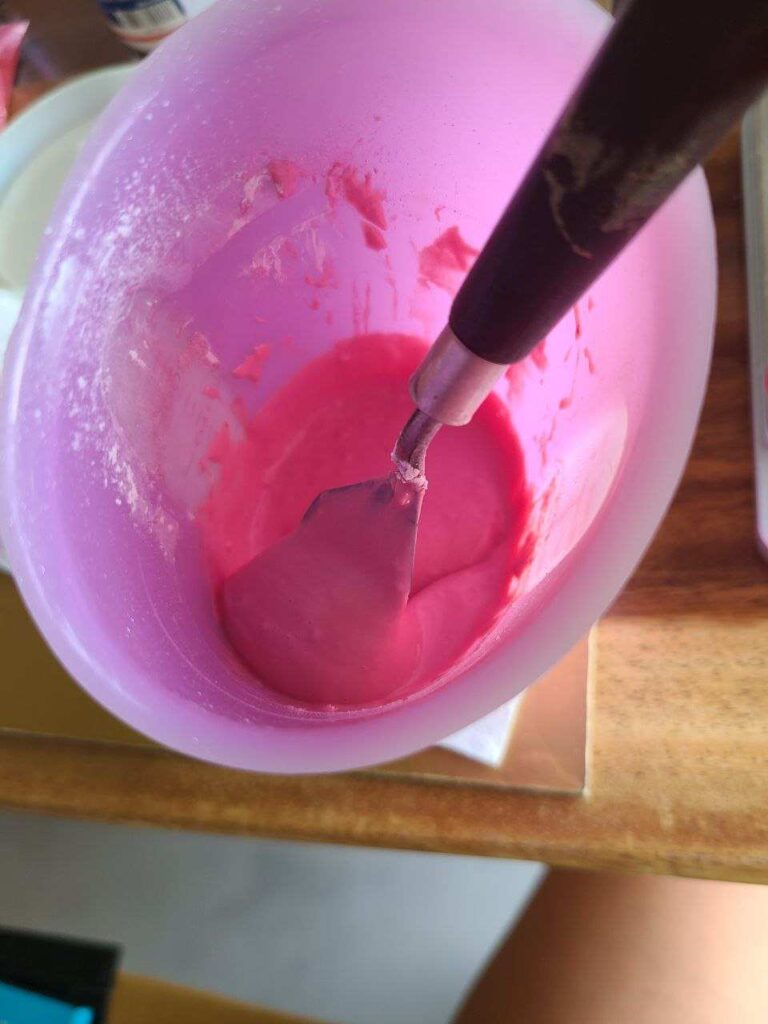
- Mix very well. It looks all good on top, but at the bottom of the cup, there will be still unmixed powder, trust me.
- Have a toothpick to make sure there are no bubbles in the mix
- Remember the visible top for you when you pour the tray will be the bottom of the tray.
- You can always make your own molds using casting materials and silicone.
Step 1 – Mixing the colors
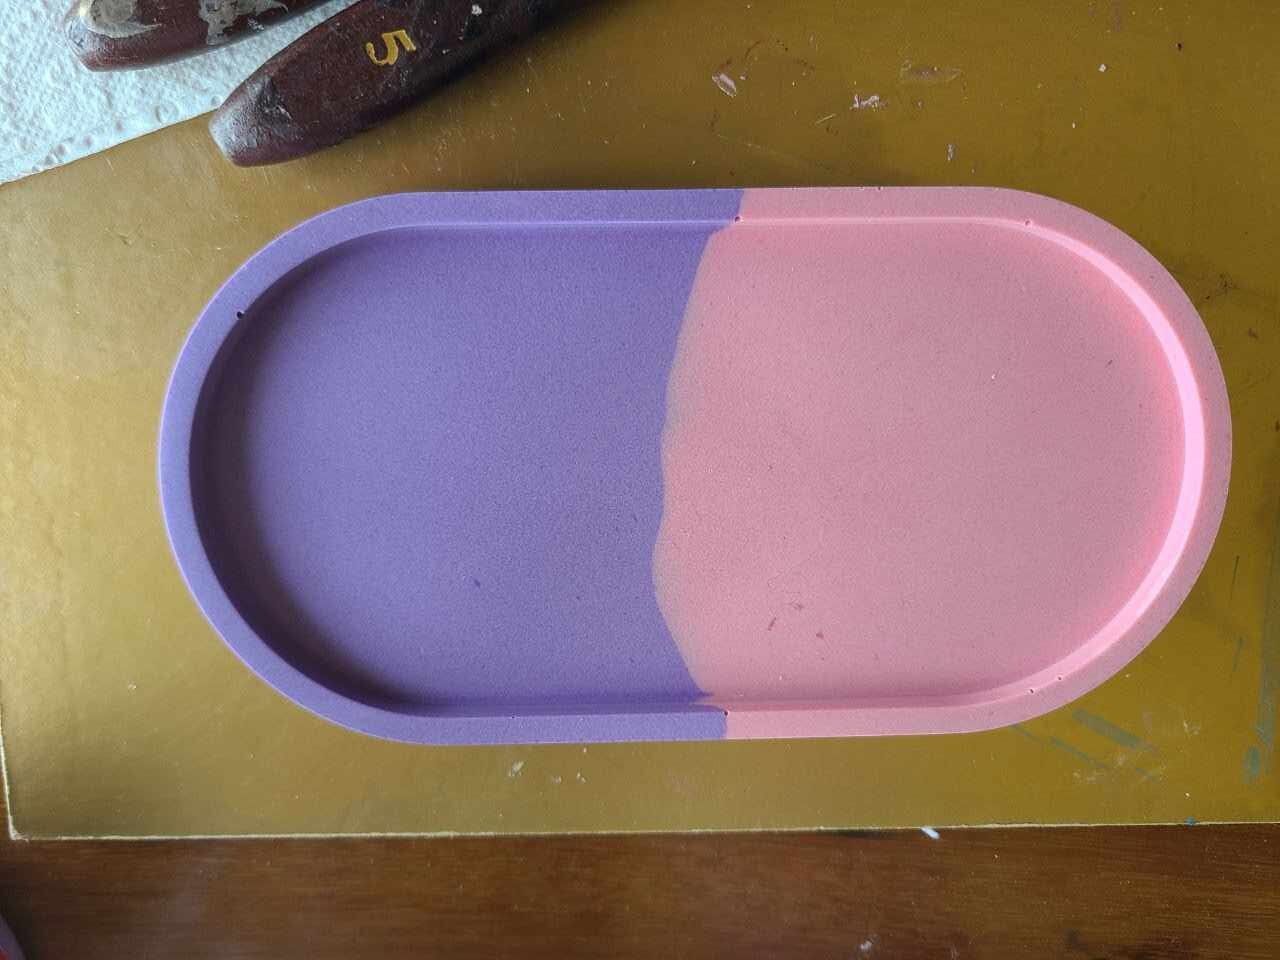
Make sure your mold is clean, the work surface is covered and clean. If yes, you are ready to create!
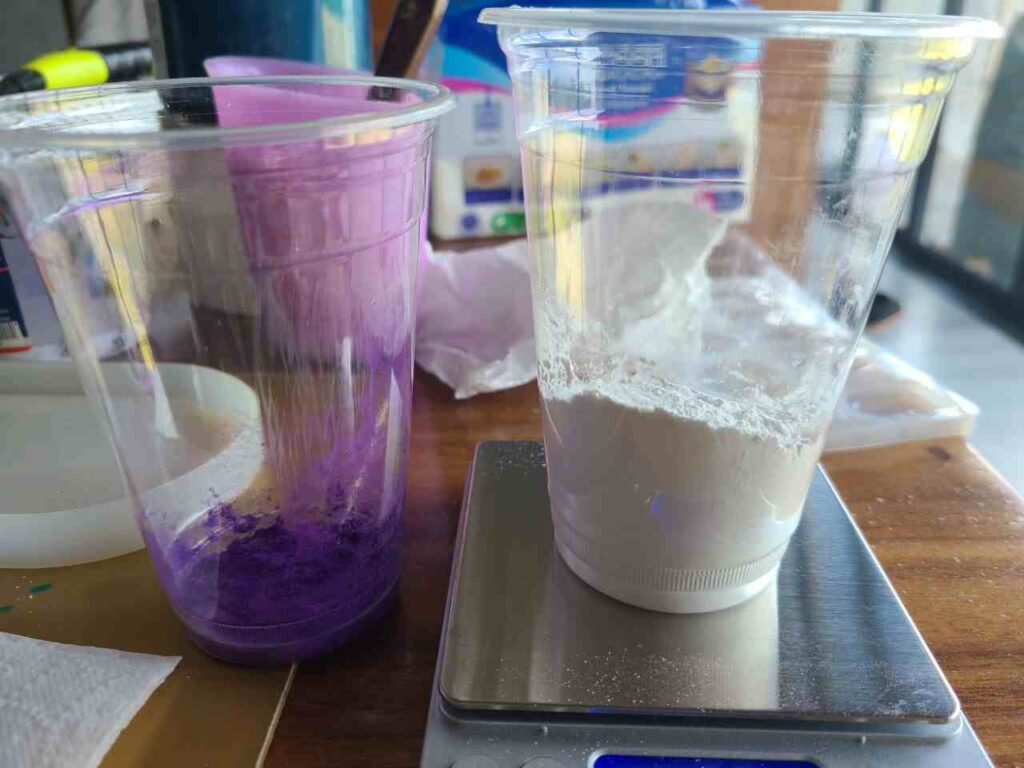
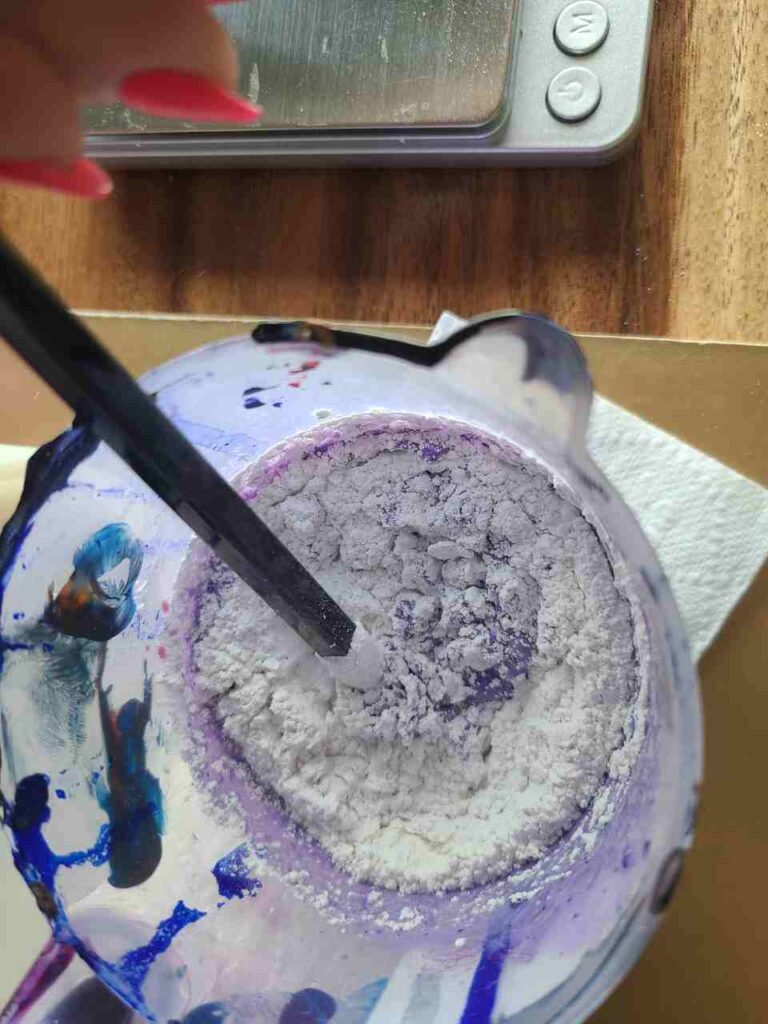
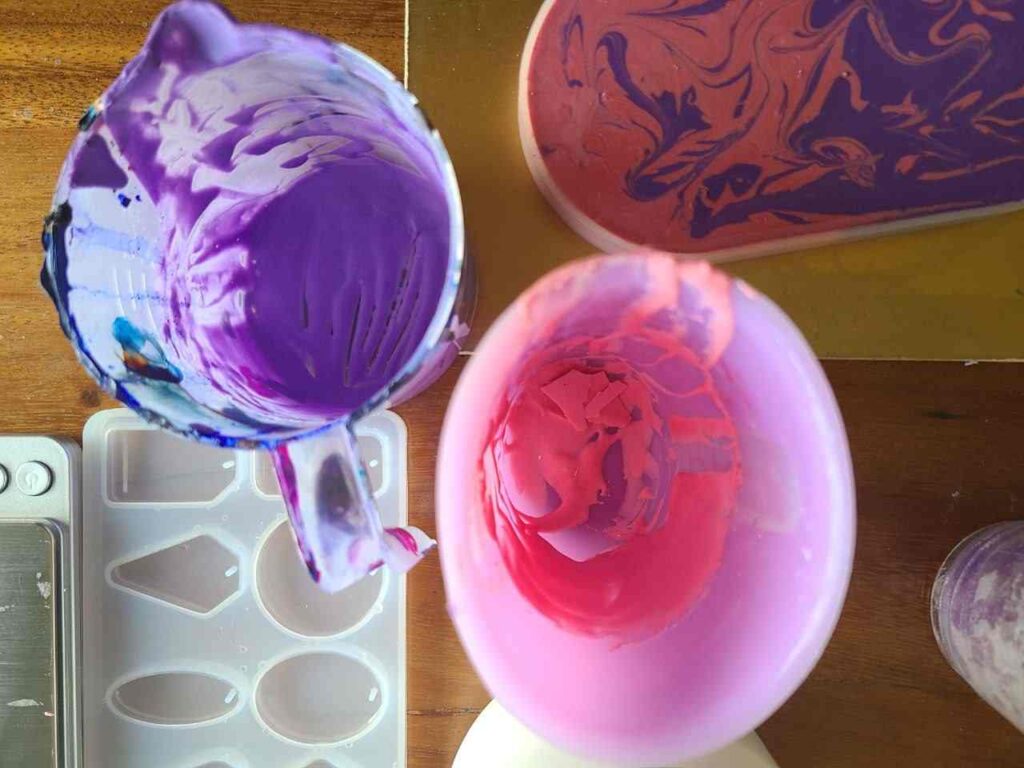
Shake the liquid part, and pour the liquid base into one cup and weigh it. Add pigment to the liquid and mix. Weight the 2,5 times powder base in a separate cup.
Pour the liquid into the dry part.
I’m using the two colors so I first had 50 gr of the liquid part prepared for the purple color, and the other 50 gr in a separate cup for the pink color. I measured in two other separate cups 125 gr of powder base in each.
I actually added pigment to the dry part and then poured liquid and it mixed well. But the brand calls for adding pigment in the liquid part.
You can mix it with a wooden stick, I used my square-shaped palette knife. Make sure there are no lumps:
Step 2 – Pour the colors
This is your total freedom!
You can pour the jesmonite mix and swirl, you can make circle motions while pouring from both colors at the same time, you can use many colors, and you can pour one solid – anything you want!
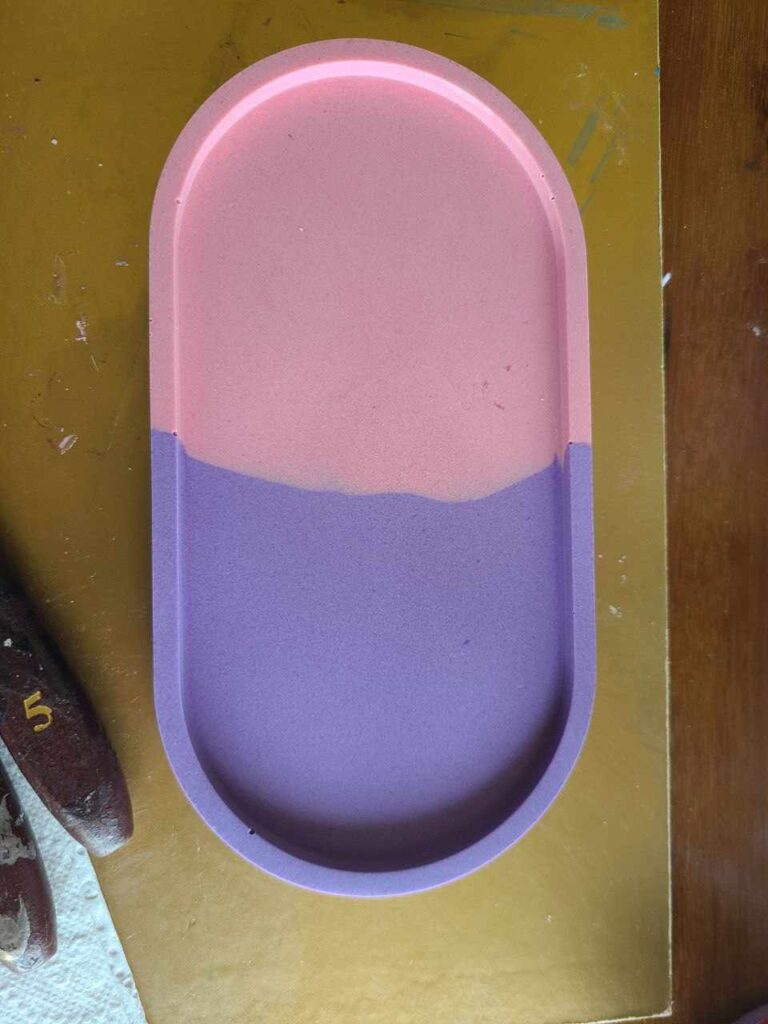
As I had two colors, I just wanted them to meet halfway, so I just placed my two cups at the opposite edges and poured.
But I want to show you that you can also do swirls, so I did some at the back of my tray, it can look like this:
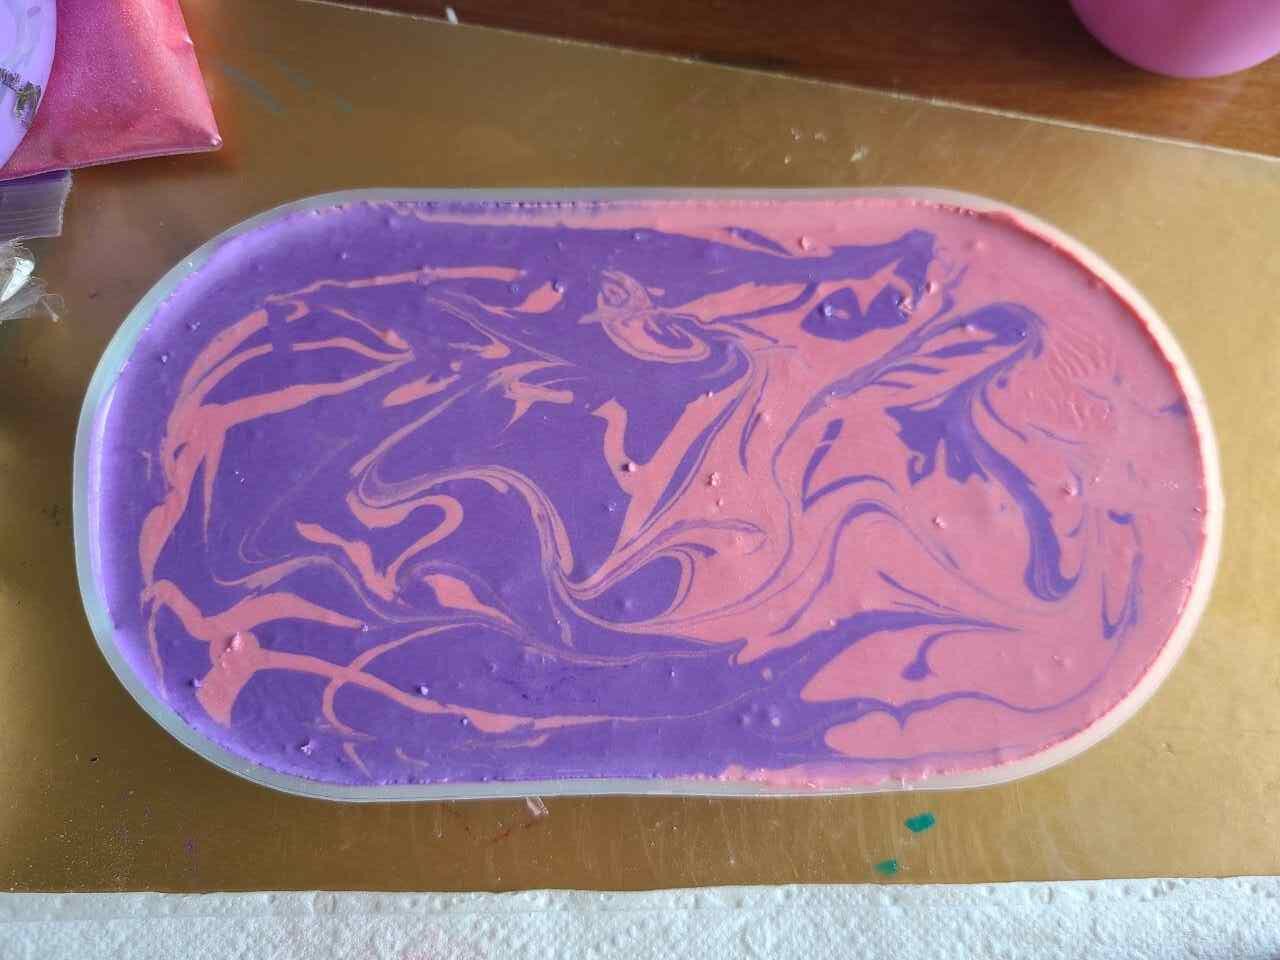
Don’t forget their bubbles
As you can see there are some lumps and air bubbles, I will remove them all with a toothpick. Some lumps I will sand when the tray is dry.
Do it quickly before the jesmonite sets.
Step 3 – Demold
Jesmonite is so quick-setting! One more thing I love about it. Within 30-40 minutes the tray was ready to get out of the mold:
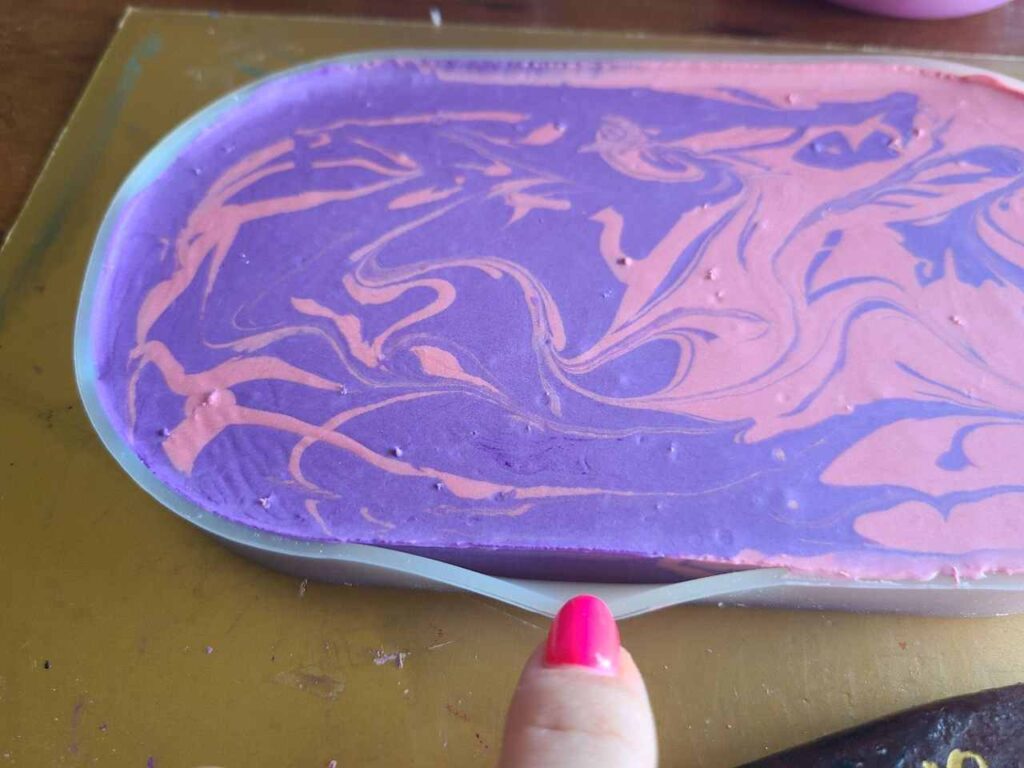
You should remove the tray from the mold and let it cure fully. I leave it overnight. This was my first go and you can see I still left out some bubbles:
But I love the colors and how the tray turned out!
If you want, at this step you can decorate and draw on jesmonite tray with paint pens or acrylics.
Keep the leftover Jesmonite mix
By the way, have you seen amazing terrazzo trays made with jesmonite?
You can do one as well.
Simply keep the leftover colors to dry and then break them into small pieces! Next time you can mix them in and you will get some nice results.
Step 4 – Sealing
For jesmonite, we use regular beeswax as a sealant. Just rub it into the dried tray and it is done!
Your beautiful tray is done! I will be happy to see yours, please send them by email or tag me on Instagram @crafts.by.masha if you post your jesmonite creations.
FAQ
Can I use acrylic resin instead of jesmonite?
Plaster and eco resins are close alternatives to jesmonite as they are both powdery and have the same characteristics.
They are also easier to manage than resin. Acrylic resin is not the same as the epoxy resin we are using for casting jewelry or making tables.
So I would not use acrylic resin instead of jesmonite if you want to get the same results.
Compare these two trays:

They have a very different look, feel, and making process. I believe jesmonite (or its alternatives) to be easier for beginners and faster, and more forgiving, than epoxy resin.
But of course, you can explore your creative side and try everything (like I do!). It brings me so much joy and I hope you learned how to use jesmonite in a very easy way today with me!
Happy crafting! Follow my blog for more tutorials and ideas.

Masha Eretnova, born in 1991, is a Chiang Mai-based certified teacher, artist, and blogger with 20+ years of personal painting journey.
She started painting and drawing very early and is now an international abstract artist and educator passionate about acrylic painting, gouache, and crafts.
Her works are part of international exhibitions and contests, including ArtlyMix (Brazil), Al-Tiba 9 (Spain), Exhibizone (Canada), Italy, and many more.
Besides her artistic pursuits, Masha holds a post-grad diploma in Teaching Film Photography and 2 music school diplomas: piano and opera singing.