Last Updated on March 22, 2024 by Masha Eretnova

I dreamed for so long to make my resin ocean art – I watched soooo many videos on Youtube and it is just mesmerizing. The thing is…I’m a complete beginner with resin, I am a painter!
I was afraid to fail. And I procrastinated…But last week I decided to proudly fail or make the most beautiful art for my bathroom.
And if you are like me, a complete beginner and scared to start, let’s do it together!
Table of Contents
Epoxy resin Ocean art: what is that?
Epoxy resin is dense and fluid, it is glossy, transparent, and highly durable.
The gloss and its fluidity made some crafters think it will be perfect to imitate sea and ocean, beachside with white sand or black volcanic sand, rocks, shells, or even deep sea or ocean art with fishes and algae painted underneath.
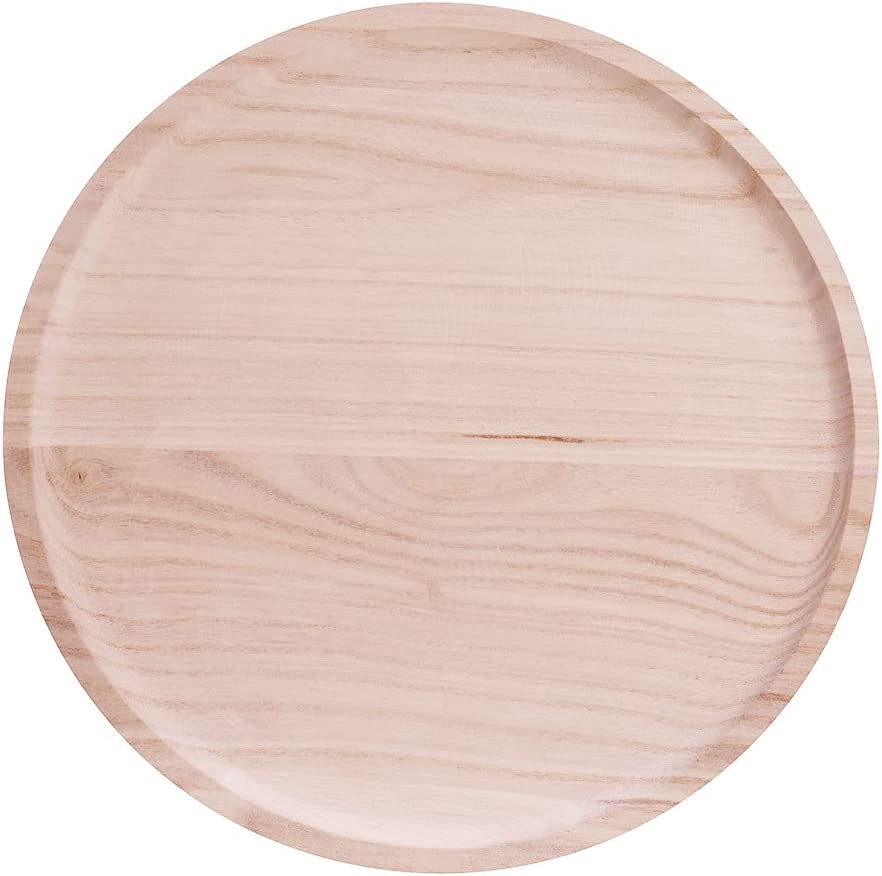
My ocean art started with me spotting a perfect round wooden tray and some rocks I thought would be perfect for an ocean painting.
I’ve already had some resin so I decided to take a go.
Ocean Resin Art Supplies

- Pigments or acrylic paint: ultramarine blue, light blue or turquoise, white, or beige if you will pour the beach. I used this paint.
- Round wooden tray (in my tutorial), but you can use a wooden cutting board or canvas.
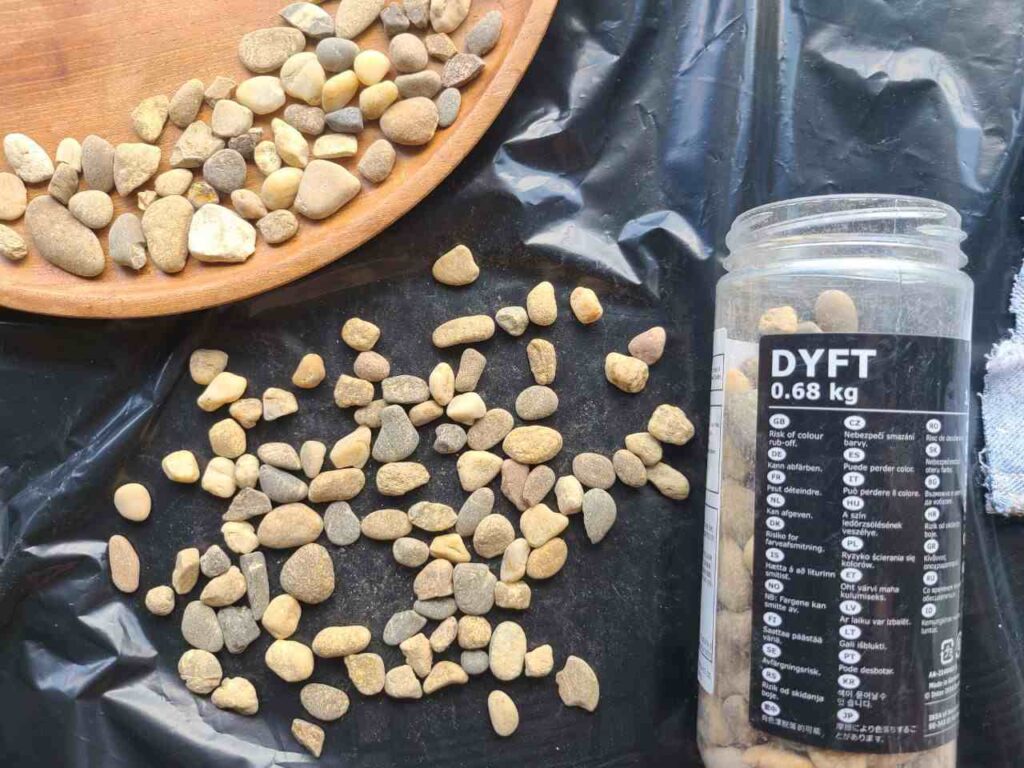
- Sand, shells, and/or rocks if you want to make it 3D and more realistic. I have rocks.
- Cups
- Nitrile gloves
- Mask (epoxy has toxic fumes)
- A heat gun to remove bubbles and create waves
- Stirring sticks
- Trash bag or large silicone mat to cover your working area
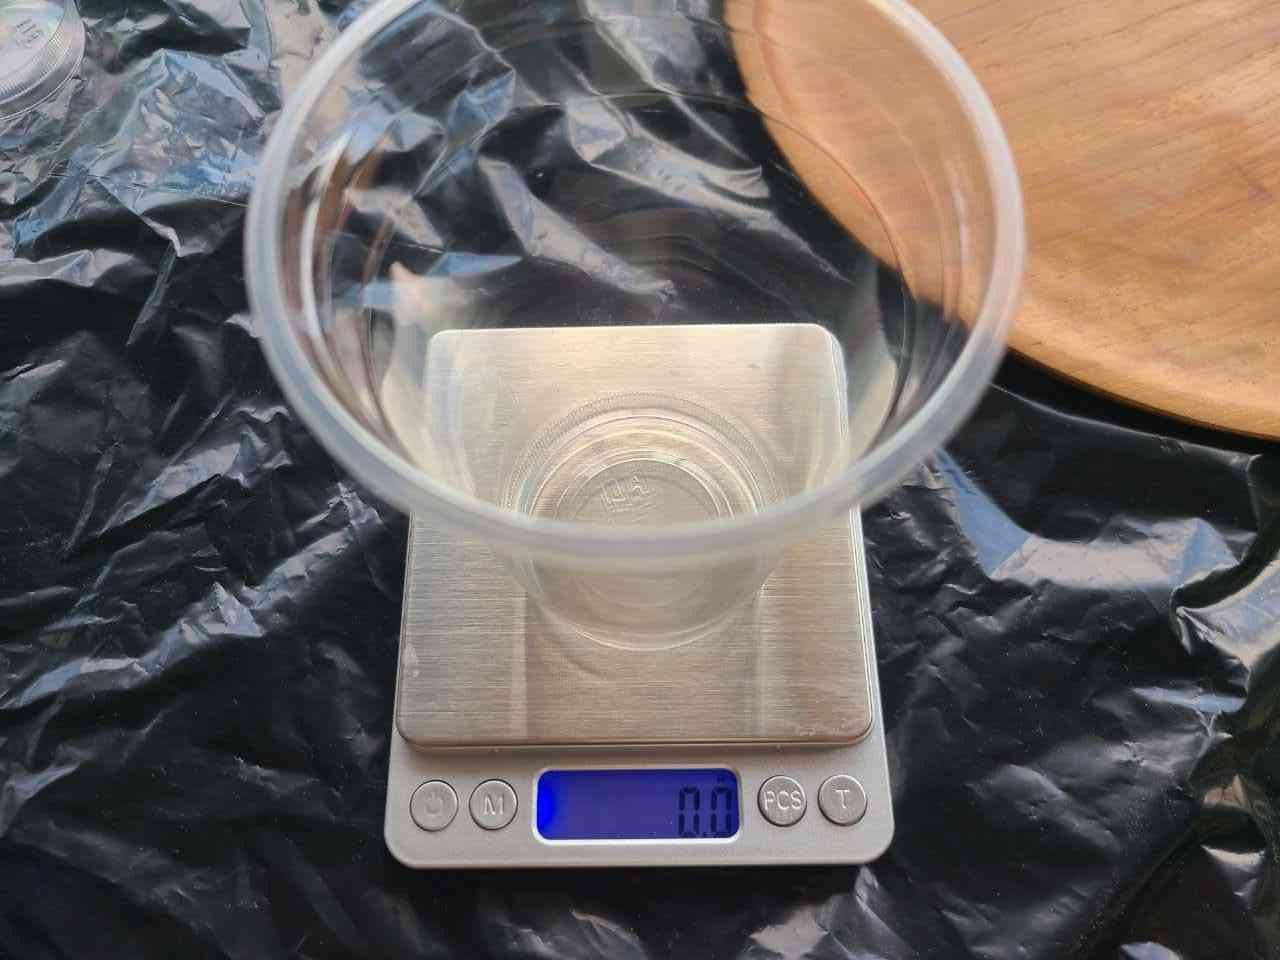
- Digital scales* (if your epoxy needs to be weighted by grams)
Is pigment or paint better?
They are both nice and will work.
You can buy powder pigments – they are gorgeous, and mix them with epoxy, or you can mix your acrylic colors with epoxy.
NOTE: if you are using acrylic paint, you still must mix it with epoxy. You can not add heavy body acrylics on top of the freshly poured and, still wet, epoxy – it will sink or it will start spreading around unevenly.
DIY Resin Ocean Art: how to make ocean resin art?
Step 1 – Preparation
Make sure your whole work area is covered, and your wooden tray or cutting board is clean, smooth, and the surface is leveled.
For leveling you can use cups flipped upside down, paper pins, or special cones sold online for pouring (painters’ pyramids) like these ones.
Read also: IntoResin Epoxy Molds Reviews: Cool Molds for Epoxy & Crafts
Step 2 – Mixing resin
Now you need to prepare as many cups as you want to use colors + one cup with clear premixed epoxy resin.
Check the mixing A: B ratio of the bottles you are using, but normally it is 2 parts of base A to 1 part of base B or equal parts.
Every brand is different. Pay attention to how the brand says you must measure your epoxy, by grams or by volume.
How I do it:
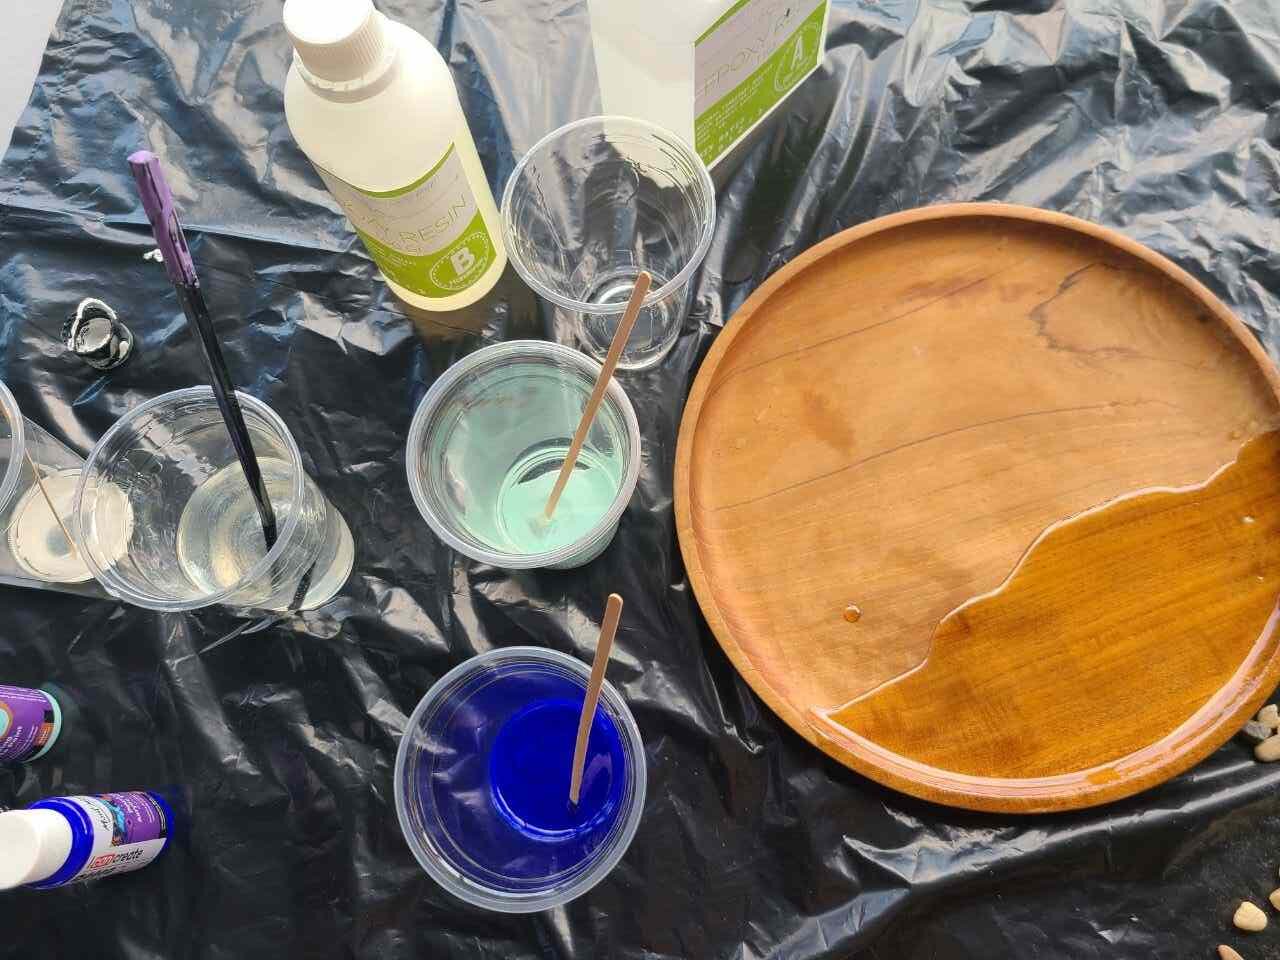
- I will use ultramarine, turquoise, white and clear epoxy.
- My resin calls for an A:B ratio being 2:1 and it has to be weighted by grams. I take my base B as I need 1 part of it and I pour 50 gr into the cup (I use digital scales). In a separate cup, I measure on scales 2 parts of the base A, so I pour 100gr.
- Now I mix them together in one cup, 150 gr is enough for one layer to cover my whole round tray. I mix for around 3 minutes to make sure it is properly combined.
- You can use a bubble remover machine at this step to get rid off all bubbles.
- Remember I have 3 colors? I prepare 3 smaller cups and squeeze some acrylic paint in them. Then I add the premix epoxy: a little bit for white, as we only use it for waves, quite a lot for ultramarine as it is the dominant color for my idea, and some for turquoise. And I leave some clear epoxy in the original big cup to cover the rocks I’m using.
Step 3 – Rocky Beach
I start from the “beach” side.
I had some rocks so I decided to make a rocky beach, you can do sand, shells, a mix of everything, or even just pour premixed sand color epoxy instead.
First I pour a little bit of epoxy on the area I want my rocks to be and spread it with my finger (in glove!!!!).
Then I place rocks in it so they stick nicely.
Step 4 – Pour the ocean
I start with dark color – ultramarine and pour it along the furthest side, then turquoise, and then white along the rocks.
As I have a rocky shore I wanted more white to create this impression of foam.
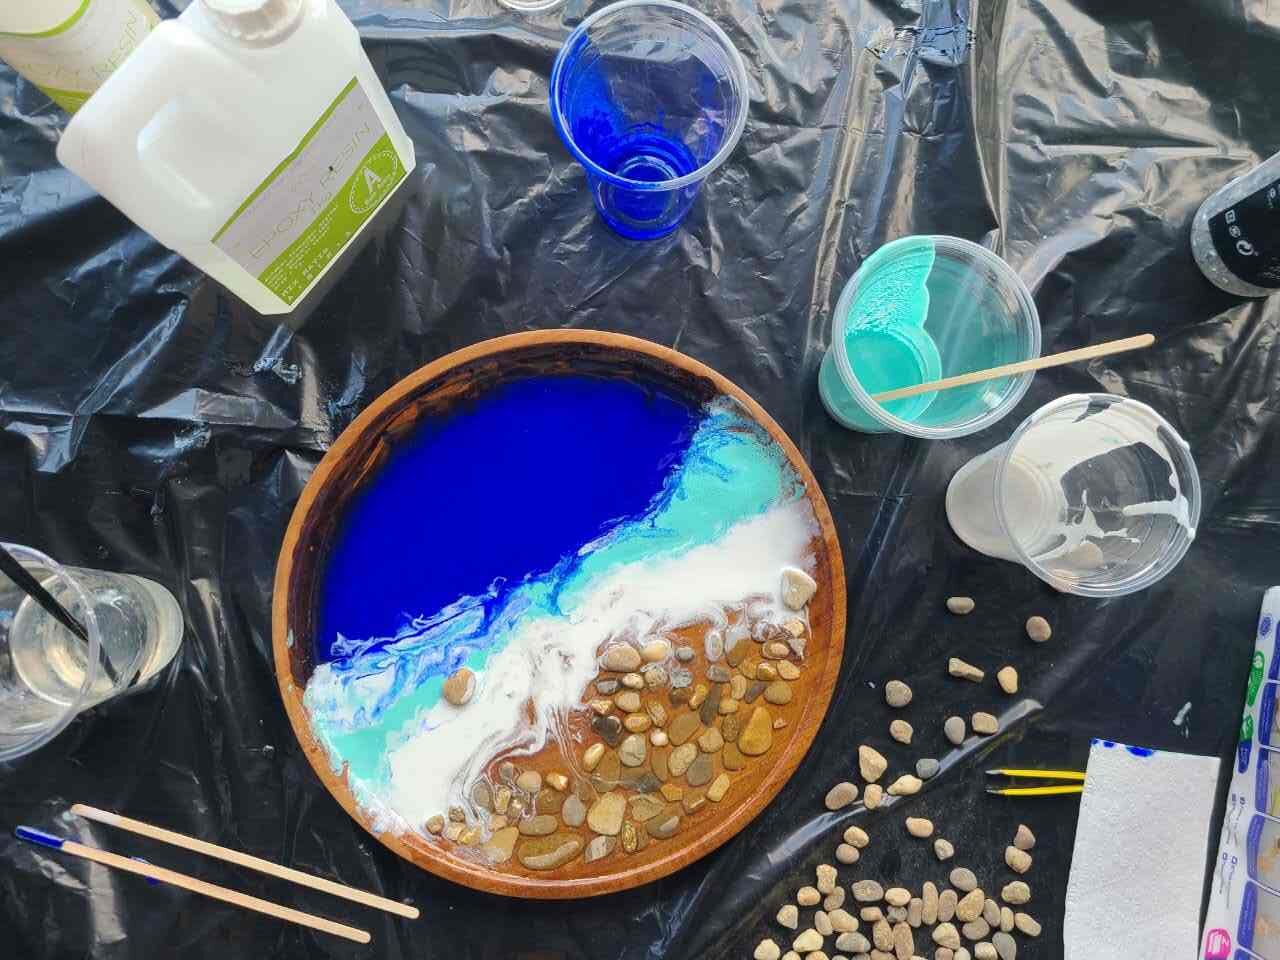
This is the first layer for me, but for you, it can as well be the only one if you blow the waves with the heat gun from the shore into the ocean right now and let it dry 🙂
You can use wooden sticks to guide the resin where you need it to be, as you see I used the sticks to pull some white into the shore and rocks.
Remove all bubbles with the heat gun!
I was not 100% happy with it so I let it dry overnight and go for a second layer. The same 1 to 3 steps repeated again but this time I made waves 🙂
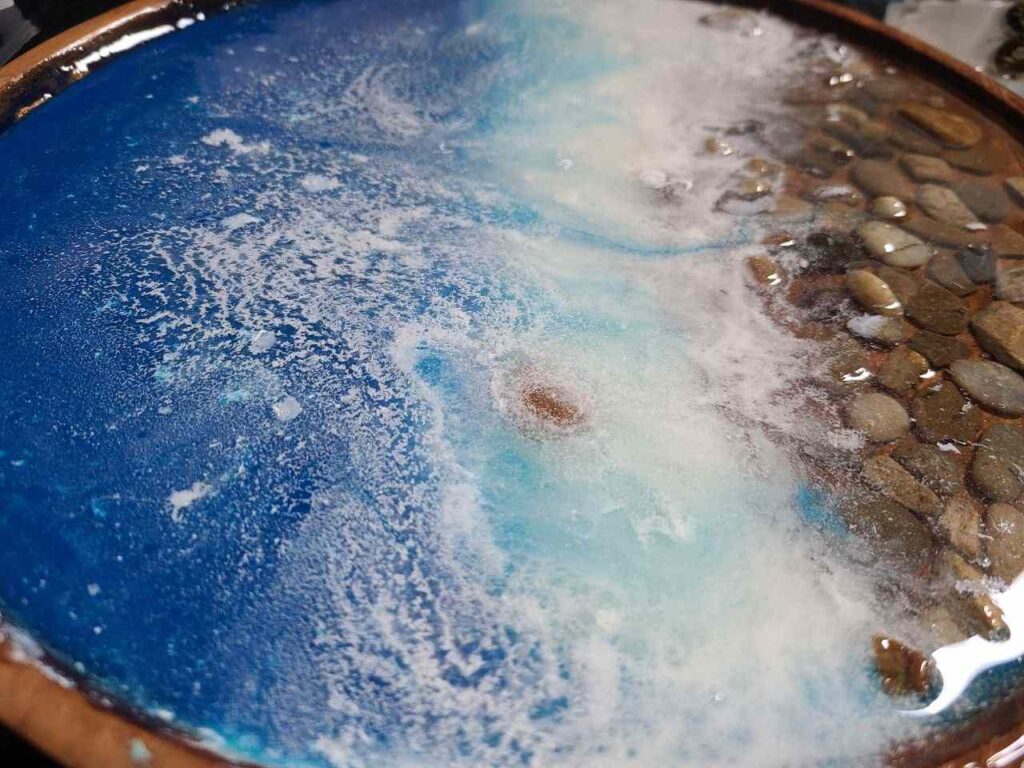
Mistake!
Oh lord, I made a mistake that almost got my whole ocean art ruined.
I forgot the second round to mix my white with epoxy! And you can see the waves are foamier than I wanted.
So please, if using paint, always mix it with resin, don’t belike impatient Masha (me) haha.
Step 5 – How to make Resin Ocean Waves?
To make waves we need white color and a heat gun.
- Premix white pigment or paint with epoxy in a paper cup
- Squeeze the paper cup so there is only a tiny hole for white resin
- Pour a few lines over your ocean art
- Blow with the heat gun into the direction of the ocean from the beach. Stop when you are satisfied.
Tips on how to make resin art for beginners
- Work in a well-ventilated room with regular temperature, not too hot, not freezing. Epoxy cannot cure properly in both hot and cold temperatures and it will stay sticky, and may even not cure at all! No pets or activities in this room white the resin is curing – all dust and hairs will settle on wet epoxy and will stay there forever.
- Work in layers, it will be easier to cure and have fewer mistakes.
- Always wear gloves and a mask. Epoxy sticks to the hands and is very hard to remove. And the fumes are really toxic.
- Always check for the bubbles once you poured the fresh layer and remove them with a heat gun.
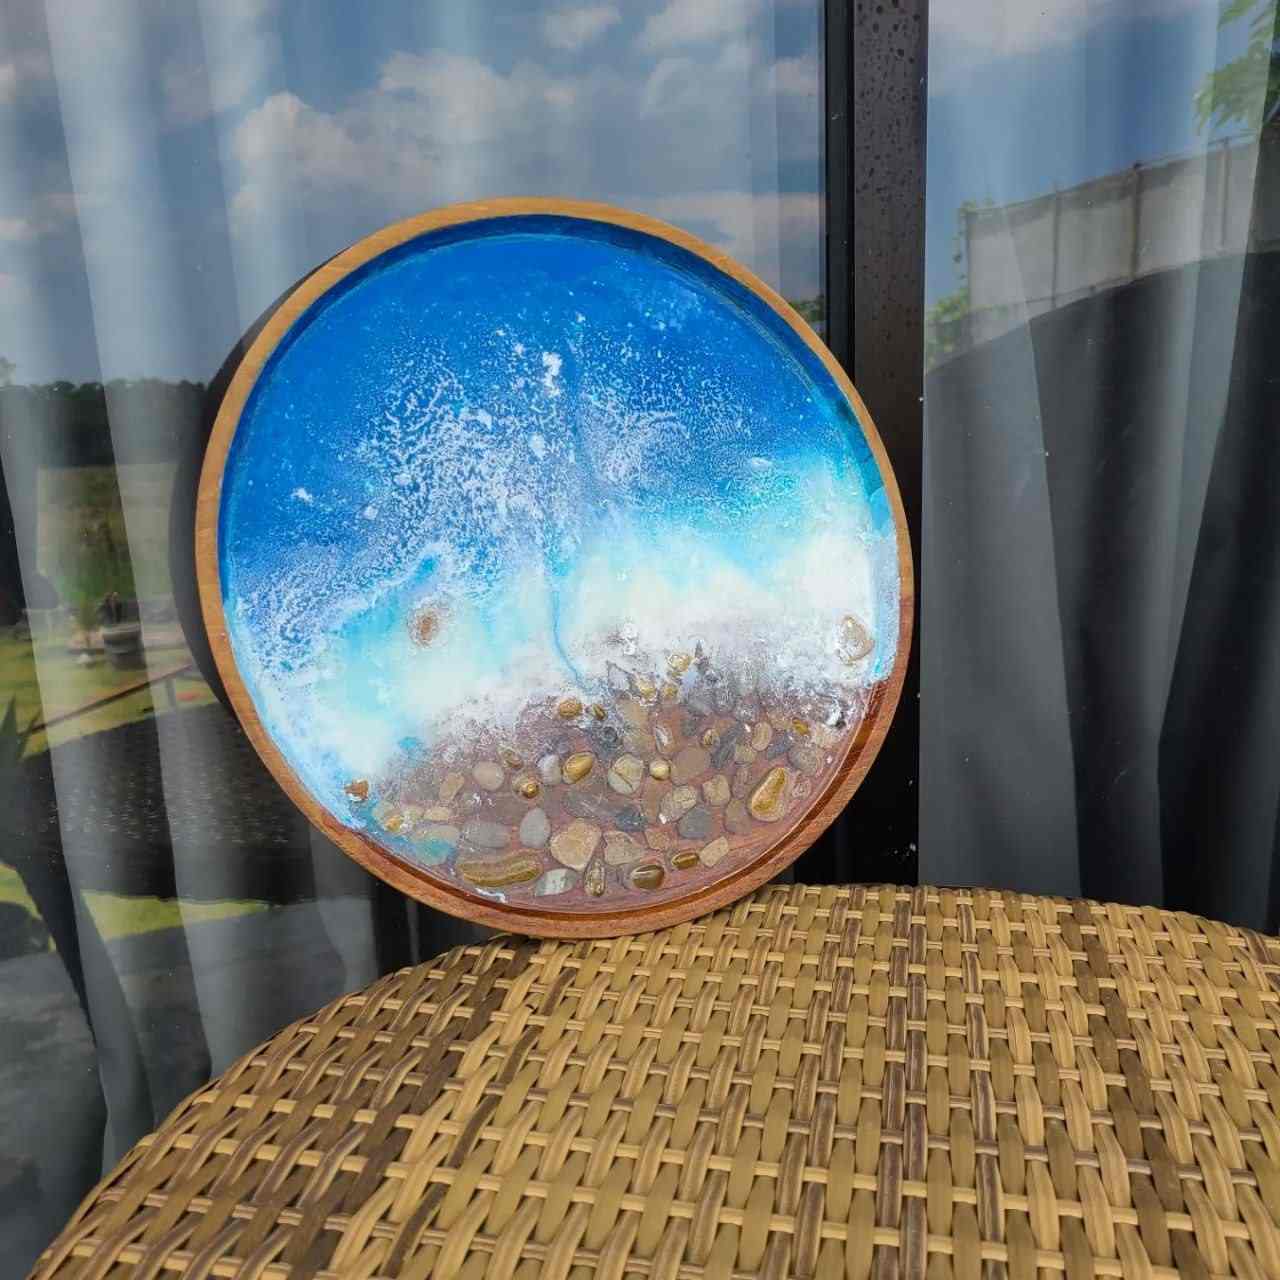
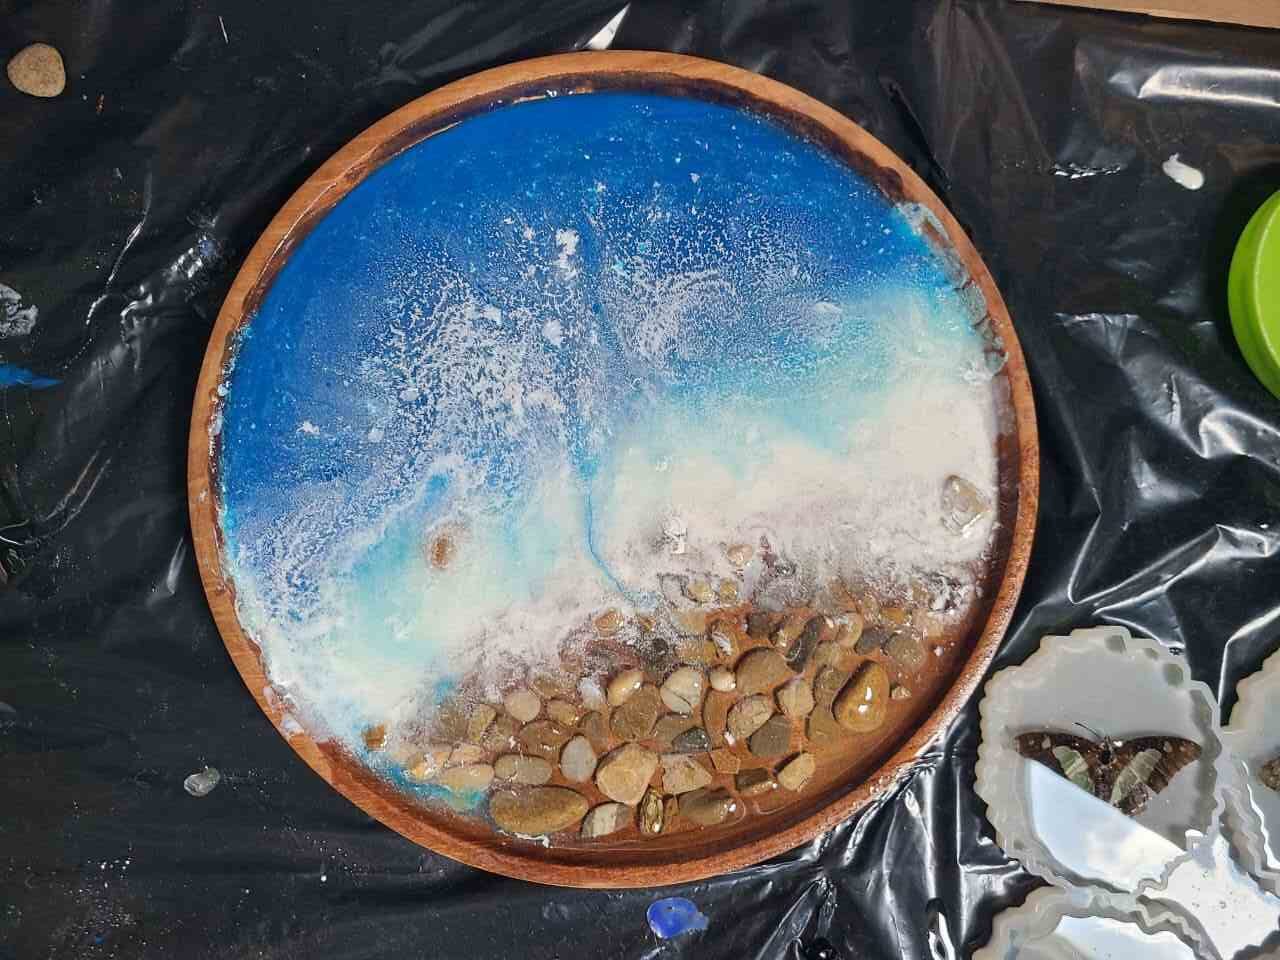
When my piece was fully cured:
Please make sure to use good paint and mix it well to avoid blotchy colors!
How do you like my tray?

Masha Eretnova, born in 1991, is a Chiang Mai-based certified teacher, artist, and blogger with 20+ years of personal painting journey.
She started painting and drawing very early and is now an international abstract artist and educator passionate about acrylic painting, gouache, and crafts.
Her works are part of international exhibitions and contests, including ArtlyMix (Brazil), Al-Tiba 9 (Spain), Exhibizone (Canada), Italy, and many more.
Besides her artistic pursuits, Masha holds a post-grad diploma in Teaching Film Photography and 2 music school diplomas: piano and opera singing.