Last Updated on March 22, 2024 by Masha Eretnova
When I pour I always feel so bad because so much paint goes to waste sitting on the bottom of the plastic box or the mat over my table.
I’ve heard you can reuse it once it’s dry and make acrylic skin jewelry so this is my attempt. I made some mistakes, which I share, but I’m also very pleased with the results, and I think making acrylic skin jewelry is a very unique way to personalize your look.
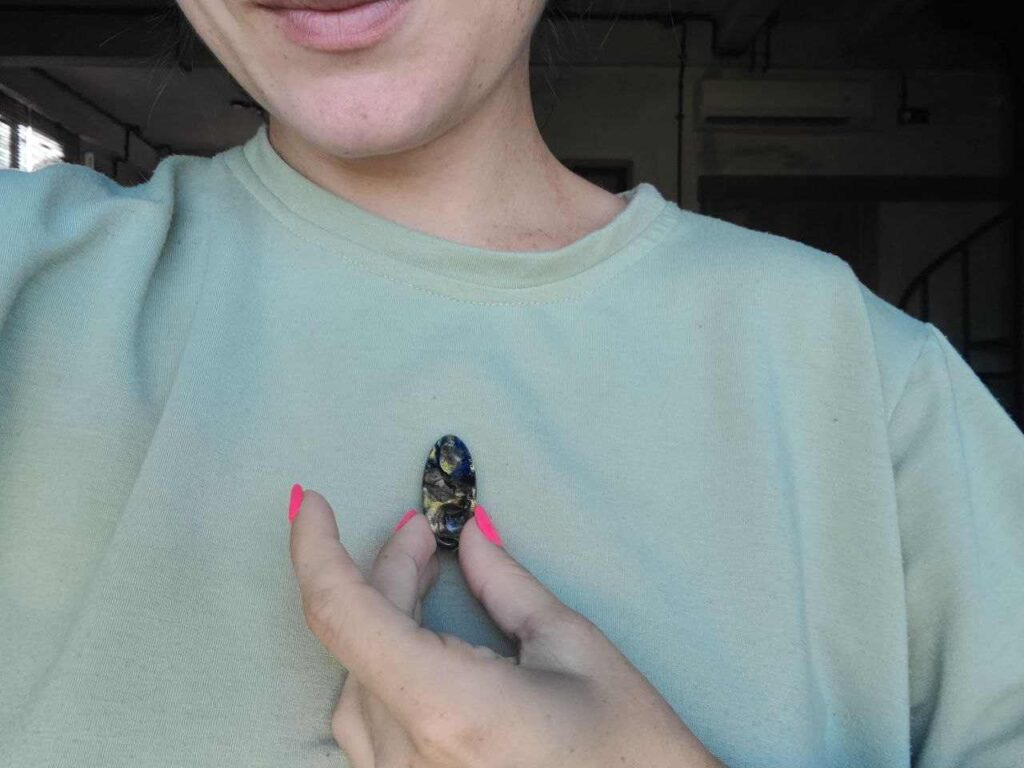
Table of Contents
This article contains affiliate links. It means no extra cost for you but a little commission (2-3%) for me to support my hobby and blog. Thank you!
What do you mean by acrylic skin?
Well, the name is quite creepy if you hear it the first time, but it just means the dried layer of acrylic paint that you can peel off a non-sticky surface (plastic, silicone, glass).
How to make acrylic skins for jewelry?
The easiest way is to make acrylic paint skins either by using (peeling off) leftover paint after your pouring session or specifically pouring some acrylic paint on a plastic sheet (or even a plastic bag), letting it dry, and voila!
Acrylic paint skins are ready to use.
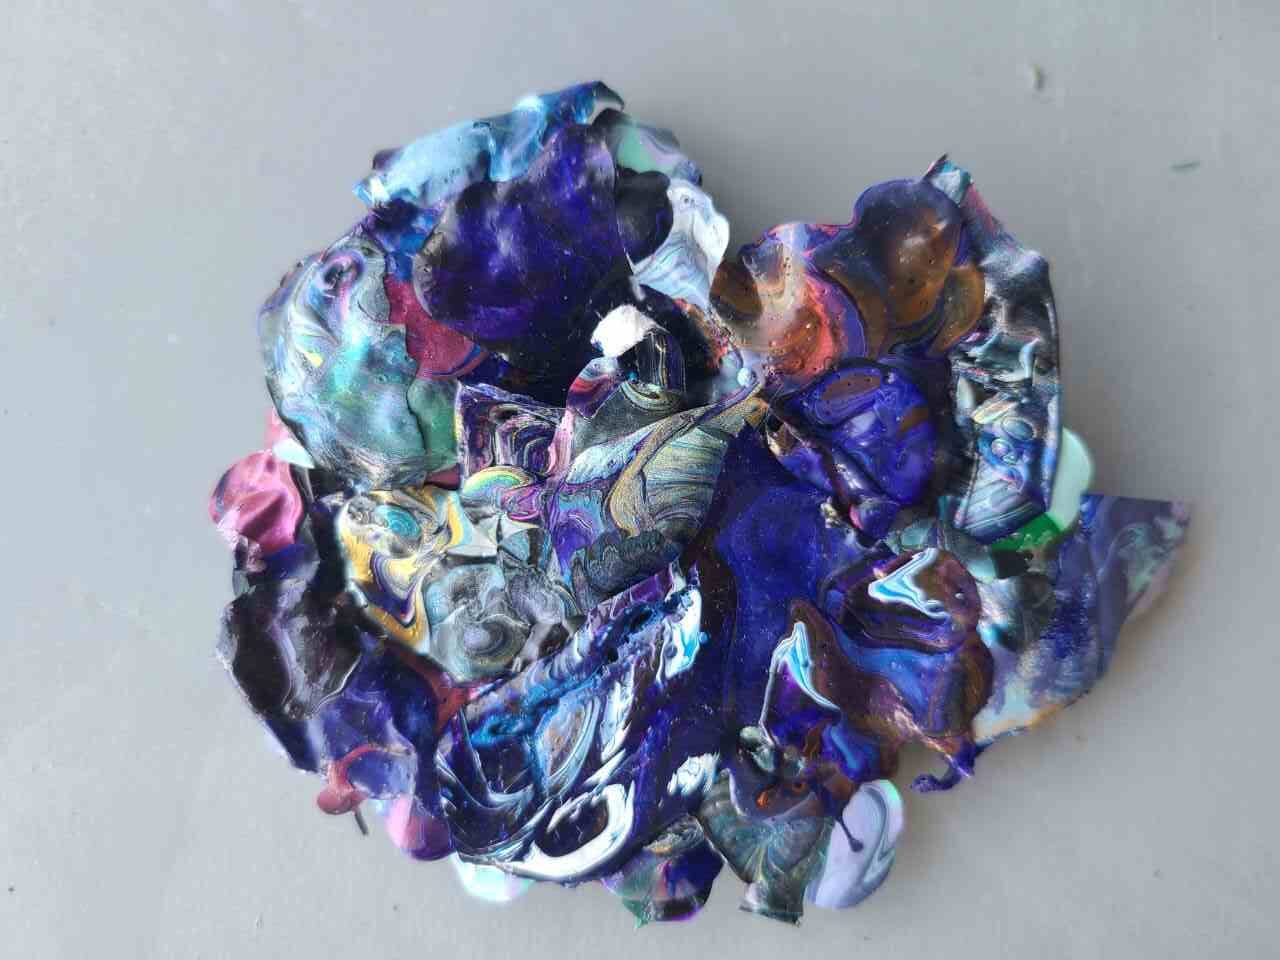
But if you are storing acrylic skins, don’t lay them all together, one on top of the other, they will stick together and you are unlikely to divide them safely.
I made a mistake with one portion to store them like this (and completely forgetting about them) and they have become one big chunk of skin I can no longer use, sadly:
The best way to use paint skin is to make acrylic skin jewelry
I think to reduce waste and to help the planet (as acrylic is not very environment-friendly), the best way we can use paint skins is to reuse them in making jewelry.
People are smart, they already made a whole bunch of molds for jewelry casting. Now, there are 2 approaches to making acrylic skin jewelry as I see it:
- You have a piece of acrylic skin, you glue it onto a little base and you glue a curved clear glass stone over the skin. Like cabochon jewelry.
- You have a piece of acrylic skin, you place it into a mold and you pour epoxy to make a pendant or anything else.
For this easy tutorial, I’m going with the second option. We will be making a pendant from acrylic pour skin.
How to make Acrylic Skin Jewelry – Pendant Edition – with Epoxy
Acrylic skins jewelry supplies:
- acrylic skin
- jewelry mold (I use pendants mold)
- epoxy resin
- heat gun (optional)
Making acrylic skin supplies:
- pour paint or acrylic paint + pouring medium
- small paper or plastic cups
- plastic sheet or even plastic bag
Step 1 – Make acrylic paint skin 2 ways
If you already have a piece of skin you will use, skip this step. If not, let’s do some pouring.
There are dozens of acrylic pouring techniques, I will suggest one of the easiest for your paint skin making but you are free to explore it as it will affect the results.
Way #1
- Get acrylic pour paint or any acrylic paint you use + a pouring medium like Floetrol or an alternative. You need a little bit of paint!
- If you are using regular acrylic paint, premix each color in a separate cup with a pouring medium following instructions on the package (sometimes the ratio is 1:1, sometimes 1:3)
- When your colors are ready pour them one by one into a separate clean cup.
- Place your plastic sheet on an even surface, and make sure it is leveled.
- Flip the cup over the sheet and let all paint flow down. This is so-called dirty pour. Remove the cup.
- You can make a few pours
- Let them all dry. Next day peel off the skins.
Way #2
- Next time you will do a new pouring painting, place it underneath some parchment paper to collect leftovers and make skins out of them.
- Let them fully dry and collect them.
Step 2 – Make a pendant with epoxy resin and acrylic skin
Epoxy is toxic, please wear a mask and gloves to protect yourself.
- Premix epoxy following the label (For some it is a 1:1 ratio, for my resin it was 1:2.5) in a small cup. You literally need a few grams of mixture for one pendant so I suggest you make a few pendants or jewelry items at the same time. Or, as I did, I was pouring this resin ocean art and I used leftover clear resin for this pendant.
- Cut the skin so it fits the mold of your choice. There are dozens on the market, I preferred a simple oval shape. Make sure you cut it perfectly and the skin is flat. Mine wasn’t and I will show you later why it is important.
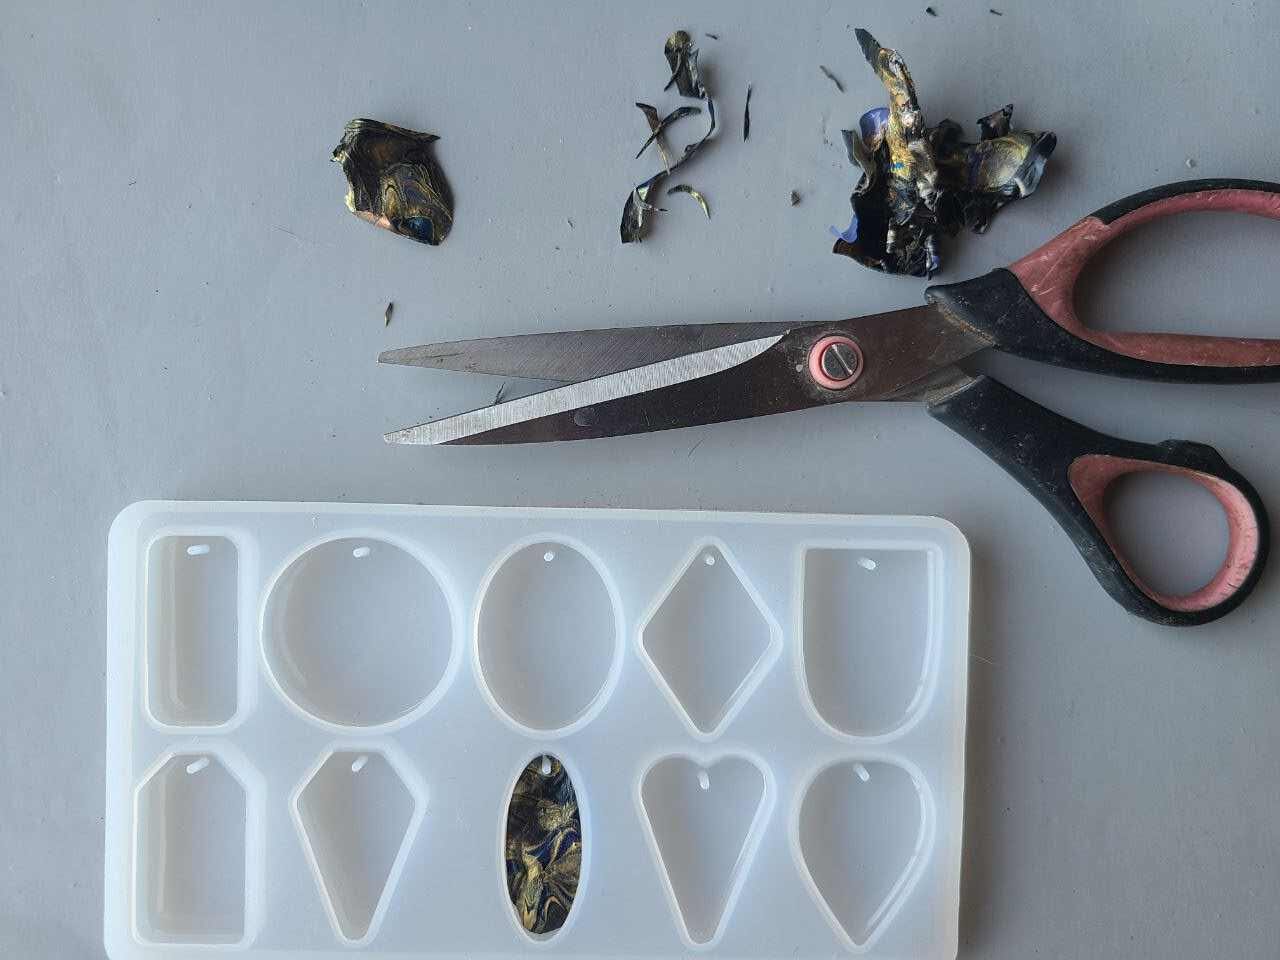
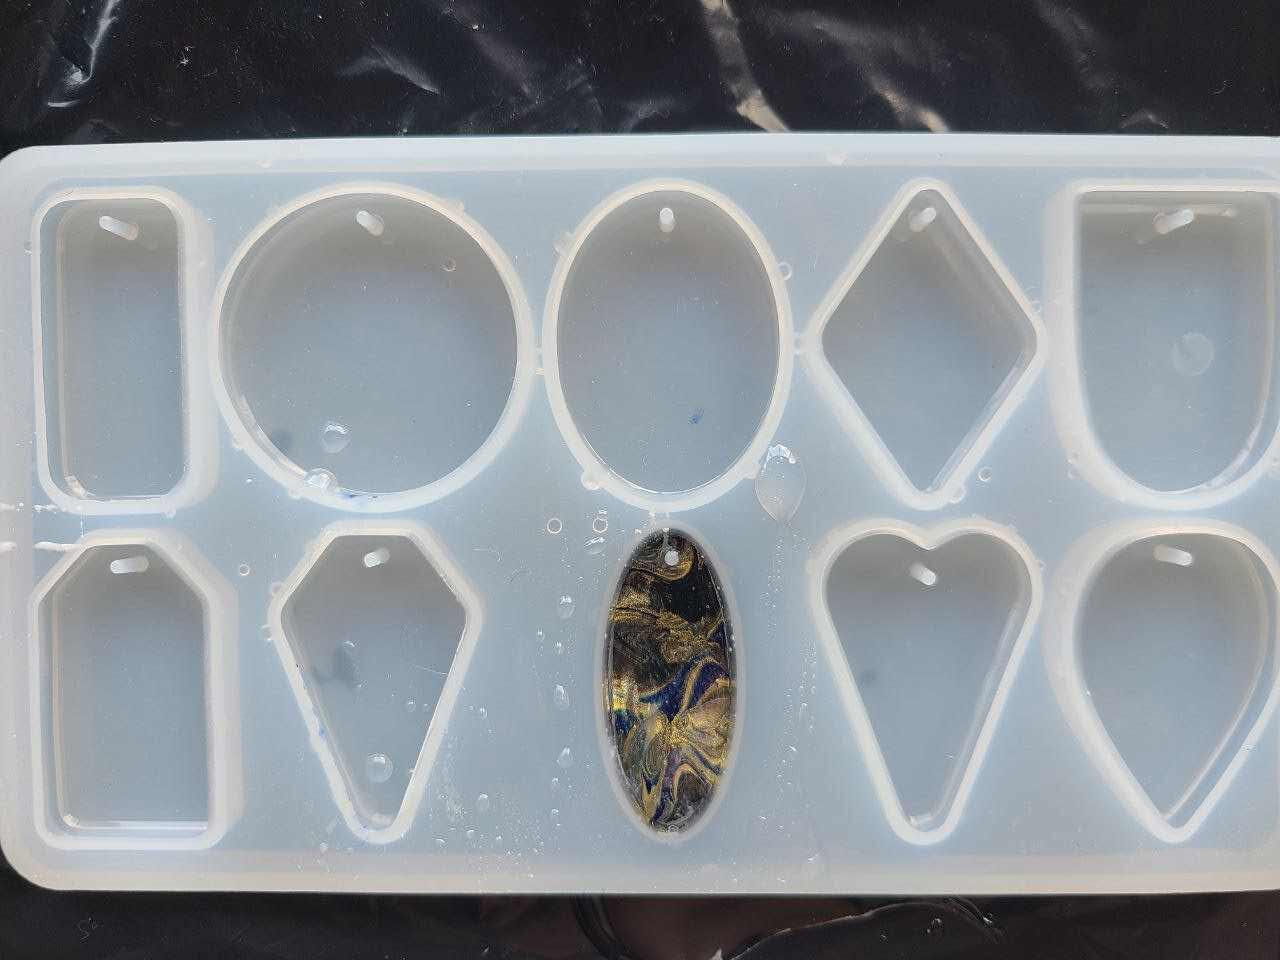
- Pout the clear resin over it. Check for air bubbles, if any – remove them with a toothpick or a heat gun. Let the pendant dry overnight.
Step 3 – Demold
Lightly tap the pendant, if it is firm and dry, you can remove it from the mold
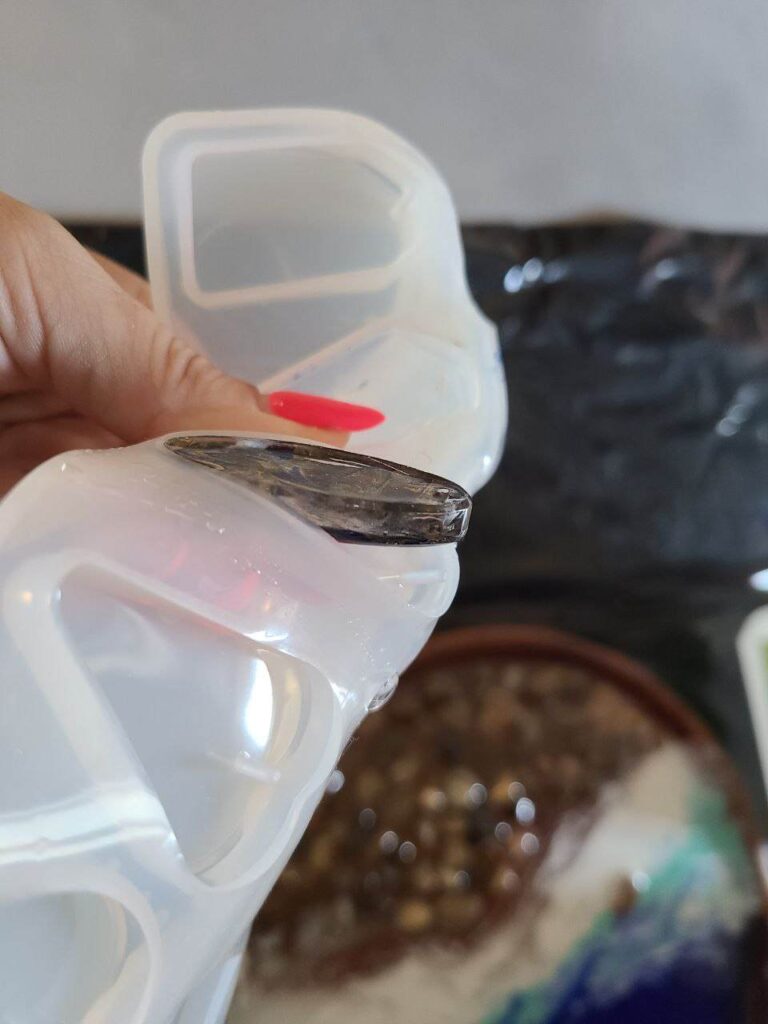
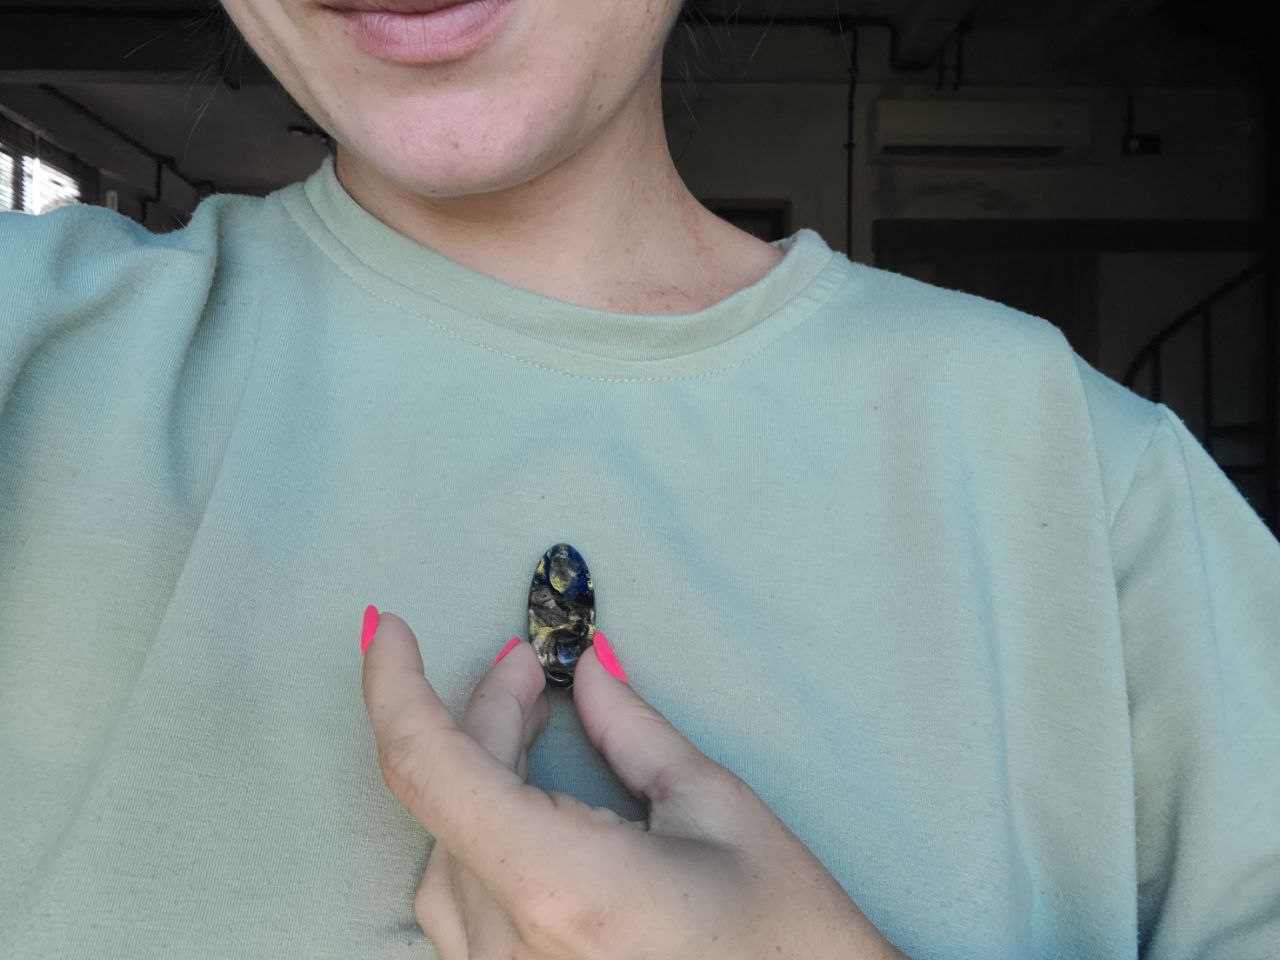
It looks cute! I love the shape and how the gloss and transparency of the resin allow lights inside.
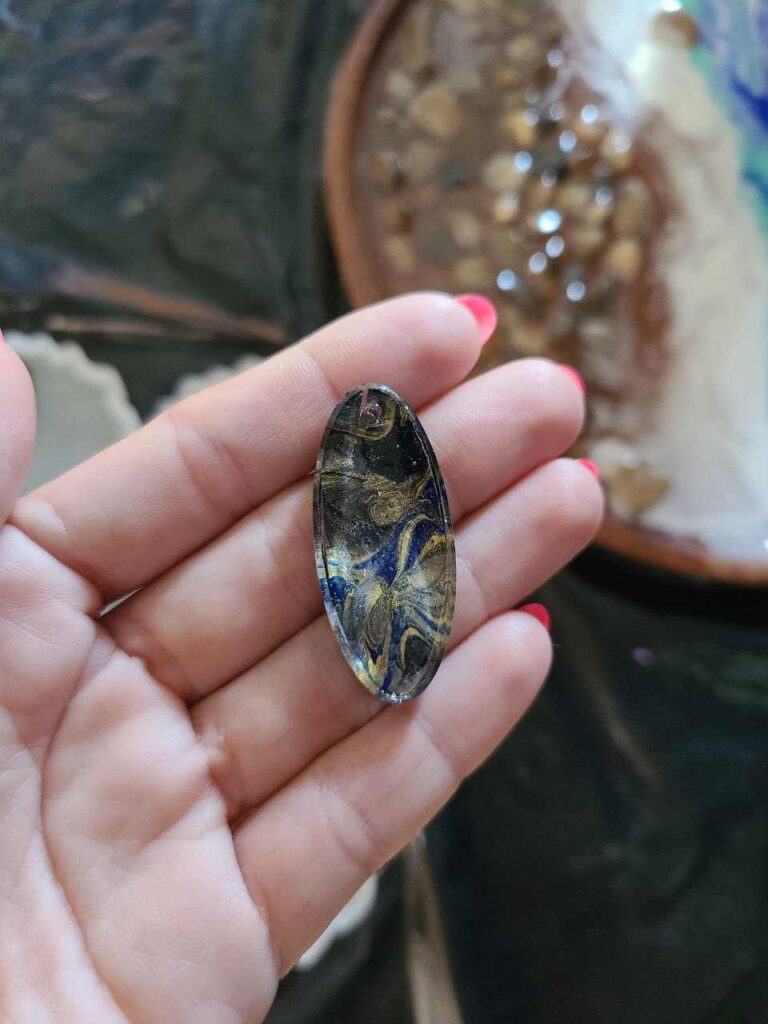
But as I mentioned, there was a minor issue. Invisible but annoying if you know it is there.
Remember I told you to make sure the skin is flat and fits perfectly the shape of the mold?
Well, it turned out mine didn’t fit perfectly and that’s why it was like this when it dried:
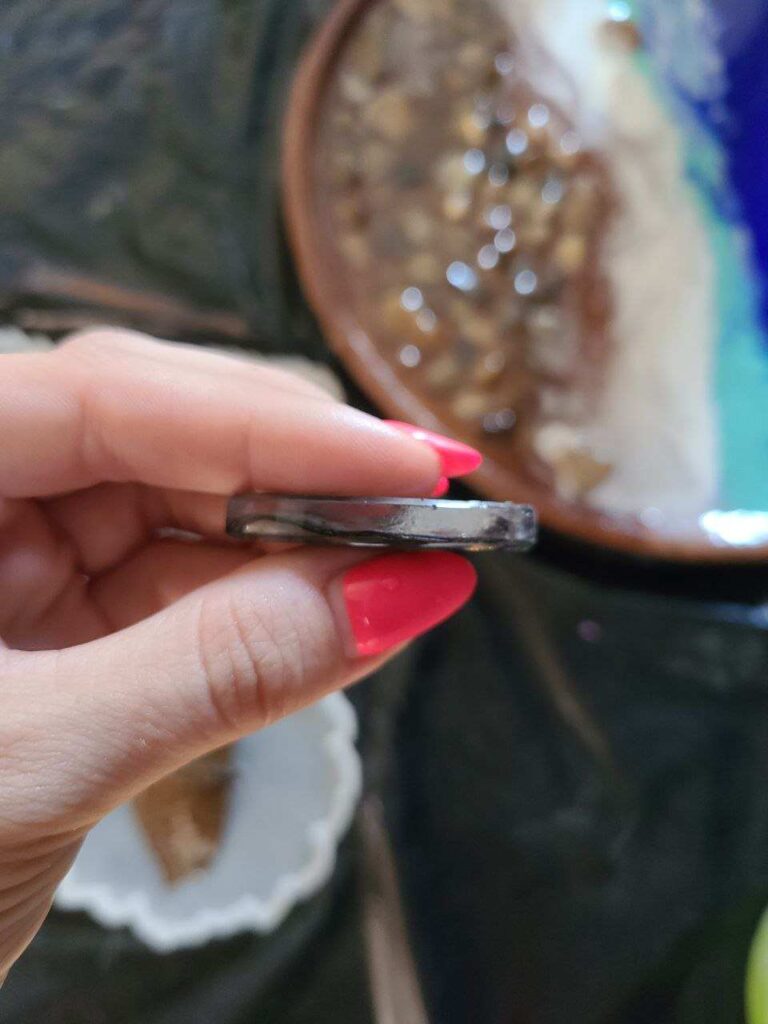
I still like it but next time I will be more careful.
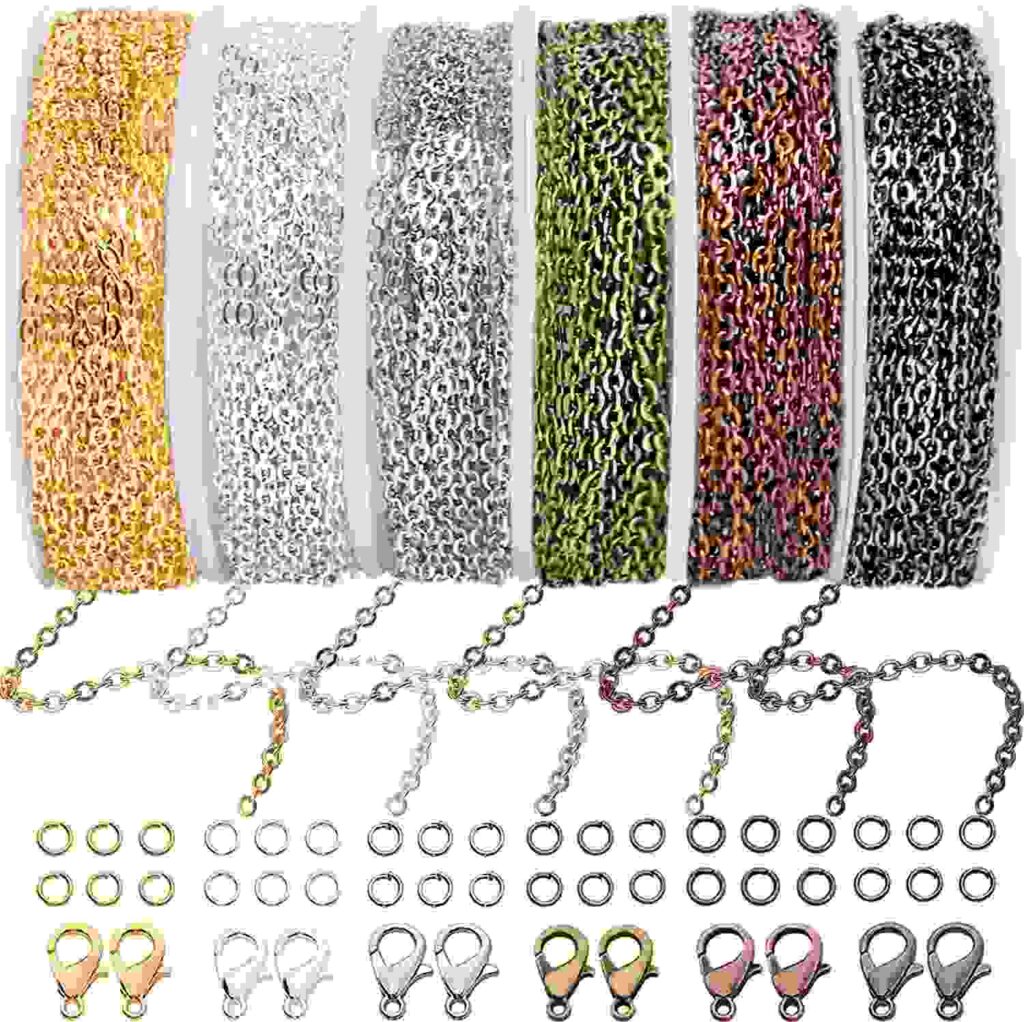
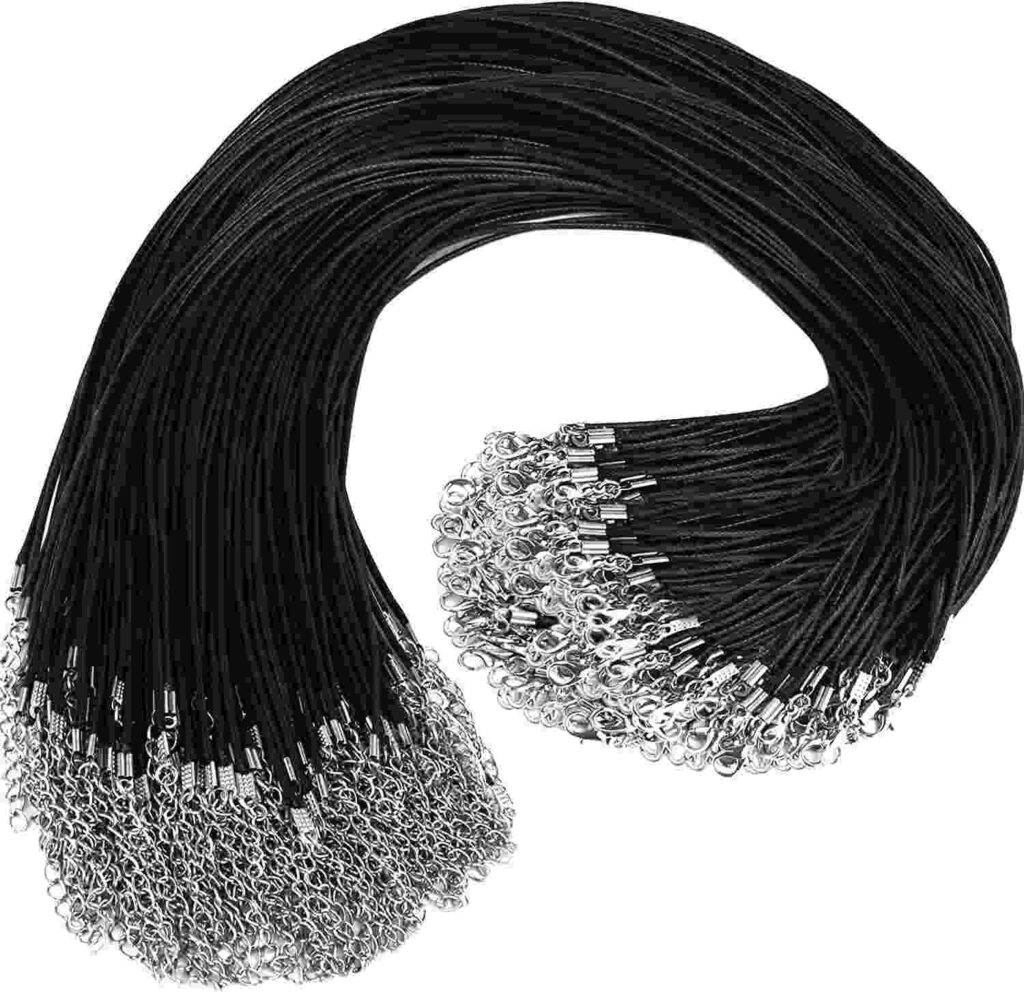
If you feel any rough edges you can lightly sand them and add the chain or leather necklace, I found these 2 options on Amazon depending on your style:
And your acrylic skin pendant is now ready to go out! Or to be a nice hand-made gift 🙂 I hope you are proud to wear your art.
FAQ
Is acrylic skin jewelry the same as acrylic pour jewelry?
I would say yes, acrylic pour jewelry is the same as acrylic skin jewelry as we mostly get the paint skin from leftover dried paint we have after pouring. Acrylic pouring jewelry allows crafters to make some really interesting patterns, sometimes completely unpredictable.
What is the process of acrylic skin jewelry making?
The two main ways to create jewelry with skin are to either use Glass dome cabochons and glue them onto acrylic skins or use resin and molds.
Have fun with some skin jewelry and I hope I showed you an easy way to make your unique pendant!
Masha Eretnova, born in 1991, is a Buenos Aires-based certified teacher, artist, and member of the Professional Artist Association with 20+ years of personal painting journey.
She started painting and drawing very early and is now an international abstract artist and educator passionate about acrylic painting, gouache, and crafts.
Her works are part of international exhibitions and contests, including ArtlyMix (Brazil), Al-Tiba 9 (Spain), Exhibizone (Canada), Italy, and many more.
Besides her artistic pursuits, Masha holds a post-grad diploma in Teaching Film Photography and 2 music school diplomas: piano and opera singing.
