Last Updated on November 24, 2025 by Masha Eretnova
Christmas is coming and this is the perfect time for a fun holiday drawing.
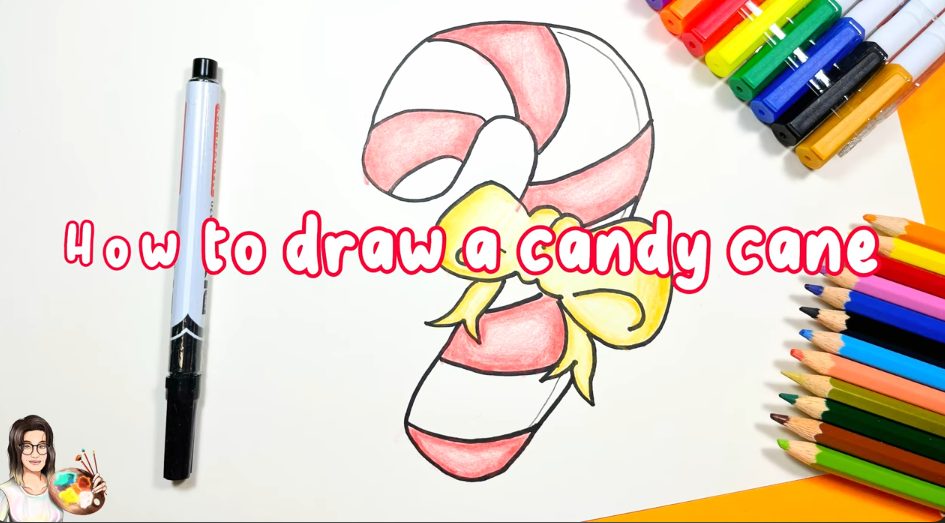
In this tutorial, we will learn how to draw and color a candy cane with a cute bow. This lesson is beginner-friendly and great for kids.
You only need a few simple materials. When you finish, you will have a colorful candy cane that you can use for cards, crafts, or Christmas decorations.
This article contains affiliate links. It means no extra cost for you but a little commission (2-3%) for me to support my hobby and blog. Thank you!
You’ll Need
- Colored pencils (red, yellow, and maybe orange for shading and darker red). My go-to sets are Faber-Castell (beginners, affordable) or Prismacolor (more premium)
- Black acrylic paint pen or marker
- A4 paper – you can use regular print paper for practising
More Drawing Ideas:
- How To Draw A Snowflake
- How To Draw A Reindeer – Printable + Video
- 55+ Easy Winter Canvas Painting Ideas For Beginners
Step-by-step Candy Cane Drawing
Step 1: Draw the Top of the Candy Cane

Start by drawing a big curved shape like a letter C turned on its side. This will be the main outline of the top of your candy cane. Keep your lines soft and smooth.
Step 2: Add the Bow Shape

Next, draw a simple bow in the middle of the candy cane.
Make two rounded loops on each side, then add the ribbon tails below.
Don’t worry about making it perfect! Bows always look cute!
Step 3: Outline the Bow Details & Bottom of the Cane
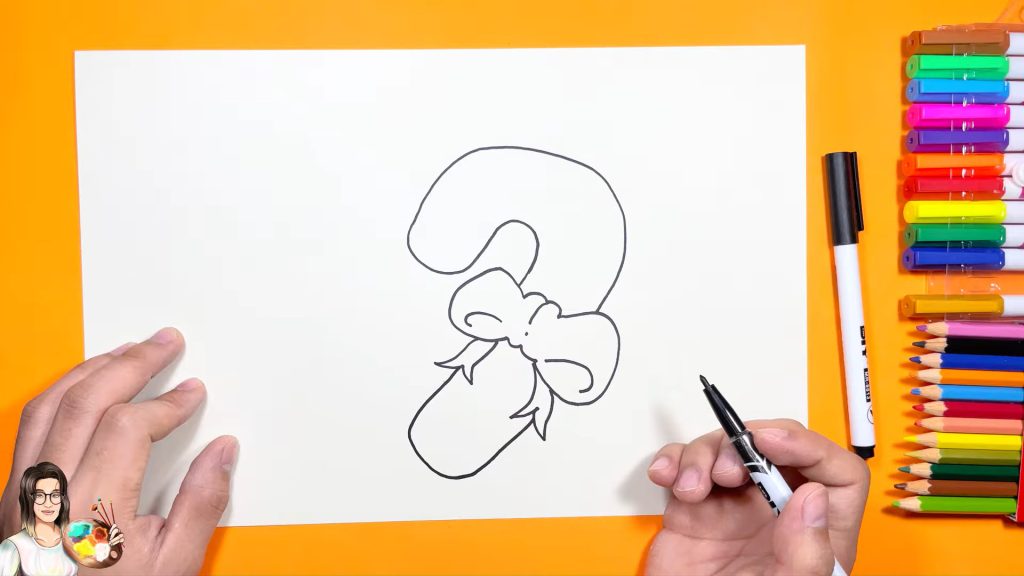
Add curved lines inside each loop to show the shape of the bow.
Then draw a few small folds and details in the center to make it look more realistic.
Once the bow is done, you can finish the bottom of the candy cane by drawing a letter U
Step 4: Add the Candy Cane Stripes

Now draw the curved stripes along the candy cane.
Make sure they follow the shape of the cane so the design looks rounded, not flat.
Starting from the tip of the candy cane, draw slightly curved lines from left to right (first three), from top to bottom (1 or 2), then from right to left (till bottom)
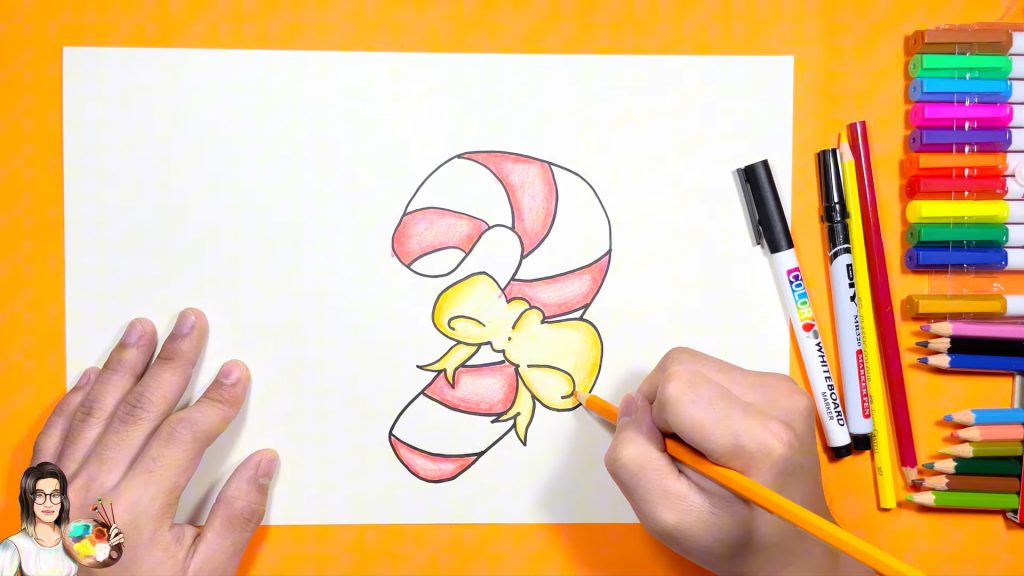
Step 5: Start Coloring the Cane and Bow


Use a red pencil to color the candy cane and a yellow pencil for the bow.
Shade softly at first, adding slightly darker tones along the edges for depth. Don’t press hard on the pencil!
Step 6: Final Shading Touches
Now let’s make your candy cane look super cool!
Use a darker red pencil to shade the edges of each stripe or the same color but press harder. Keep the middle of the stripes lighter so the candy cane looks shiny and rounded.
Next, take a darker yellow or orange and add soft shading around the edges of the bow. Add a tiny bit of shadow in the folds, but keep the center lighter so the bow looks bright and cute.
When you’re done, your candy cane will look colorful, shiny, and ready for Christmas!
Candy Cane Coloring Page Printable

Download a simple outline for the candy cane you can print for home or classroom, color, or use for tracing.
Video Tutorial To Follow Along
If you prefer to watch and follow along, I have a video, too. You can play it at a slower speed to draw comfortably.
If you loved the tutorial and made your own, please share with me or tag me on social media (@mashkazavr on Instagram or @acrylicpaintingschool on Pinterest)

Masha Eretnova, born in 1991, is a Chiang Mai-based certified teacher, artist, and blogger with 20+ years of personal painting journey.
She started painting and drawing very early and is now an international abstract artist and educator passionate about acrylic painting, gouache, and crafts.
Her works are part of international exhibitions and contests, including ArtlyMix (Brazil), Al-Tiba 9 (Spain), Exhibizone (Canada), Italy, and many more.
Besides her artistic pursuits, Masha holds a post-grad diploma in Teaching Film Photography and 2 music school diplomas: piano and opera singing.