Last Updated on November 24, 2025 by Masha Eretnova
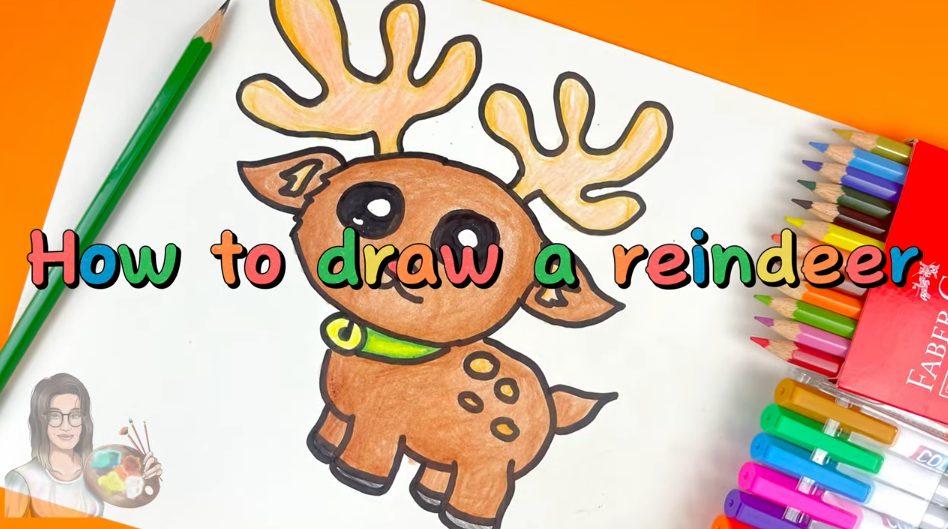
This time, we’re going to draw a super cute reindeer step by step.
This tutorial is very easy to follow, so it’s perfect for kids, beginners, or anyone who just wants to have fun drawing.
We’ll start with simple shapes and build the reindeer one small step at a time.
By the end, you’ll have your own adorable holiday reindeer that you can color any way you like!
This article contains affiliate links. It means no extra cost for you but a little commission (2-3%) for me to support my hobby and blog. Thank you!
You’ll Need
- Paper A4, print paper is fine
- Black marker
- Colored pencils (I like Faber Castell or Prismacolor): black, red, green, yellow, orange, dark and light brown.
More Drawing Ideas:
- How To Draw A Snowflake
- How to Draw a Candy Cane
- 55+ Easy Winter Canvas Painting Ideas For Beginners
Step-By-Step Tutorial
Here is a very simple, kid-friendly, step-by-step tutorial to draw and color cute reindeer.
The main secret is to start from small elements to bigger ones.
Step 1: Draw Eyes & Nose

Start by drawing two small round shapes for the reindeer’s eyes.

Add a small oval under the eyes – it will be our reindeer’s nose
Step 2: Draw The Head
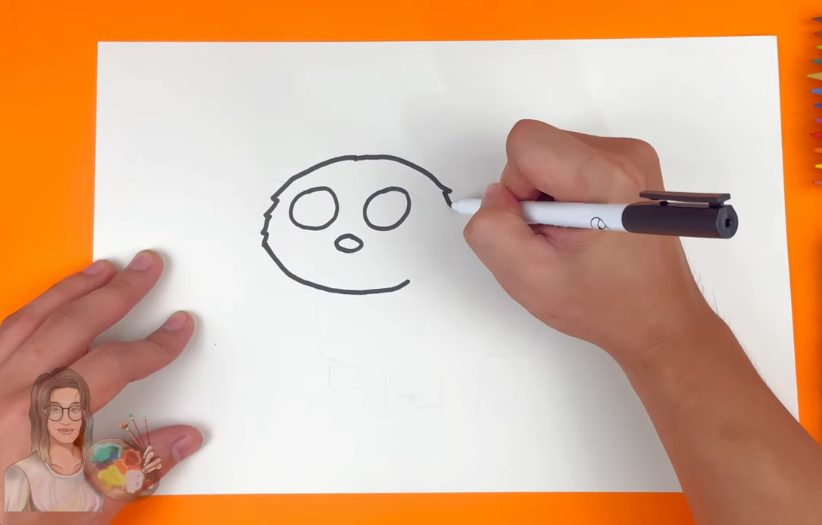
The head has an oval shape with little zig-zag fluff on each side (cute furry cheeks!)
Step 3: Add Ears
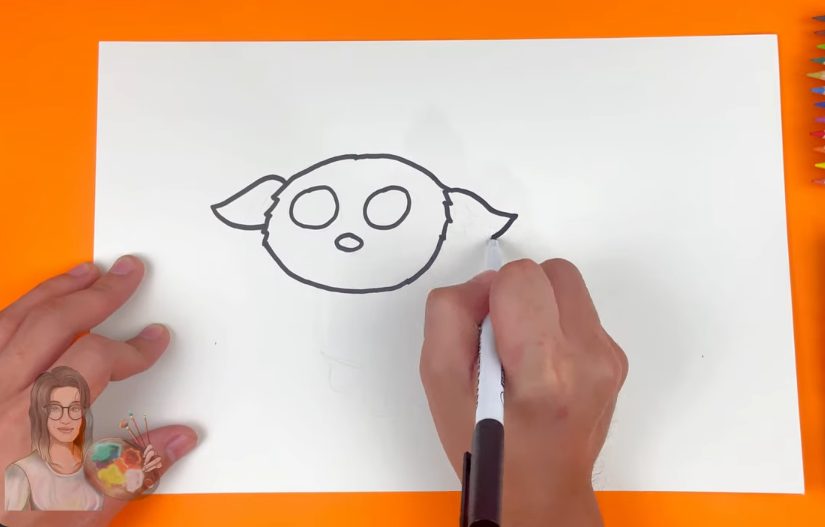
On each side of the head, draw a pointy ear that curves sideways. Ears remind me leaf shape a little bit.
Inside each ear, draw a smaller shape to show the ear details.

Step 4: Add the Mouth

Then draw a small curved line under the nose, like a little smile.
Step 5: Eye Highlights

Inside each eye, draw two circles — one big highlight and one tiny one.
These make the eyes look shiny once we color them.
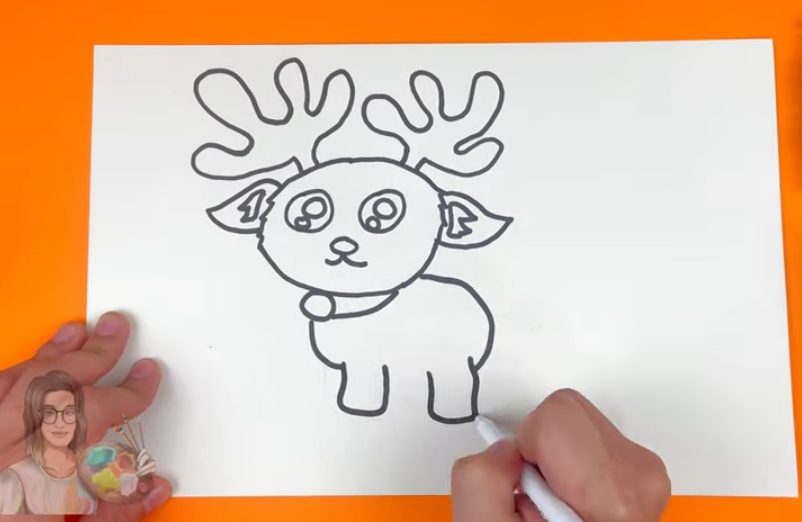
Step 6: Draw the Antlers

On top of the head, draw two big, funny antlers.
They look like long, wiggly branches with rounded ends. Start from the little connecting line to the head and move your hand up, drawing the shape of the antlers and bring the line back down to the head.
Make sure each antler has four “arms.” They don’t have to be identical or perfect!
Step 7: Draw The Body

Draw a large curved shape for the back — like a soft hump.
Keep the lines rounded so the reindeer looks cute and small.
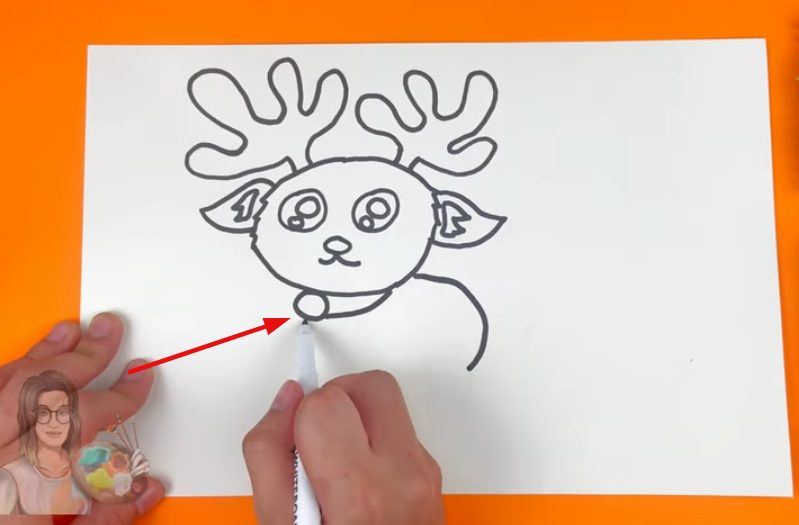
Under the head, draw a circle on the side and the collar with just one line, going from the circleto the cheek.

From the collar down, add another curved line that will end on the same level as the other body line – it will be the reindeer’s chest.
Step 8: Draw Legs
Draw two legs, both starting from the end of the curved lines that we drew to make the body. They look like little stumps.

Connect the space between the front legs with a curved line to mark the reindeer’s belly.

With a simple line, add two legs at the back, and they will look like they are behind and smaller than the legs in front. It almost looks like a soft corner.
Step 9: Add The Tail

At the back of the body, draw a small pointed tail.
It should look short and curved upward, similar to the shape we used to draw ears.
Step 10: Add Details
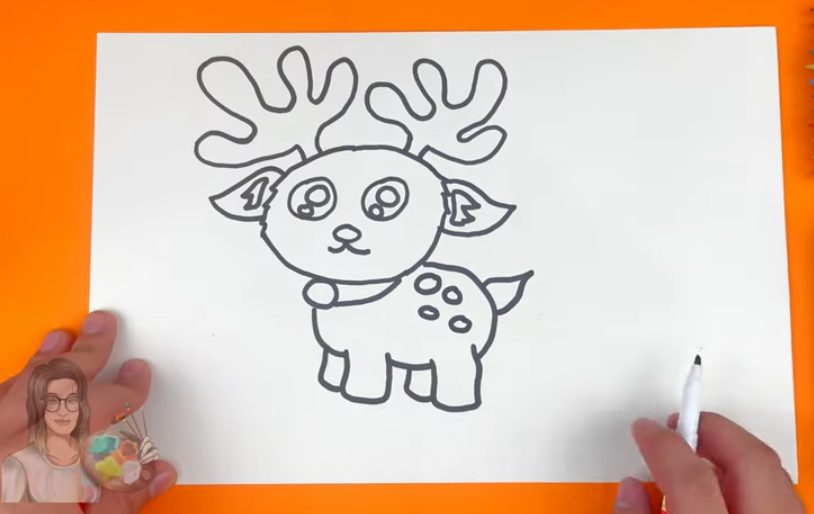
Draw a few small oval shapes on the reindeer’s back.
These are the cute deer spots.
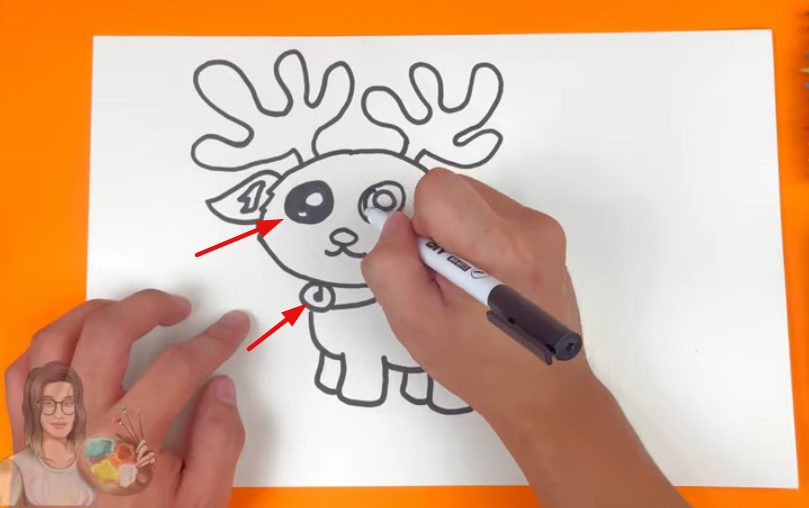
Draw a little comma inside the circle in the collar to make it look like a bell.
Color the eyes black, leaving the space inside the two circles we drew white.

Add a line for each leg to mark the hooves.
Step 11: Color Your Reindeer

Go over your lines with a marker if you want them darker.
Then color your reindeer:
- Brown for the face and body
- Lighter brown or orange for the antlers
- Pink or light orange inside the ears
- Green or gold (yellow) for the collar
- Red for the nose
- Black for the hooves
For each part, first color it without pressing too hard on the pencil. Then you can go around teh outline again to darken the edges – it will create more volume and the drawing will look better.
If you want pencil marks less visible, don’t press hard. You can also use your finger, a piece of paper, or a Q-tip to smooth out and “blend” colors into a more uniform color once you’re done.
See the video tutorial below to get a better idea on coloring your reindeer.
And you’re done! This is the final version of our Christmas reindeer:

Download Printable Outline
Download and print as many times as you want to practice drawing (you can try transferring) or simply coloring!

Video Tutorial To Follow Along
If you prefer to watch and follow along, I have a video for reindeer drawing process, too. You can play it at a slower speed to draw comfortably.

Masha Eretnova, born in 1991, is a Chiang Mai-based certified teacher, artist, and blogger with 20+ years of personal painting journey.
She started painting and drawing very early and is now an international abstract artist and educator passionate about acrylic painting, gouache, and crafts.
Her works are part of international exhibitions and contests, including ArtlyMix (Brazil), Al-Tiba 9 (Spain), Exhibizone (Canada), Italy, and many more.
Besides her artistic pursuits, Masha holds a post-grad diploma in Teaching Film Photography and 2 music school diplomas: piano and opera singing.