Last Updated on March 31, 2024 by Masha Eretnova
Did you know that you can actually bring your ideas to life with just a few paint tubes and you don’t need 20+ paints? Don’t worry if you only have limited gouache paints with you.
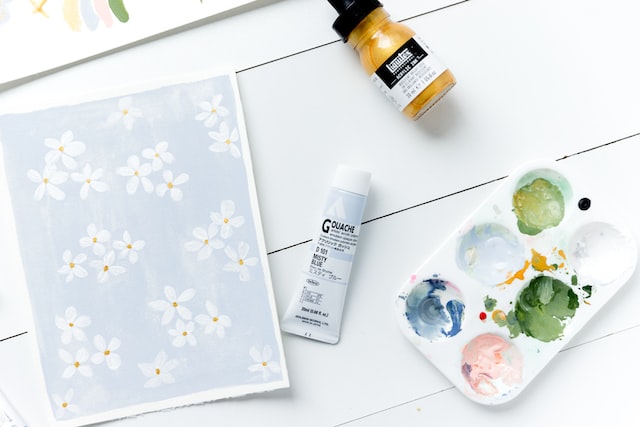
To make your gouache more organized and convenient, you’ll need to have a gouache palette that allows you to store and mix colors effortlessly and the right palette setup.
I recommend an airtight gouache palette to store and to keep the gouache from drying out. A ceramic palette for gouache with a flat space for mixing colors and wells for diluting colors with water is the best option.
In this article, I’ll go through the best gouache palettes on the market and their benefits and drawbacks. In the final section of this post, I’ll also teach you how to care for and clean your palette.
Table of Contents
This article contains affiliate links. It means no extra cost for you but a little commission (2-3%) for me to support my hobby and blog. Thank you!
What can I use as a palette for gouache paint?
You can choose the same palettes for gouache as you are using for watercolor or acrylic. They are all same!
Although you have the freedom to choose the palette you want, it is still necessary to consider the type of paint you will be using before purchasing one. The following are some of the palette options for your gouache paints:
Read also: Gouache vs Watercolor: How do they differ and which is best?
Ceramic Palettes – best for mixing and painting
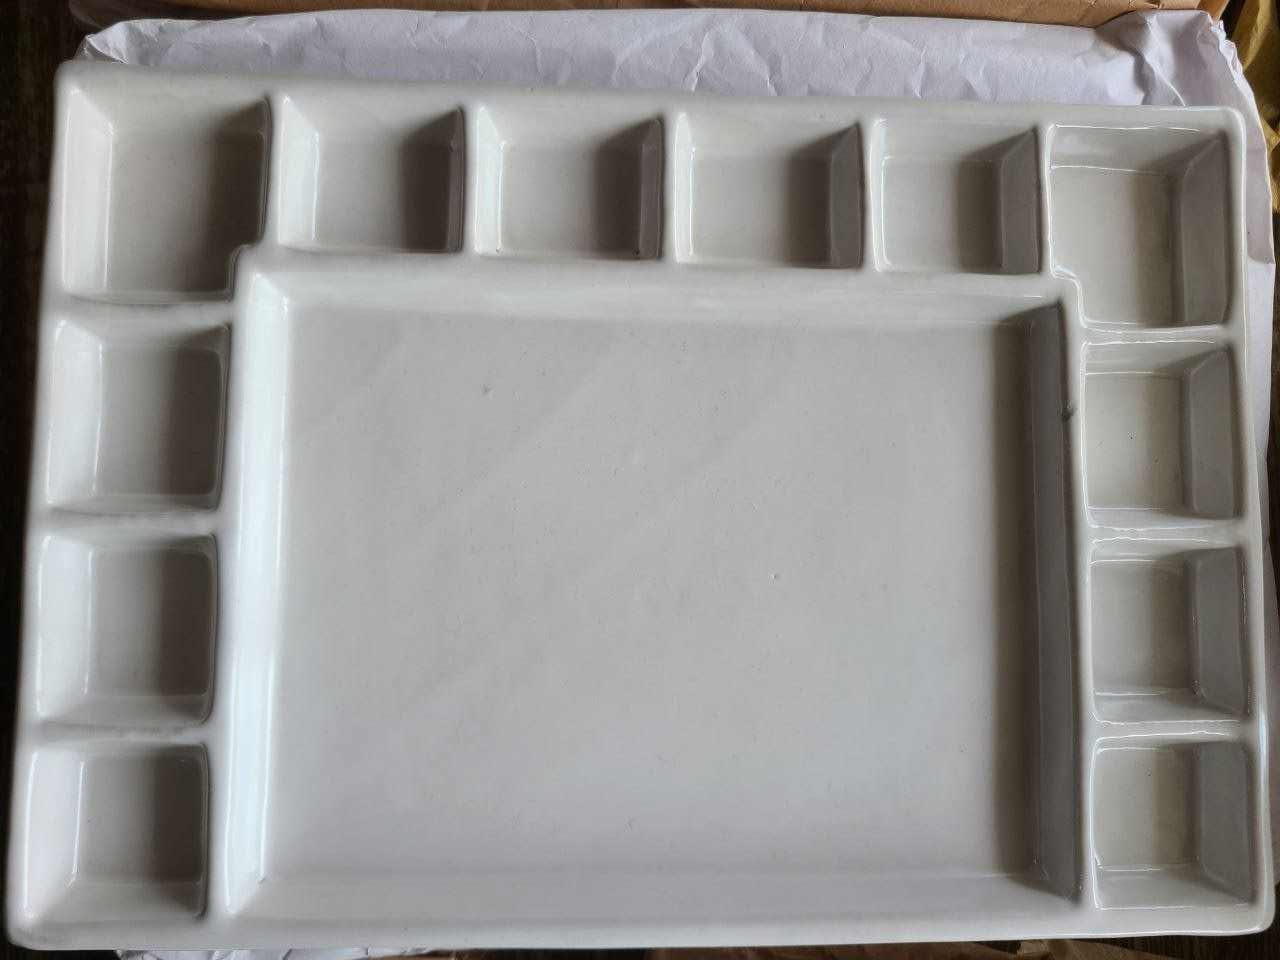
For gouache, many painters prefer using ceramic palettes. It’s an excellent choice for gouache because the paint becomes more fluid when mixed.
This kind of palette is ideal for blending watercolors, acrylics, and gouache. Also, ceramic palettes are easier to clean than plastic ones, especially once the paint has been set.

Choose a palette with a single color, such as ivory or white, so you won’t be distracted by multiple shades and it will be easier to mix colors. Palettes made of ceramic material are designed to be sturdy and durable, making them ideal for studio or field work.
Pros
- Made from eco-friendly ceramic material
- Good for watercolors, acrylic, or gouache
- Designed with many wells for more convenient mixing of colors, wells are deep enough to hold paint and water
- easier to clean than plastic palettes
- very durable and do not easily stain.
Cons
- Might be too small for your painting needs as most ceramic palettes have no flat space for mixing and I find it very inconvenient mixing in a well. But it is a personal choice.
- Not suitable for traveling, has no lid, and is heavy.
- You can break it or chip it, even though it is durable.
- It is more expensive than plastic palettes.
My main fear is always to break it if it falls on the floor.
Read also: 21 Top Gouache Painting Tips & Secrets From Pros
Plastic Palettes
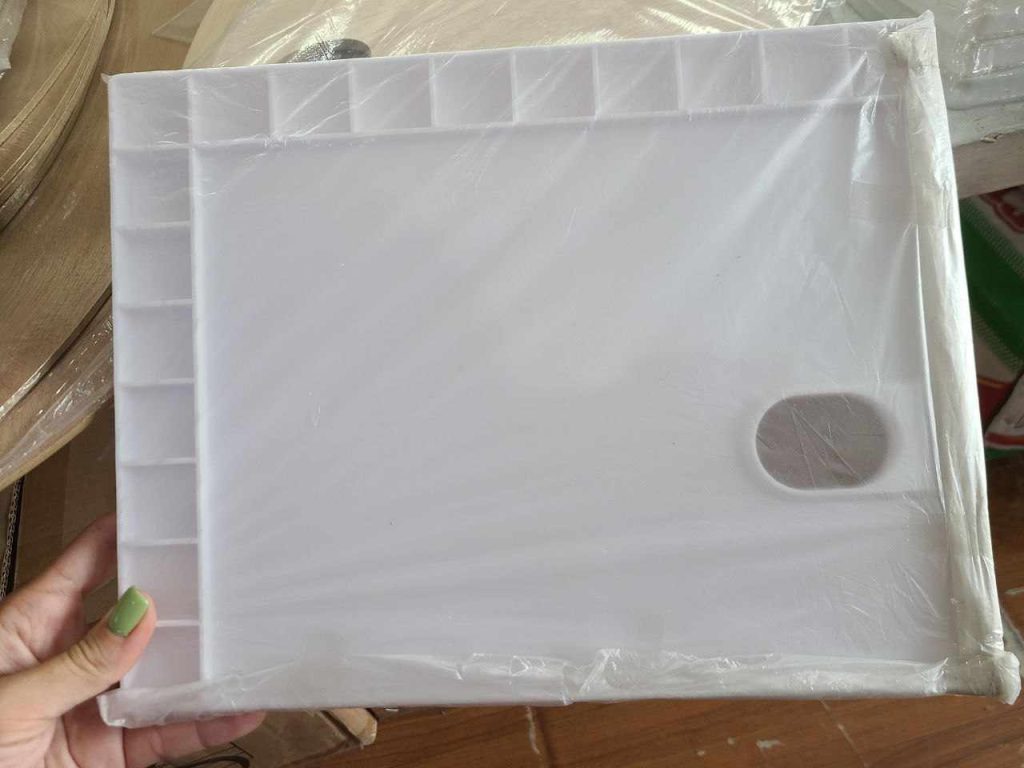
Like other palettes, plastic palettes also work well with gouache. Aside from being less expensive than other alternatives, they offer a non-absorbent and smooth surface that fits well with gouache and other paint media. They are available in various shapes and sizes and have compartments too.
Often, you get a simple plastic palette with a set of paint. I’m using my plastic palette from the Miya gouache set with all other paints:
For acrylics, I mostly use plastic palettes too. For more options check my separate blog post on 20 Best Palettes for Acrylic Paint For Beginners to Paint Like Pros.
I love plastic palettes as they are lightweight and I absolutely need mixing space.
Most times a palette has one big shared mixing space, which is ok, but I like how Transon thought about separating mixing areas so you don’t have to worry if some colors will contaminate each other.

Also easy to store as you can simply close it, and you can take it with you if you are working on a plein air painting as it also has 3 holes to hold brushes. The paint wells are on opposite sides so even if leave some paint and close the palette colors won’t mix up.
Cons: Some plastic palettes have holes for the thumb and brushes but they won’t universally fit all thumbs and brushes in the world, which makes this feature a bit useless.
Some plastic palettes stain easily.
And probably the biggest concern is that plastic palettes are not environmentally friendly.
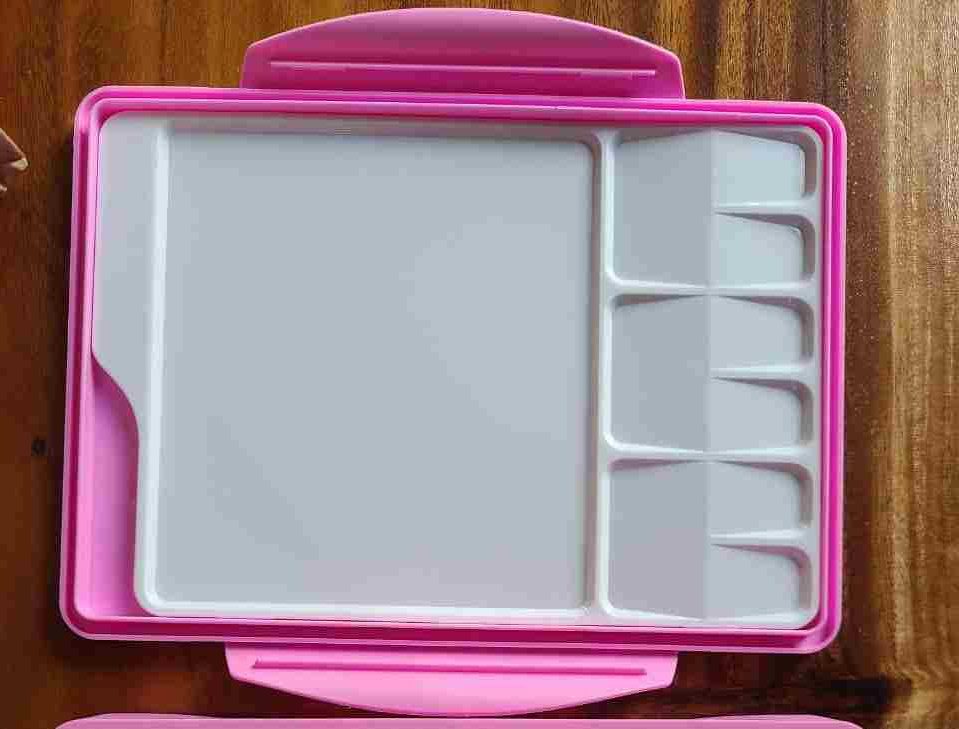
Airtight Palettes

Airtight palettes are great as they have a lid and you can store your gouache or watercolor that is left on the palette safely and just reactivate it with water the next time you are about to paint.
Why airtight if the gouache can be reactivated with water anyway? Well, air exposure is what makes the paint dry, so if we keep it closed tightly, imitating the tube or paint box, we save our paint and avoid waste.
You can also use the internal surface of the lid as an extra space for mixing!
Pros
- Plastic is sturdy but lightweight
- Airtight lid keeps the paints moist and fresh, and also all your other belongings safe from paint (in case you are traveling).
- Suitable for both indoor and outdoor painting;
- for beginners and professional artists
- Has both mixing area and wells – it is a universal palette no matter what style or technique you use
- Very good price as plastic is cheap
- The lid can always be used as a mixing surface.
- They can work for both painting and storing if the wells are deep enough and the lid closes really tightly.

Cons
- The plastic in general may stain easily and be harder to clean compared to ceramic, metal, or glass palettes.
- A cheaper plastic palette can leak even though it is supposed to be airtight.
Palette Paper
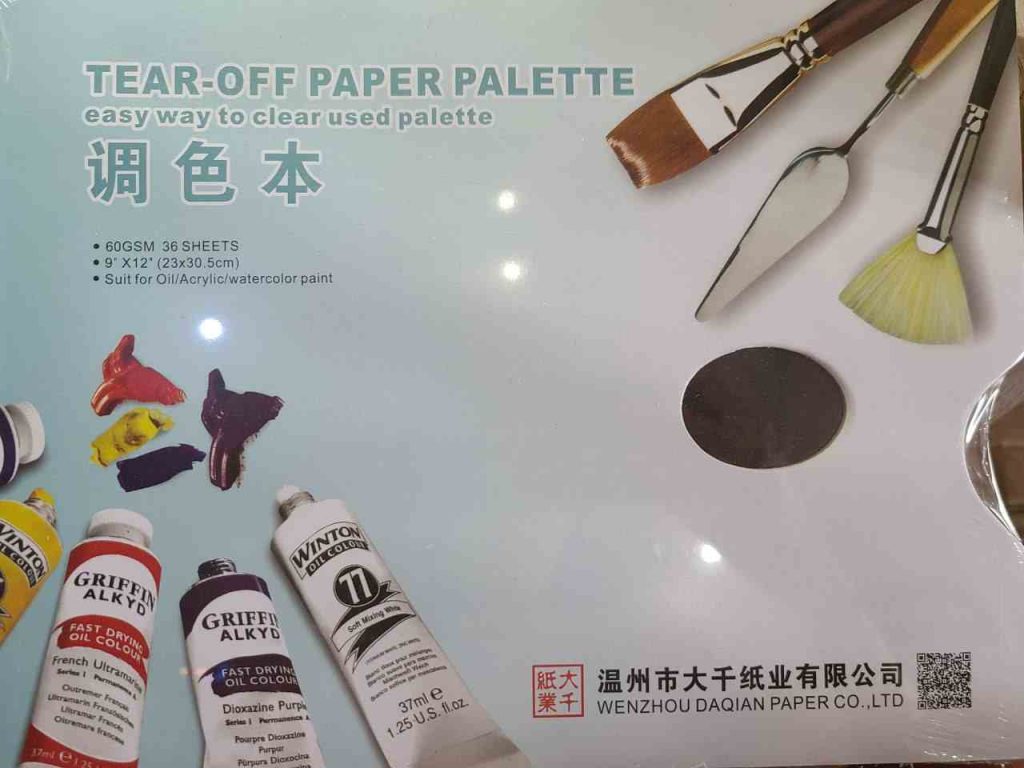
A palette made of paper is another good alternative that works with gouache, although it is not the best choice. I don’t like it as the paper absorbs paint, unlike plastic or ceramic or glass which increases the waste of paint.
However, if you don’t want to deal with the inconvenience of cleaning palettes with dried paints, this one’s for you. The paper palette is disposable, so you can discard it immediately after usage.
Cons: disposable – creating more waste. Some paper palettes tend to soak in too much paint, if not properly coated.
Read also: Top 15 Best Gouache Paper Tested & Reviewed By Artist
Metal Butcher Trays
Many painters and artists also use metal palettes or porcelain butcher trays as palettes.

Along with being easier to clean than other options, its great material is ideal for color mixing. They offer a huge mixing area that helps you separate your gouache paints.
Such metal palettes are normally porcelain coated which is both good for cleaning and mixing paint and not as good as natural chipping will happen over time.
You can get a size from small (7-inch by 11-inch) to large (13 x 17 inches) depending on your needs.
These palettes are very deep so using water is no issue, but they don’t have a lid, so you need to clean it up and store it. They also won’t be great for traveling as they are not as light as simple plastic ones.
The butcher tray also lacks well compartments, which you may need to store different colors.
And finally, this option is rather expensive.
Handmade Palettes
DIY paint palettes are definitely a thing now, and they work with gouache too.
Aside from being a cheaper option, handmade palettes make the most of your creativity since you may create one out of items you already have at home. They are also simple to clean and maintain.
You can use a lid from a plastic container, paper, disposable plates, and even plastic wrap.
Cons: not all DIY palettes are reusable or can meet all your needs, ex., unlikely you will make wells in your homemade palette (unless pottery is your hobby and you can make yourself a good palette!)
DIY Wet Tray Palette
Here are a few simple steps for making your own wet tray palette:
- Get an old tray with surrounding walls.
- Arrange a few layers of paper towels evenly on the tray.
- Pour enough water onto the tray with paper towels. Ensure you only put in enough water for your towels to absorb fully.
- Place a piece of parchment paper on top of your damp paper towels.
- Your wet tray palette is now ready. If you place your paints in this DIY palette, they will stay moist for several hours.
Pros
- Helps keep the paints wet during a long painting session
- No challenging cleaning up needed since you will throw away the painting surface after use
- Cost-efficient since you can make one using things lying around your home
Cons
- Not long-lasting
- There’s a possibility of forming molds
DIY Glass Paint Palette
Here are a few simple steps you may take to make your own glass paint palette:
- Remove the glass from an old picture frame.
- Cover the surface with an old newspaper.
- Paint at least three layers of gray paint on one side of the glass covered with newspaper. Allow each layer to dry before adding another.
- Using a scraper tool, remove any excess paint from the unpainted side of the glass.
- Put a duct tape strip midway between the glass edge and the backing. Then, fold over onto the unpainted side.
- Add more duct tape strips on the unpainted side of the glass. Ensure that they don’t overlap.
- Make sure the final duct tape strip is midway between the glass edge and the backing. Fold over again onto the glass’s unpainted side.
- After you’ve removed the excess strips from the glass sides, your palette is ready for use.
Pros
- Paints glide on the glass surface smoothly, which is ideal for color mixing
- Less expensive than buying a readily made palette
- Less possibility of wasting paint because you can easily scoop every color with a brush
Cons
- Needs extra care when handling since the glass is fragile
Glass Palette
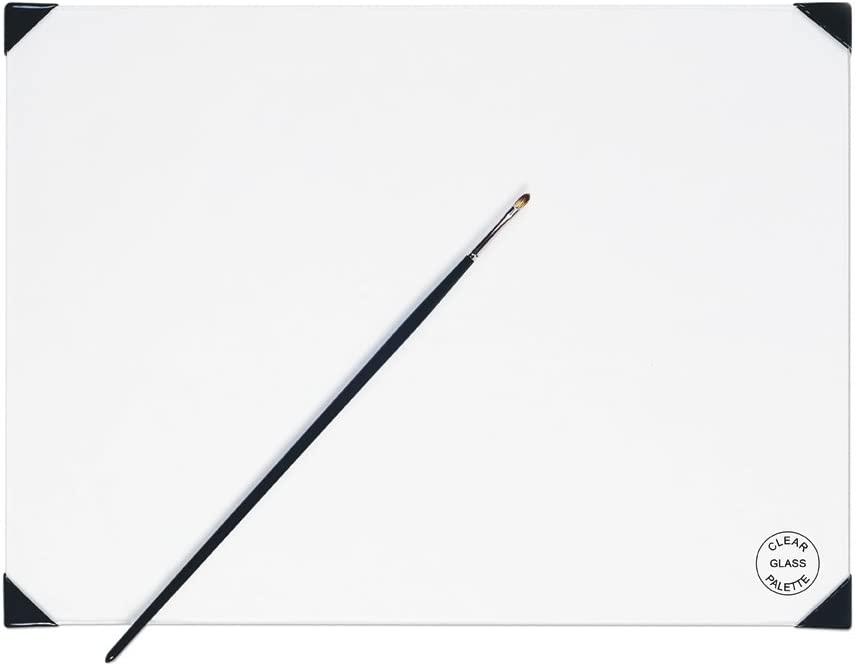
Many pros like using flat glass palettes to mix paint. It gives a lot of space and the glass is super easy to clean – you just wipe it.
The weight may be a concern, some people are used to tabletop palettes, and then the glass is fine, but some need their palette right close to the eyes, in this case, the regular glass may be too heavy, you can then opt for a plexiglass sheet!
Clear glass will also be more expensive than cheap wooden or plastic palettes.
Pros: The glass palette is usually tempered glass and is very durable. The flat and transparent surface of the glass is perfect for mixing and some glass palettes are quite large – 12 x 16 inches. As paint doesn’t stick well to glass, these palettes are super easy to clean.
Cons: Not travel-friendly, heavy and doesn’t have wells that could hold some more fluid paint.
My own life-hack is to have a glass artist desk 🙂 I can mix directly on the table, though I rarely do that – only when I make paint, as it is too messy.
Cheap Option I Use
You don’t need or understand all these fancy trays, wells, and big palettes and don’t want to spend extra money on a palette with features you won’t use?
I have a very straightforward option for you – a classic clear plastic palette with no wells. This is exactly what I use MOST of the time.

This pack actually has 2 of those for under $7 and it will cover your needs for a while 100%.
And it is most definitely easy to clean and gives no color distortion when you mix colors 🙂
2 Gouache Palette Setup Layouts
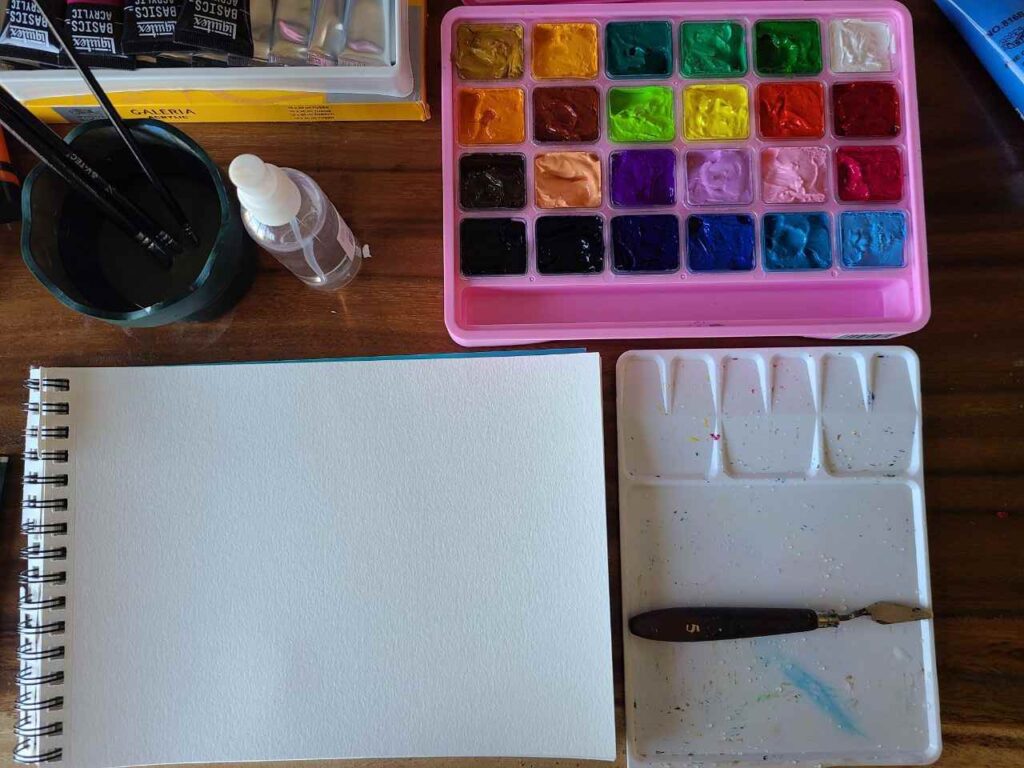
A palette setup is how you arrange the colors on your palette to use them.
If you’re new to gouache and haven’t yet considered a palette setup, no worries, we’ve got your back. You can arrange your palette any way you think will work best for you.
I often use flat palettes and squeeze a few colors I will use just a good distance in between in no specific order. But pros may say it’s wrong and disorganized.
As you’re new to gouache paints, I recommend beginning with a limited palette first. It will help you explore colors better, learn to mix, and realize you don’t have to spend money on 30+ paint sets.
You can adapt the classic or the Zorn Palette, which is a limited palette with a wide range of possible colors. Additionally, I’ve also offered a more traditional alternative setup at the end of this section.
To organize your palette setup and place your paints DO consider if you are right-handed or left-handed and make sure everything is easy to access. Don’t put your palette behind you it is not convenient in long term.
Zorn Palette Setup
The Zorn palette consists of 4 colors:
- Yellow Ochre is a single PY42 color that has an opaque, earthy, and warm tone. Think of a brown shade if it is easier for you.
- Ivory Black is a warm black with a brownish shade when blended with small amounts of white.
- Vermilion/Cadmium Red – Modern painters have replaced Vermilion with Cadmium Red. Cadmium Red is an opaque, vibrant orangey-red made from a single pigment PR108.
- Titanium White – Titanium White is a single color PW6 that is an opaque vivid white, which is perfect for blending light shades and colors to use for highlights and accents.
How does the Zorn palette work?
- Since the Zorn palette lacks blue, Ivory black, which is a relatively cool black, can be used as a substitute for blue. All you have to do is combine it with white as it is a cool color that can appear blue next to warm colors. A cool gray is the closest color to blue.
- Cadmium red is the most saturated and bright color present in a Zorn palette.
- The primary purpose of black and white colors is to alter the value of a color. They are also used to create different tints and tones of a single color.
How to make a color chart for a gouache Zorn palette?
- Make your own color chart on a surface similar to the one you use to paint on. The usage of a different surface might cause the paint to appear differently.
- Draw a pre-drawn grid on the surface to make it easier to apply the colors and prevent duplicating color blends.
- Apply and blend the paint on each square with a palette knife. A palette knife makes it simple to mix and lay color. Simply brush away any extra paint from the knife before mixing your next color.
- Make a chart with five by-five squares, each measuring 2 cm and a 1 cm gap between them. To give your colored squares neat, sharp edges, you can use strips of masking tape.
Paintings with just limited colors can look great as long as all colors work perfectly together. If you’ve already decided to use this Zorn palette for your next painting session, you may watch this video guide on how to set up your own gouache Zorn palette.
Traditional Palette Setup
Here are the supplies needed to set up a traditional palette:
- Gouache paint
- Watercolor paper – This watercolor paper from Canson works well with gouache.
- Paintbrush – Princeton brushes are my favorites
- Palette or an airtight paint storage box
- Toothpick
The following are the steps to follow in building your own gouache setup in a palette box:
- Swatch the colors on blank paper or a palette to discover which ones you’ll most likely use. Add white and black to see what lighter and darker shades you can get. Keep your paper swatch with your palette to consult it every time you’re painting and looking for a color.
- Fill the first well with a tiny amount of the first color, then spread it into the corners of each well using a toothpick.
- So what color is first? You can do it in a few ways:
- randomly:)
- following the color wheel: 12 colors follow each other starting from red, then red-orange, orange, yellow-orange, yellow, yellow-green, green, blue-green, cyan (blue), blue-violet, violet, and red violet.
- only primaries: red, blue, and yellow. And all other colors just mix.
- So what color is first? You can do it in a few ways:
- Fill the palette with your selected gouache colors.
- Before you begin painting, add a drop of water to each color to activate it. You can use a spray bottle or an eye dropper to do this step.
- Simply add additional paint from the tube when you run out of color.
3 Primary colors + White is enough for professionals:
- Primary blue and ultramarine blue
- Alizarin crimson and Spectrum red / Cadmium Red
- Primary yellow and Cadmium yellow
- Zinc white for mixing and
Titanium white for an opaque white
no black as you can mix the black. Two paints for each color as one is cooler and another one is warmer. It will help to mix.
My favorite gouache palette setup would be reds (warm and cool), blue (warm and cool), yellow (warm and cool), and white on the other side of the palette. You can also have a little well with Gum Arabic, but it is very optional. I squeeze all the colors and mist them with my spray bottle.
Tip: You can do sketch with paint as well! Not only with drawing with pencils.
How to mix secondary colors with gouache:
- Cadmium yellow (warm) + Spectrum red (warm) = Orange
- Primary yellow (cool) + Cyan blue (warm) or ultramarine blue (cool) = Green
- Ultramarine blue (cool) + Alizarin crimson (cool) = Violet
Beginners can extend their palette:
- Ivory Black
- Zinc white for mixing purposes
- Titanium white for an opaque white
- Lemon Yellow
- Permanent Yellow Deep
- Yellow Ochre
- Chrome Orange
- Cadmium Red Light
- Cadmium Red or Purple Magenta
- Ultramarine Blue
- Phthalo Blue
- Viridian Hue
- Sap Green
- May Green
- Burnt Siena
- Raw Umber
- Burnt Umber
Prepare all of these, and you’ll be good! With just a few simple steps, you can already create a gouache palette setup of your preference. A traditional palette is indeed a well-balanced palette that gives more color options.
Read also: Painting with Gouache for Beginners: 7-Step Ultimate Guide
How to clean a gouache palette?
Although it is possible to let your paint dry in your palette because it can be reactivated with water, I would not recommend it.
A simple wipe-off is a way to clean your gouache palette right after your painting session. Normally just water or soapy water is enough to clean your palette.
If you left some paint and it dried and didn’t come off easily, before cleaning your gouache palette, soak it first for at least 10-30 min to soften the paint.
If it is really stubborn, scrub away excess paint with gentle liquid soap and an old but clean toothbrush. After that, dry your palette with a soft cloth or a paper towel, and it will appear as good as new.
If you are using a glass palette you may as well just scrape off dried leftover paint. But be careful to not scratch the glass (normally it is tempered glass so it won’t be easy, but I don’t know maybe you’re a Hercules! haha)
To Sum Up
choosing a palette for gouache paint think of this:
- the flat palette that sits on your working desk (unless you are only painting outside)
- with enough mixing space and many spacious wells to store paint
- with a lid! to cover your palette and leftover paint until the next painting session.
- made of easy-to-clean material that doesn’t break easily.
- affordable.
And ultimately, it is your choice. A palette should make the process faster and easier and doesn’t have to look pretty.
What are you using as a palette?

Masha Eretnova, born in 1991, is a Chiang Mai-based certified teacher, artist, and blogger with 20+ years of personal painting journey.
She started painting and drawing very early and is now an international abstract artist and educator passionate about acrylic painting, gouache, and crafts.
Her works are part of international exhibitions and contests, including ArtlyMix (Brazil), Al-Tiba 9 (Spain), Exhibizone (Canada), Italy, and many more.
Besides her artistic pursuits, Masha holds a post-grad diploma in Teaching Film Photography and 2 music school diplomas: piano and opera singing.
Last update on 2026-07-25 / Affiliate links / Images from Amazon Product Advertising API